

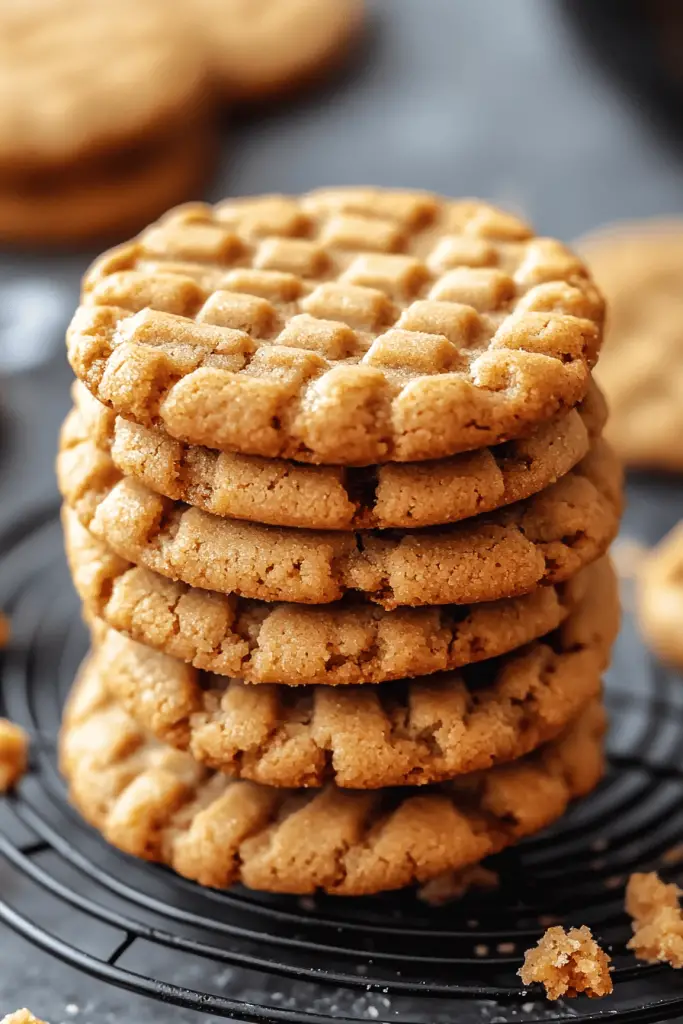
Okay, confession time. There are days when the sweet craving hits HARD, you know? Like, that 3 PM slump or the late-night urge for something comforting. And usually, my brain jumps straight to “Oh man, I wish I had some cookies.” But then the reality of preheating an oven, dealing with multiple baking sheets, and the whole cleanup process sets in. It feels like a production! That’s where these amazing Air Fryer cookies come in. Seriously, these little gems are a total game-changer. They’re so ridiculously easy, incredibly delicious, and they satisfy that cookie craving in a fraction of the time. If you thought air fryers were just for fries and chicken wings, get ready to be amazed. These air fryer cookies are more like personal-sized, perfectly chewy delights that come out so much faster than traditional oven-baked ones.
What are air fryer cookies?
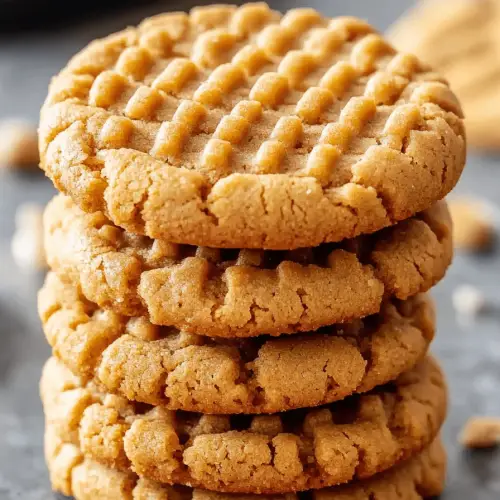
So, what exactly are air fryer cookies? It sounds a little unconventional, right? But honestly, it’s brilliant. Think of them as individual cookie portions, or even small batches of cookies, that you cook in your air fryer basket instead of a conventional oven. The hot, circulating air in the air fryer cooks them quickly and evenly, resulting in a texture that’s often wonderfully crisp on the edges and delightfully soft and gooey in the center. It’s essentially a high-powered convection oven in a compact size, and it’s perfect for smaller portions or when you just want a few cookies in a hurry. It’s not about reinventing the cookie wheel, but rather taking a classic comfort food and making it way more accessible and speedy. These aren’t just any cookies; they’re *your* cookies, ready when you are, without the fuss!
How do I make air fryer cookies?
Quick Overview
Making these air fryer cookies is a breeze. You’ll mix up a simple Cookie Dough, scoop it into your air fryer basket, and let the magic happen. The entire process, from mixing to tasting, can take less than 15 minutes for a small batch, which is just incredible. It’s truly one of the fastest ways to get warm, gooey cookies into your hands. Forget waiting around for an oven to preheat; your air fryer is ready to go!
Ingredients
For the Main Batter:
Butter: 1/2 cup (1 stick) unsalted butter, softened. Make sure it’s truly softened, not melted! I’ve learned that using butter that’s too cold makes the dough crumbly, and melted butter can make them spread too much. So, leave it on the counter for about an hour before you start.
Brown Sugar: 1/2 cup packed light brown sugar. This is key for that chewy texture and caramel-like flavor.
Granulated Sugar: 1/4 cup granulated sugar. This helps with the crisp edges.
Egg: 1 large egg. It binds everything together and adds richness.
Vanilla Extract: 1 teaspoon pure vanilla extract. Don’t skimp here; it makes a huge difference in flavor.
All-Purpose Flour: 1 1/4 cups all-purpose flour. Spooned and leveled, please! Too much flour can make them dry.
Baking Soda: 1/2 teaspoon baking soda. This gives them a little lift.
Salt: 1/4 teaspoon salt. It balances the sweetness.
Optional Mix-ins: 1 cup chocolate chips (semi-sweet are my favorite!), chopped nuts, or M&Ms. I’ve even tossed in some chopped dried cranberries for a tart twist!
For the Glaze (Optional, but so good!):
Powdered Sugar: 1 cup powdered sugar.
Milk (or cream): 1-2 tablespoons milk or heavy cream. Start with 1 tablespoon and add more until you reach your desired drizzling consistency. A splash of almond milk worked surprisingly well too when I ran out of regular milk!
Step-by-Step Instructions
Step 1: Preheat & Prep Pan
Preheat your air fryer to 320°F (160°C). This lower temperature is crucial for air fryer cookies, as it prevents them from burning on the outside before the inside is cooked. While it’s preheating, line your air fryer basket with parchment paper or silicone baking mats. This prevents sticking and makes cleanup a breeze. If you don’t have either, a very light spray of non-stick cooking spray will do, but be careful not to overdo it, as excess oil can cause them to spread too much. I usually just use a piece of parchment paper cut to fit the basket.
Step 2: Mix Dry Ingredients
In a medium bowl, whisk together the all-purpose flour, baking soda, and salt. Whisking helps to aerate the flour and distribute the leavening agent and salt evenly, ensuring consistent results in every cookie. You want to see a nice, uniform blend of all the dry components. This step might seem small, but it’s important for getting that perfect cookie texture.
Step 3: Mix Wet Ingredients
In a larger bowl, cream together the softened butter, light brown sugar, and granulated sugar until light and fluffy. This can be done with an electric mixer or by hand with a whisk or sturdy spoon – just be prepared for a bit of arm workout if you’re doing it by hand! Beat in the egg and vanilla extract until well combined. The mixture should be smooth and creamy. This is where all the delicious flavor starts to develop!
Step 4: Combine
Gradually add the dry ingredients to the wet ingredients, mixing on low speed or stirring with a spatula until just combined. Be careful not to overmix! Overmixing develops the gluten in the flour, which can lead to tough cookies. You should still see a few streaks of flour; that’s okay. Then, gently fold in your optional mix-ins like chocolate chips or nuts. Stop mixing as soon as everything is incorporated. The dough should be thick and slightly sticky.
Step 5: Prepare Filling
This step is for those who want to take their air fryer cookies to the next level! If you’re adding a filling, now’s the time to prepare it. For a simple swirl, you can use things like a dollop of cookie dough of a different flavor, a spoonful of jam, or even some leftover frosting. If you’re making them with a hidden center, like a mini Reese’s cup, have those ready. I love using a little bit of salted caramel sauce to swirl in; it adds an extra layer of deliciousness.
Step 6: Layer & Swirl
Scoop rounded tablespoons of cookie dough onto the prepared parchment paper in your air fryer basket. Don’t overcrowd the basket; give them plenty of space to spread. I usually can fit about 3-4 cookies at a time, depending on the size of my air fryer. If you’re adding a swirl or filling, gently press it into the top of the cookie dough or swirl it with a toothpick. For a marbled effect, you can even place a small spoonful of a contrasting dough (like a peanut butter cookie dough) on top and swirl it gently with a toothpick. Aim for a slightly rustic look – perfect imperfections are part of the charm!
Step 7: Bake
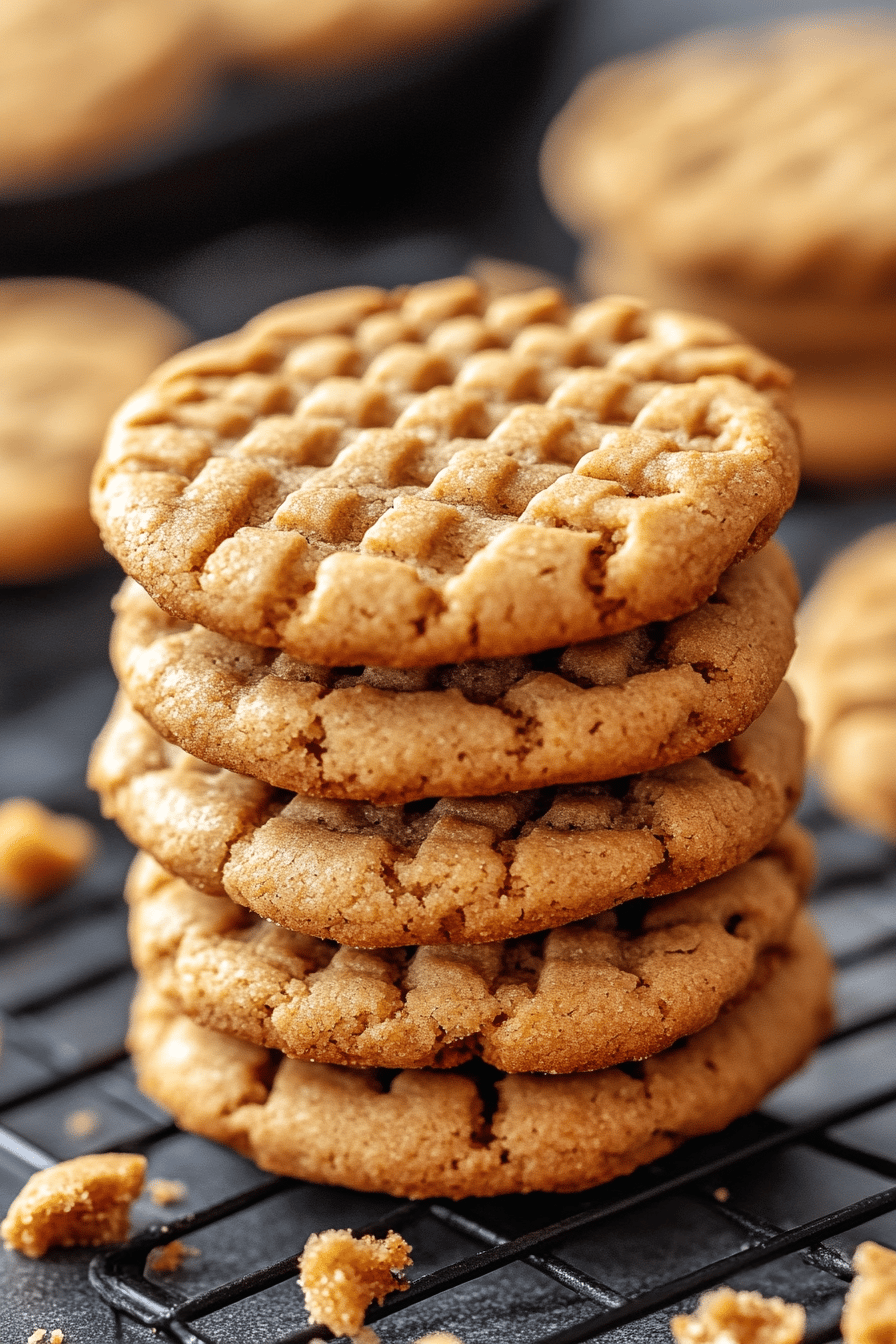
Air fry at 320°F (160°C) for 7-10 minutes, or until the edges are golden brown and the centers look slightly underbaked. The exact time will vary depending on your air fryer model and the size of your cookies. It’s always better to underbake slightly than to overbake, as they will continue to cook a bit from residual heat after you remove them. Keep a close eye on them during the last few minutes. If you’re unsure if they’re done, gently press the center of a cookie; it should feel slightly soft but not liquidy.
Step 8: Cool & Glaze
Once baked, carefully remove the parchment paper with the cookies from the air fryer basket and place it on a wire rack. Let the cookies cool on the parchment paper for a few minutes before transferring them directly to the wire rack to cool completely. While they’re cooling, whisk together the powdered sugar and milk (or cream) for the glaze. Start with 1 tablespoon of liquid and add more until you get a smooth, drizzly consistency. Once the cookies are completely cool, drizzle the glaze over the tops. This is optional, but oh-so-worth-it for that extra touch of sweetness and visual appeal!
Step 9: Slice & Serve
Once the glaze has set (which only takes a few minutes), your air fryer cookies are ready to be devoured! You can serve them immediately, warm and gooey, or let them cool completely for a firmer texture. I love cutting them into wedges or serving them as is, right off the wire rack. They make for a perfect individual treat. If you made a larger batch, you can slice them into neat squares or triangles for a more elegant presentation, but let’s be honest, who has time for that when warm cookies are involved?
What to Serve It With
These air fryer cookies are so versatile, they’re fantastic on their own, but here are some ways I love to serve them:
For Breakfast: Honestly, a warm cookie with my morning coffee is my idea of a little slice of heaven. They’re a much faster alternative to baking muffins or scones when you’re rushing out the door. Just one or two with a good strong brew, and you’re set for the morning!
For Brunch: Elevate your brunch spread by serving these alongside some fresh fruit salad and perhaps some yogurt parfaits. They add a lovely sweet note without being too heavy. A mimosa or a fancy iced coffee would be the perfect beverage pairing.
As Dessert: These are practically begging to be served after dinner. A single cookie, slightly warm, with a scoop of vanilla bean ice cream? Pure bliss. You can also arrange them beautifully on a dessert platter with some berries and a dusting of powdered sugar for a more sophisticated touch.
For Cozy Snacks: This is my go-to. After the kids are in bed, or during a lazy afternoon with a good book, a couple of these cookies with a cold glass of milk is pure comfort. My family loves them after school; they’re the perfect quick pick-me-up that doesn’t require a huge effort from me.
I’ve also found that they pair wonderfully with a cup of hot chocolate on a chilly evening, or even as a surprise treat tucked into a lunchbox (if they make it that long!). They’re just so adaptable to any moment you need a little sweetness.
Top Tips for Perfecting Your Air Fryer Cookies
I’ve made these air fryer cookies more times than I can count, and over the years, I’ve picked up a few tricks that I think really make a difference. So, let’s dive into some of my best tips to ensure your cookies turn out absolutely perfect every single time!
Butter Temperature is Key: I can’t stress this enough – make sure your butter is truly softened, not melted. If it’s too cold, your dough will be crumbly and hard to work with, and the cookies might not spread properly. If it’s melted, they can spread too thin and burn. So, leave it out on the counter for about an hour before you start. It’s worth the wait!
Don’t Overmix the Dough: This is a golden rule for any cookie recipe, and it’s especially important here. Once you add the dry ingredients to the wet, mix only until *just* combined. A few streaks of flour are perfectly fine. Overmixing develops the gluten too much, which will result in tougher, drier cookies instead of the soft, chewy ones we’re all dreaming of. I usually switch to a spatula for the final few stirs to really control it.
Know Your Air Fryer: Every air fryer is a little different. Some run hotter than others. I recommend starting with the lower end of the baking time (around 7 minutes) and checking them. You’re looking for edges that are set and golden brown, but the center should still look a little soft and underbaked. They’ll continue to cook from residual heat on the wire rack. If they look done too quickly, reduce the temperature slightly for the next batch.
Don’t Overcrowd the Basket: Give your cookies room to spread! Trying to cram too many into the air fryer basket at once means they won’t cook evenly and might end up steaming rather than baking. I usually find that 3-4 cookies fit comfortably in my standard air fryer basket without touching. It might mean baking in a couple of small batches, but it’s totally worth it for perfectly cooked cookies.
Glaze Consistency is Everything: For the glaze, start with the minimum amount of liquid and add more a tiny bit at a time until you reach the consistency you want. Too thin, and it’ll run right off the cookies. Too thick, and it’ll be hard to drizzle. You want it thick enough to coat but thin enough to flow easily from a spoon or a piping bag.
Ingredient Swaps: Want to change things up? This recipe is quite forgiving! For a gluten-free version, I’ve had success using a good 1:1 gluten-free flour blend. The texture might be slightly different, a little more tender, but still delicious. You can also swap out the chocolate chips for white chocolate, peanut butter chips, or even a handful of chopped nuts for a different flavor profile. Experiment and have fun with it!
Cooling is Crucial: Resist the urge to eat them straight from the air fryer basket! Let them cool on the parchment paper on a wire rack for at least 5-10 minutes before transferring them. This allows them to set up properly. If you try to move them too soon, they might crumble or break apart. Patience is key here!
Storing and Reheating Tips
The best part about these air fryer cookies is that they stay wonderfully delicious, even for a few days. Here’s how I like to store them to keep them fresh:
Room Temperature: If you’re planning on eating them within 2-3 days, storing them in an airtight container at room temperature is perfect. Just make sure they’ve cooled down completely before sealing the container, otherwise, you’ll get condensation, which can make them soggy. I usually just leave them on a wire rack and cover them loosely with foil or a clean kitchen towel if I’m going to eat them within the first day.
Refrigerator Storage: For longer storage, up to a week, the refrigerator is your best bet. Place cooled cookies in an airtight container, layering them with parchment paper in between if you’re worried about them sticking. They’ll maintain their texture well in the fridge.
Freezer Instructions: These cookies freeze beautifully! Once they’ve completely cooled, you can wrap them individually in plastic wrap or place them in a freezer-safe bag or container. They’ll keep well in the freezer for up to 2-3 months. When you’re ready for a treat, just take out as many as you need.
Thawing Methods: To thaw frozen cookies, the easiest way is to let them come to room temperature on the counter for about 30 minutes. If you’re craving them warm, you can pop them back into the air fryer at a very low temperature (around 200°F/95°C) for a minute or two, or gently reheat them in a toaster oven. They’ll be almost as good as fresh!
Glaze Timing Advice: If you plan to store the cookies for more than a day, I highly recommend glazing them just before serving. The glaze can get a little sticky or soft if stored in a container for too long, especially at room temperature. If you must glaze them ahead, store them in the fridge, but they’re best enjoyed fresh!
Frequently Asked Questions
Final Thoughts
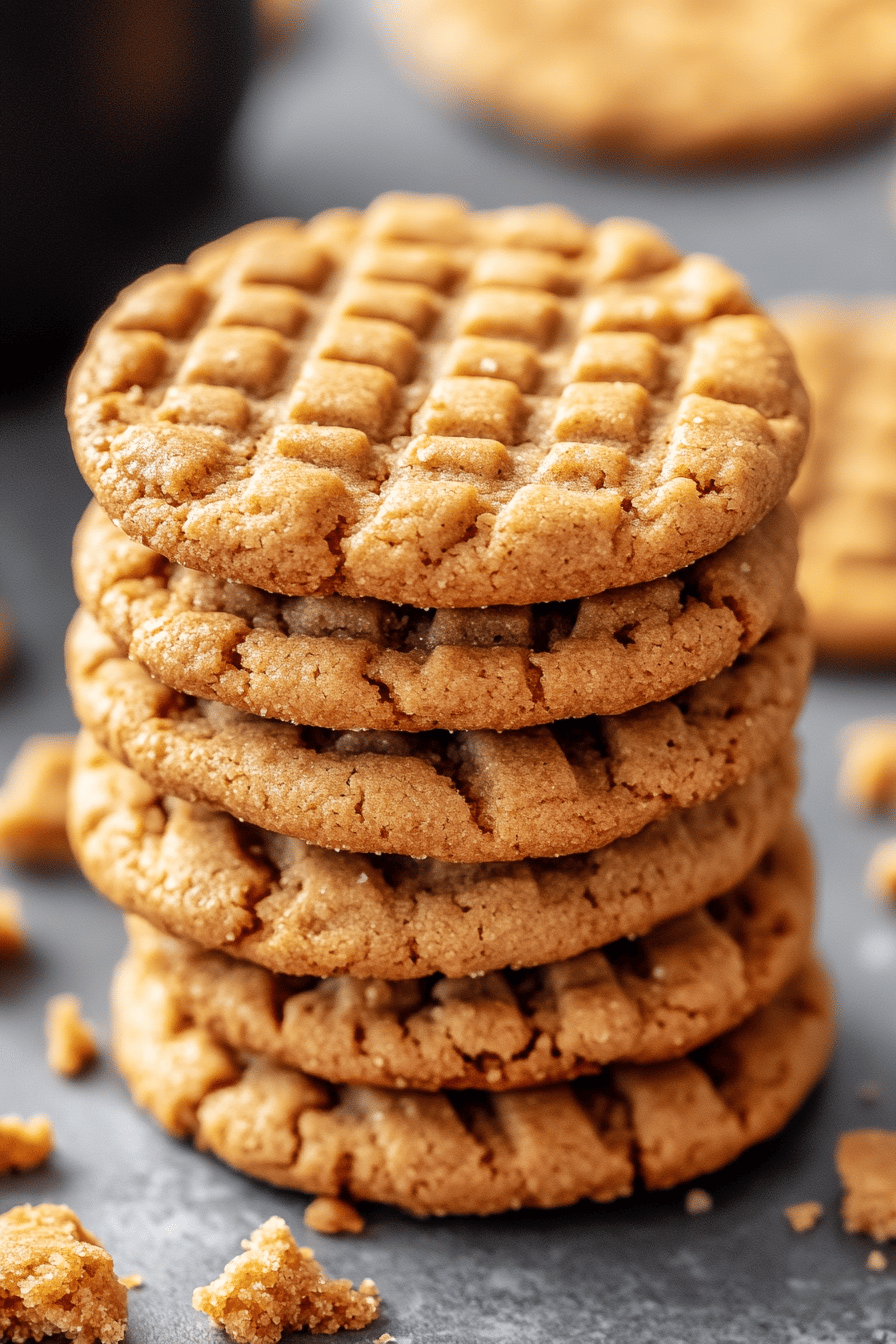
So there you have it – my absolute favorite way to get warm, delicious cookies on demand! These air fryer cookies really are a dream come true for any cookie lover who craves a quick fix. They prove that you don’t need a big oven or a lot of time to enjoy homemade goodness. The way they are perfectly golden on the edges and wonderfully soft and chewy in the middle, all in a matter of minutes, is just magical. I really hope you give this recipe a try. It’s one of those recipes that just makes life a little bit sweeter and a lot easier. If you love this, you might also enjoy my recipe for easy no-bake cookies or my quick mug cakes for even more speedy sweet treats! I’d absolutely love to hear how yours turn out, so please leave a comment below and tell me all about your air fryer cookie adventures! Don’t forget to share your creations with friends and family – they’ll be so impressed!
Air Fryer Cookies
Ingredients
Main Ingredients
- 0.5 cup unsalted butter softened
- 0.75 cup granulated sugar
- 0.5 cup packed brown sugar
- 1 large egg
- 1 teaspoon vanilla extract
- 2.5 cups all-purpose flour
- 1 teaspoon baking soda
- 0.5 teaspoon salt
- 1 cup chocolate chips
Instructions
Preparation Steps
- In a large bowl, cream together the softened butter, granulated sugar, and brown sugar until light and fluffy.
- Beat in the egg and vanilla extract until well combined.
- In a separate bowl, whisk together the flour, baking soda, and salt.
- Gradually add the dry ingredients to the wet ingredients, mixing until just combined. Do not overmix.
- Stir in the chocolate chips.
- Preheat your air fryer to 325°F (160°C).
- Roll dough into balls, about 1.5 inches in diameter, and place them in the air fryer basket, ensuring they are not touching.
- Air fry for 6-8 minutes, or until the edges are golden brown and the centers are slightly soft.
- Let the cookies cool in the air fryer basket for a few minutes before transferring them to a wire rack to cool completely.
Notes
Featured Comments
“Impressed! Clear steps and so flavorful results. Perfect for busy nights.”
“New favorite here — perfect for busy nights. crowd-pleaser was spot on.”
“Super easy and turned out amazing! My family asked for seconds. Saving this one.”
“This sweet treat was absolutely loved — the zingy really stands out. Thanks!”
“Made it tonight and wow — so flavorful! Will definitely make air fryer cookies again.”
“Packed with flavor and so simple. Exactly what I wanted from air fryer cookies.”


