

The Lightest, Cloud-Like Angel Food Cake Recipe
Have you ever bitten into a slice of cake that literally felt like eating a sweetened cloud? That is exactly what this Angel Food Cake recipe delivers. For the longest time, I was completely terrified of making angel food cake from scratch. I would just buy those squished, overly sweet ones from the grocery store bakery and call it a day. But let me tell you, once you whip up your own at home, there is absolutely no going back.
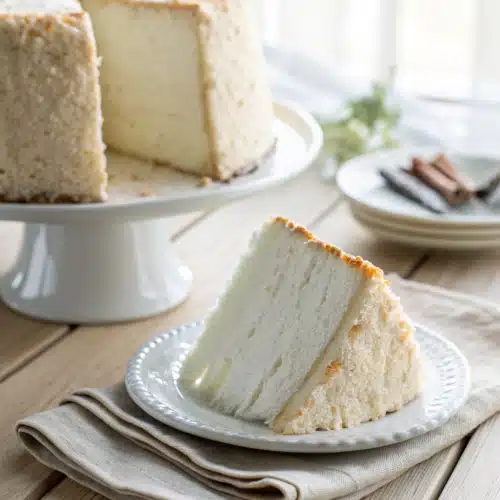
It is incredibly light, wonderfully spongy, and has this delicate vanilla flavor that pairs perfectly with almost anything. Whether you are hosting a spring brunch, celebrating a summer birthday, or just need a fat-free dessert that doesn’t taste like cardboard, this is the one. Grab your tube pan and a whole lot of egg whites, because we are about to bake some magic. I promise, if I can master this, you can too!
What Is Angel Food Cake?
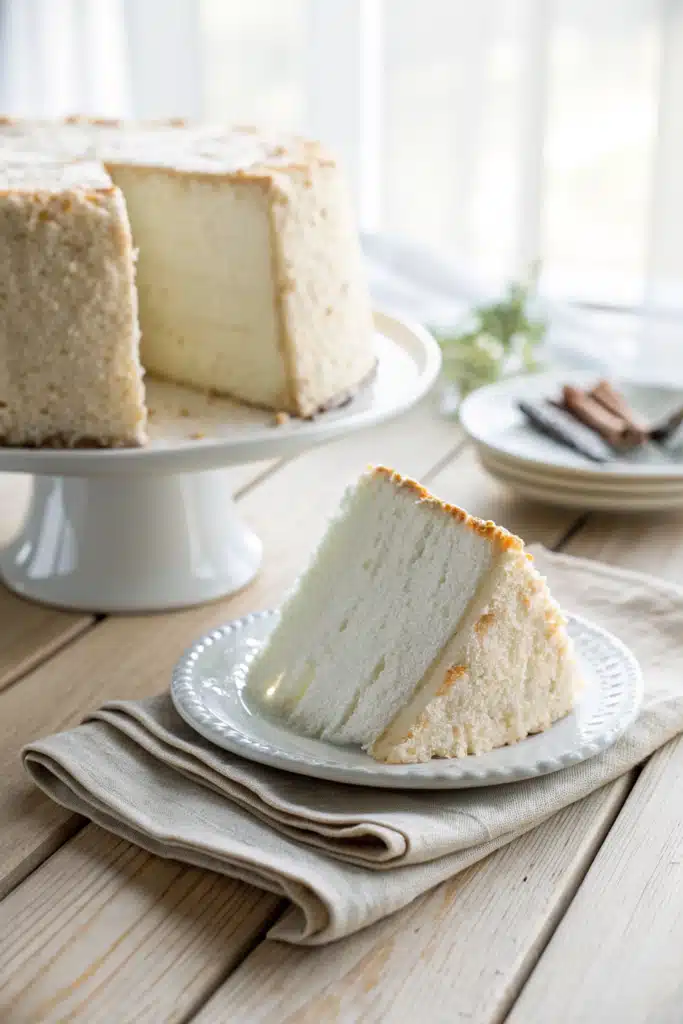
If you are new to the wonderful world of foam cakes, you might be wondering what sets an Angel Food Cake recipe apart from your standard vanilla birthday cake. Basically, angel food cake is a type of sponge cake that relies entirely on stiffly beaten egg whites for its lift and airy texture. There is absolutely no butter, no oil, and no egg yolks in the batter. This is what gives the cake its iconic snow-white interior and its reputation as a naturally fat-free dessert.
It originated in the United States back in the late 19th century, supposedly getting its name because its incredibly light and fluffy texture was deemed “food of the angels.” Unlike traditional cakes that use baking powder or baking soda to rise, this beauty gets all its height from the air whipped into the egg whites. It is baked in a special ungreased tube pan so the delicate batter can literally cling to the sides and climb as it bakes. The result is a tall, majestic cake with a slightly chewy, golden-brown crust and a melt-in-your-mouth crumb.
How to Make Angel Food Cake
Quick Overview
Making this Angel Food Cake recipe comes down to a few basic principles: whipping your egg whites to the perfect soft peaks, gently folding in your dry ingredients without deflating that precious air, and baking it in an ungreased pan. Please don’t let the folding part scare you! With a light hand and a little patience, you will have a gorgeous batter ready in about 15 minutes. The oven does the rest of the heavy lifting. Just remember, the cooling process is just as important as the baking process, so be ready to flip that pan the second it comes out!
Ingredients
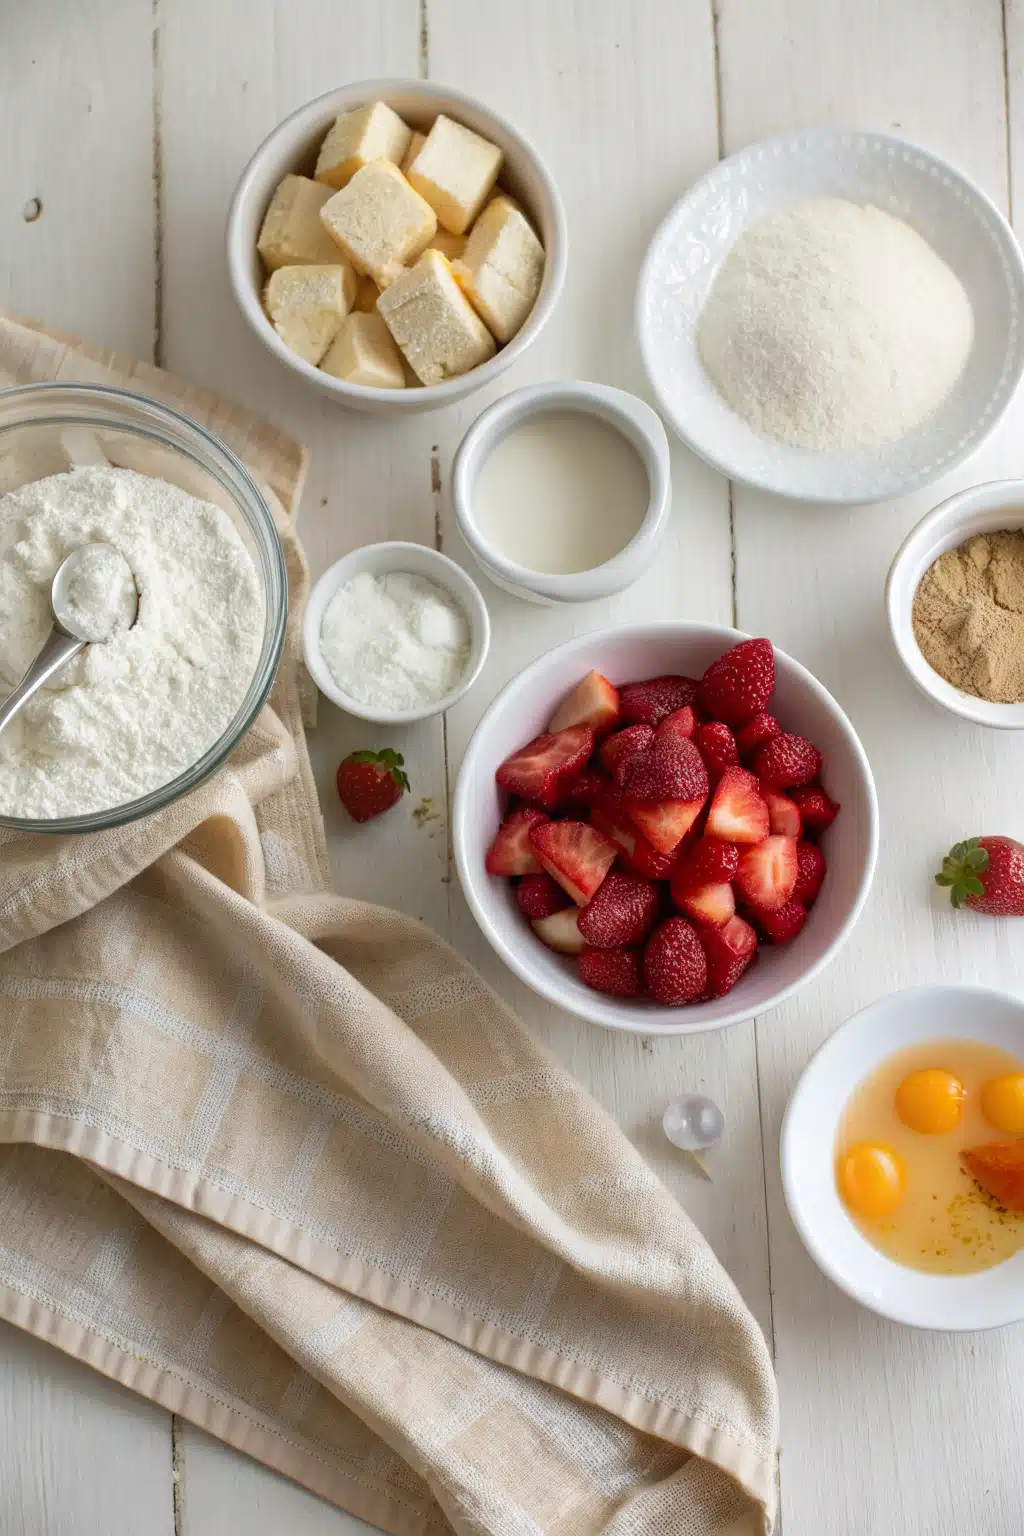
- Egg Whites: You will need about 10 to 12 large egg whites (roughly 1 and 1/2 cups). They whip up best at room temperature!
- Cake Flour: This is non-negotiable. Cake flour has less protein than all-purpose flour, ensuring a tender, delicate crumb.
- Superfine Sugar: Dissolves easily into the egg whites. If you don’t have it, just pulse regular granulated sugar in your food processor for a few seconds.
- Cream of Tartar: The secret ingredient that stabilizes the egg whites so they hold their shape and volume.
- Vanilla & Almond Extract: A splash of both gives this cake that classic, nostalgic bakery flavor.
- Salt: Just a pinch to balance the sweetness.
Step-by-Step Instructions
Step 1: Preheat & Prep Your Pan
First things first, preheat your oven to 325 degrees Fahrenheit. Grab a standard 10-inch tube pan, but whatever you do, do not grease it! The batter needs to cling to the bare walls of the pan to climb high and tall. If you grease it, the cake will slide right down and collapse.
Step 2: Sift the Dry Ingredients
In a medium bowl, sift together your cake flour and half of your superfine sugar. Sift it not once, not twice, but three times. I know it sounds a bit fussy, but this aerates the flour and prevents heavy lumps from sinking your delicate cake.
Step 3: Whip the Egg Whites
In a large, spotlessly clean glass or metal mixing bowl, beat the room-temperature egg whites, cream of tartar, and salt on medium speed until frothy. Gradually add the remaining half of the sugar, about two tablespoons at a time, whipping until soft, glossy peaks form. Gently fold in the vanilla and almond extracts.
Step 4: Fold in the Dry Ingredients
Sprinkle a quarter of the sifted flour mixture over the beaten egg whites. Using a rubber spatula, very gently fold it in by cutting down the center and sweeping up the sides. Repeat this process until all the flour is incorporated. Take your time and do not overmix!
Step 5: Bake to Perfection
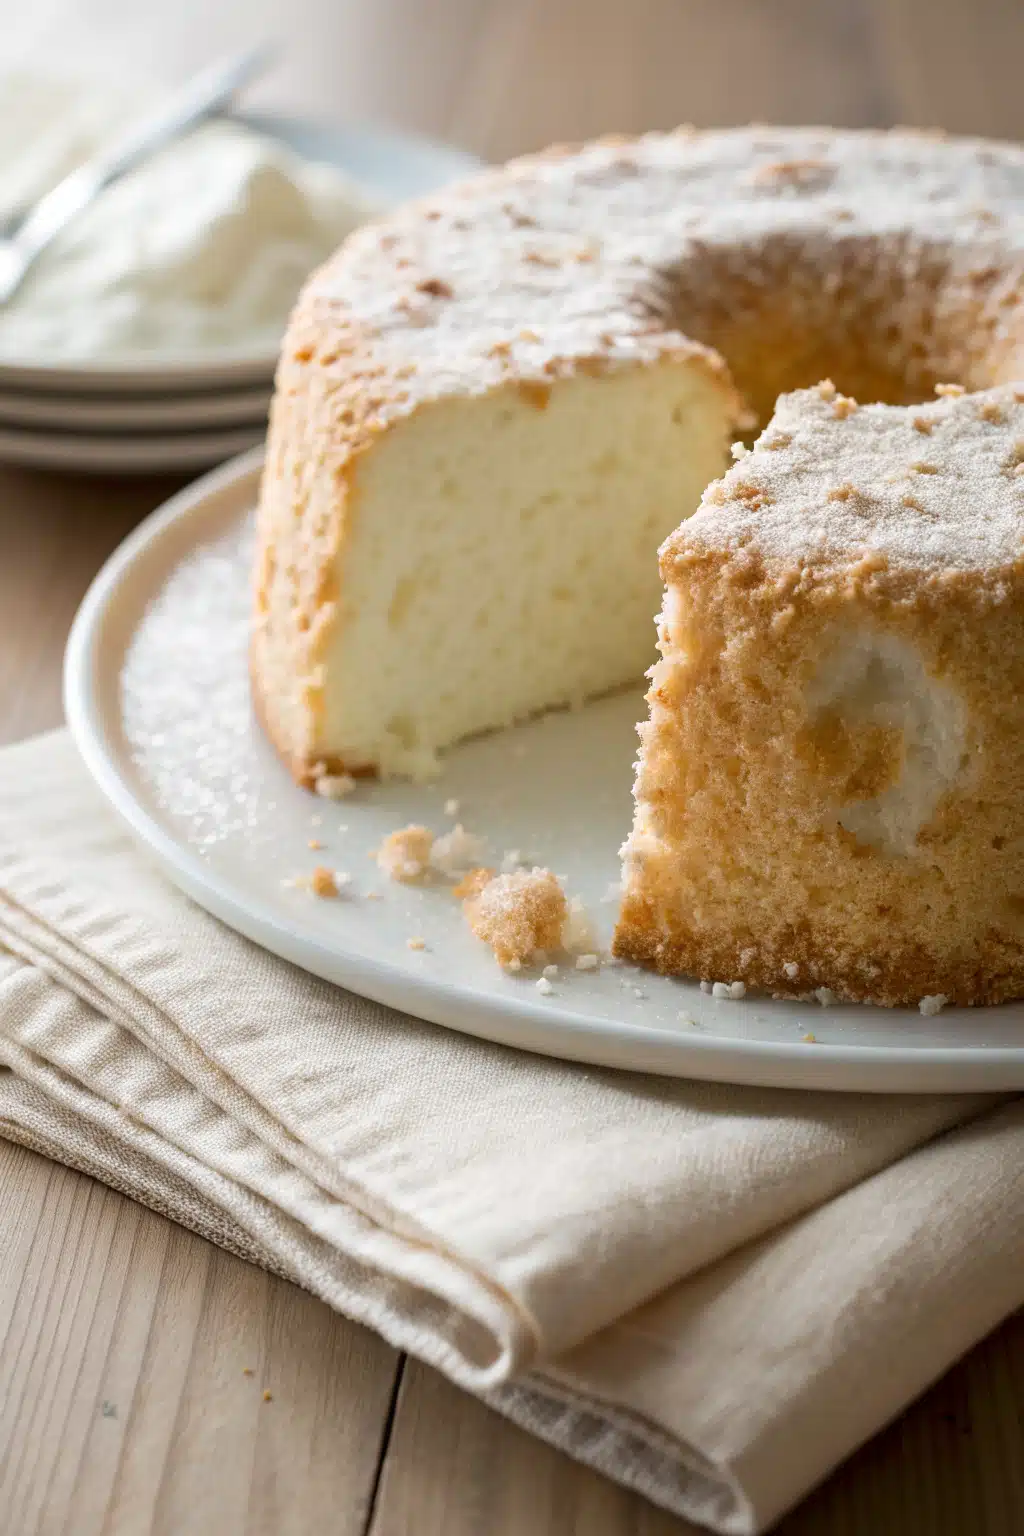
Gently spoon the fluffy batter into your ungreased tube pan. Run a butter knife through the batter in a circular motion to pop any large air bubbles. Bake for 40 to 45 minutes, or until the top is golden brown and springs back when lightly touched.
Step 6: Cool Upside Down
Immediately invert the pan upon taking it out of the oven. If your pan has little legs, stand it on those. If not, place the center tube over the neck of a sturdy glass bottle. Let the cake cool completely (about 2 hours) before running a thin knife around the edges to release it.
What to Serve It With
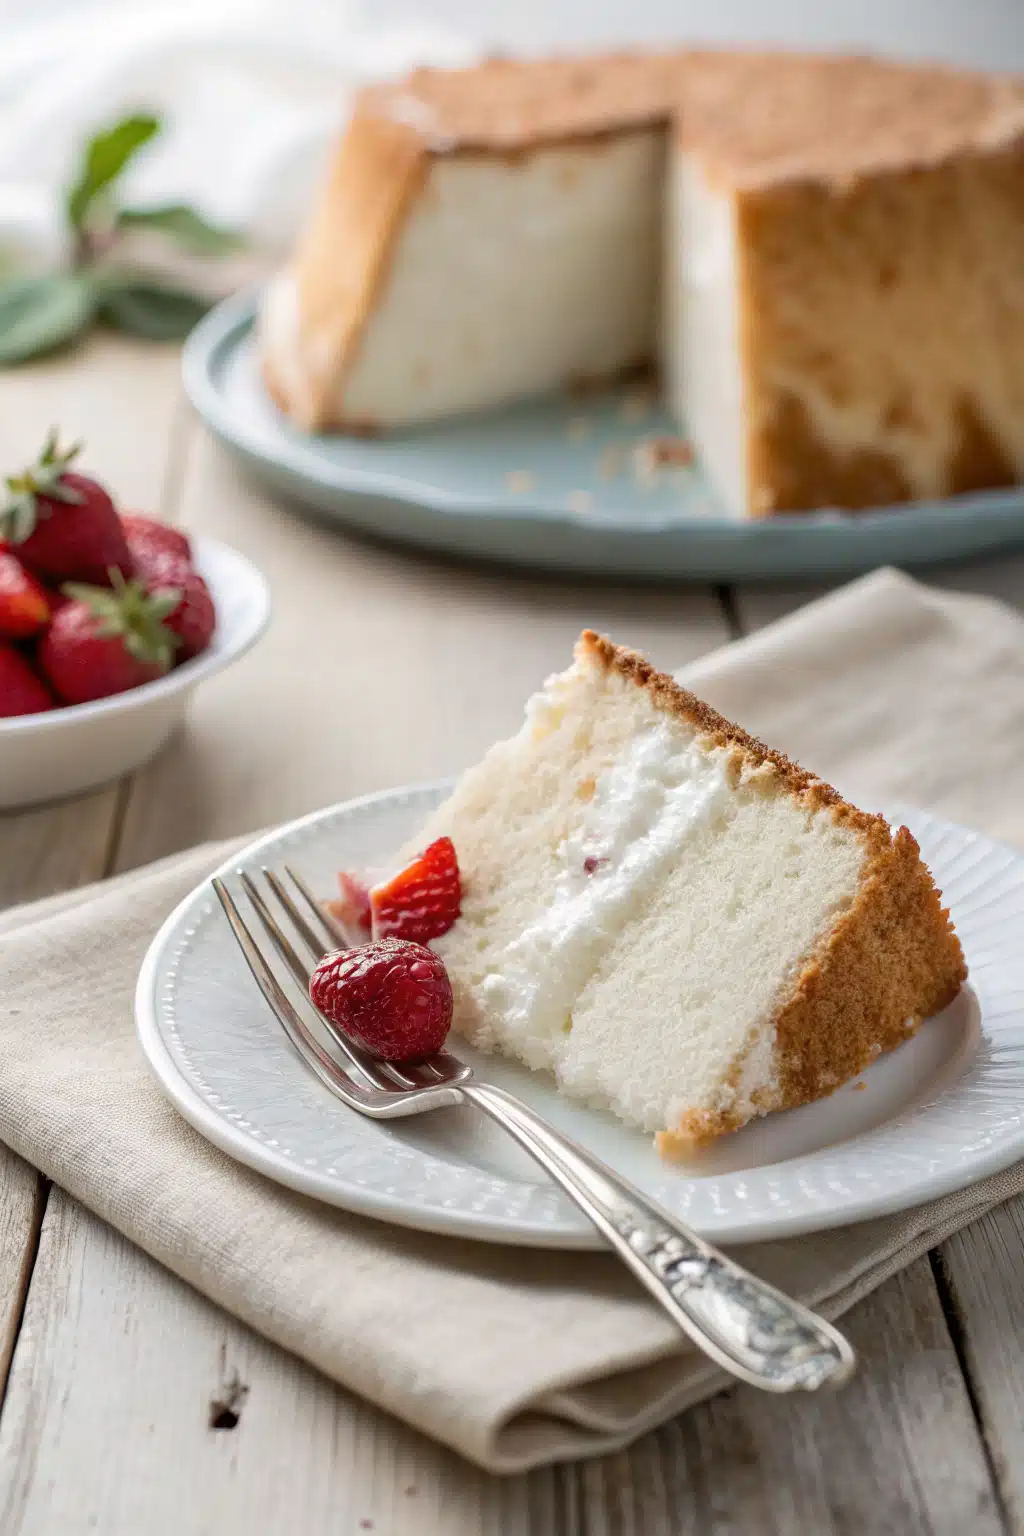
While this Angel Food Cake recipe is phenomenal entirely on its own, it really shines when paired with the right accompaniments. My absolute favorite way to serve it is with a generous dollop of freshly whipped cream and a mountain of macerated strawberries. The juices from the berries soak right into the spongey cake, creating the most incredible strawberries and cream experience.
If you are feeling a bit more decadent, try drizzling a warm chocolate ganache or a tangy lemon curd over the top. The tartness of the lemon beautifully cuts through the sweetness of the cake. For a fun twist, you can even grill thick slices of angel food cake for about thirty seconds on each side until slightly charred, then top with a scoop of vanilla bean ice cream and a drizzle of caramel. Trust me, your guests will be begging for the recipe!
Top Tips for Perfecting Your Angel Food Cake
Over the years of baking (and failing a few times!), I’ve learned a few crucial secrets to making sure this cake turns out perfectly every single time:
- Clean equipment is mandatory: Even a tiny speck of grease or a drop of egg yolk will prevent your egg whites from whipping to their full volume. Wipe down your mixing bowl and beaters with a little white vinegar or lemon juice before starting.
- Use room temperature egg whites: They whip up much faster and much higher than cold egg whites. Separate your eggs while they are cold (it’s easier to keep the yolks intact), then let the whites sit on the counter for about 45 minutes.
- Do not skip the sifting: Sifting the cake flour is what keeps the batter light. If you dump heavy flour into delicate egg whites, the air you just spent time whipping in will completely deflate.
- Cool it upside down immediately: If you let the cake cool right-side up, the delicate foam structure will collapse under its own weight. Invert it the very second it leaves the oven!
Storing and Reheating Tips
Because this cake contains no fat, it can dry out relatively quickly if not stored properly. To keep your angel food cake fresh and squishy, wrap it tightly in plastic wrap or place it in an airtight cake dome at room temperature. It will stay delicious for up to three days.
If you want to keep it longer, this cake freezes beautifully! Wrap individual slices in plastic wrap, then place them in a zip-top freezer bag for up to three months. When you are ready for a treat, just let a slice thaw on the counter for about an hour. I don’t recommend microwaving it, as it can turn the delicate sponge into a chewy, rubbery mess. If you want a warm slice, pop it in the toaster oven for a minute or two for a delightful crispy edge.
Frequently Asked Questions
Final Thoughts
There you have it, my absolute favorite Angel Food Cake recipe! I really hope this takes the fear out of baking foam cakes from scratch. There is just something incredibly satisfying about watching a bowl of plain egg whites transform into a towering, elegant dessert. Whether you are baking for a special occasion or just want a sweet, airy treat to enjoy with your afternoon coffee, this recipe is sure to become a cherished favorite in your kitchen.
If you give this recipe a try, I would absolutely love to hear how it turns out for you. Did you serve it with berries, chocolate, or just eat it straight from the pan standing in the kitchen? (No judgment here!) Happy baking, friends, and I can’t wait to share my next sweet creation with you!
Angel Food Cake recipe
Ingredients
Main Ingredients
- 1.5 cups egg whites about 10-12 large eggs, room temperature
- 1.5 cups granulated sugar divided
- 1 cup cake flour
- 1.5 teaspoons cream of tartar
- 1 teaspoon vanilla extract
- 0.25 teaspoon salt
Instructions
Preparation Steps
- Preheat your oven to 325°F (163°C). Do not grease your 10-inch tube pan.
- Pulse the granulated sugar in a food processor until fine. Sift half of the sugar together with the cake flour and set aside.
- In a large bowl, beat the egg whites, cream of tartar, and salt on medium speed until soft peaks form.
- Gradually add the remaining sugar, about 2 tablespoons at a time, beating until stiff, glossy peaks form. Gently beat in the vanilla extract.
- Sift the flour and sugar mixture over the egg whites in 4 separate additions, gently folding it in with a spatula after each addition until just combined.
- Spoon the batter into the ungreased tube pan and smooth the top. Run a butter knife through the batter to remove any large air pockets.
- Bake for 40 to 45 minutes, or until the top is golden brown and springs back when lightly touched.
- Immediately invert the pan onto a cooling rack or over a bottle and let the cake cool completely before removing it from the pan.
Notes
Featured Comments
“Impressed! Clear steps and quick weeknight win results. Perfect for busy nights.”
“New favorite here — restaurant-level. crowd-pleaser was spot on.”
“Super easy and turned out amazing! My family asked for seconds. Saving this one.”
“This sweet treat was absolutely loved — the bright really stands out. Thanks!”
“Made it tonight and wow — crowd-pleaser! Will definitely make Angel Food Cake again.”
“Packed with flavor and so simple. Exactly what I wanted from Angel Food Cake.”


