

Autumn Spice No Bake Cheesecake Delight
Hey friends! Let me tell you about that funny little window of time when the seasons are trying to change. You know the one—when you are absolutely craving cozy fall flavors, but it is still way too warm outside to even think about turning on your oven. That exact dilemma is how this Autumn Spice No Bake Cheesecake was born in my kitchen. I wanted all the comforting notes of cinnamon, nutmeg, and ginger, but paired with the rich, tangy goodness of a classic cheesecake, all with zero baking stress.
If you have ever felt intimidated by traditional cheesecakes—worrying about water baths, cracking tops, or sinking centers—this recipe is going to be your new best friend. It is incredibly forgiving, wonderfully creamy, and sets up perfectly in the fridge while you go about your day. Grab your favorite mixing bowl, put on a cozy playlist, and let’s make something incredibly delicious together!
What Is an Autumn Spice No Bake Cheesecake?
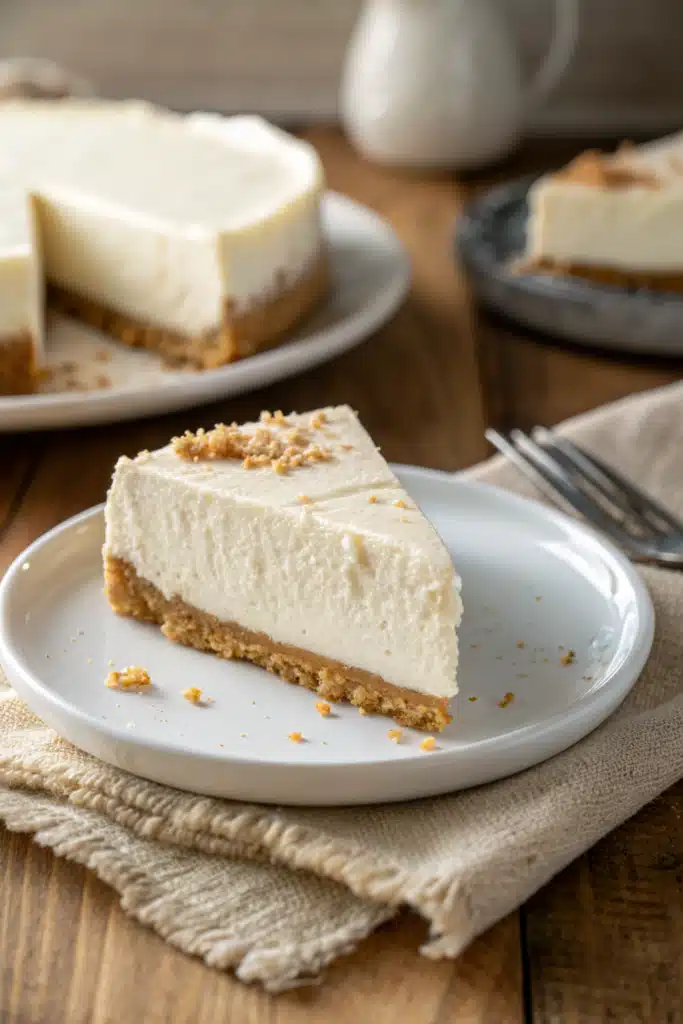
If you have never experienced the magic of a no bake cheesecake, you are in for a serious treat today. Traditional cheesecakes rely on eggs and gentle heat to set the filling into a dense, custard-like texture. A no bake cheesecake, on the other hand, skips the eggs and the oven entirely. Instead, it relies on the magic of freshly whipped heavy cream folded into softened cream cheese to create a structure that is light, airy, and almost mousse-like.
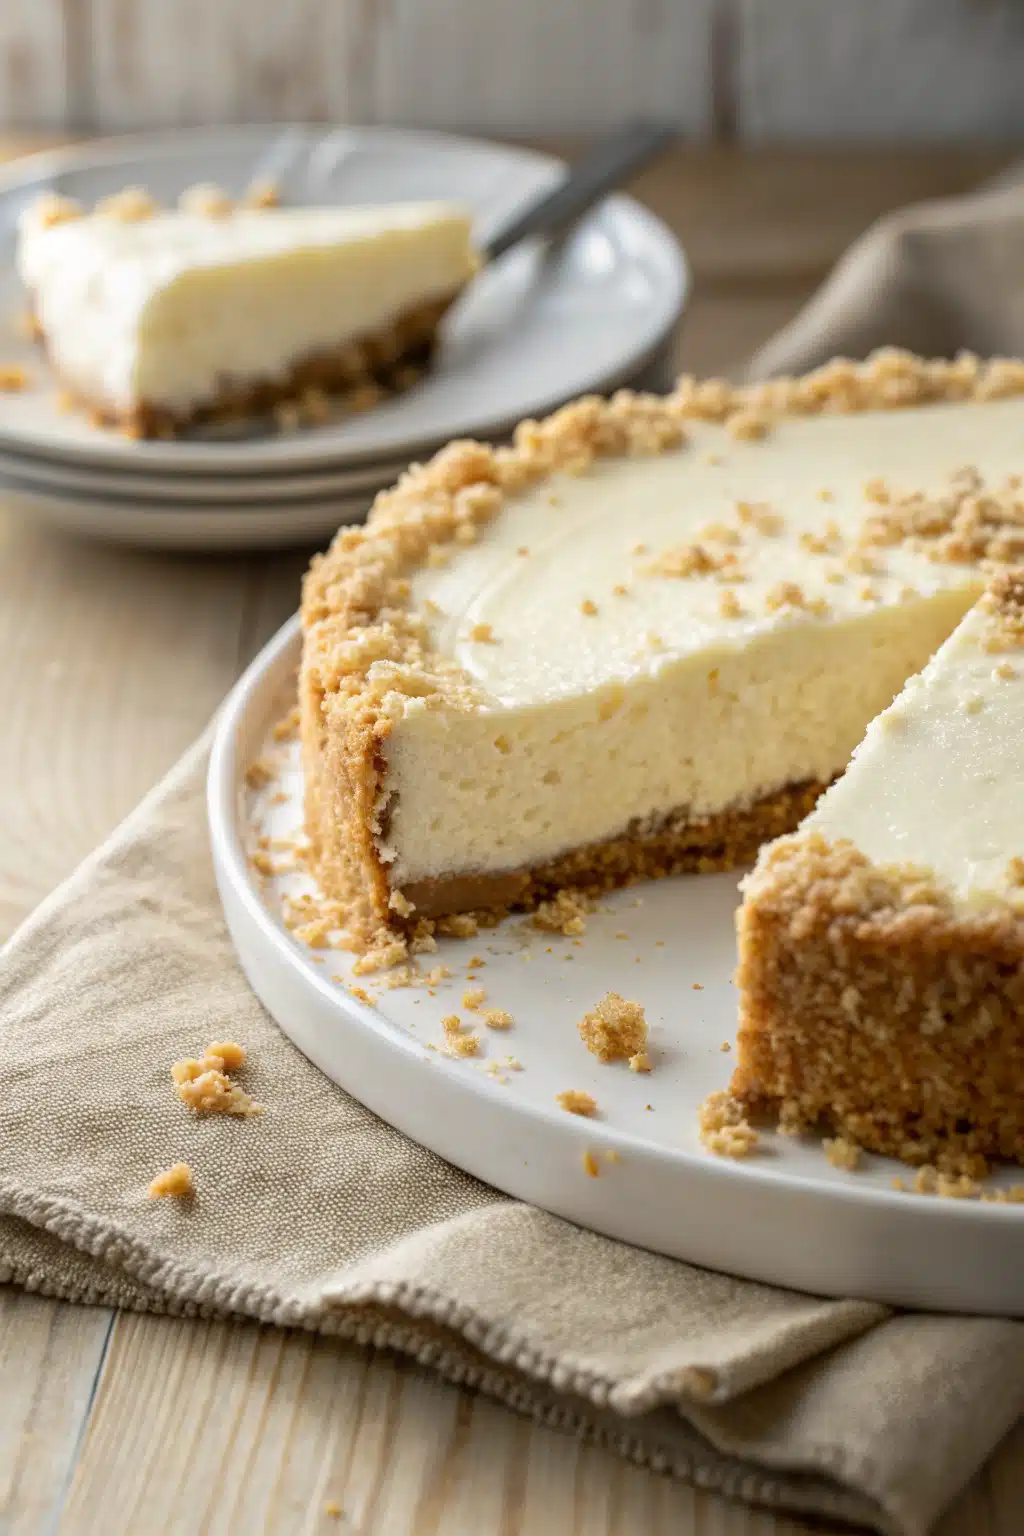
This specific autumn spice version takes that fluffy, dreamy base and infuses it with the very best flavors of the season. We are talking about a buttery, crunchy graham cracker crust that holds a mountain of tangy cream cheese heavily spiced with cinnamon, ginger, nutmeg, and a tiny pinch of cloves. It is basically all the joy of a pumpkin pie and a classic cheesecake rolled into one effortless dessert. The contrast between the crunchy crust and the velvety filling is just out of this world.
How to Make Autumn Spice No Bake Cheesecake
Quick Overview
You are going to love how quickly this comes together. Expect to spend about 20 minutes of active hands-on time mixing the crust and whipping the filling. After that, the cheesecake needs at least 6 to 8 hours in the fridge to set up properly. I usually just leave it in there overnight for the best results!
Ingredients
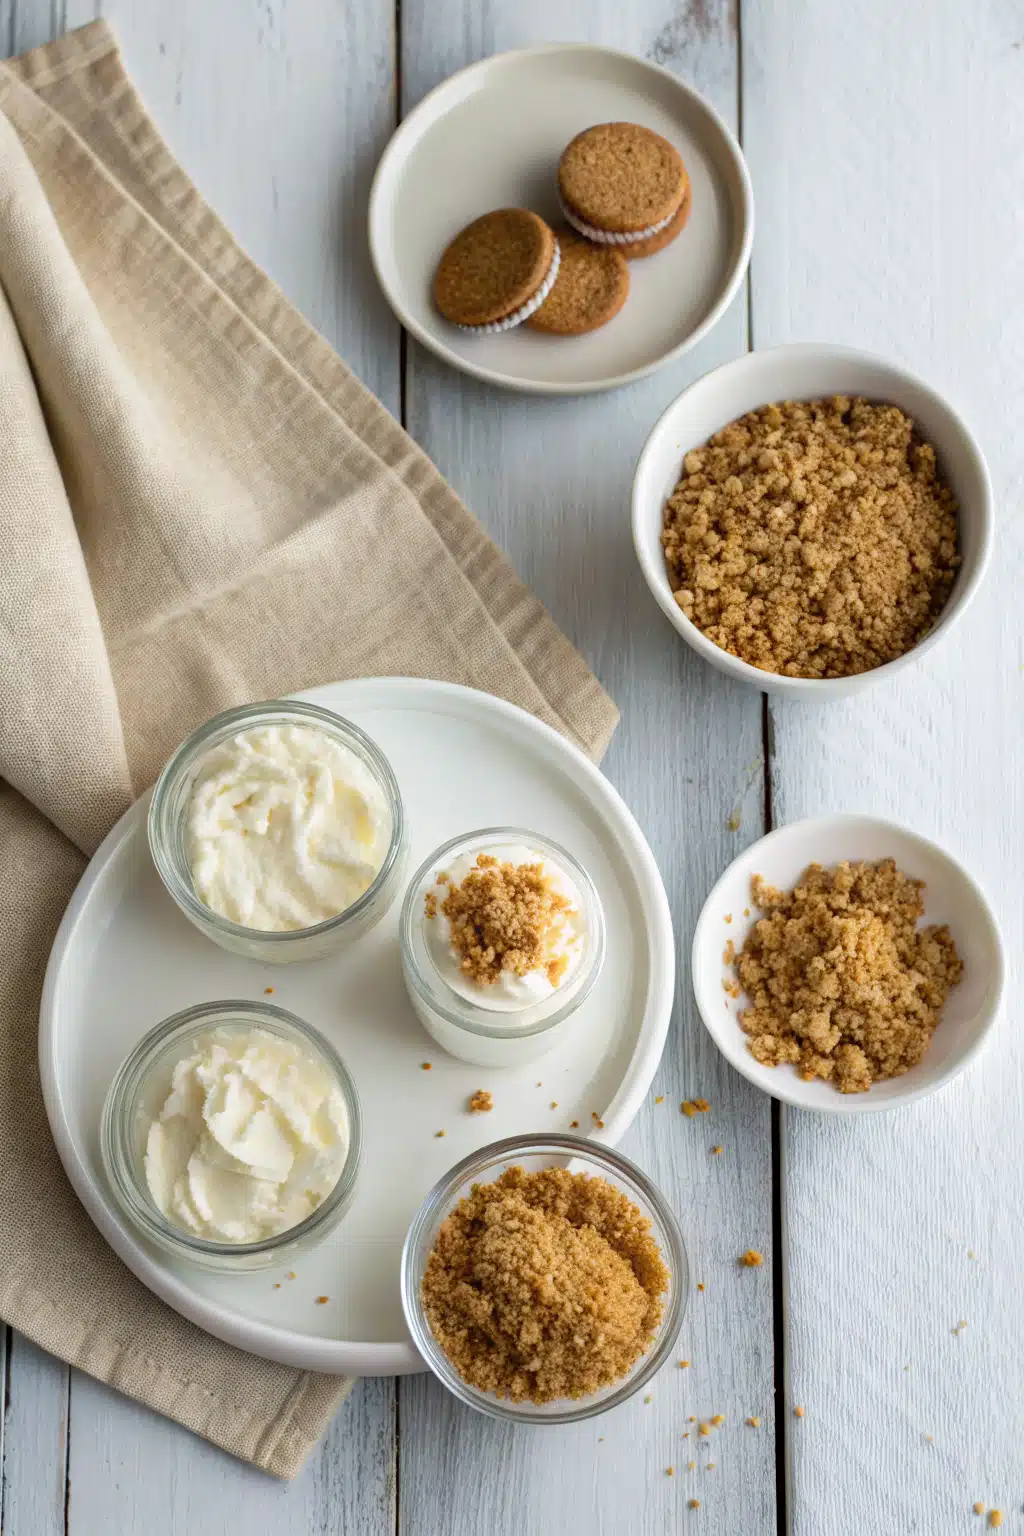
Here is what you will need to grab from your pantry and fridge:
- For the Crust:
- Graham cracker crumbs (or ginger snaps for extra spice!)
- Melted unsalted butter
- Light brown sugar
- For the Filling:
- Full-fat cream cheese (must be softened to room temperature)
- Cold heavy whipping cream
- Powdered sugar
- Vanilla extract
- Autumn spice blend (cinnamon, nutmeg, ginger, and a dash of cloves)

Step-by-Step Instructions
Step 1: Prep Your Pan
Since we are not turning on the oven, simply grab an 8-inch or 9-inch springform pan. Lightly spray the bottom and sides with non-stick spray, or line the bottom with a circle of parchment paper to make removing the cheesecake a breeze later on.
Step 2: Create the Spiced Crust
In a medium bowl, toss together your graham cracker crumbs, brown sugar, and melted butter until the mixture looks like wet sand. Pour this into your prepared springform pan and use the bottom of a measuring cup to press it firmly and evenly into the bottom. Pop the pan into the freezer to let the crust firm up while you make the filling.
Step 3: Whip the Heavy Cream
In a cold mixing bowl, whip your cold heavy cream until stiff peaks form. You want it to be thick and fluffy, but be careful not to over-whip it into butter! Set this bowl aside for a moment.
Step 4: Beat the Cream Cheese
In a separate large bowl, beat your softened cream cheese until it is completely smooth and creamy. Add in the powdered sugar, vanilla extract, and all those beautiful autumn spices. Mix everything on medium speed until well combined and perfectly smooth. Scrape down the sides of the bowl to make sure no unmixed cream cheese is hiding at the bottom.
Step 5: Fold and Chill
Gently fold your whipped cream into the spiced cream cheese mixture using a rubber spatula. Take your time here—you want to keep as much air in the filling as possible! Once no white streaks remain, spread the filling evenly over your chilled crust. Cover the pan tightly with plastic wrap and place it in the fridge for at least 6 hours, or overnight.
What to Serve It With
This no bake cheesecake is an absolute star on its own, but dressing it up is half the fun! I love to serve it with a generous drizzle of homemade salted caramel sauce right before slicing. The buttery caramel pairs beautifully with the autumn spices. A big dollop of fresh whipped cream and a sprinkle of extra cinnamon on top also makes it look like it came straight from a fancy bakery. If you are serving this at a fall gathering, pair it with a hot mug of apple cider or a freshly brewed cup of dark roast coffee.
Top Tips for Perfecting Your No Bake Cheesecake
Room Temperature Cream Cheese is Non-Negotiable: If your cream cheese is even a little bit cold, your filling will have lumps. Leave it out on the counter for at least two hours before you start baking.
Keep the Heavy Cream Cold: While your cream cheese needs to be warm, your heavy cream needs to be straight-out-of-the-fridge cold. Cold cream whips up much faster and holds its structure better.
Don’t Rush the Chill: I know it is so tempting to cut into it early, but a no bake cheesecake really relies on that chilling time to solidify. Give it the full 6 to 8 hours, or you might end up with a delicious (but messy) cheesecake pudding!
Storing and Reheating Tips
Because this dessert is highly perishable and relies on cold temperatures to hold its shape, you should never reheat it! To store your leftover cheesecake, keep it in the springform pan covered tightly with plastic wrap, or transfer slices to an airtight container. It will stay fresh and delicious in the refrigerator for up to 5 days.
If you want to keep it longer, this cheesecake freezes beautifully! Wrap individual slices in plastic wrap and place them in a freezer-safe bag. They will keep in the freezer for up to 3 months. When you are ready for a treat, just let a slice thaw in the fridge for a few hours before eating.
Frequently Asked Questions
Final Thoughts
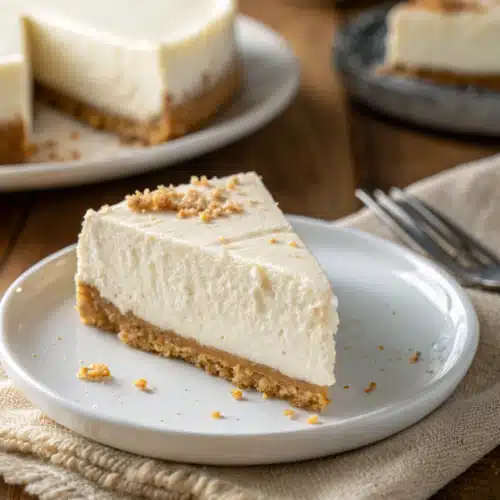
There is just something so incredibly satisfying about pulling a flawless dessert out of the fridge, knowing you didn’t have to stress over an oven or a complicated water bath. This Autumn Spice No Bake Cheesecake has brought so much joy to my family’s table, and I truly hope it brings the same to yours. The warm spices, the buttery crust, and that melt-in-your-mouth filling make it a recipe you will want to keep in your back pocket all season long. Let me know in the comments how yours turns out, and happy “no-baking” my friends!
Autumn Spice No Bake Cheesecake Delight
Ingredients
Main Ingredients
- 2.5 cups graham cracker crumbs
- 0.75 cup unsalted butter melted
- 16 oz cream cheese softened
- 1 cup powdered sugar
- 15 oz pumpkin puree 1 can
- 2 teaspoons pumpkin pie spice
- 1 teaspoon vanilla extract
- 16 oz whipped topping divided
Instructions
Preparation Steps
- In a medium bowl, mix the graham cracker crumbs and melted butter until well combined. Press the mixture firmly into the bottom of a 9x13 inch baking dish to form the crust. Place in the refrigerator to chill.
- In a large mixing bowl, beat the softened cream cheese and powdered sugar together until smooth and creamy.
- Add the pumpkin puree, pumpkin pie spice, and vanilla extract to the cream cheese mixture. Beat until well combined.
- Gently fold in half of the whipped topping (8 oz) until the mixture is light and fluffy.
- Spread the pumpkin cheesecake filling evenly over the chilled graham cracker crust.
- Top with the remaining whipped topping, spreading it into an even layer.
- Refrigerate for at least 4 hours, or overnight, to allow the dessert to set completely before slicing and serving.
Notes
Featured Comments
“This cheesecake sounds perfect for fall! I’m definitely adding this to my baking list—pumpkin spice is my favorite season flavor.”
“Impressed! Clear steps and crowd-pleaser results. Perfect for busy nights.”
“New favorite here — super easy. crowd-pleaser was spot on.”
“Super easy and turned out amazing! My family asked for seconds. Saving this one.”
“This sweet treat was absolutely loved — the zingy really stands out. Thanks!”
“Made it tonight and wow — creamy! Will definitely make Autumn Spice No-Bake Cheesecake Delight again.”


This cheesecake sounds perfect for fall! I’m definitely adding this to my baking list—pumpkin spice is my favorite season flavor.