

The Absolute Best Strawberry Cobbler You’ll Ever Bake
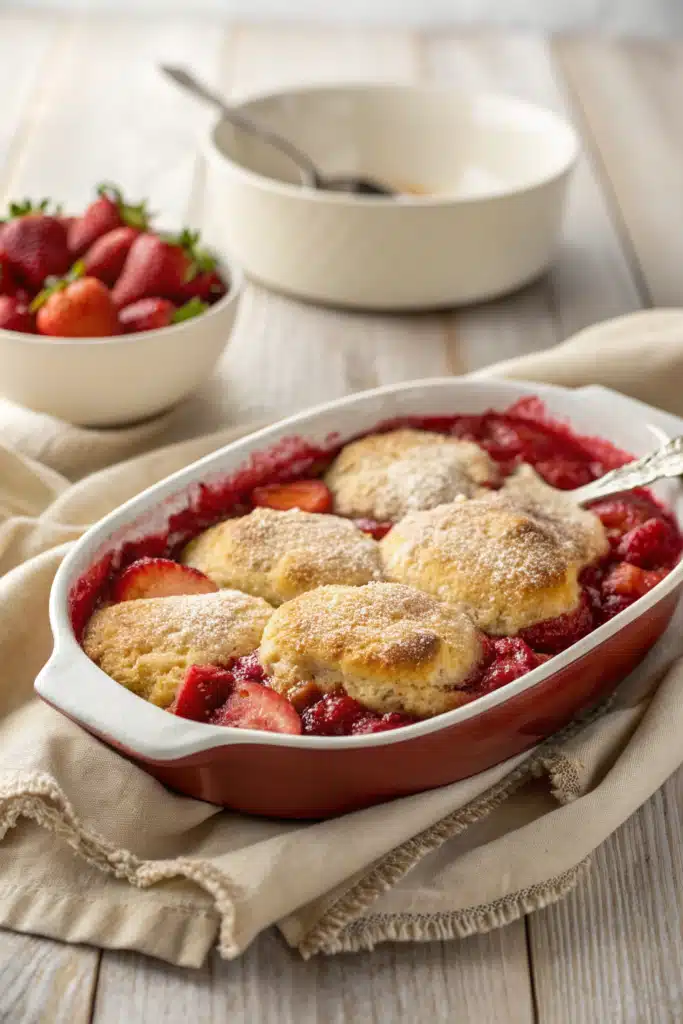
There is just something incredibly magical about warm, bubbly fruit desserts straight out of the oven. If you’ve been searching for the ultimate summer comfort food, you can officially call off the hunt. I’m sharing my absolute favorite recipe for the best strawberry cobbler, and I promise it’s going to become an instant staple in your kitchen. Picture this: jammy, ruby-red strawberries simmering beneath a tender, buttery biscuit topping that has just the right amount of crunch on the edges. It’s the kind of dessert that makes your whole house smell like a rustic bakery and brings everyone running to the kitchen before you can even pull it out of the oven.
I’ve tweaked and tested this recipe so many times over the years, trying to get that perfect, elusive ratio of fruit to topping. Whether you went a little crazy picking fruit at the local strawberry patch or just found a great deal at the grocery store, this is exactly what you need to make. Grab your favorite baking dish, and let’s get into it!
What Is A Strawberry Cobbler?
You might be wondering what exactly sets a cobbler apart from a crisp, a crumble, or a traditional pie. Well, a classic cobbler is a deep-dish fruit dessert topped with a thick, biscuit-like batter or dough. As it bakes, the topping puffs up and “cobbles” together (hence the cute name!), looking a bit like a cobblestone street over a sea of bubbling fruit.
When we talk about the best strawberry cobbler, we’re talking about a dessert that lets the natural sweetness and slight tartness of fresh strawberries completely shine. Unlike a crisp, which relies on oats and a crumbly streusel topping, a cobbler gives you that satisfying, cakey-biscuit texture that acts like a sponge for all those gorgeous, natural fruit juices. It’s rustic, it’s messy in the most beautiful way, and it absolutely does not require the fuss of rolling out a perfectly fluted pie crust. You just toss your fruit, mix up a quick batter, and let your oven do all the heavy lifting. It is truly the ultimate lazy-day baking project!
How to Make the Best Strawberry Cobbler
Quick Overview
Ready to dive in? Making this cobbler is an absolute breeze. You’ll start by tossing your fresh strawberries with a little sugar and lemon juice to get those flavorful juices flowing. Then, you’ll melt some butter directly in your baking dish (yes, we’re doing the magic self-rising cobbler method!). You’ll whisk together a quick, pancake-like batter, pour it right over the melted butter, and spoon those gorgeous strawberries right on top. The real magic happens in the oven: the batter rises up and around the fruit, creating a stunning, golden-brown masterpiece.
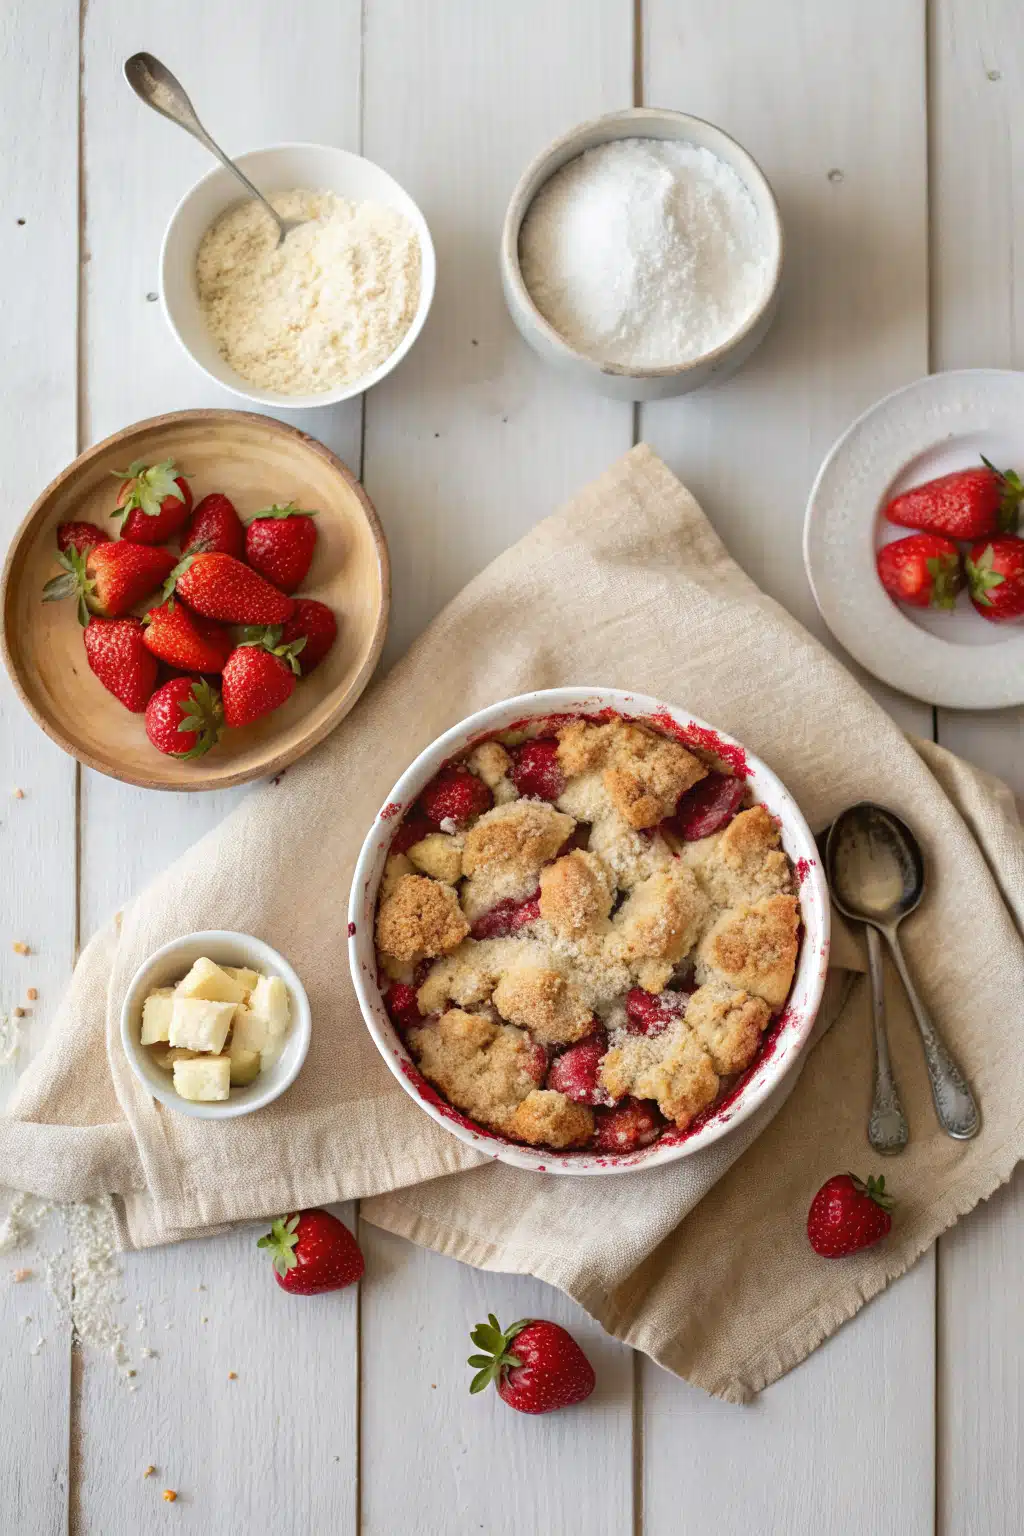
Ingredients
For the Strawberry Filling:
- 4 cups fresh strawberries, hulled and quartered
- 1/3 cup granulated sugar
- 1 tablespoon fresh lemon juice
- 1 teaspoon pure vanilla extract
For the Cobbler Batter:
- 1/2 cup unsalted butter (1 stick)
- 1 cup all-purpose flour
- 1 cup granulated sugar
- 1 tablespoon baking powder
- 1/4 teaspoon salt
- 1 cup whole milk
Step-by-Step Instructions
Step 1: Preheat & Prep Pan
Preheat your oven to 375°F (190°C). Place your stick of butter into a 9×13 inch baking dish and pop it in the oven while it preheats so the butter can melt. Keep a close eye on it so it doesn’t brown too much or burn!
Step 2: Prepare the Strawberries
In a medium bowl, toss your quartered strawberries with 1/3 cup of sugar, the lemon juice, and vanilla extract. Let them sit on the counter for about 10 to 15 minutes. This simple process, called maceration, draws out those incredible natural juices that make the cobbler so gooey and delicious.
Step 3: Mix the Batter
In a separate large bowl, whisk together the flour, 1 cup of sugar, baking powder, and salt. Pour in the whole milk and stir just until combined. A few lumps are totally fine—don’t overmix it, or your crust might turn out tough.
Step 4: Assemble the Cobbler
Carefully remove your hot baking dish from the oven. Pour the batter directly over the melted butter. Do not stir! Then, spoon the strawberries and all their accumulated juices evenly over the top of the batter. Again, do not stir! The batter will magically rise to the top and surround the fruit as it bakes.
Step 5: Bake to Perfection
Bake for 35 to 45 minutes, or until the top is beautifully golden brown and the strawberry juices are bubbling happily around the edges. Let it cool for at least 15 minutes before digging in so the juices can thicken up a bit.
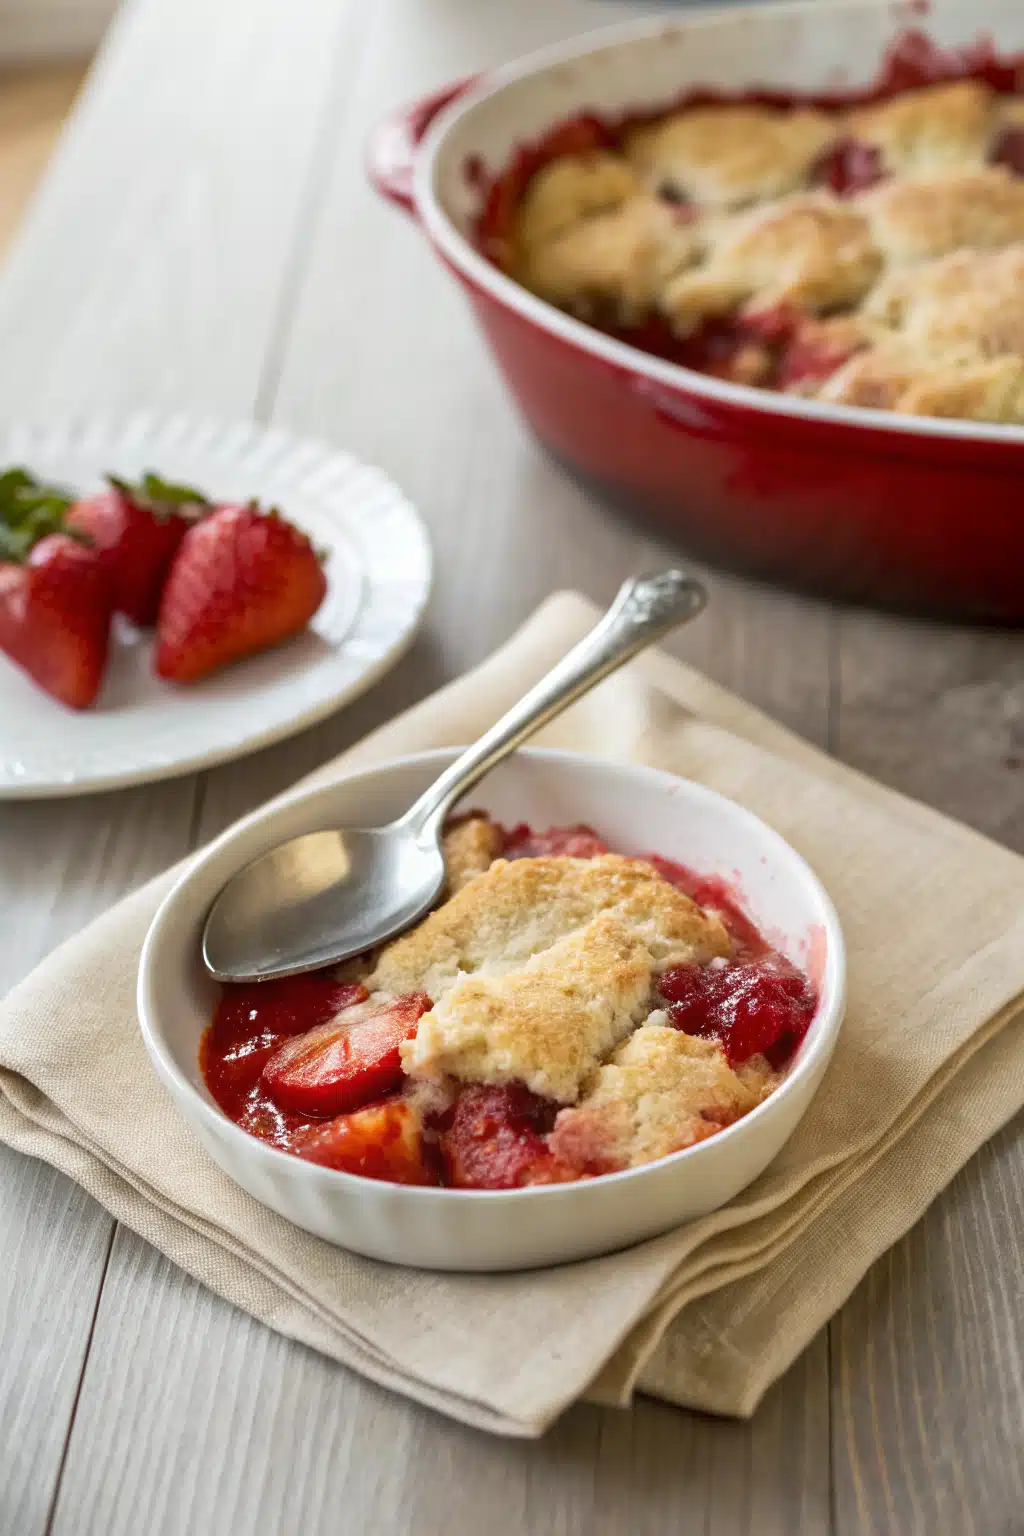
What to Serve It With
You absolutely cannot have the best strawberry cobbler without a little something creamy to cut through the richness. My all-time favorite pairing is a massive scoop of high-quality vanilla bean ice cream. The way the cold ice cream melts into the warm, cakey crust and swirls with the hot strawberry syrup is pure heaven.
If ice cream isn’t your thing, a generous dollop of freshly whipped cream sweetened with just a touch of vanilla works wonders. Want to get a little fancy? Try serving it with a drizzle of heavy cream straight from the carton, like a rustic British pudding. I’ve even been known to eat a leftover slice cold from the fridge with a scoop of tangy Greek yogurt for breakfast (which I highly recommend, no judgment here!).
Top Tips for Perfecting Your Strawberry Cobbler
Want to make sure yours comes out flawlessly every single time? Keep these handy tips in mind:
- Use Fresh, Ripe Berries: While frozen strawberries can work in a pinch, fresh, in-season strawberries will give you the absolute best flavor and texture. If you do use frozen, don’t thaw them first!
- Don’t Stir the Layers: I know it is so tempting to mix the butter, batter, and berries together in the pan, but resist the urge! Layering them without stirring allows the batter to bake up through the fruit, creating that classic, comforting cobbler texture.
- Watch the Butter: When melting the butter in the oven during the preheating stage, keep a close eye on it. A little browned butter adds a lovely nutty flavor, but burnt butter will ruin the whole dish.
- Let It Rest: It smells incredible when it comes out of the oven, but letting it sit for 15-20 minutes allows the fruit juices to thicken so it’s not a soupy mess when you serve it. Patience pays off!
Storing and Reheating Tips
If you somehow manage to have leftovers (a very rare occurrence in my house!), storing them is super simple. Let the cobbler cool completely to room temperature, then cover the baking dish tightly with plastic wrap or transfer the leftovers to an airtight container. It will keep well in the refrigerator for up to 4 days.
When you’re ready for round two, you have a couple of options. For a quick fix, pop a portion in the microwave for 30-45 seconds until warm. However, if you want to revive that slightly crisp, buttery topping, the oven is your best friend. Reheat portions in a 350°F oven for about 10-15 minutes until it’s warmed all the way through and bubbling again.
Frequently Asked Questions
Final Thoughts
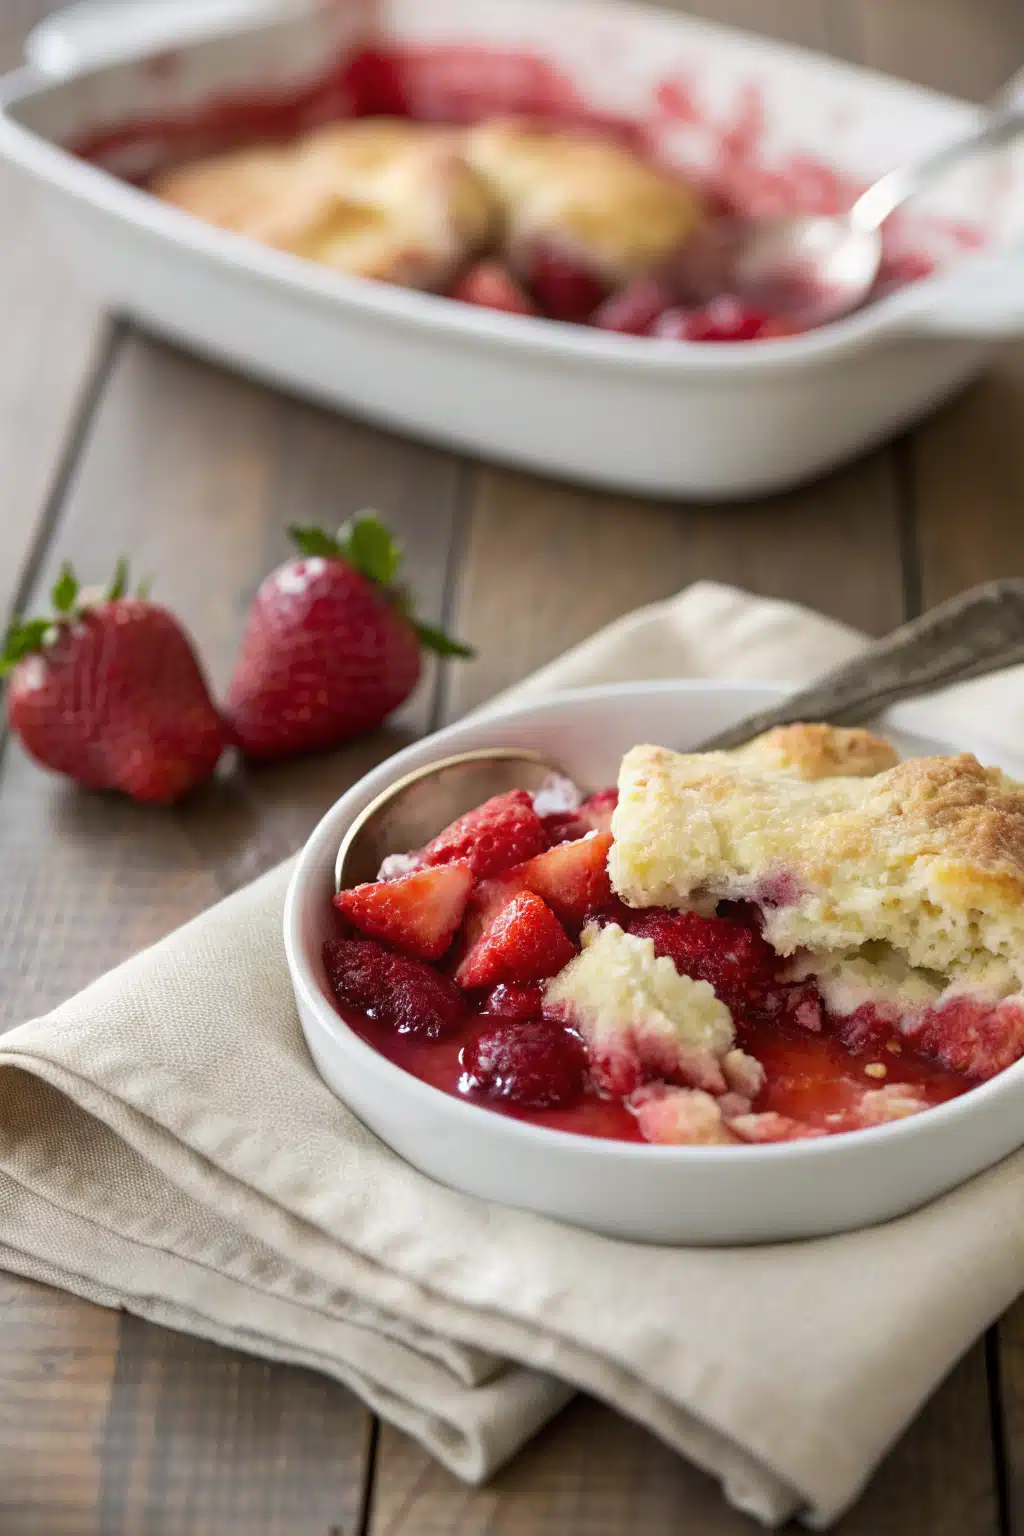
There you have it—the easiest, most delicious, and undeniably the best strawberry cobbler you’ll ever make. It is the perfect celebration of sweet summer fruit, packed with nostalgic flavor, and wrapped in a cozy, buttery crust. I really hope you give this recipe a try the next time you’re craving something sweet and comforting. Baking doesn’t have to be complicated to be spectacular, and this dish is absolute proof of that. When you do make it, be sure to let me know how it turned out! Grab a spoon, serve up a big bowl with plenty of ice cream, and enjoy every single bite. Happy baking, friends!

Best Strawberry Cobbler
Ingredients
Main Ingredients
- 6 cups fresh strawberries hulled and halved
- 0.75 cup granulated sugar divided
- 1 tablespoon lemon juice
- 2 tablespoons cornstarch
- 1 teaspoon vanilla extract
- 1 cup all-purpose flour
- 1.5 teaspoons baking powder
- 0.25 teaspoon salt
- 0.5 cup unsalted butter melted
- 0.5 cup whole milk
Instructions
Preparation Steps
- Preheat oven to 375°F (190°C). Grease a 9x13 inch baking dish.
- In a large bowl, toss the strawberries with 0.25 cup of sugar, lemon juice, cornstarch, and vanilla extract until evenly coated. Let sit for 5 minutes to release juices.
- Pour the strawberry mixture into the prepared baking dish, spreading it out into an even layer.
- In a separate medium bowl, whisk together the flour, remaining 0.5 cup of sugar, baking powder, and salt.
- Stir in the melted butter and milk until just combined to form a thick batter. Do not overmix.
- Drop spoonfuls of the batter evenly over the strawberry filling.
- Bake for 40-45 minutes, or until the topping is golden brown and the strawberry filling is bubbly and thick. Let cool for 10 minutes before serving.
Notes
Featured Comments
“Impressed! Clear steps and turned out amazing results. Perfect for busy nights.”
“New favorite here — crowd-pleaser. crowd-pleaser was spot on.”
“Super easy and turned out amazing! My family asked for seconds. Saving this one.”
“This sweet treat was absolutely loved — the hearty really stands out. Thanks!”
“Made it tonight and wow — crowd-pleaser! Will definitely make “Best Strawberry Cobbler Recipe: 7 Tips for Juicy Perfection!” again.”
“Packed with flavor and so simple. Exactly what I wanted from “Best Strawberry Cobbler Recipe: 7 Tips for Juicy Perfection!”.”


