

You know those dishes that just instantly make you feel good? The ones that taste like home, like a warm hug, like your grandma’s kitchen on a Sunday afternoon? Well, this cheesy squash casserole is *that* dish for me. It’s my absolute favorite when the weather starts to turn crisp, or when I just need a little comfort food magic. Honestly, it’s become my go-to for potlucks, family dinners, and even those nights when I’m just craving something ridiculously delicious without a whole lot of fuss. It’s got that perfect balance of savory, cheesy goodness with just a hint of sweetness that makes it absolutely irresistible. I’ve made countless versions of casseroles over the years, but this cheesy squash casserole? It’s the one that always, always gets rave reviews. If you’ve ever enjoyed a really good savory quick bread or a moist, flavorful zucchini bread, you’re going to fall head over heels for this.
What is a Cheesy Squash Casserole?
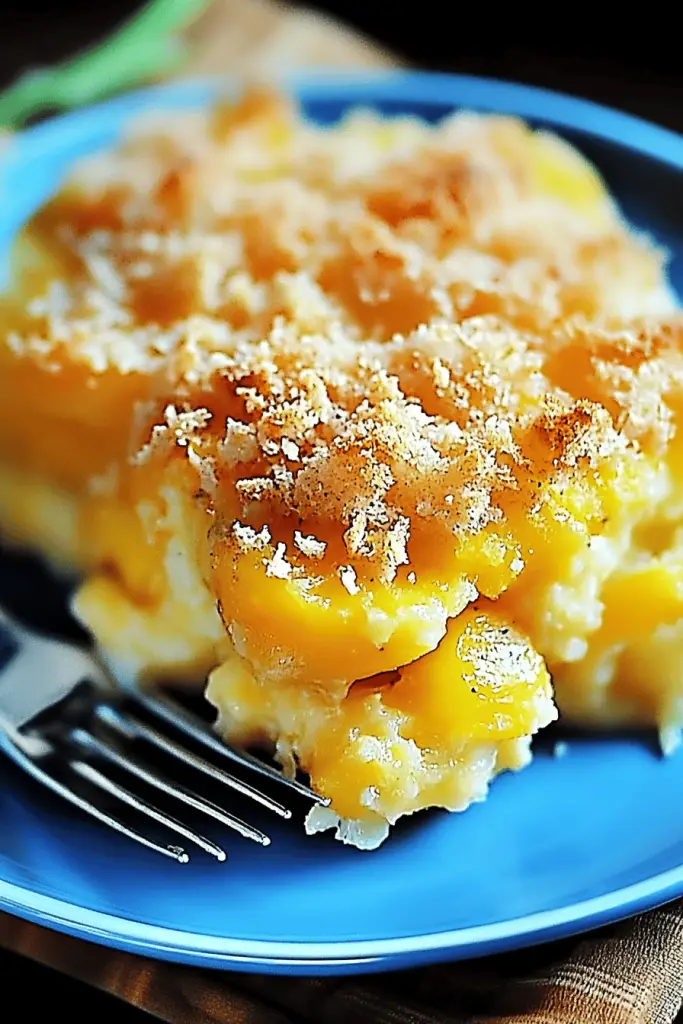
So, what exactly is this magical cheesy squash casserole? Think of it as the most delightful mashup between a savory quick bread and a creamy, cheesy gratin. It’s not quite a cake, but it’s sweet enough to feel like a treat. It’s not quite a casserole in the traditional sense with pasta or meat, but it bakes up into this wonderfully cohesive, comforting dish. At its heart, it’s made with shredded zucchini (or yellow squash, hence the “squash” in the name!), mixed into a tender, slightly sweet batter, and then swirled with a rich, creamy cheese mixture. The result is this incredibly moist, flavorful bake with pockets of gooey cheese and a wonderfully tender crumb. It’s approachable, comforting, and frankly, just ridiculously tasty. It’s the kind of dish that makes you close your eyes with the first bite and let out a little happy sigh.
How do I make a delicious squash casserole?
Quick Overview
Making this cheesy squash casserole is surprisingly straightforward. You’ll start by prepping your squash, then whisking together the wet and dry ingredients for the batter separately before combining them. While that’s happening, you’ll quickly mix up the creamy, cheesy filling. The magic happens when you layer these two components and swirl them together for that gorgeous marbled effect. Pop it in the oven, let it bake until golden and bubbly, and then let it cool just enough to slice. It’s really that simple!
Ingredients
For the Main Batter:
2 cups shredded zucchini (about 2 medium zucchinis), well-drained
1 cup shredded yellow squash (about 1 medium yellow squash), well-drained
1 ½ cups all-purpose flour
½ cup granulated sugar
2 teaspoons baking powder
½ teaspoon salt
¼ teaspoon ground cinnamon (optional, but I love it!)
2 large eggs
½ cup milk (whole milk or 2% works best for richness, but I’ve tested almond milk and it actually made it even creamier!)
½ cup unsalted butter, melted and slightly cooled
For the Filling:
4 ounces Cream Cheese, softened
½ cup shredded cheddar cheese (or a cheddar-jack blend!)
1 tablespoon milk
Pinch of garlic powder (optional, but adds a nice savory note)
Step-by-Step Instructions
Step 1: Preheat & Prep Pan
First things first, get that oven preheating to 375°F (190°C). While it’s heating up, grab an 8×8 inch baking dish. I like to lightly grease mine with butter or cooking spray to make sure nothing sticks. This step is super important for getting those nice, clean edges when you slice into it later.
Step 2: Mix Dry Ingredients
In a large bowl, whisk together the all-purpose flour, granulated sugar, baking powder, salt, and cinnamon if you’re using it. Give it a good whisk to make sure everything is well combined and there are no lumps. This ensures your baking powder is evenly distributed, which means a nice, even rise for your casserole.
Step 3: Mix Wet Ingredients
In a separate medium bowl, lightly beat the two large eggs. Then, whisk in the milk and the melted butter until everything is smooth and well combined. Make sure your melted butter isn’t too hot, or it could scramble the eggs!
Step 4: Combine
Pour the wet ingredients into the bowl with the dry ingredients. Now, gently fold them together with a spatula until just combined. It’s really important not to overmix here! You want to see a few streaks of flour remaining. Overmixing develops the gluten too much, which can make your casserole tough instead of tender and moist. See? Easy!
Step 5: Prepare Filling
In a small bowl, beat the softened Cream Cheese until it’s nice and smooth. Then, stir in the shredded cheddar cheese, the tablespoon of milk, and the pinch of garlic powder if you’re using it. Mix until it’s all creamy and well combined. You want this mixture to be spreadable but not too runny.
Step 6: Layer & Swirl
Now for the fun part! Spoon about half of the squash batter into your prepared baking dish and spread it out evenly. Dollop about half of the cheese filling over the batter. Then, add the remaining squash batter on top, followed by the rest of the cheese filling. Now, grab a butter knife or a skewer and gently swirl the cheese filling into the batter. Don’t go crazy and mix it all up; you want distinct swirls of cheese running through the casserole. This makes it so pretty and adds pockets of pure cheesy bliss!
Step 7: Bake
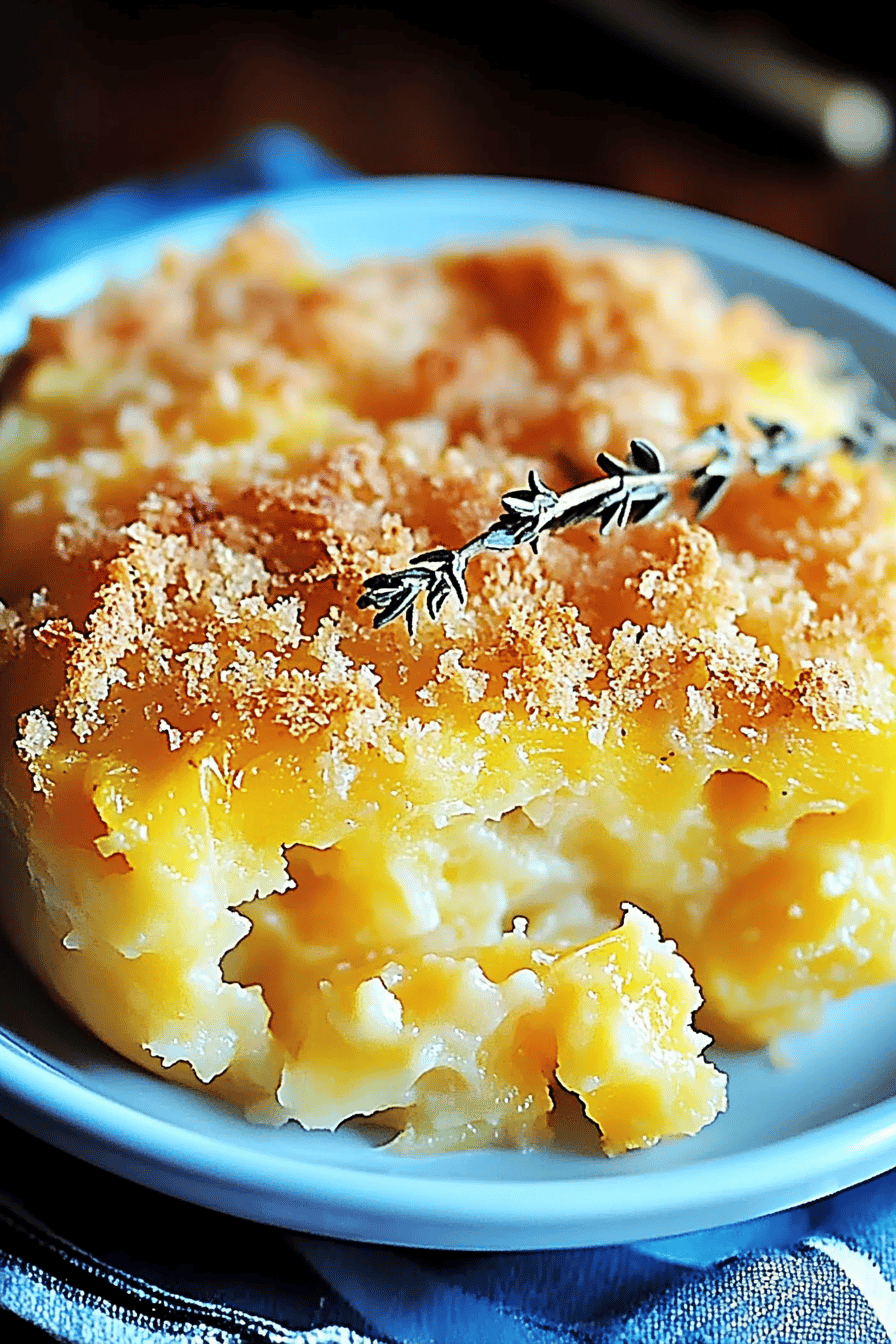
Place your baking dish in the preheated oven. Bake for about 35-45 minutes, or until the edges are golden brown and a toothpick inserted into the center comes out mostly clean (a few moist crumbs are okay, but no wet batter). The top should be beautifully golden and slightly puffed.
Step 8: Cool & Glaze
This is a tough one because it smells so good, but you *must* let the casserole cool for at least 15-20 minutes before slicing. This allows it to set up properly, so it won’t crumble when you cut it. I like to make a simple glaze while it’s cooling. For this, I usually whisk together about ½ cup of powdered sugar with 1-2 tablespoons of milk until it’s a drizzle-able consistency. You can also add a tiny splash of Vanilla Extract. Drizzle this over the top once the casserole has cooled a bit. It adds a lovely touch of sweetness and makes it look so finished!
Step 9: Slice & Serve
Once it’s cooled enough to handle, slice it into squares and serve warm. The texture will be moist and tender, with that delightful cheesy swirl throughout. Enjoy every bite!
What to Serve It With
This cheesy squash casserole is incredibly versatile, and honestly, I’ve found myself serving it at all sorts of times of day. For breakfast, it’s surprisingly wonderful! A slice alongside a hot cup of coffee is surprisingly satisfying, especially on a chilly morning. I sometimes serve it cut into smaller squares, almost like a savory muffin. For brunch, it really shines. It feels a bit more elegant when cut into neat squares and perhaps garnished with a sprinkle of fresh chives. It pairs beautifully with a mimosa or a nice cup of tea. You might think it’s a bit unusual, but as a dessert? Yes! Especially if you lean into the slightly sweeter side of the batter. A light dusting of powdered sugar or that simple drizzle glaze makes it feel more dessert-like. It’s perfect when you’re craving something sweet at 10pm but don’t want to bake a whole cake. And, of course, for cozy snacks or as a side dish, it’s a winner. It pairs wonderfully with a simple green salad or roasted vegetables. My kids actually ask for this all the time, especially when I serve it with some crispy bacon or a side of scrambled eggs. It’s become our go-to for lazy weekend mornings.
Top Tips for Perfecting Your Cheesy Squash Casserole
I’ve made this cheesy squash casserole more times than I can count, and along the way, I’ve picked up a few tricks that I think really make a difference. Here are my top tips to ensure your casserole turns out absolutely perfect every single time!
Zucchini Prep: The biggest secret to a great squash casserole is getting as much moisture out of the zucchini and yellow squash as possible. After shredding, I like to place the shredded squash in a fine-mesh sieve set over a bowl and let it sit for at least 15-20 minutes. You’ll be amazed at how much water comes out! You can even gently press down on it with a spoon or your hands to help it along. This step is crucial for preventing a soggy casserole and ensuring a tender crumb. Don’t skip it!
Mixing Advice: Remember how I said not to overmix the batter? This is really important for texture. Overmixing develops the gluten in the flour, which can lead to a tough, dense casserole. Mix just until the dry ingredients are *barely* incorporated into the wet. A few small streaks of flour are totally fine – they’ll disappear during baking. You want a tender, tender crumb, and a gentle hand with the batter is the way to get it.
Swirl Customization: The swirl is what makes this casserole visually stunning and adds those lovely pockets of cheese. When you’re swirling, don’t aim for a perfect, uniform pattern. Jagged, imperfect swirls are actually more appealing and ensure you get those delightful bursts of cheesy goodness throughout. You can use a butter knife, a wooden skewer, or even the back of a spoon. Just gently drag it through the cheese layers a few times. Aim for about 4-5 gentle swirls.
Ingredient Swaps: This recipe is pretty forgiving! If you don’t have zucchini or yellow squash, you can use one or the other. For the milk in the batter, I’ve tested full-fat coconut milk, and it gave it a wonderful richness. In the cheese filling, feel free to play around with different cheeses! A sharp white cheddar, Gruyere, or even a bit of Monterey Jack would be delicious. If you’re dairy-free, there are some great plant-based cream cheeses and shredded cheeses available now, though the texture might vary slightly. For the flour, I’ve successfully made this with a good quality gluten-free all-purpose blend (using a 1:1 ratio), and it turned out wonderfully moist.
Baking Tips: Ovens can be finicky, so always keep an eye on your casserole. If you notice the top browning too quickly before the center is cooked, you can loosely tent it with aluminum foil. Conversely, if it seems like it’s not browning at all, you might need to increase the temperature slightly. I usually bake mine on the middle rack for even heat distribution. The toothpick test is your best friend here – it should come out with just a few moist crumbs attached, not wet batter.
Glaze Variations: While my simple powdered sugar glaze is my go-to, you can get creative! For a more decadent touch, you could whisk in a tablespoon of melted butter or a touch of lemon zest into the glaze. If you prefer a less sweet topping, you could skip the glaze altogether and just dust with a little powdered sugar, or even serve it with a dollop of sour cream or Greek yogurt. For a more savory take, a sprinkle of fresh herbs like chives or parsley on top is lovely.
Storing and Reheating Tips
One of the best things about this cheesy squash casserole is how well it stores and reheats. It’s almost as good the next day, which makes it perfect for meal prep or for enjoying leftovers!
Room Temperature: If you’ve just baked it and it’s not going to be eaten immediately, it can sit at room temperature for up to 2 hours. This is usually enough time for everyone to have a slice after it’s cooled slightly.
Refrigerator Storage: Once cooled, wrap the entire casserole tightly in plastic wrap or transfer it to an airtight container. It will keep well in the refrigerator for about 3-4 days. The flavors actually meld together beautifully overnight, making it even tastier!
Freezer Instructions: Yes, you can freeze this! Once completely cooled, wrap the casserole tightly in a layer of plastic wrap, followed by a layer of aluminum foil. You can also freeze individual slices. It will keep in the freezer for up to 2-3 months. To thaw, transfer it to the refrigerator overnight. For best results, reheat from thawed.
Glaze Timing Advice: If you plan on refrigerating or freezing, it’s often best to add the glaze *after* reheating. The glaze can sometimes become sticky or melty if stored for too long. If you’re eating leftovers from the fridge the next day, you can re-glaze it then. If you’re freezing, I usually just freeze the plain casserole and add a fresh glaze once it’s reheated.
Reheating: For the best texture, I recommend reheating slices in a low oven (around 300°F or 150°C) until warmed through. This helps maintain its tender texture. You can also reheat individual slices in the microwave, but be careful not to overheat it, as it can become a bit gummy. Just a quick 30-60 second zap should do the trick.
Frequently Asked Questions
Final Thoughts
I really hope you give this cheesy squash casserole a try. It’s one of those recipes that just brings so much joy to my kitchen, and I’m confident it will do the same for yours. It’s the perfect combination of comforting, delicious, and surprisingly easy to make. Whether you’re serving it for a special occasion, a weeknight family meal, or just because you deserve a treat, I know you’ll fall in love with its tender texture and rich, cheesy flavor. If you enjoyed this, you might also love my Zucchini Bread Muffins or my Savory Cornbread Casserole for more comfort food inspiration! I can’t wait to hear how your cheesy squash casserole turns out, so please leave a comment below with your thoughts, or share your own variations and tips. Happy baking, and happy eating!
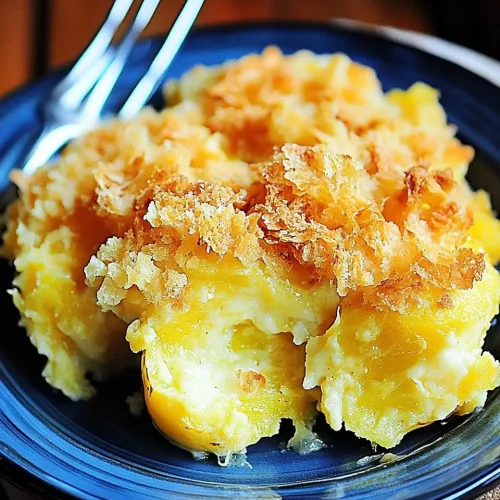
Cheesy Squash Casserole
Ingredients
Main Ingredients
- 1.5 pounds yellow squash thinly sliced
- 1 cup sour cream
- 0.5 cup milk
- 1 cup shredded cheddar cheese
- 0.25 cup chopped onion
- 0.125 teaspoon salt
- 0.125 teaspoon black pepper
Topping
- 0.5 cup crushed crackers
- 2 tablespoons melted butter
Instructions
Preparation Steps
- Preheat oven to 375°F (190°C). Lightly grease a 9x13 inch baking dish.
- In a large bowl, combine the sliced yellow squash, sour cream, milk, shredded cheddar cheese, chopped onion, salt, and pepper. Stir until well combined.
- Pour the squash mixture into the prepared baking dish, spreading it evenly.
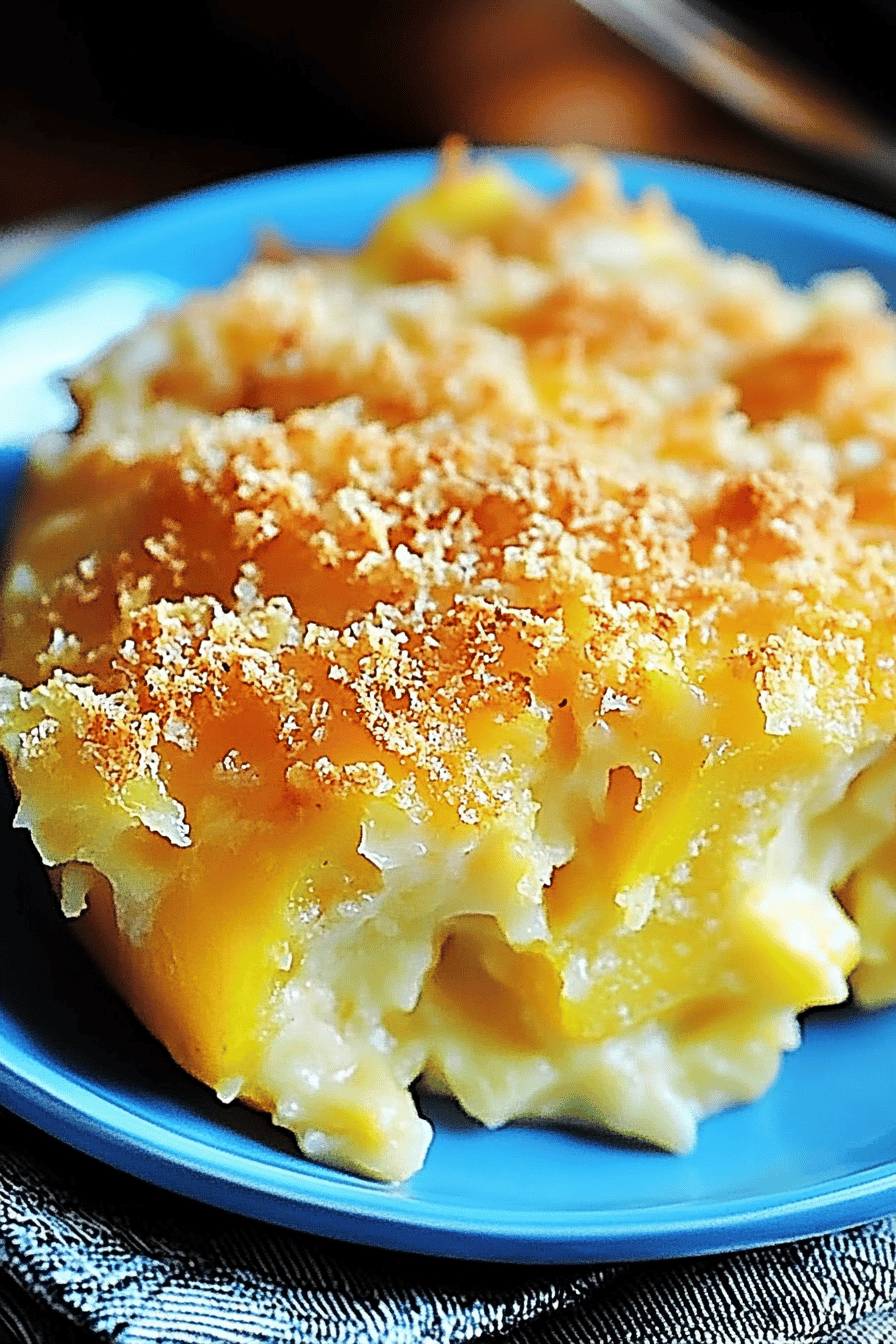
- In a small bowl, combine the crushed crackers and melted butter. Sprinkle this mixture evenly over the top of the casserole.
- Bake for 30 minutes, or until the casserole is bubbly and the topping is golden brown.
- Let stand for a few minutes before serving.
Notes
Featured Comments
“Impressed! Clear steps and spot on results. Perfect for busy nights.”
“New favorite here — creamy. crowd-pleaser was spot on.”
“Super easy and turned out amazing! My family asked for seconds. Saving this one.”
“This sweet treat was absolutely loved — the light really stands out. Thanks!”
“Made it tonight and wow — creamy! Will definitely make Cheesy squash casserole again.”
“Packed with flavor and so simple. Exactly what I wanted from Cheesy squash casserole.”


