

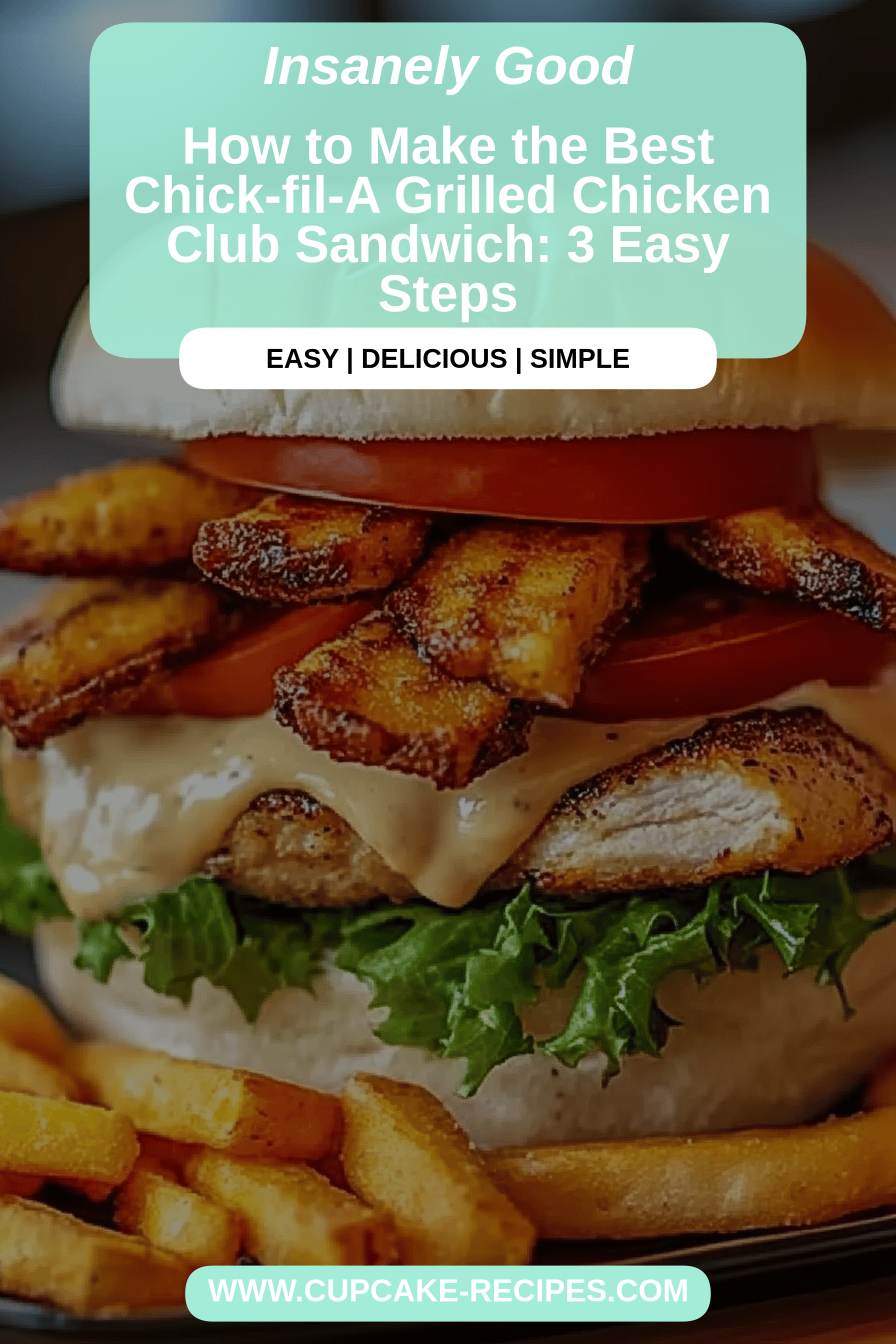
Oh, where do I even begin with this one? If you’re anything like me, the craving for a perfectly seasoned, incredibly juicy grilled Chicken sandwich can hit out of nowhere. And while grabbing one from the golden arches is a treat, there’s something so satisfying about recreating that magic in your own kitchen. For the longest time, I dreamed of nailing that distinct flavor profile, that tender bite, that harmonious blend of simple yet brilliant ingredients that makes the Chick-fil-A grilled chicken club so darn special. I remember my first attempt, years ago, and let’s just say it was… fine. But it wasn’t *it*. It lacked that something, that je ne sais quoi. This recipe, though? This is the one that finally did it. It’s the closest I’ve ever gotten, and frankly, I think it might even be better. It’s become a go-to for busy weeknights and a guaranteed crowd-pleaser for weekend brunches. Get ready to have your taste buds sing!
What is Chick-fil-A Grilled Chicken?
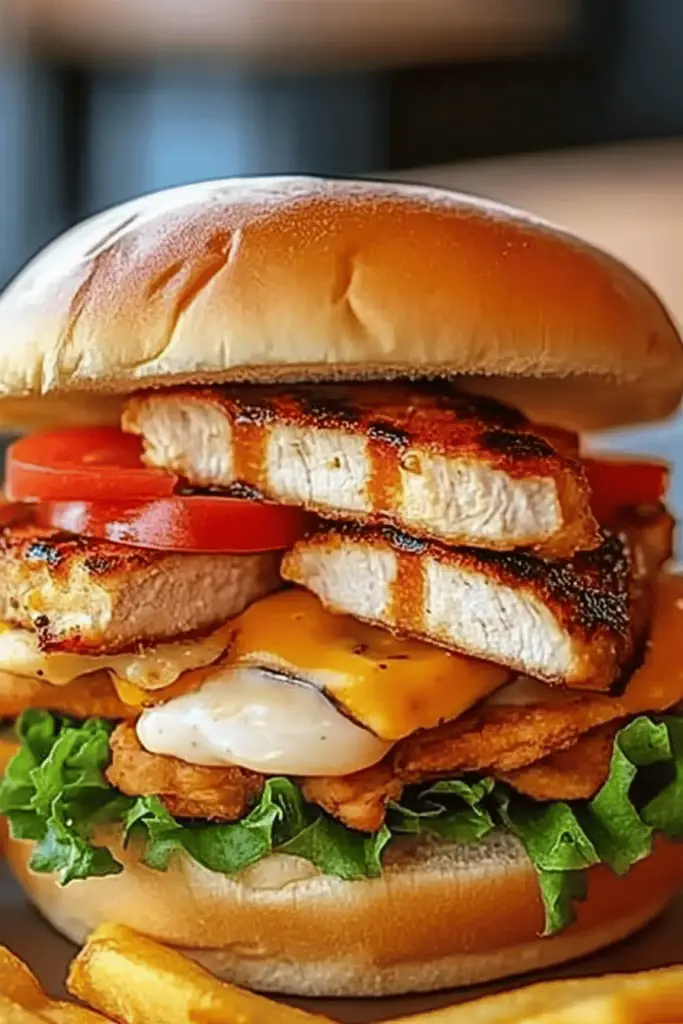
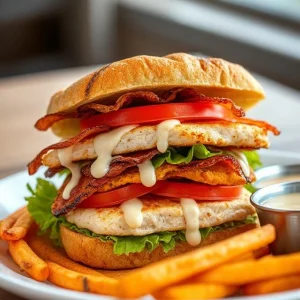
Alright, so what exactly *is* this sandwich we’re trying to recreate? At its heart, the Chick-fil-A grilled chicken club is a masterpiece of simplicity and flavor. It features a grilled Chicken Breast, seasoned to perfection, nestled between soft buns with fresh lettuce, tomato, and cheese. The “club” element usually implies a few extra layers of deliciousness, and this copycat version doesn’t disappoint. Think of it as the elevated, incredibly satisfying version of your favorite chicken sandwich. It’s the kind of meal that feels both comforting and a little bit fancy, all at once. It’s essentially a testament to how a few high-quality ingredients, handled with care, can create something truly extraordinary. It’s not about complicated techniques; it’s about getting the fundamentals *just right*.
How to Make the Chick-fil-A Grilled Chicken Club
Quick Overview
This recipe is all about building layers of flavor, starting with a beautifully seasoned grilled chicken breast. We’ll marinate it briefly, grill it to juicy perfection, and then assemble it with fresh toppings on soft, toasted buns. The secret is in the marinade and getting that char just right on the chicken. It’s surprisingly straightforward, and you’ll be amazed at how restaurant-quality this turns out. Trust me, the aroma alone will have everyone gathering in the kitchen.
Ingredients
For the Chicken Marinade:
* 2 boneless, skinless Chicken Breasts (about 6-8 oz each)
* 1/4 cup buttermilk (this is key for tenderness!)
* 1 tablespoon pickle juice (don’t skip this! It adds a subtle tang and helps tenderize)
* 1 teaspoon smoked paprika
* 1/2 teaspoon garlic powder
* 1/4 teaspoon onion powder
* 1/4 teaspoon cayenne pepper (optional, for a little kick)
* Salt and freshly ground black pepper to taste
For the Sandwich Assembly:
* 2 soft brioche buns or potato rolls
* 1 tablespoon unsalted butter, softened (for toasting buns)
* 1 large tomato, sliced thinly
* 1 head of crisp lettuce (like romaine or butter lettuce), leaves separated
* 2 slices of your favorite cheese (Cheddar or Pepper Jack are great choices)
* Optional: Creamy Dill Sauce or your favorite mayonnaise for spreading
Step-by-Step Instructions
Step 1: Marinate the Chicken
First things first, let’s get that chicken prepped. In a shallow dish or a resealable plastic bag, combine the buttermilk, pickle juice, smoked paprika, garlic powder, onion powder, cayenne pepper (if using), salt, and pepper. Whisk it all together until well combined. Add the chicken breasts to the marinade, making sure they’re fully coated. Cover the dish or seal the bag and pop it in the refrigerator for at least 30 minutes, or up to 4 hours. I find 1-2 hours is the sweet spot for maximum flavor without the chicken getting mushy.
Step 2: Prepare the Buns
While the chicken is marinating, let’s get the buns ready. Lightly spread the softened butter on the cut sides of your brioche buns. You can do this in a dry skillet over medium heat, or under the broiler for just a minute or two. You want them golden brown and slightly toasted – this prevents them from getting soggy from the chicken juices and toppings. Keep an eye on them; they can go from perfect to burnt in seconds!
Step 3: Grill the Chicken
Preheat your grill (outdoor or indoor grill pan) to medium-high heat. You want it hot enough to get a nice char but not so hot that it burns the outside before the inside is cooked. Remove the chicken breasts from the marinade, letting any excess drip off. Discard the used marinade. Place the chicken on the hot grill. Cook for about 5-7 minutes per side, depending on the thickness of the breast, until it’s cooked through and has lovely grill marks. The internal temperature should reach 165°F (74°C). If your chicken breasts are very thick, you might need to reduce the heat slightly and cover the grill for the last few minutes to ensure they cook through evenly.
Step 4: Rest the Chicken
Once the chicken is grilled, transfer it to a clean cutting board. Let it rest for at least 5 minutes. This step is super important! Resting allows the juices to redistribute throughout the meat, making it incredibly moist and tender. If you cut into it immediately, all those delicious juices will run out onto the board. Nobody wants dry chicken!
Step 5: Assemble the Sandwich
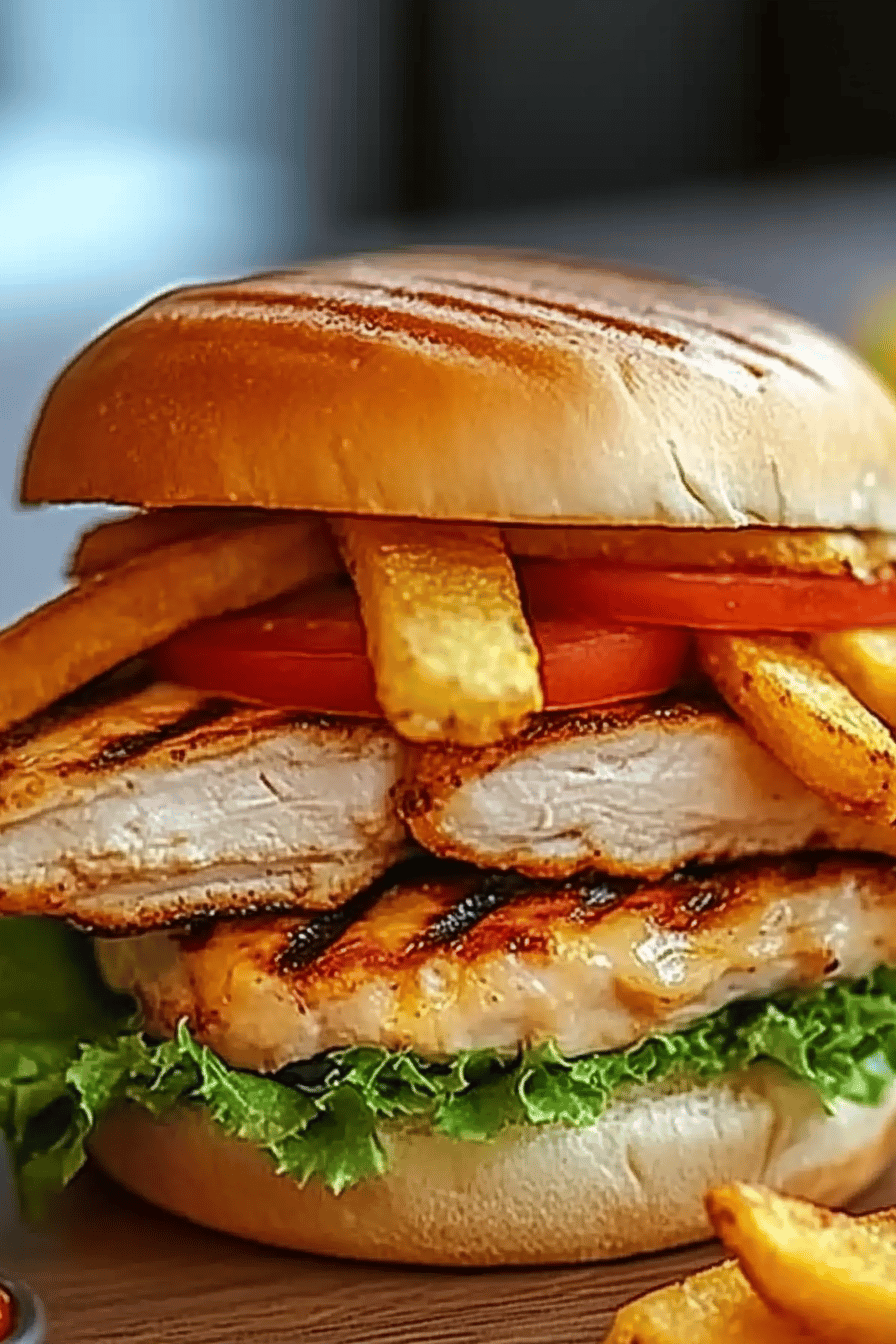
Now for the fun part – putting it all together! Spread a thin layer of your chosen sauce (mayo, creamy dill, etc.) on the bottom half of each toasted bun. Place a piece of crisp lettuce on top of the sauce. Then, add a slice of ripe tomato. Lay a grilled chicken breast on top of the tomato. If your chicken breast is a bit large, you can slice it in half horizontally to make it easier to manage on the bun, or even slice it after resting for a more uniform look. Top the chicken with a slice of cheese, letting it melt slightly from the residual heat of the chicken. Finally, place the top half of the bun on top.
Step 6: Serve Immediately
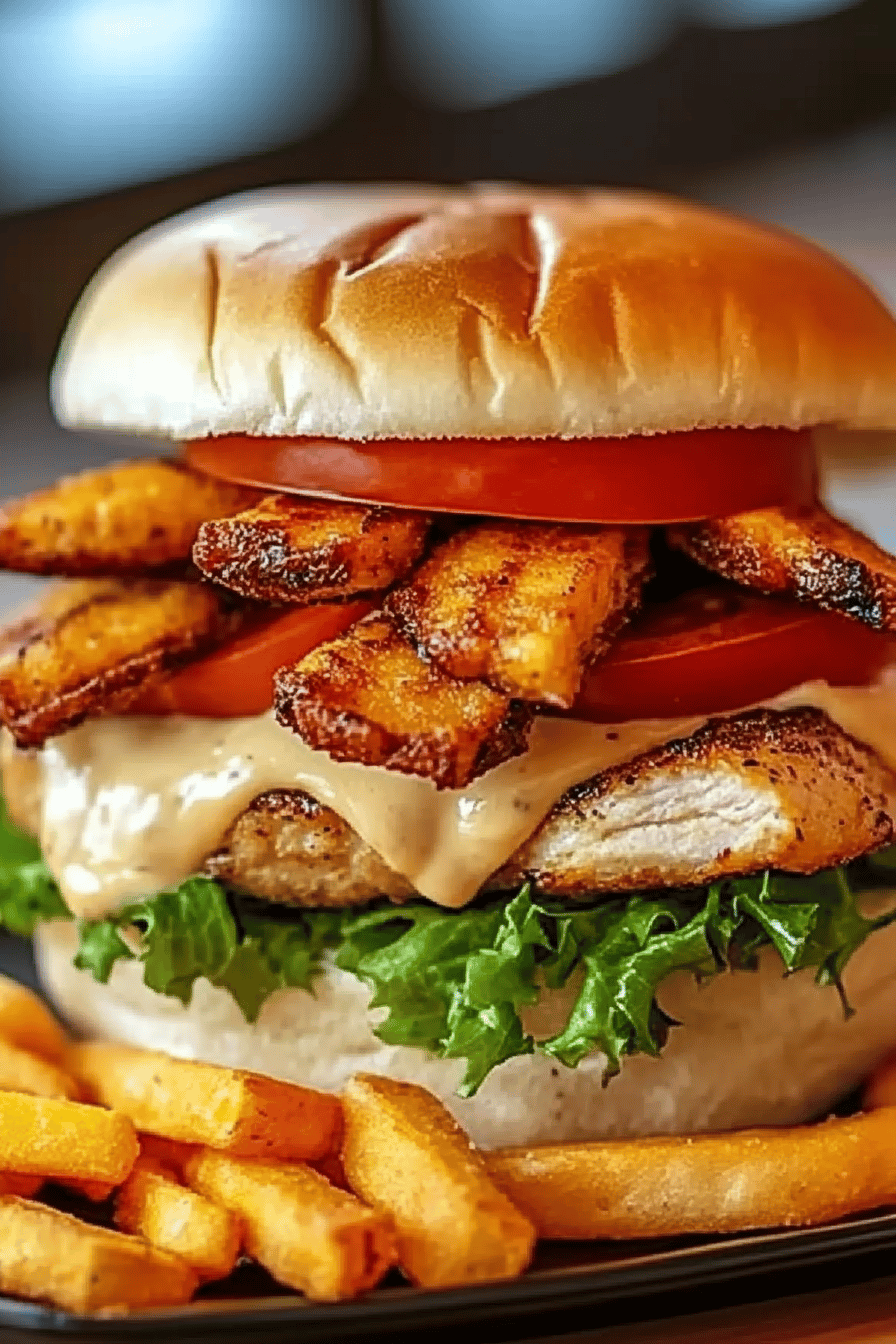
Serve your amazing homemade Chick-fil-A grilled chicken club immediately while the chicken is warm and the cheese is perfectly melty. The combination of the warm, juicy chicken, the crisp lettuce and tomato, the soft bun, and that irresistible grilled flavor is pure perfection.
What to Serve It With
This grilled chicken club is fantastic on its own, but it truly shines when paired with the right sides. For a classic **Breakfast** experience, I love serving it with a side of crispy tater tots and a strong cup of coffee. The savory flavors of the sandwich are the perfect start to the day. If you’re going for **Brunch**, think a bit more elegant. A light, refreshing fruit salad with berries and melon is a wonderful contrast to the richness of the sandwich. Or, consider a small side of seasoned Sweet Potato fries. For a more **Dessert**-like feel, though it sounds unconventional, a tiny scoop of lemon sorbet can be surprisingly refreshing after the savory sandwich. And for those **Cozy Snacks** or lighter lunches, a simple bowl of creamy tomato soup or a light coleslaw is absolutely divine. My family also loves pairing these with some homemade sweet potato fries – the sweetness of the fries is a lovely counterpoint to the savory chicken. It’s all about balance!
Top Tips for Perfecting Your Chick-fil-A Grilled Chicken Club
I’ve made this recipe so many times, and I’ve learned a few tricks along the way that really elevate it. For the **Chicken Prep**, make sure your chicken breasts are roughly the same thickness. If one is much thicker than the other, you can pound the thicker end down slightly with a meat mallet or the flat side of a heavy pan. This ensures even cooking. For **Mixing Advice**, when you’re whisking the marinade, make sure everything is well incorporated before adding the chicken. This helps distribute the seasonings evenly. And remember, don’t over-marinate; anything over 4-6 hours can start to break down the chicken too much, making it mushy. When it comes to **Swirl Customization** (if you’re adding any extra sauces like a spicy mayo), try applying it in a zig-zag pattern *after* the chicken is grilled but before adding the cheese. This way, it gets slightly warmed by the chicken but doesn’t burn on the grill. For **Ingredient Swaps**, if you don’t have buttermilk, you can make a quick substitute by adding 1 tablespoon of lemon juice or white vinegar to 1/4 cup of regular milk and letting it sit for 5-10 minutes. It works like a charm! For **Baking Tips** (if you’re using a grill pan indoors), make sure your pan is well-oiled or non-stick to prevent the chicken from sticking. And always use a meat thermometer to check for doneness; it’s the most reliable way to ensure perfectly cooked chicken. Lastly, **Glaze Variations** aren’t really applicable here since it’s a grilled sandwich, but if you were making a *different* kind of sandwich where a glaze was involved, I’d say the key is to apply it towards the end of cooking to prevent burning and to ensure it’s a consistency that coats nicely without running off. For this sandwich, the “glaze” is really the beautifully seared exterior of the chicken itself!
Storing and Reheating Tips
This sandwich is truly best enjoyed fresh off the grill. However, if you find yourself with leftovers, here’s how to handle them. **Room Temperature** storage isn’t ideal for long periods, especially with the fresh toppings; it’s best to eat it within an hour or two of assembly. If you need to store components separately, keep the grilled chicken and toppings (lettuce, tomato) in airtight containers in the refrigerator. For **Refrigerator Storage**, you can store assembled sandwiches for up to 1-2 days. The bun might get a little soft, but the flavor will still be there. To reheat, I recommend taking the chicken out of the bun, gently warming it in a skillet or a toaster oven until heated through (about 350°F or 175°C for a few minutes), and then reassembling with fresh lettuce and tomato on a lightly toasted bun. This helps maintain the best texture. **Freezer Instructions** aren’t really recommended for the assembled sandwich, as the textures of the bun and fresh toppings won’t hold up well. However, you can absolutely freeze the cooked and cooled chicken breasts for up to 2-3 months. Thaw them overnight in the refrigerator and then reheat as mentioned above. The key to keeping leftovers enjoyable is separating the components as much as possible until you’re ready to eat.
Frequently Asked Questions
Final Thoughts
There you have it – your very own, unbelievably delicious Chick-fil-A grilled chicken club! I hope you feel as excited about making this as I do eating it. It’s a recipe that truly delivers on flavor and satisfaction, proving that you don’t need to leave your house to enjoy some of your favorite restaurant-style meals. It’s the perfect example of how a little bit of care and the right ingredients can make something truly spectacular. If you give this recipe a try, please let me know how it turns out in the comments below! I’d love to hear your variations or any family twists you add. And if you loved this, you might also enjoy my Spicy Fried Chicken Sandwich recipe for another fun challenge! Happy cooking, and enjoy every single bite!
Chick-fil-A Grilled Chicken Club Sandwich
Ingredients
Chicken Marinade
- 2 boneless, skinless chicken breasts Chicken Breasts halved horizontally
- 2 tablespoons Soy Sauce
- 1 tablespoon Honey
- 1 teaspoon Garlic Powder
- 0.5 teaspoon Smoked Paprika
- 0.25 teaspoon Black Pepper
Sandwich Assembly
- 4 brioche buns Brioche Buns split
- 4 slices Bacon cooked until crispy
- 4 slices Cheddar Cheese
- 0.5 cup Lettuce shredded
- 1 medium Tomato sliced
Honey Mustard Sauce
- 0.5 cup Mayonnaise
- 2 tablespoons Dijon Mustard
- 1 tablespoon Honey
- 0.5 teaspoon Apple Cider Vinegar
Instructions
Preparation Steps
- In a bowl, whisk together soy sauce, honey, garlic powder, smoked paprika, and black pepper for the marinade. Add the chicken breasts and marinate for at least 30 minutes (or up to 4 hours in the refrigerator).
- While the chicken is marinating, prepare the honey mustard sauce by combining mayonnaise, Dijon mustard, honey, and apple cider vinegar in a small bowl. Stir until well combined. Set aside.
- Preheat your grill or a grill pan to medium-high heat. Grill the marinated chicken breasts for about 5-6 minutes per side, or until cooked through and internal temperature reaches 165°F (74°C).
- Once the chicken is cooked, place a slice of cheddar cheese on top of each chicken breast and let it melt for a minute. If using a grill pan, you can cover it briefly.
- Lightly toast the brioche buns on the grill or in a toaster. Spread a generous amount of the honey mustard sauce on the bottom half of each bun.
- Assemble the sandwiches: Place a grilled chicken breast with melted cheese on top of the sauce on each bottom bun. Top with crispy bacon, shredded lettuce, and a slice of tomato.
- Place the top half of the bun on each sandwich. Serve immediately.
Notes
Featured Comments
“Impressed! Clear steps and comforting results. Perfect for busy nights.”
“New favorite here — crowd-pleaser. crowd-pleaser was spot on.”
“Super easy and turned out amazing! My family asked for seconds. Saving this one.”
“This sweet treat was absolutely loved — the silky really stands out. Thanks!”
“Made it tonight and wow — quick weeknight win! Will definitely make Chick-fil-A grilled chicken club again.”
“Packed with flavor and so simple. Exactly what I wanted from Chick-fil-A grilled chicken club.”


