

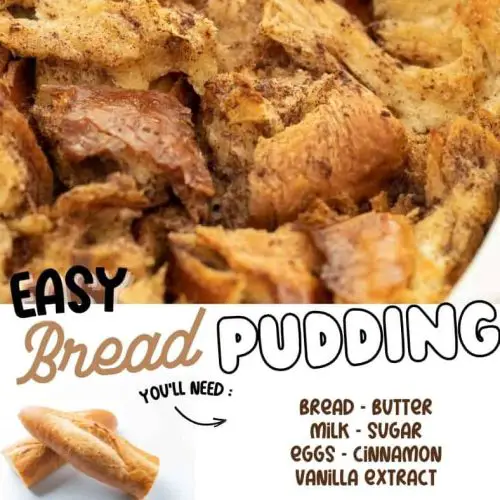
Okay, confession time. There are a lot of desserts out there that are fancy, complicated, and frankly, a bit of a fuss. But sometimes, you just want something that feels like a warm hug, something comforting and utterly delicious without requiring you to be a pastry chef. That’s where this incredible Bread Pudding dessert comes in. It’s the kind of recipe that makes your kitchen smell like pure heaven, and it’s honestly one of my absolute favorites to whip up. It’s less fussy than a traditional cake, way more satisfying than a simple cookie, and it has this magical way of using up those leftover bits of bread that would otherwise go stale. I’ve been making this for years, and my family devours it every single time. It’s the ultimate crowd-pleaser, perfect for a cozy night in or even when you have unexpected guests drop by.
What Is Bread Pudding Dessert?
So, what exactly is this magical bread pudding dessert? At its heart, it’s a dish made from stale bread soaked in a custard-like mixture, usually with eggs, milk, and sugar, and then baked until golden and delicious. Think of it as the sophisticated cousin of French Toast, but baked into a comforting, cohesive dessert. The bread soaks up all those lovely flavors, becoming tender and rich, while the custard provides a creamy, custardy base. It’s not about being fancy; it’s about transforming simple, humble ingredients into something truly special. This particular bread pudding dessert is a bit of a personal take, with a few twists I’ve picked up over the years to make it extra decadent and satisfying. It’s the kind of thing that makes you feel like you’ve accomplished something wonderful in the kitchen, even if you’re just starting out.
Why you
Honestly, the list of reasons I adore this bread pudding dessert is pretty long! First off, the flavor is just out of this world. It’s rich, creamy, and perfectly sweet, with hints of vanilla and whatever delicious additions you choose to make. It’s not cloyingly sweet, but just right to satisfy that craving for something comforting. Then there’s the simplicity. Seriously, if you can whisk a few things together and tear up some bread, you can make this. It’s surprisingly forgiving, which is always a bonus in my book. And let’s talk about cost-efficiency! This recipe is a lifesaver for using up day-old bread that might otherwise go to waste. The ingredients are pantry staples, meaning you likely have most of them on hand right now. Plus, it’s incredibly versatile. I’ll get into more variations later, but you can adapt this bread pudding dessert to fit almost any flavor profile you’re craving. What I love most about this particular recipe, though, is the texture. It has that perfect balance of soft, custardy interior with a slightly crisp, caramelized edge. It’s pure comfort food in every single bite, and it’s miles better than any store-bought version you’ll find. It’s the kind of dessert that brings smiles to faces, and that’s always a win in my kitchen!
How to Make Bread Pudding Dessert
Quick Overview
Making this bread pudding dessert is a straightforward process that really lets simple ingredients shine. You’ll basically cube your bread, whisk together a simple custard base, combine them, and then bake it until it’s golden brown and set. The real magic happens during the soaking and baking, where the bread transforms into this tender, custardy delight. It’s a recipe that doesn’t demand constant attention, making it perfect for busy weeknights or when you’re entertaining. I love how the aroma fills the house as it bakes – it’s an instant mood booster!
Ingredients
For the Main Batter:
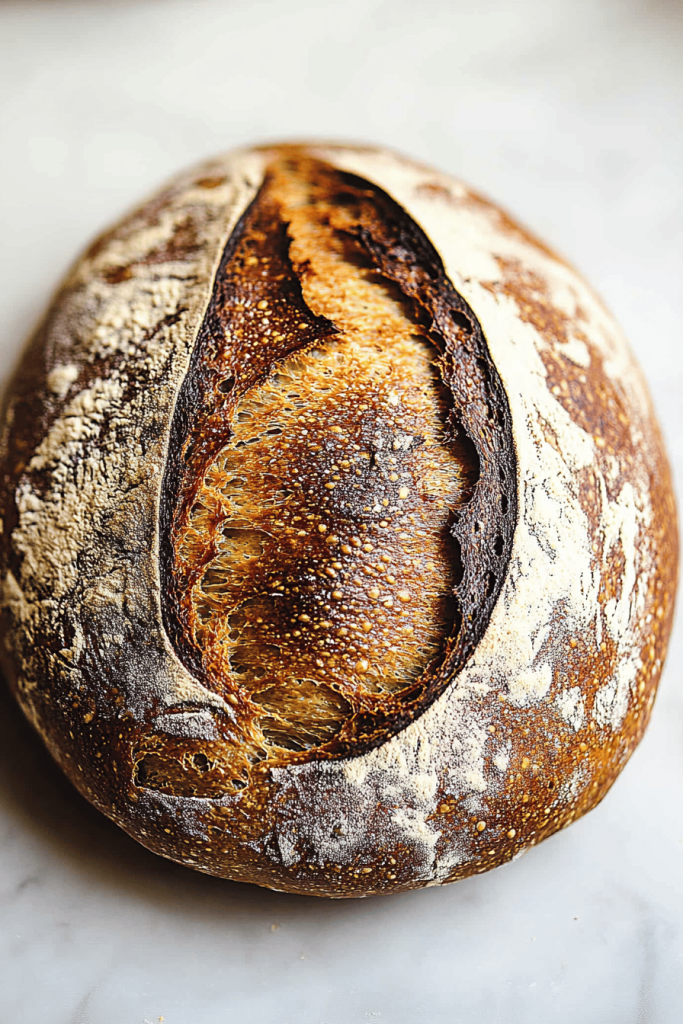
6 cups day-old bread, cubed (about 1-inch pieces). I love using a mix of challah or brioche for richness, but a good crusty baguette or even simple white bread works wonderfully. The key is that it’s not fresh and soft, so it can soak up all that delicious custard without turning to complete mush. Make sure to tear or cut it into fairly uniform pieces so it bakes evenly.
4 large eggs. These are the backbone of our custard, providing structure and richness. Make sure they’re at room temperature if you have time; it helps them emulsify better with the milk.
2 cups whole milk. You can use 2%, but whole milk really lends a creamier, more luxurious texture to the bread pudding. If you’re feeling adventurous, I’ve had success with half-and-half for an extra decadent treat!
1/2 cup granulated sugar. This balances the richness and gives us that lovely sweetness. You can adjust this slightly depending on how sweet you like your desserts.
1 teaspoon Vanilla Extract. A must-have for that classic sweet aroma and flavor. Don’t skimp on this!
1/2 teaspoon ground cinnamon. This adds a warm, comforting spice note that just sings in this bread pudding dessert.
Pinch of salt. This is crucial! It balances the sweetness and really makes all the other flavors pop.
For the Filling (Optional but highly recommended!):
1/2 cup raisins or dried cranberries. These plump up beautifully as they bake, adding little bursts of chewy sweetness.
1/4 cup chopped nuts (pecans or walnuts work great). For a lovely crunch and earthy flavor.
Zest of 1 lemon or orange. A little citrus zest really brightens up the flavors and cuts through the richness. Trust me on this one!
For the Glaze (Again, optional but worth it!):
1/2 cup powdered sugar. Sifted to avoid lumps.
2-3 tablespoons milk or cream. Just enough to reach your desired drizzling consistency.
1/4 teaspoon vanilla extract. For a touch more flavor.
Step-by-Step Instructions
Step 1: Preheat & Prep Pan
First things first, get your oven preheating to 350°F (175°C). While that’s warming up, grease a 9×13 inch baking dish generously with butter or cooking spray. I like to use a bit of softened butter and rub it all over the inside of the dish – it adds a little extra flavor and helps ensure nothing sticks. This step is super important for easy cleanup and a beautiful presentation.
Step 2: Mix Dry Ingredients
In a large bowl, toss your cubed bread with the ground cinnamon and the pinch of salt. If you’re using any optional dried fruit or nuts for the filling, you can toss those in now too, though I sometimes like to scatter them as I layer. The goal here is just to get everything coated evenly so you don’t have pockets of unseasoned bread.
Step 3: Mix Wet Ingredients
In a separate medium bowl, whisk together the eggs until they’re nicely beaten. Then, whisk in the milk, granulated sugar, and vanilla extract until everything is well combined and smooth. You don’t need to go crazy here, just make sure the sugar is dissolved and the eggs are fully incorporated.
Step 4: Combine
Now, pour the wet ingredients over the cubed bread mixture. Gently stir everything together, making sure all the bread pieces are getting coated in that lovely custard. Let it sit for about 10-15 minutes, stirring occasionally. This gives the bread a chance to soak up the liquid. Don’t worry if it looks a little soupy; that’s exactly what we want!
Step 5: Prepare Filling
If you opted for the optional filling ingredients like raisins, cranberries, or nuts, and you didn’t mix them in earlier, now’s a good time to get them ready. If you’re using citrus zest, mix that into the wet ingredients in Step 3. The goal is just to have your little flavor boosters prepped and ready to go.
Step 6: Layer & Swirl
Pour half of the bread and custard mixture into your prepared baking dish. If you’re using your filling ingredients separately, sprinkle half of them over this layer. Then, pour the remaining bread mixture over the top. If you have any extra filling ingredients, sprinkle those on top now. Gently press down on the bread with a spatula to ensure it’s mostly submerged in the custard. For an extra pretty look, you can do a gentle swirl with a knife, but it’s not essential for this bread pudding dessert!
Step 7: Bake
Place the baking dish in your preheated oven. Bake for 40-50 minutes, or until the bread pudding is golden brown on top and a knife inserted into the center comes out clean. The edges should be set, and the center might be just a tiny bit jiggly – that’s perfectly okay, as it will continue to set as it cools. Ovens can vary, so keep an eye on it towards the end.
Step 8: Cool & Glaze
Once it’s out of the oven, let the bread pudding dessert cool for at least 10-15 minutes before slicing. This is important! It allows the custard to fully set, making it easier to cut and preventing it from falling apart. While it’s cooling, you can whisk together your glaze ingredients: powdered sugar, milk, and vanilla extract. Start with 2 tablespoons of milk and add more a teaspoon at a time until you reach a nice, drizzly consistency. Drizzle it over the warm (not piping hot!) bread pudding just before serving.
Step 9: Slice & Serve
Cut the bread pudding dessert into generous squares and serve warm. A little extra drizzle of the glaze is always welcome, or a dollop of whipped cream or a scoop of vanilla Ice Cream takes it to the next level. The aroma alone is enough to make your mouth water!
What to Serve It With
This bread pudding dessert is incredibly versatile and can be enjoyed at almost any time of day. For a delightful Breakfast, a simple slice with a good cup of coffee is pure bliss. The comforting flavors and textures make for a perfect start to the day, especially on a chilly morning. You could even add a few fresh berries on the side for a bit of brightness. If you’re planning a festive Brunch, consider plating individual servings with a dusting of powdered sugar and a side of fresh fruit salad. It feels elegant enough for company but is still wonderfully down-to-earth. As a standalone Dessert, it’s a winner after any meal. Serve it warm with a scoop of vanilla bean ice cream, a drizzle of caramel sauce, or even a dollop of lightly sweetened whipped cream. It’s reminiscent of a classic apple crumble but with that signature bread pudding lusciousness. And for those spontaneous Cozy Snacks or late-night cravings, a simple warm slice, perhaps with a glass of milk or a mug of hot chocolate, is pure comfort. My kids always ask for seconds, and honestly, I’m right there with them!
Top Tips for Perfecting Your Bread Pudding Dessert
I’ve made this bread pudding dessert more times than I can count, and over the years, I’ve picked up a few tricks that I think really elevate it. For starters, when it comes to the bread, make sure it’s truly day-old or even two days old. Fresh bread just won’t absorb the custard properly, leading to a denser, sometimes gummy texture. Tearing the bread into irregular pieces rather than precise cubes can also create more interesting nooks and crannies for the custard to get into. When you’re mixing the wet and dry ingredients, don’t overmix. A few streaks of dry bread are fine; overmixing can develop the gluten and make your pudding tough. Just gently fold everything together until it’s combined. For the custard itself, I’ve found that using room temperature eggs and milk helps everything emulsify beautifully. It makes for a smoother, more consistent texture. If you’re adding flavorings like citrus zest, I always recommend adding it to the wet ingredients. It distributes more evenly and you get that lovely aroma permeating the whole pudding. When it comes to baking, keep an eye on the edges. If they start to brown too quickly before the center is set, you can loosely tent the dish with foil. For the glaze, the consistency is key. You want it thick enough to drizzle but thin enough to spread easily. It’s always better to start with less liquid and add more gradually. I’ve learned that lesson the hard way a few times! And finally, don’t rush the cooling process. Patience here really pays off in terms of texture and how easily you can slice it. Letting it rest for at least 10-15 minutes makes all the difference. If you want to get fancy, you can even add a layer of sliced apples or pears to the bottom of the dish before adding the bread mixture for a fruity twist!
Storing and Reheating Tips
This bread pudding dessert is fantastic for making ahead, which is a lifesaver for busy households like mine. Once it’s baked and cooled slightly, you can store leftovers at room temperature for up to 24 hours if it’s in a cool environment. Just make sure to cover it tightly with plastic wrap or foil to keep it fresh. For longer storage, I always recommend refrigerator storage. Transfer any leftovers to an airtight container or cover the baking dish tightly with plastic wrap and foil. It will stay delicious in the fridge for about 3-4 days. The texture might change slightly, becoming a bit denser, but it’s still wonderfully tasty. If you want to keep it even longer, freezing is a great option. Let the bread pudding cool completely, then cut it into individual portions, wrap each piece tightly in plastic wrap, and then place them in a freezer-safe bag or container. It can be frozen for up to 2-3 months. To reheat, you can either pop a slice in the microwave for about 30-60 seconds until warmed through, or for a crispier texture, place it on a baking sheet in a preheated oven at 300°F (150°C) for about 10-15 minutes, or until heated through. I usually wait to add the glaze until *after* it’s been baked and cooled, or right before serving if I’m reheating it, as it can get a little sticky if applied too early to stored pudding. Just whisk up a fresh batch or reheat gently!
Frequently Asked Questions
Final Thoughts
Seriously, this bread pudding dessert is the recipe I go back to again and again. It’s the kind of dish that just makes everyone happy. It’s comforting, incredibly flavorful, and surprisingly easy to make, which is my favorite kind of recipe. The way it transforms simple, everyday ingredients into something so delightful is truly special. If you’re looking for a dessert that’s a step up from basic but still manageable for any home cook, this is it. It’s perfect for using up those leftover loaves and a fantastic way to impress your family and friends without spending hours in the kitchen. I really hope you give this bread pudding dessert a try; I’m convinced you’ll love it as much as we do. Once you’ve tried it, I’d be thrilled to hear how it turned out for you! Feel free to share your own twists and turns in the comments below. Happy baking, and enjoy every spoonful!
Easy Bread Pudding
Ingredients
Main Ingredients
- 0.5 loaf day old French or Italian bread or challah bread
- 2 tablespoons butter, melted
- 2 cups milk
- 0.75 cup sugar
- 4 eggs, beaten
- 1 teaspoon ground cinnamon
- 1 teaspoon vanilla extract
Instructions
Preparation Steps
- Preheat oven to 350 degrees F. Butter an 8 inch square baking dish.
- Rip bread into bite-size pieces and place into the baking dish.
- Pour melted butter over the bread.
- In a medium bowl combine milk, sugar, egg, cinnamon, and vanilla. Stir to mix.
- Pour egg mixture over the bread, trying to cover it all. Use the back of a spoon or fork to press the bread into the egg mixture so every piece soaks some up.
- Bake 45 minutes or until golden brown.
Notes
Featured Comments
“I totally get it—sometimes the simplest desserts hit the spot! This bread pudding sounds like pure comfort in a bowl.”
“Impressed! Clear steps and creamy results. Perfect for busy nights.”
“New favorite here — turned out amazing. crowd-pleaser was spot on.”
“Super easy and turned out amazing! My family asked for seconds. Saving this one.”
“This sweet treat was absolutely loved — the silky really stands out. Thanks!”
“Made it tonight and wow — turned out amazing! Will definitely make Easy Bread Pudding Perfect Dessert again.”


I totally get it—sometimes the simplest desserts hit the spot! This bread pudding sounds like pure comfort in a bowl.