

Oh, how I love this time of year! The air gets crisp, the leaves start to turn, and my kitchen instantly feels like the coziest place on earth. And you know what that means? It’s time for comfort food, and for me, that absolutely includes indulging in something sweet and familiar. I’m talking about the kind of dessert that makes you close your eyes and sigh with pure happiness. Forget fussy cakes or complicated tarts; today, I’m sharing my absolute favorite, no-fuss Chocolate Chip Cookie Pie. Chocolate Chip Cookie Pie.. Seriously, if you’ve ever dreamt of biting into a warm, gooey chocolate chip cookie the size of your head, this is it. It’s like your favorite classic cookie decided to go big or go home, and I am here for it. It’s so much easier than individual cookies, and the results? Pure magic. My kids practically inhale it whenever I make it, and it’s my go-to when I need a serious sweet fix after a long day.
What is chocolate chip cookie pie?
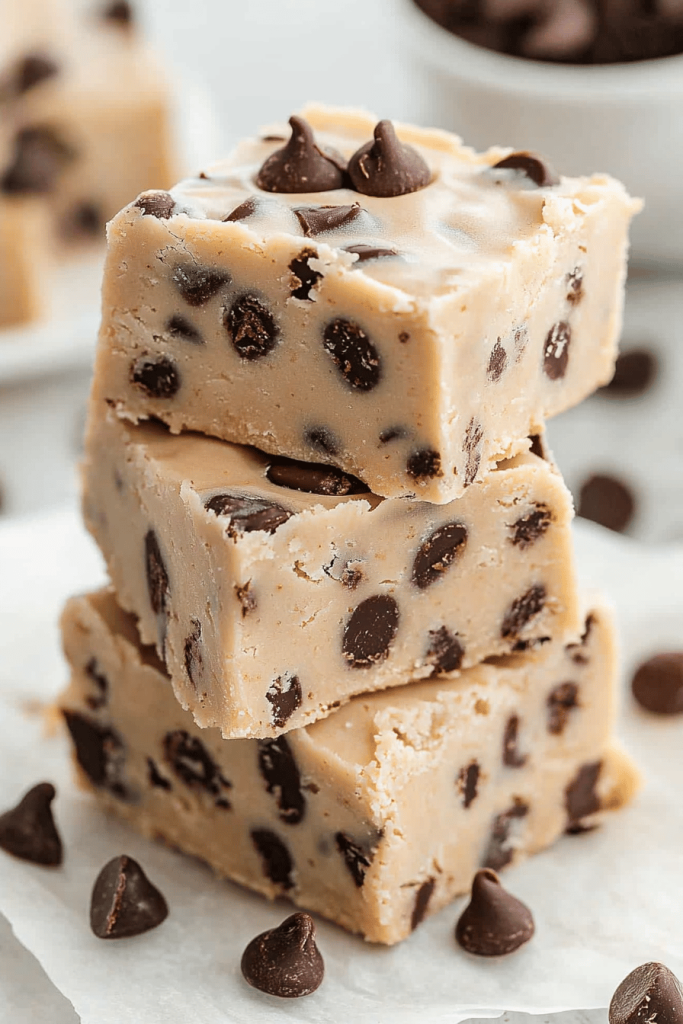
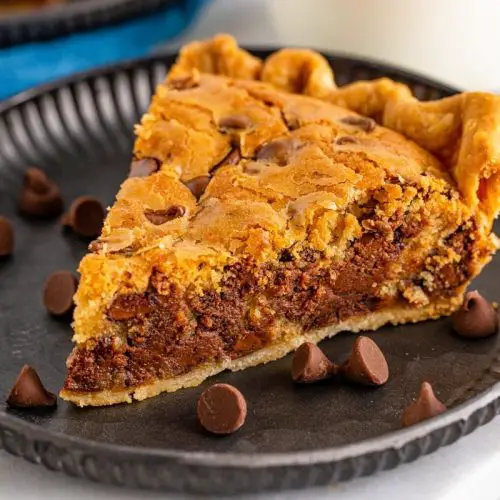
So, what exactly is this magical creation? Think of it as taking all the best parts of a perfectly baked Chocolate Chip Cookie – the chewy center, the slightly crisp edges, the pockets of melted chocolate – and transforming it into a glorious pie. It’s not really a pie in the traditional sense with a crust and a filling; rather, it’s more like a giant, flattened cookie baked in a pie plate. The dough is spread out, and then it’s baked until it’s wonderfully golden brown and baked through, but still has that irresistible soft, gooey texture in the middle that just melts in your mouth. It’s the ultimate crowd-pleaser, and honestly, it’s pretty much fail-proof. It’s essentially a hug in dessert form, and who doesn’t need more of that?
How do I make chocolate chip cookie pie?
Quick Overview
Making this Chocolate Chip cookie pie is surprisingly straightforward. You’ll essentially be mixing up a classic chocolate chip cookie dough, pressing it into a pie plate, and baking it until it’s golden brown and utterly irresistible. The whole process, from start to finish, takes less time than you might think, and the minimal cleanup is a huge bonus. It’s the perfect weeknight treat or weekend indulgence that will have everyone asking for the recipe.
Ingredients
For the Main Batter:
2 and 1/4 cups all-purpose flour (I always sift mine for a lighter texture)
1 teaspoon baking soda (this is crucial for that perfect chewy texture)
1/2 teaspoon salt (balances the sweetness beautifully)
1 cup (2 sticks) unsalted butter, softened (make sure it’s truly softened, not melted! This is key for texture.)
3/4 cup granulated sugar
3/4 cup packed light brown sugar (the brown sugar adds that wonderful caramel note and chewiness)
2 large eggs (room temperature is best for emulsification)
1 teaspoon vanilla extract (use a good quality one, it makes a difference!)
2 cups (about 12 ounces) semi-sweet chocolate chips (I like a mix of chips and chunks for variety)
For the Filling:
(While this recipe doesn’t have a separate “filling” in the traditional pie sense, the magic happens as the cookie dough bakes and its ingredients meld together. The chocolate chips become molten pockets of deliciousness, and the sugars caramelize to create a wonderful texture.)
For the Glaze:
1/2 cup powdered sugar
1-2 tablespoons milk (or half-and-half for extra richness)
1/4 teaspoon vanilla extract (optional, for extra flavor)
Step-by-Step Instructions
Step 1: Preheat & Prep Pan
First things first, preheat your oven to 375°F (190°C). Grab a 9-inch pie plate. You don’t need to grease it heavily; a light greasing or even just a quick spray of non-stick cooking spray is usually enough. I sometimes use a tiny bit of butter just to be sure nothing sticks. This ensures your cookie pie bakes evenly and gets that perfect slightly crisp edge.
Step 2: Mix Dry Ingredients
In a medium bowl, whisk together the all-purpose flour, baking soda, and salt. Give it a good stir to make sure everything is evenly distributed. This ensures your leavening agent (baking soda) works properly, giving you that wonderful lift and chew. It’s a simple step, but it’s crucial for the final texture.
Step 3: Mix Wet Ingredients
In a large bowl, cream together the softened butter, granulated sugar, and packed light brown sugar until it’s light and fluffy. This usually takes a few minutes with an electric mixer. Then, beat in the eggs one at a time, mixing well after each addition. Stir in the vanilla extract. This creaming process is what incorporates air, making your cookie pie light and tender.
Step 4: Combine
Gradually add the dry ingredients to the wet ingredients, mixing on low speed (or with a wooden spoon) until just combined. Be careful not to overmix here! Overmixing develops the gluten in the flour, which can make your cookie pie tough. Stop mixing as soon as you don’t see any more streaks of flour. It’s okay if the dough looks a little shaggy.
Step 5: Prepare Filling
Gently fold in the semi-sweet chocolate chips. Make sure they’re evenly distributed throughout the dough. This is where the magic really starts! You want those pockets of gooey chocolate in every bite.
Step 6: Layer & Swirl
Spoon the cookie dough into your prepared pie plate. Use the back of a spoon or your lightly floured fingertips to press the dough evenly into the bottom and up the sides of the pie plate, creating a crust-like edge. You want it to be about 1/2 to 3/4 inch thick. Make sure it’s relatively even so it bakes uniformly.
Step 7: Bake
Bake for 25-35 minutes, or until the edges are golden brown and the center looks set but still slightly soft. The baking time can vary depending on your oven, so keep an eye on it. A toothpick inserted into the center should come out with moist crumbs, not wet batter. I always err on the side of slightly underbaked for maximum gooeyness!
Step 8: Cool & Glaze
Let the cookie pie cool in the pie plate on a wire rack for at least 15-20 minutes. This is important! It needs time to firm up. While it’s cooling, whisk together the powdered sugar, 1 tablespoon of milk, and vanilla extract (if using) in a small bowl until smooth. Add more milk, a tiny bit at a time, until you reach your desired drizzling consistency. Drizzle the glaze over the slightly cooled cookie pie. Don’t wait too long, or the pie will be too cool and the glaze won’t spread as nicely.
Step 9: Slice & Serve
Once the glaze has set a bit, slice your amazing chocolate chip cookie pie into wedges. It’s best served warm, ideally with a glass of cold milk or a scoop of your favorite ice cream. Enjoy every single gooey bite!
What to Serve It With
This glorious chocolate chip cookie pie is so incredibly versatile, it fits into almost any meal or occasion. It’s not just a dessert, folks! For a truly decadent breakfast, a warm slice paired with a strong cup of coffee is pure bliss. The sweetness is just right to start your day, and the warm chocolate is like a little hug. For a more elegant brunch spread, I love cutting it into smaller, bite-sized squares and serving it alongside some fresh fruit or yogurt parfaits. It adds a fun, unexpected sweet element that guests always rave about. As a dessert, well, it’s a no-brainer! It’s divine served warm with vanilla bean ice cream, a dollop of whipped cream, or even a drizzle of salted caramel sauce. For those cozy, quiet evenings when you just need a little comfort, a generous slice enjoyed straight from the pie plate (no judgment here!) with a tall glass of cold milk is simply perfect. My family also loves making “cookie pie sandwiches” by cutting out two rounds and spreading them with more ice cream. It’s truly a treat for any time of day!
Top Tips for Perfecting Your Chocolate Chip Cookie Pie
I’ve made this chocolate chip cookie pie more times than I can count, and through all those batches, I’ve picked up a few tricks that I think make it even better. So, let’s dive into some of my best tips for achieving cookie pie perfection! First, and I can’t stress this enough, **room temperature ingredients** for the dough make a huge difference. Softened butter that’s not melted is key to that perfect chewy texture. If your butter is too cold, it won’t cream properly, and if it’s melted, your cookies will spread too much and become flat and crispy. For the eggs, having them at room temperature helps them incorporate better into the batter, creating a smoother, more emulsified dough. When it comes to the flour, I always recommend measuring it accurately. Too much flour can make your cookie pie dry and dense. The best way to do this is to spoon the flour into your measuring cup and then level it off with a straight edge, rather than scooping directly from the bag. Overmixing is another common pitfall. Once you add the dry ingredients to the wet, mix only until they are just combined. A few streaks of flour are okay because they’ll disappear during baking. Overmixing develops the gluten, resulting in a tough cookie pie. I learned this the hard way early on! For the chocolate chips, I love using a mix of chips and chunks, or even different types like dark, milk, and white chocolate. It adds so much depth and visual appeal. Don’t be afraid to experiment with add-ins like nuts or toffee bits either! When it comes to baking, ovens can be finicky. My best advice is to know your oven. If you know it runs hot, consider reducing the temperature slightly or baking for a shorter time. Look for those golden brown edges and a center that’s set but still looks a little soft. It will continue to bake a bit as it cools, so you don’t want to overdo it. For the glaze, consistency is everything. Start with less milk and add more gradually until you get that perfect drizzling thickness. You want it to flow nicely over the pie but not be so thin that it just runs off. If you accidentally make it too thin, just whisk in a little more powdered sugar. If it’s too thick, add a drop more milk. Finally, patience during the cooling phase is crucial. Letting the pie rest in the pan for at least 15-20 minutes allows it to set up properly, preventing it from falling apart when you slice it. Trust me on this one – resisting the urge to dig in immediately is worth it!
Storing and Reheating Tips
One of the things I love about this chocolate chip cookie pie is how well it stores, making it easy to enjoy leftovers (if there are any!). If you find yourself with a slice or two left, simply cover the pie plate tightly with plastic wrap or foil. Stored at room temperature, it will stay delicious for about 2-3 days, especially if you keep it in a cool, dry place. It’s perfect for grabbing a quick treat throughout the day. If you know you won’t finish it within a couple of days, or if your kitchen is particularly warm, refrigerator storage is your best bet. It will keep well in the fridge for up to 5 days. Make sure it’s well-covered to prevent it from drying out. When you’re ready to enjoy a slice again, you can eat it cold straight from the fridge (some people prefer it this way!), or you can gently reheat it. A quick zap in the microwave for about 15-20 seconds per slice is usually enough to warm it through and get those chocolate chips melty again. For a slightly crispier edge, you can pop a slice into a toaster oven for a few minutes. If you plan to freeze portions, I highly recommend slicing the pie first. Wrap individual slices tightly in plastic wrap, then in a layer of aluminum foil or place them in a freezer-safe airtight container. Properly stored, your cookie pie can be frozen for up to 2-3 months. Thaw frozen slices overnight in the refrigerator or use the microwave on a defrost setting. For the glaze, it’s best to apply it just before serving if you plan to store leftovers, especially if refrigerating, as the moisture can sometimes make it sticky or melty. If you do glaze before storing, just be aware it might change texture slightly. Honestly though, this pie rarely lasts long enough for me to worry too much about long-term storage!
Frequently Asked Questions
Final Thoughts
So there you have it – my absolute go-to chocolate chip cookie pie recipe! It’s genuinely one of those desserts that makes me happy just thinking about it. It’s the perfect blend of nostalgic comfort and pure, unadulterated indulgence. Whether you’re looking for a show-stopping dessert for a gathering, a simple treat for a cozy night in, or just an excuse to enjoy a giant, warm cookie, this pie delivers every single time. It’s incredibly forgiving, which means even if you’re new to baking, you can whip this up with confidence. It’s proof that sometimes, the simplest ideas are the most brilliant. If you love this recipe, you might also enjoy my fudgy brownie recipe or my classic chewy oatmeal raisin cookies. They’re all part of my collection of tried-and-true favorites that bring joy to my kitchen and to my family’s table. I can’t wait to hear what you think of this chocolate chip cookie pie! Please let me know in the comments below how yours turns out, and if you have any fun variations you tried. Happy baking, everyone!
Chocolate Chip Cookie Pie
Ingredients
Main Ingredients
- 1 9-inch pie crust pie crust
- 1 cup light brown sugar packed
- 0.5 cup unsalted butter melted and cooled
- 2 large eggs
- 0.5 tsp vanilla extract
- 0.75 cup all-purpose flour
- 1 pinch fine salt
- 1.5 cups milk chocolate chips
Instructions
Preparation Steps
- Start by preheating your oven to 350°F. Place your pie crust into a 9-inch pie dish and crimp the edges gently, then set that aside for later.
- Whisk the brown sugar and melted (and cooled) butter together in a large bowl.
- Add in your eggs and vanilla then whisk again until smooth.
- Add your flour and salt to the mixture and mix it until well combined.
- Add your chocolate chips and stir them in.
- Pour the cookie batter into your prepared pie crust and smooth it out carefully with a rubber spatula on top. Sprinkle more chocolate chips on top if desired.
- Bake in the preheated oven for 45-50 minutes or until a toothpick pushed into the center comes out clean. Let cool on a wire cooling rack until ready to serve.
- Serve warm or at room temperature.
Notes
Featured Comments
“This cookie pie looks amazing — perfect for cozy fall evenings! I'd love to try it this weekend.”
“Impressed! Clear steps and comforting results. Perfect for busy nights.”
“New favorite here — turned out amazing. crowd-pleaser was spot on.”
“Super easy and turned out amazing! My family asked for seconds. Saving this one.”
“This sweet treat was absolutely loved — the light really stands out. Thanks!”
“Made it tonight and wow — quick weeknight win! Will definitely make Easy Chocolate Chip Cookie Pie Delight again.”


This cookie pie looks amazing — perfect for cozy fall evenings! I’d love to try it this weekend.