

Easy Layered No Bake Dessert (Chocolate Swirl)
Ever have one of those days where you desperately need something sweet, but the thought of turning on your oven makes you want to cry? Yep, me too. That is exactly how this easy layered no bake dessert was born in my kitchen. Between running the kids to soccer practice and trying to keep the house somewhat presentable, baking a complex cake just isn’t always in the cards. But you know what is? This dreamy, creamy, chocolate-swirled masterpiece.
It is the kind of treat that looks like you spent hours slaving away, but secretly takes about 15 minutes of hands-on time. I brought this to a neighborhood potluck last month, and I kid you not, the pan was scraped clean before the main course was even finished. If you are looking for a foolproof, crowd-pleasing sweet treat that will not heat up your kitchen, you have found your new holy grail recipe. Grab your favorite mixing bowl, and let’s get into it!
What Is This Layered No Bake Dessert?
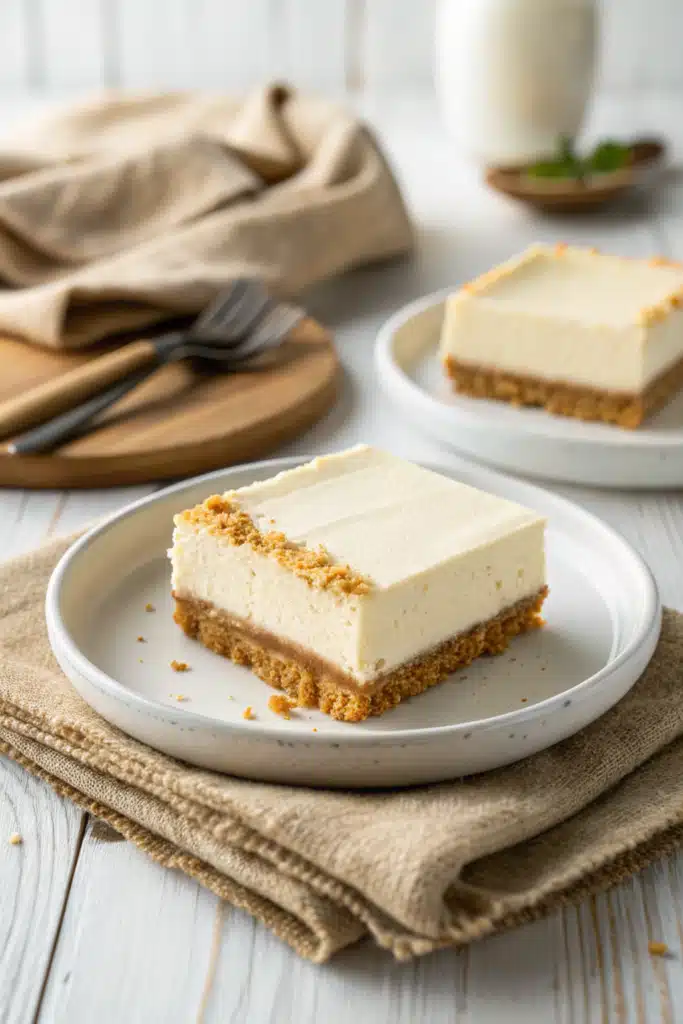
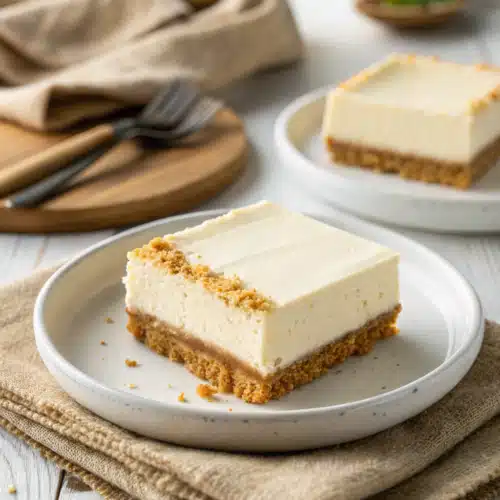
So, what exactly is this magical concoction? Think of this layered no bake dessert as the ultimate mashup between a fluffy cheesecake, a rich chocolate pudding pie, and a classic icebox cake. It starts with a buttery, crumbly graham cracker crust that doesn’t need a single second in the oven. Just a quick chill in the fridge sets it perfectly.
On top of that sits a luscious, tangy cream cheese layer folded together with freshly whipped cream to keep it light and airy. Next comes the star of the show: a velvety chocolate layer that we swirl right into the cream cheese mixture, creating that gorgeous marbled effect. Finish it all off with an extra dollop of whipped topping and maybe some chocolate shavings if you are feeling fancy. Because it sets up entirely in the fridge, the flavors meld together beautifully, making it the ultimate make-ahead treat for busy weekends or holiday gatherings.
How to Make This No Bake Dessert
Quick Overview
Making this layered no bake dessert is seriously a breeze. You are basically just mixing, layering, and chilling. We start by crushing up our cookies and tossing them with melted butter to form a solid base. While that sets in the fridge, we whip up a quick cream cheese filling until it is perfectly smooth and fluffy. Then, we mix up a quick chocolate pudding layer. The fun part is dolloping both mixtures over the crust and using a butter knife to swirl them together into a beautiful marbled pattern. After that, the fridge does all the heavy lifting!
Ingredients
- Graham crackers: About two sleeves, crushed into fine crumbs.
- Melted butter: Unsalted is best so you can control the saltiness of the crust.
- Cream cheese: Two blocks, softened to room temperature. Don’t skip this or you will get lumps!
- Powdered sugar: For just the right amount of sweetness in the filling.
- Heavy whipping cream: Whipped to stiff peaks to give our dessert that cloud-like texture.
- Instant chocolate pudding mix: One large box does the trick.
- Cold milk: To whisk into the pudding mix to get it nice and thick.
- Vanilla extract: Just a splash to enhance all the delicious flavors.
Step-by-Step Instructions
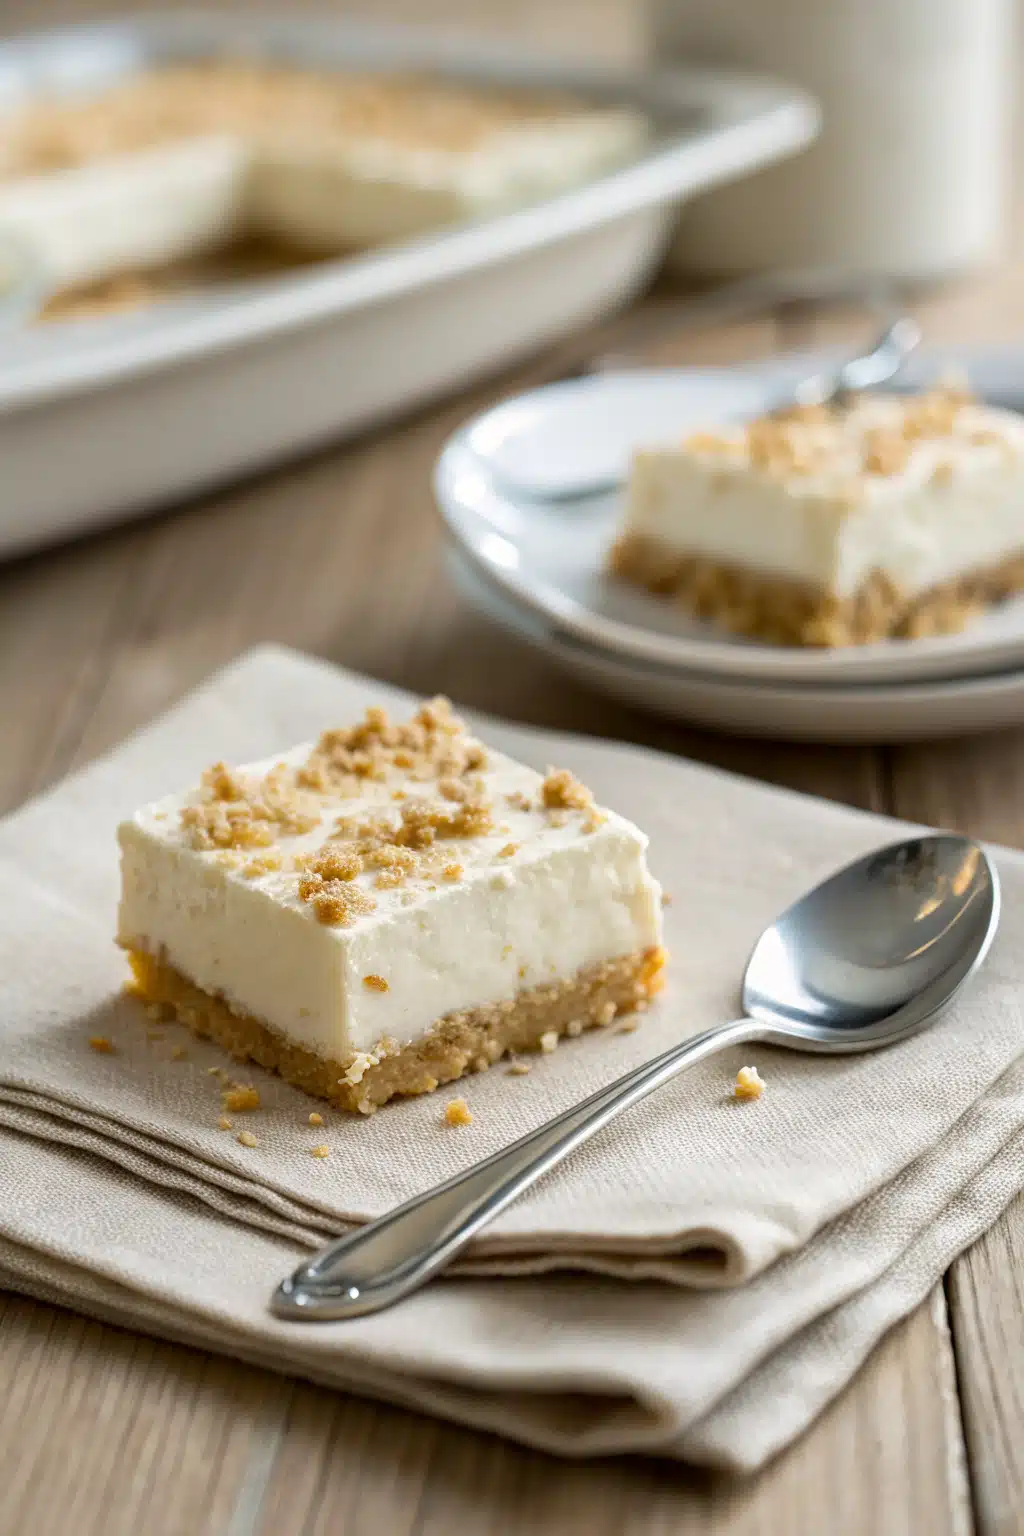
Step 1: Prep the Crust. In a medium bowl, toss your crushed graham crackers with the melted butter until the mixture looks like wet sand. Press this firmly into the bottom of a 9×13 inch baking dish. Pop it in the fridge to chill while you make the fillings.
Step 2: Whip the Cream Cheese Layer. Using a hand mixer or stand mixer, beat the softened cream cheese, powdered sugar, and vanilla extract until completely smooth. In a separate bowl, whip the heavy cream until stiff peaks form, then gently fold it into the cream cheese mixture. Spread about two-thirds of this fluffy goodness evenly over your chilled crust.
Step 3: Mix the Chocolate Layer. In another bowl, whisk together the instant chocolate pudding mix and cold milk. Let it sit for about three minutes until it thickens up nice and rich. Fold the remaining one-third of the cream cheese mixture into the pudding to lighten it up.
Step 4: Swirl and Chill. Drop large spoonfuls of the chocolate mixture over the cream cheese layer in your pan. Take a butter knife and gently drag it through the dollops, creating a gorgeous swirl pattern. Cover the dish tightly and refrigerate for at least 4 hours, or overnight for the absolute best results.
What to Serve It With
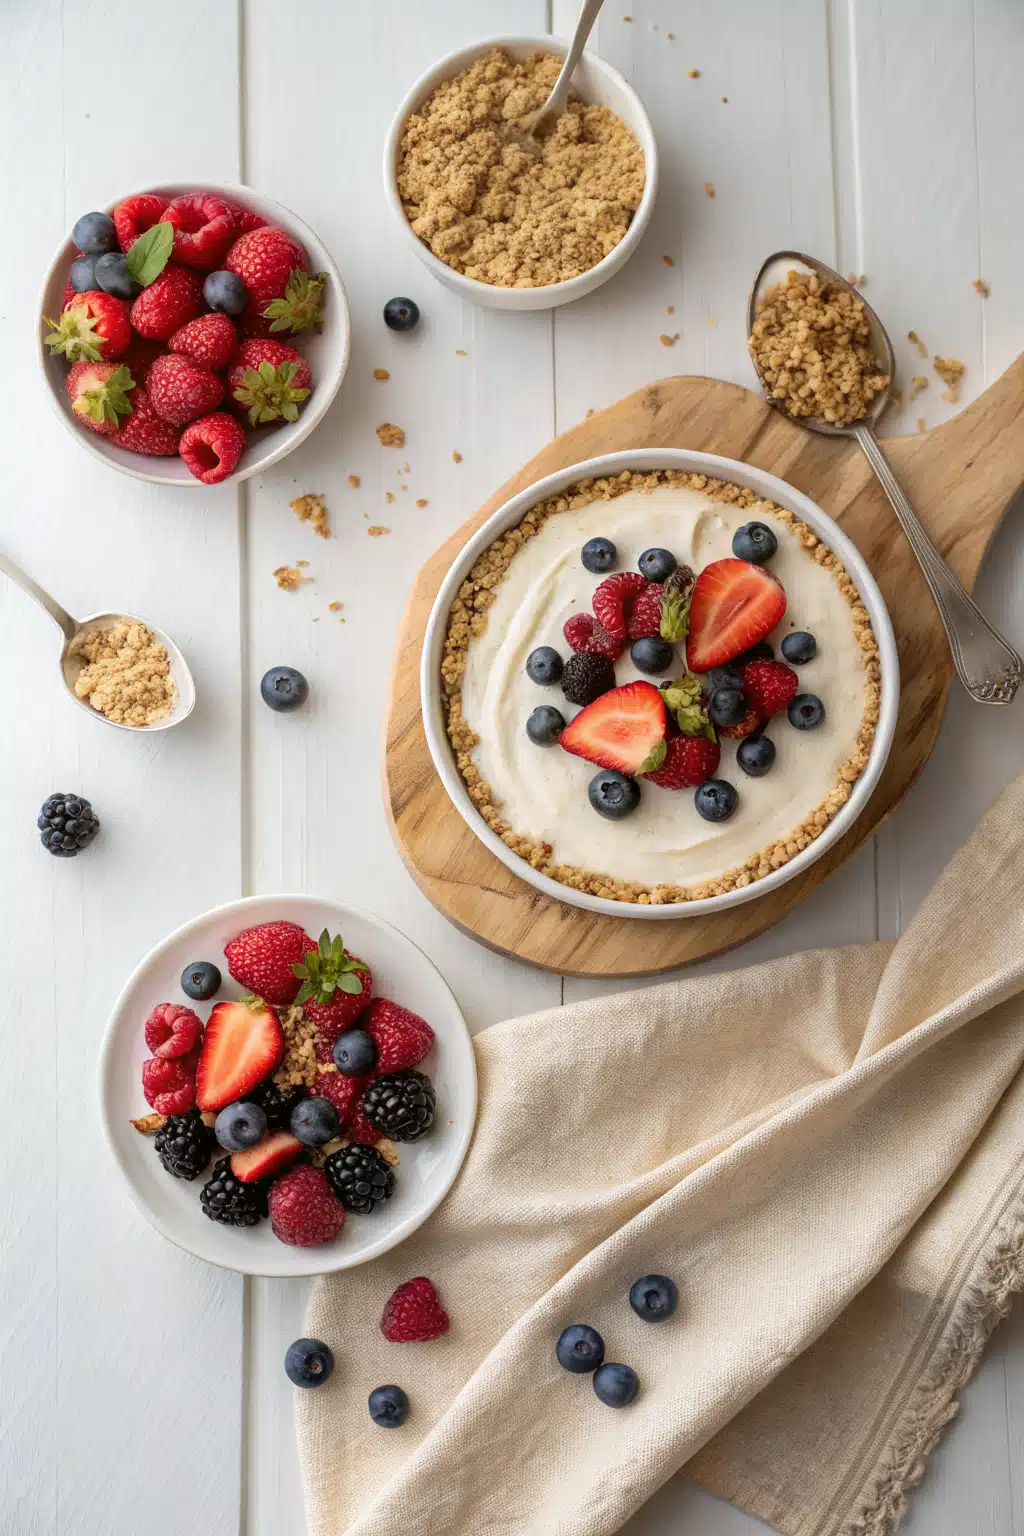
This no bake dessert is incredibly rich and satisfying on its own, but I absolutely love pairing it with a few little extras to take it over the top. A hot cup of dark roast coffee or a shot of espresso cuts through the sweetness perfectly. If you are serving this at a summer barbecue, a side of fresh berries, like strawberries or raspberries, adds a gorgeous pop of color and a bright, tart contrast to the creamy chocolate layers.
Got a serious sweet tooth? Try drizzling a little warm hot fudge or salted caramel sauce over the top right before serving. And of course, you can never go wrong with an extra dollop of fresh whipped cream and a sprinkle of mini chocolate chips for a little crunch. If you love sweet pairings, you might also want to check out my favorite homemade caramel sauce recipe to drizzle on top!
Top Tips for Perfecting Your No Bake Dessert
Even though this recipe is incredibly forgiving, I have picked up a few tricks over the years to make sure it comes out flawless every single time:
- Room temperature cream cheese is non-negotiable: Seriously, if your cream cheese is cold, you will end up with little white lumps in your filling. Leave it out on the counter for a couple of hours before you start.
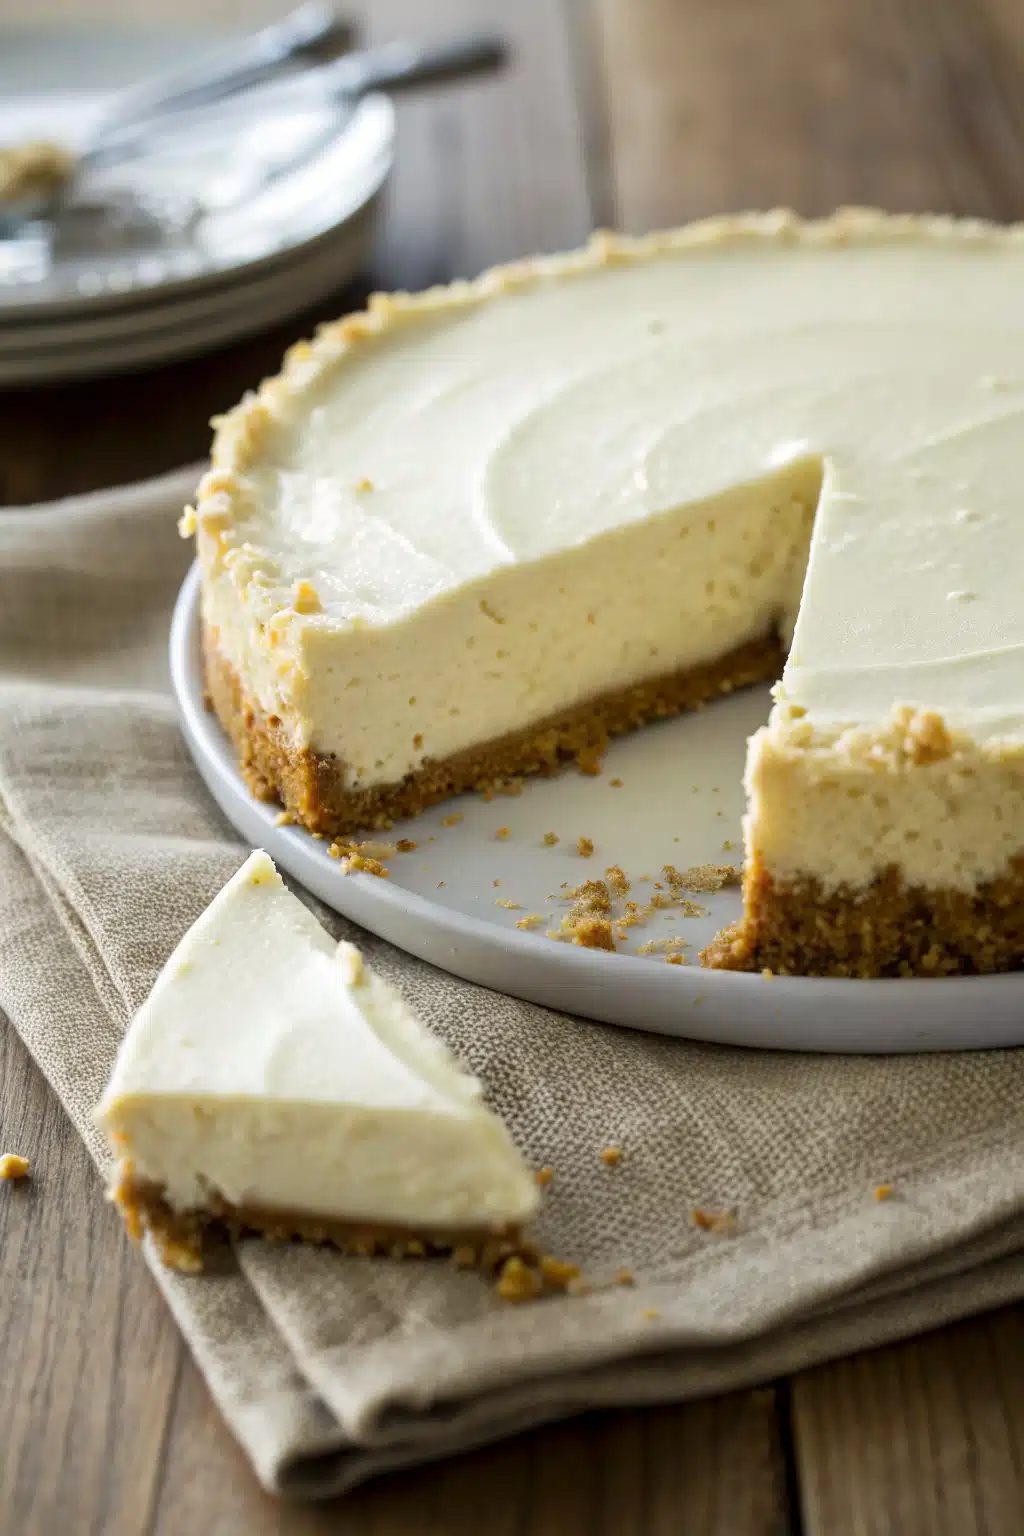
- Pack the crust tightly: Use the flat bottom of a measuring cup or a drinking glass to press the graham cracker crumbs firmly into the pan. This ensures your slices hold together beautifully when serving.
- Don’t over-swirl: When creating that pretty marbled pattern, less is more! If you drag your knife through the layers too many times, the colors will muddy together instead of looking distinctly swirled.
- Patience is a virtue: I know it is tempting to dig in right away, but giving the dessert a full 4 to 6 hours in the fridge is crucial. It needs time for the crust to firm up and the pudding to set so you get clean, perfect slices.
Storing and Reheating Tips
Because of the dairy in the cream cheese and whipped cream layers, this no bake dessert definitely needs to be kept cold. Cover your baking dish tightly with plastic wrap or aluminum foil, or transfer leftover slices to an airtight container. It will stay fresh and delicious in the refrigerator for up to 4 days, though I promise it rarely lasts that long in my house!
You can also freeze this dessert! Freezing it actually gives it an amazing ice-cream-cake vibe. Wrap the pan tightly in a layer of plastic wrap followed by a layer of foil. It will keep in the freezer for up to 2 months. When you are ready to enjoy it, let it thaw in the fridge for a few hours until it is soft enough to slice, but still delightfully chilled. There is absolutely no reheating required—just slice, serve, and enjoy the cold, creamy goodness.
Frequently Asked Questions
Final Thoughts
There you have it, my friend—the easiest, most decadent layered no bake dessert you will ever make. It has saved me on countless occasions when I needed a last-minute showstopper but had zero energy to bake. The combination of that buttery crust, the tangy cream cheese, and the rich chocolate swirls is just pure magic.
I really hope you give this recipe a try the next time you are craving something sweet. It is one of those recipes that brings people together, sparks joy, and makes you look like an absolute culinary genius with barely any effort. If you do make it, please let me know how it turns out! Leave a comment below or tag me in your photos because I always love seeing your beautiful kitchen creations. Happy un-baking!
Easy No Bake Dessert Layers
Ingredients
Main Ingredients
- 14 ounce sweetened condensed milk 1 can
- 1.5 cups cold water
- 3.5 ounce banana instant pudding and pie filling 1 package
- 8 ounce whipped topping 1 tub
- 36 vanilla wafers
- 3 medium bananas sliced and dipped in lemon juice
Instructions
Preparation Steps
- In a large mixing bowl, combine sweetened condensed milk and water.
- Add pudding mix and beat until well blended.
- Chill at least 5 minutes in refrigerator.
- Carefully fold in whipped topping with a spatula.
- In separate dishes, layer pudding mixture with wafers, bananas, and more pudding.
- Chill thoroughly for about 20 minutes. Refrigerate any leftovers.
Notes
Featured Comments
“This sounds absolutely irresistible! I love that it’s no-bake and looks so fancy—perfect for impressing guests without spending hours in the kitchen.”
“Impressed! Clear steps and turned out amazing results. Perfect for busy nights.”
“New favorite here — family favorite. crowd-pleaser was spot on.”
“Super easy and turned out amazing! My family asked for seconds. Saving this one.”
“This sweet treat was absolutely loved — the cozy really stands out. Thanks!”
“Made it tonight and wow — super easy! Will definitely make Easy No Bake Dessert Layers again.”


This sounds absolutely irresistible! I love that it’s no-bake and looks so fancy—perfect for impressing guests without spending hours in the kitchen.