

The Best Southern Fried Apples (Just Like Grandma Used to Make)
There is absolutely nothing quite like the smell of butter, brown sugar, and cinnamon melting together in a hot skillet. It instantly transports me back to my grandmother’s tiny kitchen on crisp autumn mornings. You know that feeling when the air first gets that little bite to it, and all you want is something warm, sweet, and comforting? That is exactly when I pull out this recipe for homemade fried apples.
Honestly, I don’t even wait for fall half the time. These are way too good to gatekeep for just one season! If you have ever been to a Cracker Barrel, you probably know the magic of a good side of sweet, syrupy apples. But let me tell you a little secret—making them at home is incredibly easy, and they taste a million times better. You don’t need any fancy equipment or hard-to-find ingredients. Just a handful of pantry staples, some good quality apples, and about twenty minutes of your time. Grab your favorite skillet, and let’s make your kitchen smell like a cozy dream.
What Are Fried Apples?
If you didn’t grow up in the South, the name might actually throw you off a bit. When we say “fried apples,” we aren’t talking about something coated in heavy batter and dropped into a deep fryer. Oh no, it is so much cozier than that.
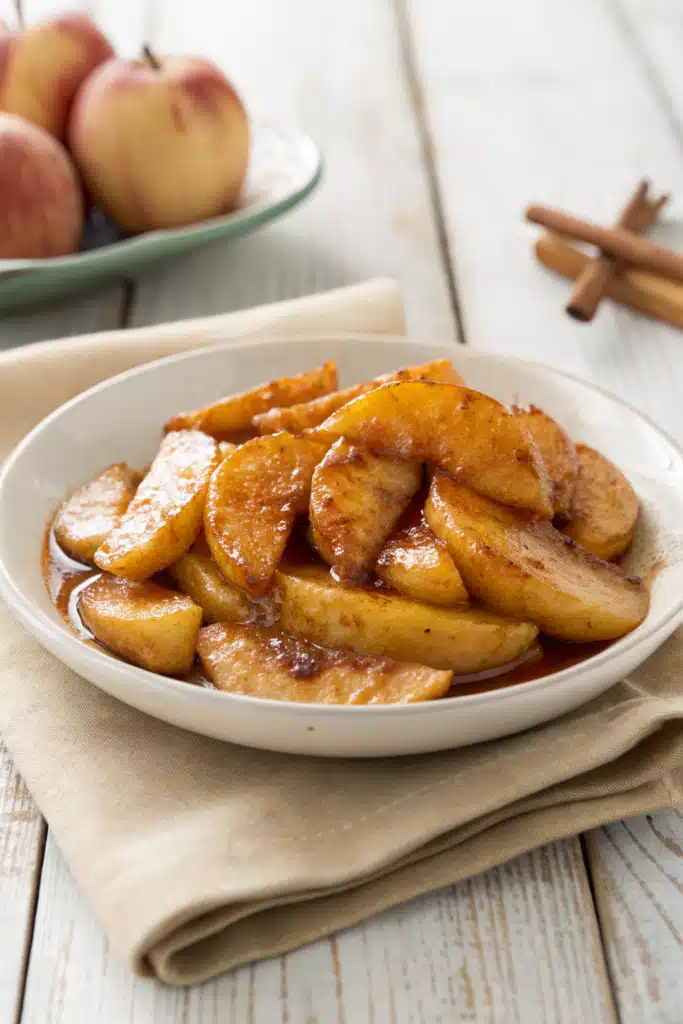
Southern fried apples are essentially fresh, sliced apples that are pan-fried or sautéed in a rich, bubbling mixture of butter, sugar, and warm spices until they are fork-tender and coated in a glorious, sticky syrup. Think of it as the absolute best part of an apple pie, but elevated and served straight out of the skillet without the hassle of baking a crust.
They strike the perfect balance between sweet and tart. The butter adds this incredible savory richness that keeps the dish from becoming cloyingly sweet, while the cinnamon adds classic, comforting warmth. Historically, this was a brilliant way for folks to use up the autumn apple harvest before the fruit went bad. Today, it is a beloved comfort food that completely blurs the line between a breakfast side dish, a dinner accompaniment, and a decadent dessert.
How to Make Fried Apples
Quick Overview
Making homemade fried apples is a total breeze, even if you don’t consider yourself a star baker or chef. The general process is incredibly straightforward. You will start by prepping your apples—peeling, coring, and slicing them into even wedges so they cook uniformly.
Then, you simply melt a generous amount of butter in a large skillet. Once the butter is nice and bubbly, you will toss in your apples along with a blend of brown sugar, granulated sugar, and spices. The magic happens as everything simmers together. The natural juices from the apples release and mix with the melting sugars and butter, creating a thick, caramelized syrup that coats every single slice. It takes just a few minutes of simmering until they reach that perfect tender-crisp texture.
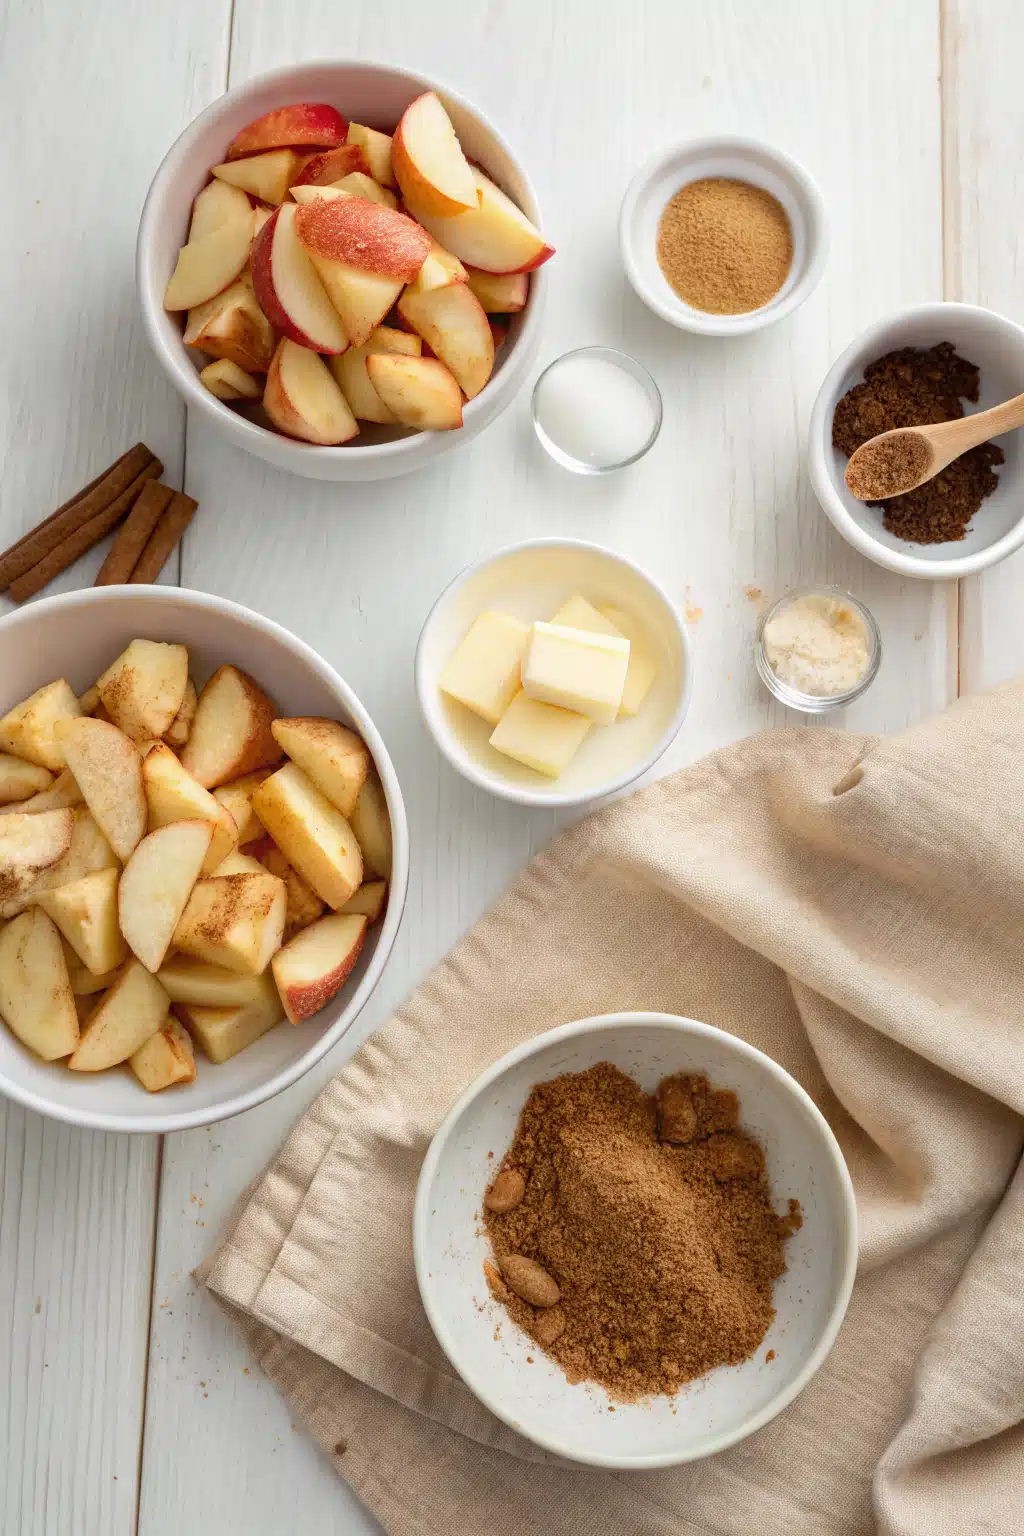
Ingredients
Here is what you will need to gather before we get cooking:
- Apples: Granny Smith are my absolute favorite here because their tartness balances the sweet syrup, but Honeycrisp, Pink Lady, or Braeburn work wonderfully too. You will need about 4 to 5 large apples.
- Butter: Unsalted butter is best so you can control the sodium, but if you only have salted, just omit the extra pinch of salt later in the recipe.
- Brown Sugar: Light or dark brown sugar works perfectly. This gives the syrup that deep, rich, molasses-like flavor.
- Granulated Sugar: A little white sugar helps the syrup caramelize and get beautifully sticky.
- Ground Cinnamon: The star spice that gives these apples their signature cozy flavor.
- Nutmeg: Just a tiny pinch adds a layer of warmth that pairs beautifully with the cinnamon.
- Vanilla Extract: A splash stirred in at the very end makes a world of difference.
- Salt: Just a tiny pinch to balance all the sweetness and enhance the flavors.
Step-by-Step Instructions
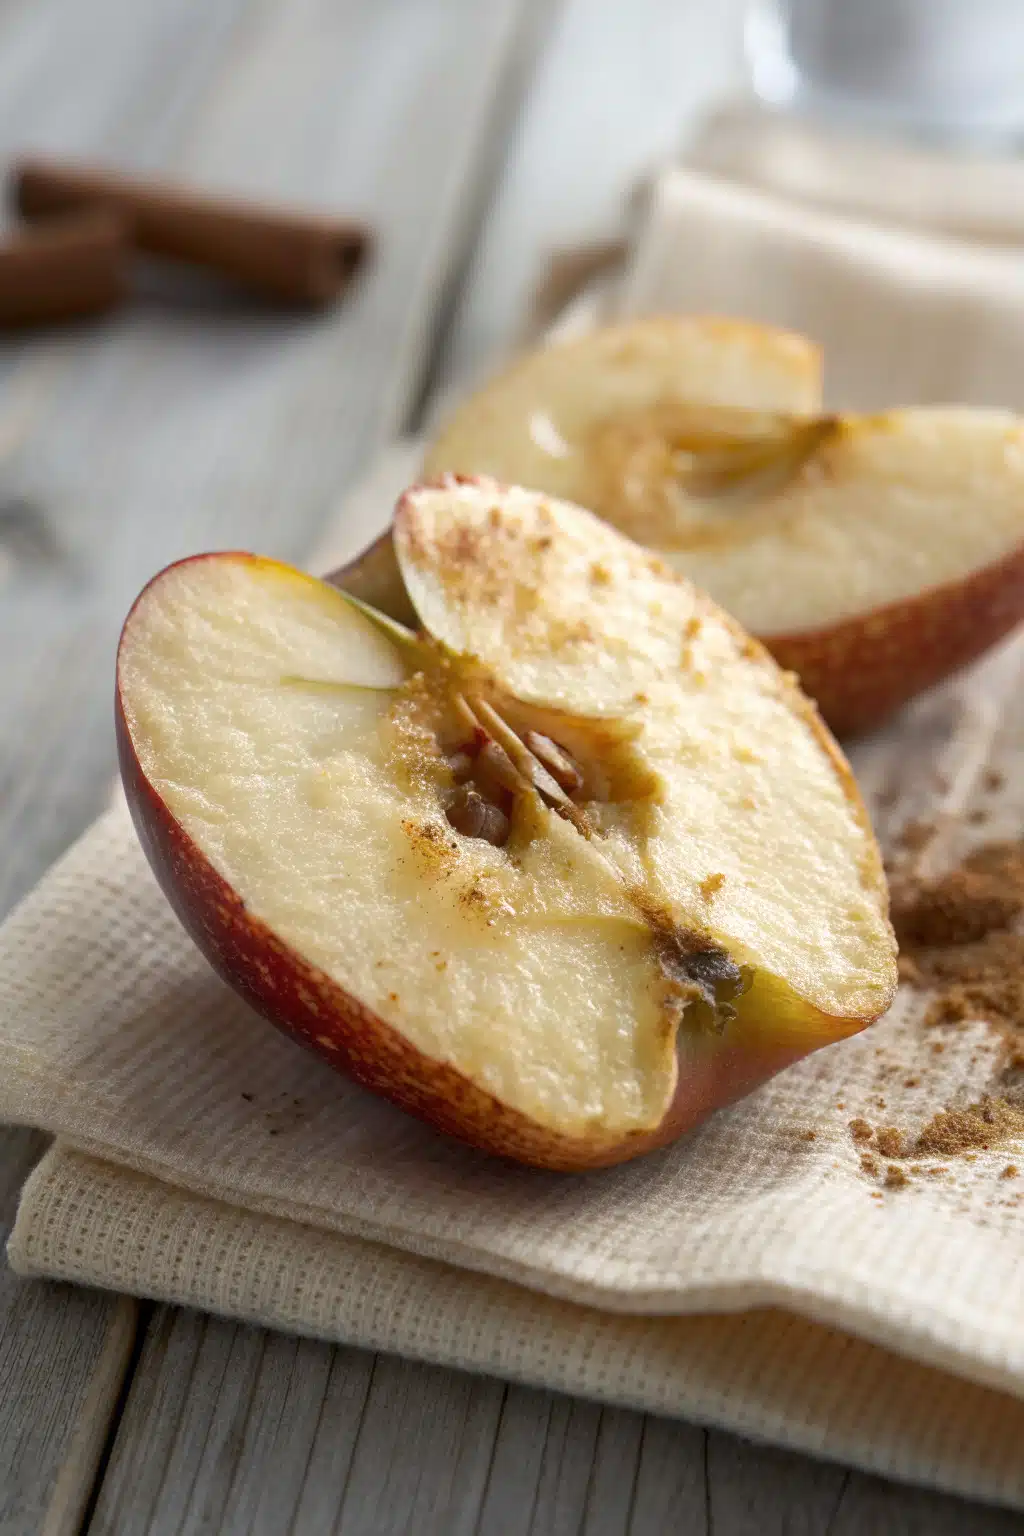
Step 1: Prep the Apples. Start by peeling, coring, and slicing your apples. I like to cut them into slices that are about a quarter-inch thick. If you cut them too thin, they might turn into applesauce in the pan. Too thick, and they take forever to cook.
Step 2: Melt the Butter. Place a large skillet over medium heat. A cast-iron skillet is amazing for this if you have one! Drop in your butter and let it melt completely until it just starts to bubble and sizzle.
Step 3: Add Apples and Spices. Carefully add your sliced apples to the melted butter. Sprinkle the brown sugar, granulated sugar, cinnamon, nutmeg, and a tiny pinch of salt right over the top. Give everything a really good stir so the apples are nicely coated in the butter and sugar mixture.
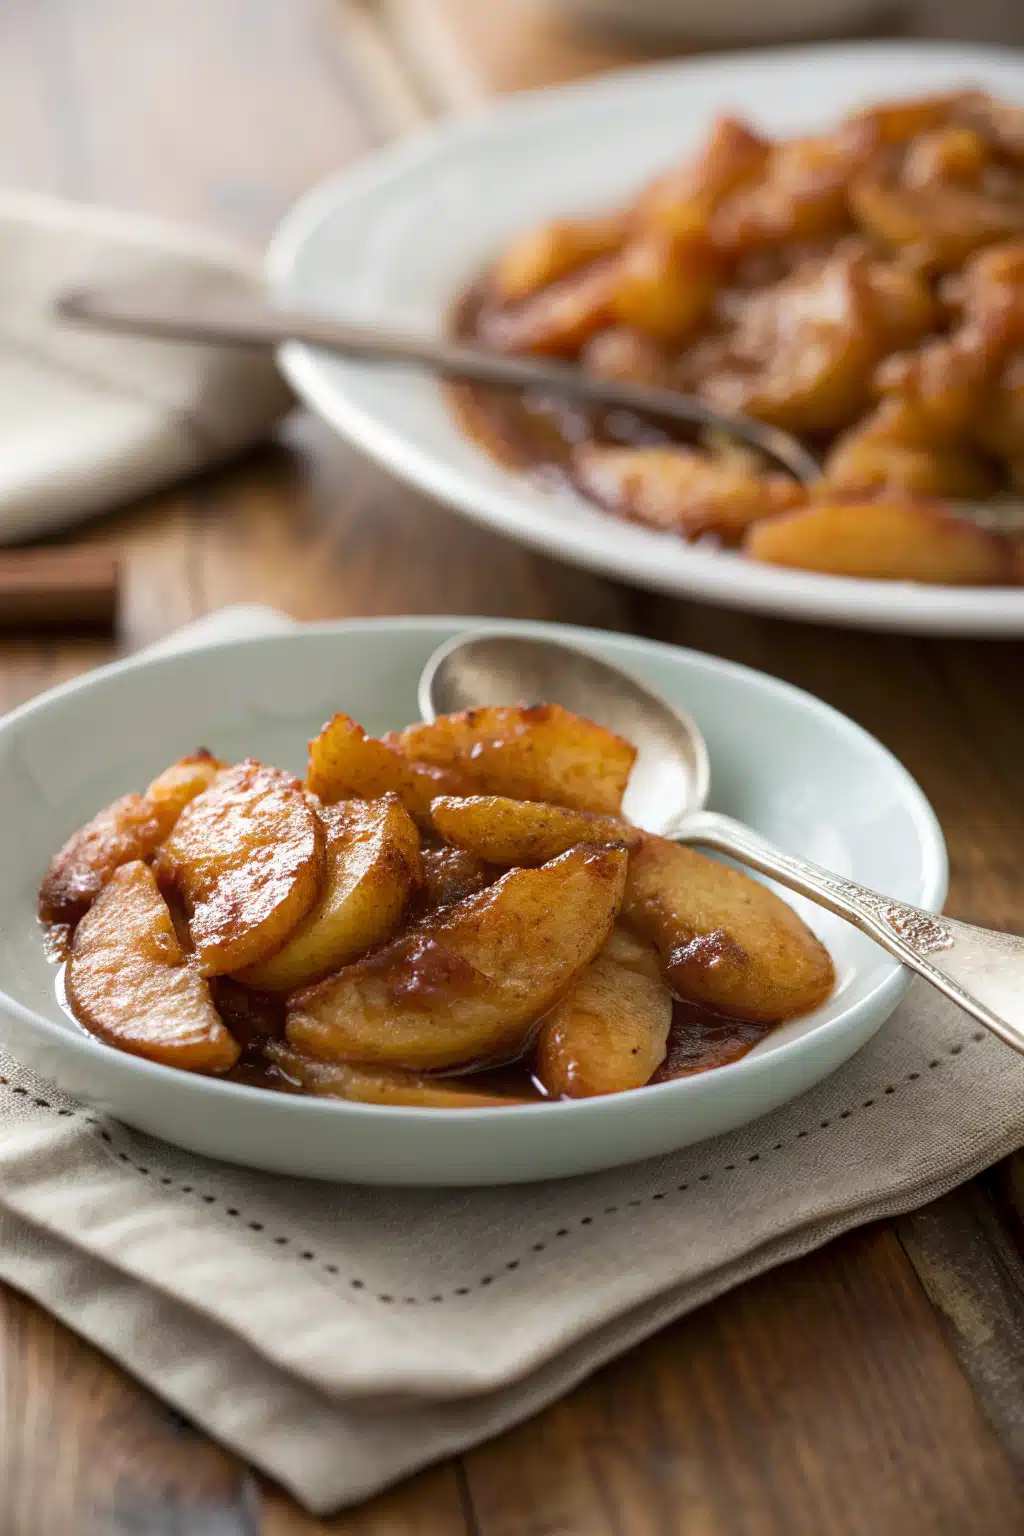
Step 4: Simmer and Caramelize. Let the apples cook over medium-low heat for about 15 to 20 minutes. You want to stir them occasionally, but not constantly. As they cook, the apples will release their juices, which will mix with the sugars to create a thick, bubbling syrup. Cook until the apples are fork-tender but not mushy.
Step 5: The Finishing Touch. Remove the skillet from the heat and stir in the vanilla extract. Letting the apples cool in the pan for just a couple of minutes before serving allows that gorgeous syrup to thicken up even more.
What to Serve It With
The beauty of this dish is that it easily crosses the boundary between breakfast, dinner, and dessert. If you are hosting a weekend brunch, spoon these warm, sticky apples over a stack of fluffy buttermilk pancakes, crispy waffles, or French toast. It completely eliminates the need for maple syrup, and your family will be begging for seconds.
For a savory dinner, fried apples are a traditional and mouth-watering pairing for pork. Serve them alongside pan-seared pork chops, a roasted pork tenderloin, or even a holiday baked ham. The sweetness of the apples cuts through the rich, salty meat perfectly.
And of course, we cannot forget dessert. My absolute favorite way to eat these is ladled generously over a big bowl of vanilla bean ice cream. The hot syrup slightly melts the cold ice cream, creating this creamy, dreamy puddle of goodness that is honestly hard to beat. You can also serve them over a slice of buttery pound cake!
Top Tips for Perfecting Your Fried Apples
Even though this is a super simple recipe, a few little tricks will make sure your apples turn out perfectly every single time you make them:
- Choose the right apples: You really want a firm apple that holds its shape under heat. Granny Smith, Pink Lady, Honeycrisp, and Fuji are excellent choices. Avoid Red Delicious or McIntosh, as they tend to turn to mush when cooked.
- Slice evenly: Take an extra minute to ensure your apple slices are roughly the same thickness. This ensures they all finish cooking at the exact same time so you don’t end up with some crunchy apples and some mushy ones.
- Don’t over-stir: It is tempting to keep moving them around the pan, but let them sit for a few minutes at a time. This allows the sugars to properly caramelize against the hot skillet.
- Use cast iron: If you have a cast-iron skillet, use it! It distributes heat so evenly and helps develop a slightly better caramelization on the sugars, but a regular non-stick skillet will absolutely still get the job done beautifully.
Storing and Reheating Tips
If you somehow end up with leftovers (which rarely happens in my house, to be completely honest), they store beautifully. Just let the apples cool down to room temperature, then transfer them to an airtight container. They will stay fresh and delicious in the refrigerator for up to 4 or 5 days.
When you are ready to enjoy them again, reheating is a breeze. You can pop them in the microwave for about 30 to 45 seconds until warm. However, if you want to revive that syrupy texture perfectly, I highly recommend reheating them in a small saucepan on the stove over medium-low heat. Just add a tiny splash of water if the syrup has gotten too thick in the fridge. They will taste just as incredible as the day you made them!
Frequently Asked Questions
Final Thoughts
There you have it—the easiest, coziest, and most delicious homemade fried apples you will ever make. Whether you are whipping these up for a lazy Sunday breakfast, serving them alongside a hearty family dinner, or sneaking a warm bowlful for a late-night dessert, they are guaranteed to hit the spot. It is one of those rare recipes that requires minimal effort but delivers maximum comfort, and I just know it will become a regular in your kitchen rotation.
I really hope you love this recipe as much as my family does. Don’t forget to grab a spoon and get every last drop of that incredible cinnamon-butter syrup out of the pan—that is honestly the best part! Happy cooking, friends!
Featured Comments
“I totally get it—some smells hit you like a time machine! That cinnamon apple scent sounds so cozy and comforting.”
“Impressed! Clear steps and absolutely loved results. Perfect for busy nights.”
“New favorite here — quick weeknight win. crowd-pleaser was spot on.”
“Super easy and turned out amazing! My family asked for seconds. Saving this one.”
“This sweet treat was absolutely loved — the buttery really stands out. Thanks!”
“Made it tonight and wow — absolutely loved! Will definitely make fried apples again.”


I totally get it—some smells hit you like a time machine! That cinnamon apple scent sounds so cozy and comforting.