

The Most Decadent Gluten Free Fudge Cookies You’ll Ever Eat
Let’s be honest for a second. How many times have you bitten into a gluten-free cookie, only to be met with a gritty, sandy texture that completely ruins the experience? If you’re nodding your head right now, grab a cup of coffee and pull up a chair, because we need to talk about these gluten free fudge cookies. They are, without a doubt, a total game-changer for anyone who misses the rich, chewy decadence of a proper bakery-style treat.
I spent weeks tweaking this recipe, determined to create a cookie that didn’t just taste good for being allergy-friendly, but tasted absolutely incredible, period. I wanted that glossy, crinkly top you usually only get from a box of brownie mix, paired with a thick, gooey center that practically melts in your mouth. After way too many test batches and completely covering my kitchen in cocoa powder, I finally nailed it. These cookies are so intensely chocolatey and perfectly fudgy that my gluten-eating friends literally beg me to make them. You are going to fall head over heels for this recipe!
What Are Gluten Free Fudge Cookies?
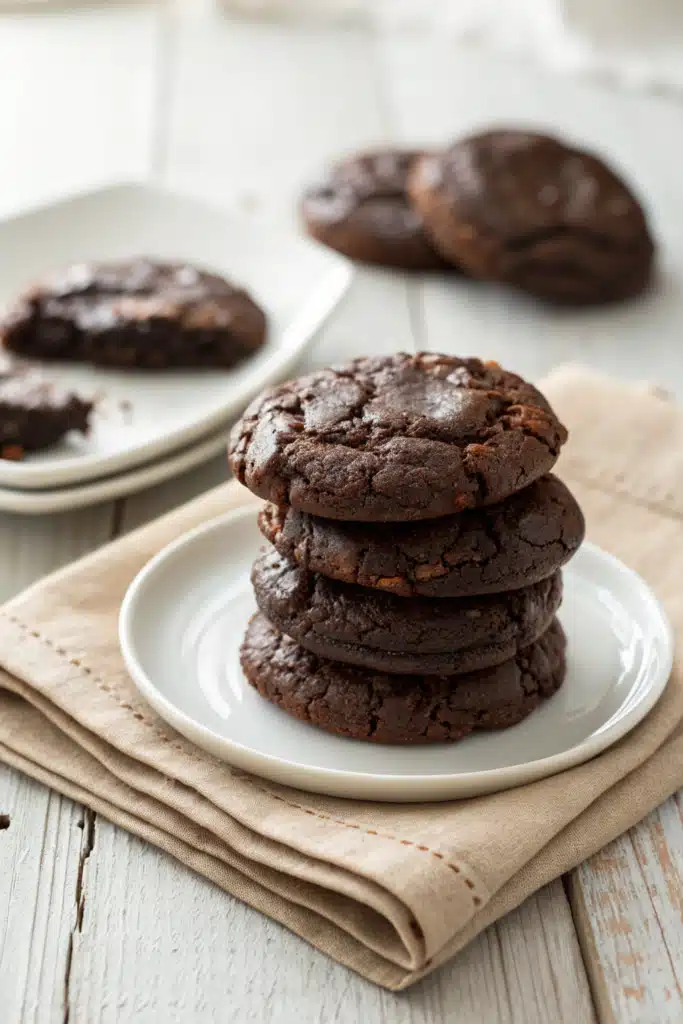
If a rich, dark chocolate brownie and a chewy chocolate chip cookie fell in love, these gluten free fudge cookies would be their incredibly delicious love child. They are essentially a flourless-leaning, deeply chocolatey cookie that relies heavily on melted chocolate and whipped eggs rather than a ton of dry ingredients to get their structure. This is the secret to why they don’t have that notorious gritty texture that plagues so many gluten-free baked goods.
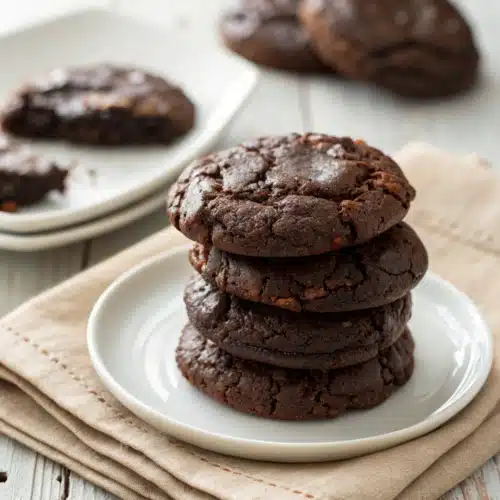
Unlike traditional chocolate chip cookies that use a standard butter and sugar creaming method, fudge cookies are made using a technique closer to brownie batter. You melt high-quality chocolate and butter together, whip your eggs and sugar until they are pale and fluffy, and then gently fold it all together with just a tiny bit of gluten-free flour. The result is a cookie that has a paper-thin, glossy, crinkly crust on the outside, but remains incredibly dense, soft, and fudgy on the inside. They are a chocolate lover’s absolute dream come true.
How to Make Gluten Free Fudge Cookies
Quick Overview
Making these cookies is a breeze once you understand the basic method. The total prep time is about fifteen minutes, and they bake for just ten to twelve minutes. The process is broken down into three simple phases: melting the chocolate and butter, whipping the eggs and sugar to create that signature crinkly top, and gently folding in the dry ingredients. The batter will seem a little looser than traditional cookie dough, almost like a thick cake batter, but don’t panic! That is exactly what creates the fudgy texture. Just let the batter sit for a few minutes to thicken up before scooping.
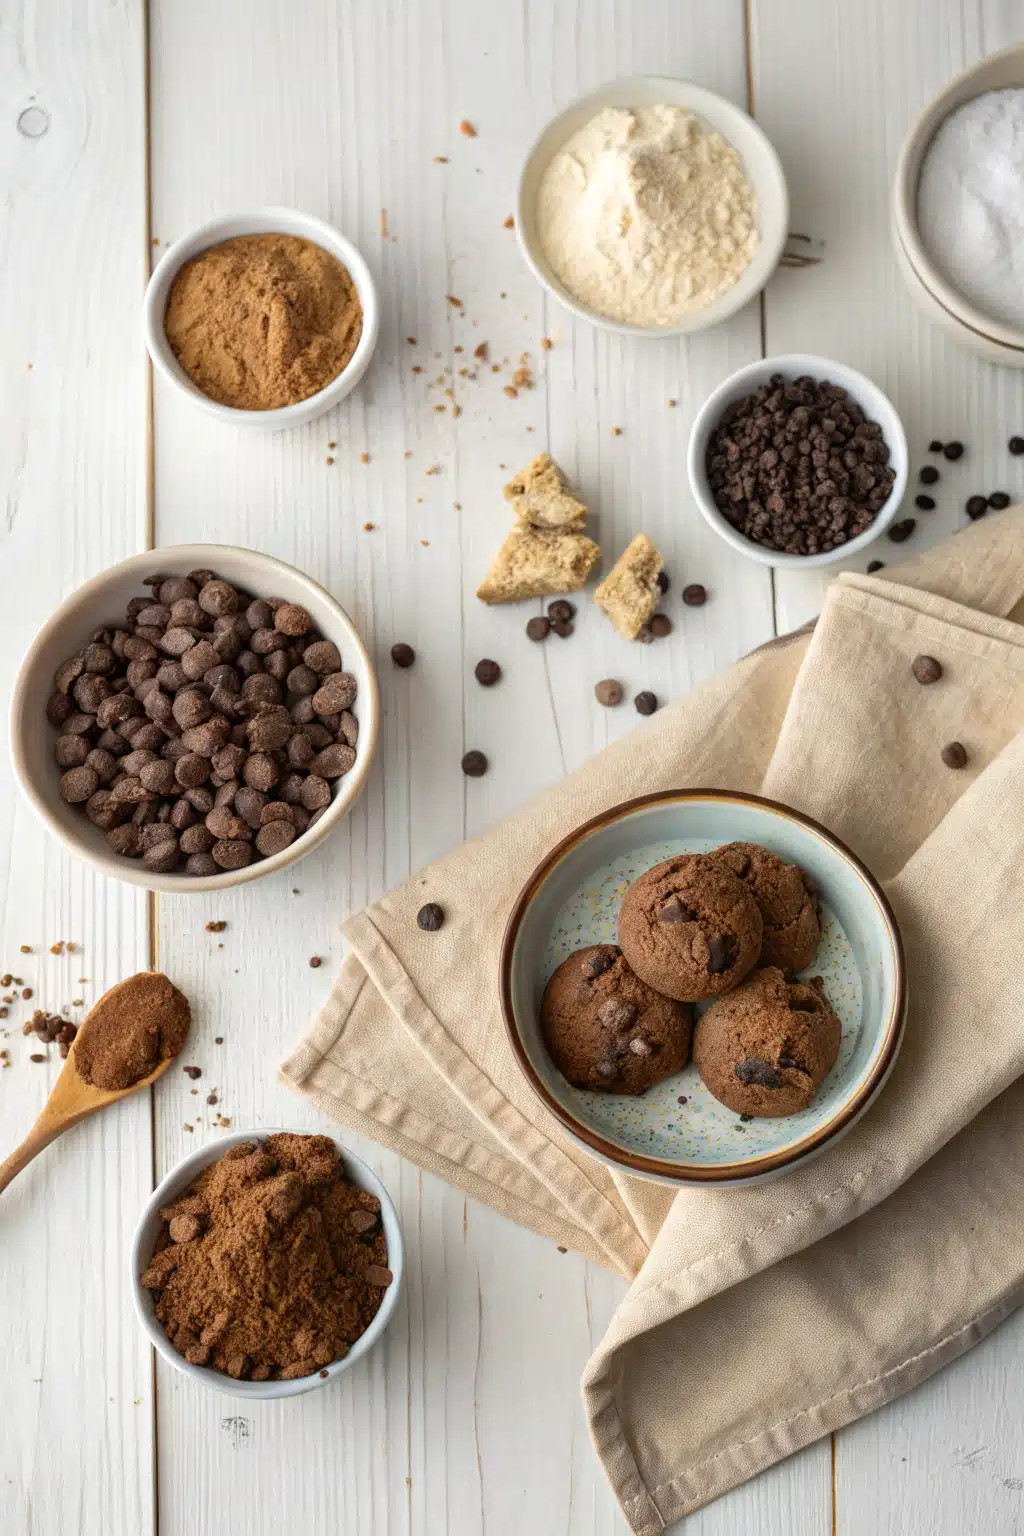
Ingredients
- High-Quality Semi-Sweet Chocolate: The star of the show. Use chopped baking bars, not chocolate chips, for the best melt.
- Unsalted Butter: Adds richness and flavor.
- Eggs: You need two large eggs at room temperature to get that perfect whip.
- Granulated Sugar & Brown Sugar: A mix gives you crispy edges and a chewy center.
- Gluten-Free 1-to-1 Baking Flour: Make sure your blend contains xanthan gum.
- Dutch-Process Cocoa Powder: Deepens the chocolate flavor and color.
- Vanilla Extract & Salt: Essential flavor enhancers that balance the sweetness.
Step-by-Step Instructions
Step 1: Preheat & Prep Pans
Preheat your oven to 350 degrees Fahrenheit. Line two large baking sheets with parchment paper. Don’t skip the parchment, or these gooey cookies will definitely stick to the pan!
Step 2: Melt the Chocolate
In a microwave-safe bowl, combine your chopped semi-sweet chocolate and the butter. Microwave in 30-second increments, stirring well after each one, until the mixture is completely smooth and glossy. Set it aside to cool slightly so it doesn’t scramble your eggs.
Step 3: Whip the Eggs and Sugar
In a large mixing bowl, beat the eggs, granulated sugar, and brown sugar together on medium-high speed for about three to four minutes. You want the mixture to look very pale, thick, and fluffy. This step is crucial for getting those shiny, crinkly tops!
Step 4: Combine Wet Ingredients
Turn your mixer to low and slowly pour the cooled melted chocolate mixture into the whipped eggs and sugar. Add the vanilla extract and mix just until everything is beautifully combined into a rich, dark batter.
Step 5: Fold in Dry Ingredients
Gently fold in the gluten-free flour, cocoa powder, and salt using a rubber spatula. Stop mixing as soon as you no longer see any streaks of dry flour. The batter will look wet like brownie batter. Let it sit at room temperature for 10 minutes to thicken up.
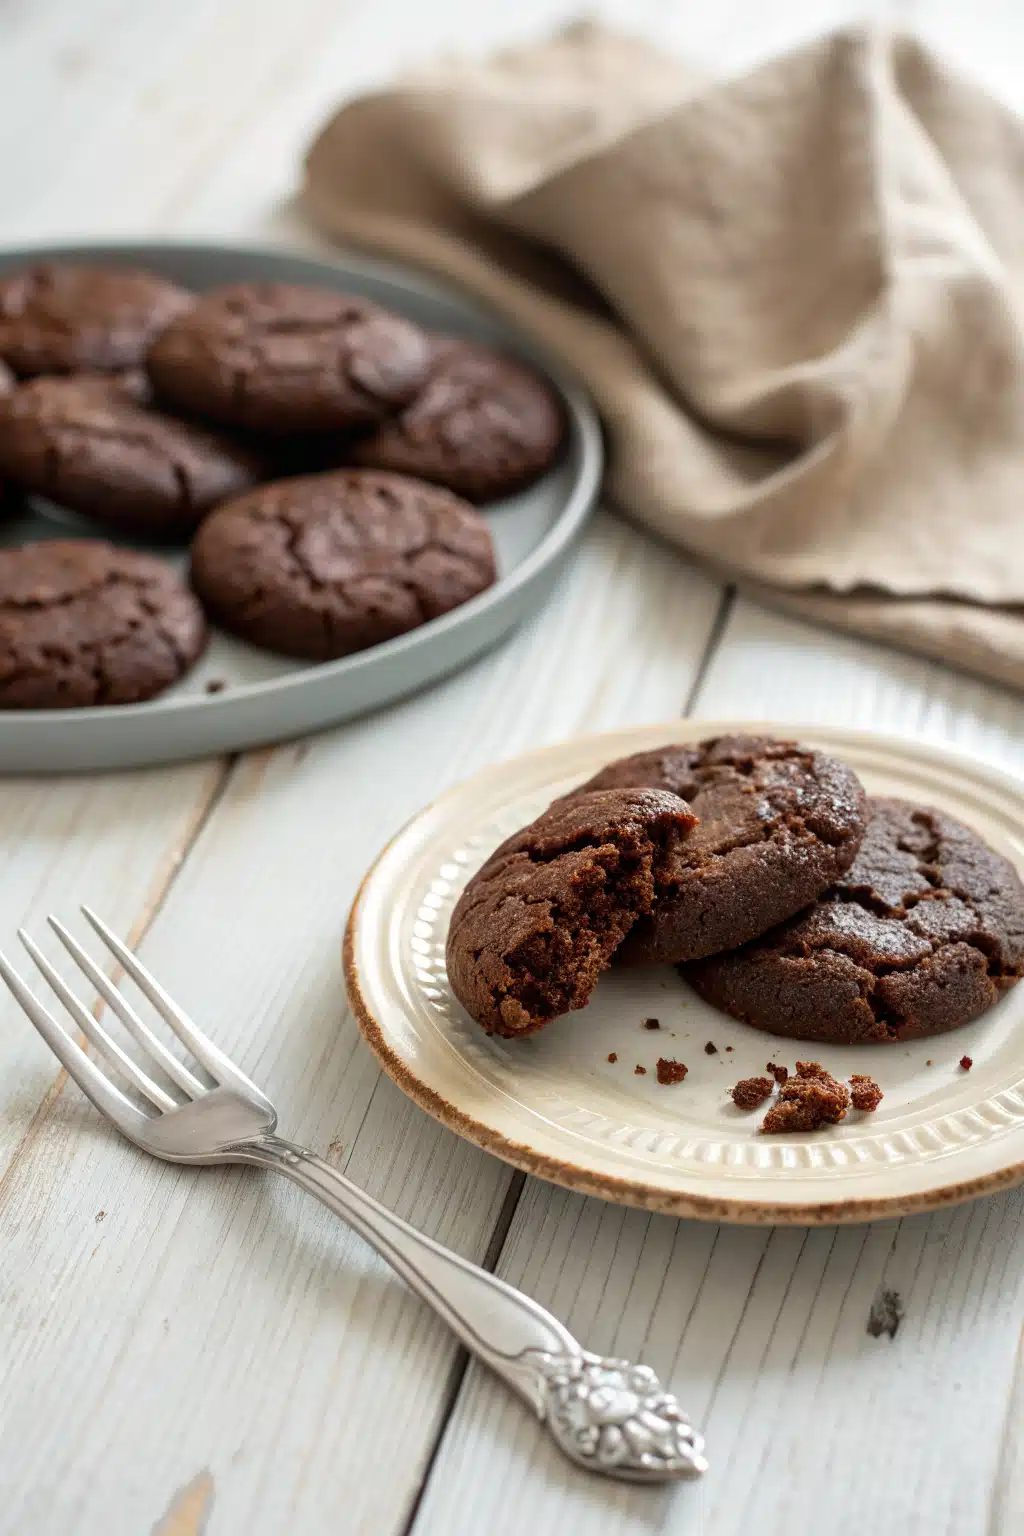
Step 6: Scoop and Bake
Use a medium cookie scoop to drop mounds of dough onto your prepared baking sheets, leaving a couple of inches between each one. Bake for 10 to 12 minutes. The edges should be set, but the centers will still look very soft. Let them cool completely on the pan before moving them.
What to Serve It With
While these gluten free fudge cookies are absolute perfection all on their own, pairing them with the right extras can elevate them into a restaurant-worthy dessert. My absolute favorite way to serve these is warm, straight from the oven, with a giant scoop of vanilla bean ice cream right on top. The cold ice cream melting into the warm, gooey chocolate center is basically a religious experience.
If you’re enjoying them as an afternoon pick-me-up, you cannot go wrong with an ice-cold glass of milk to cut through the richness. For my fellow coffee addicts, try serving these alongside a hot cappuccino or an unsweetened iced latte. The bitterness of the espresso highlights the deep cocoa notes in the cookies, making every bite taste even more gourmet. You could even crush a few baked cookies over a bowl of yogurt or use them to make the most decadent ice cream sandwiches of your life!
Top Tips for Perfecting Your Gluten Free Fudge Cookies
Baking is a science, and gluten-free baking can sometimes feel like a wild science experiment! But don’t worry, I’ve got a few foolproof tips to ensure your cookies come out perfectly every single time.
- Weigh your ingredients: If you have a kitchen scale, use it! Scooping gluten-free flour with a measuring cup can accidentally pack in too much flour, leading to dry, cakey cookies instead of fudgy ones.
- Whip those eggs thoroughly: Don’t rush the whipping step. Whipping the eggs and sugar for a full three to four minutes dissolves the sugar crystals and incorporates air, which is exactly how you get that beautiful, shiny, crinkly crust on top.
- Let the batter rest: Because the batter starts out very loose, giving it 10 to 15 minutes to sit on the counter allows the gluten-free flour to hydrate and the chocolate to cool and firm up. This makes scooping so much easier and prevents the cookies from spreading into puddles.
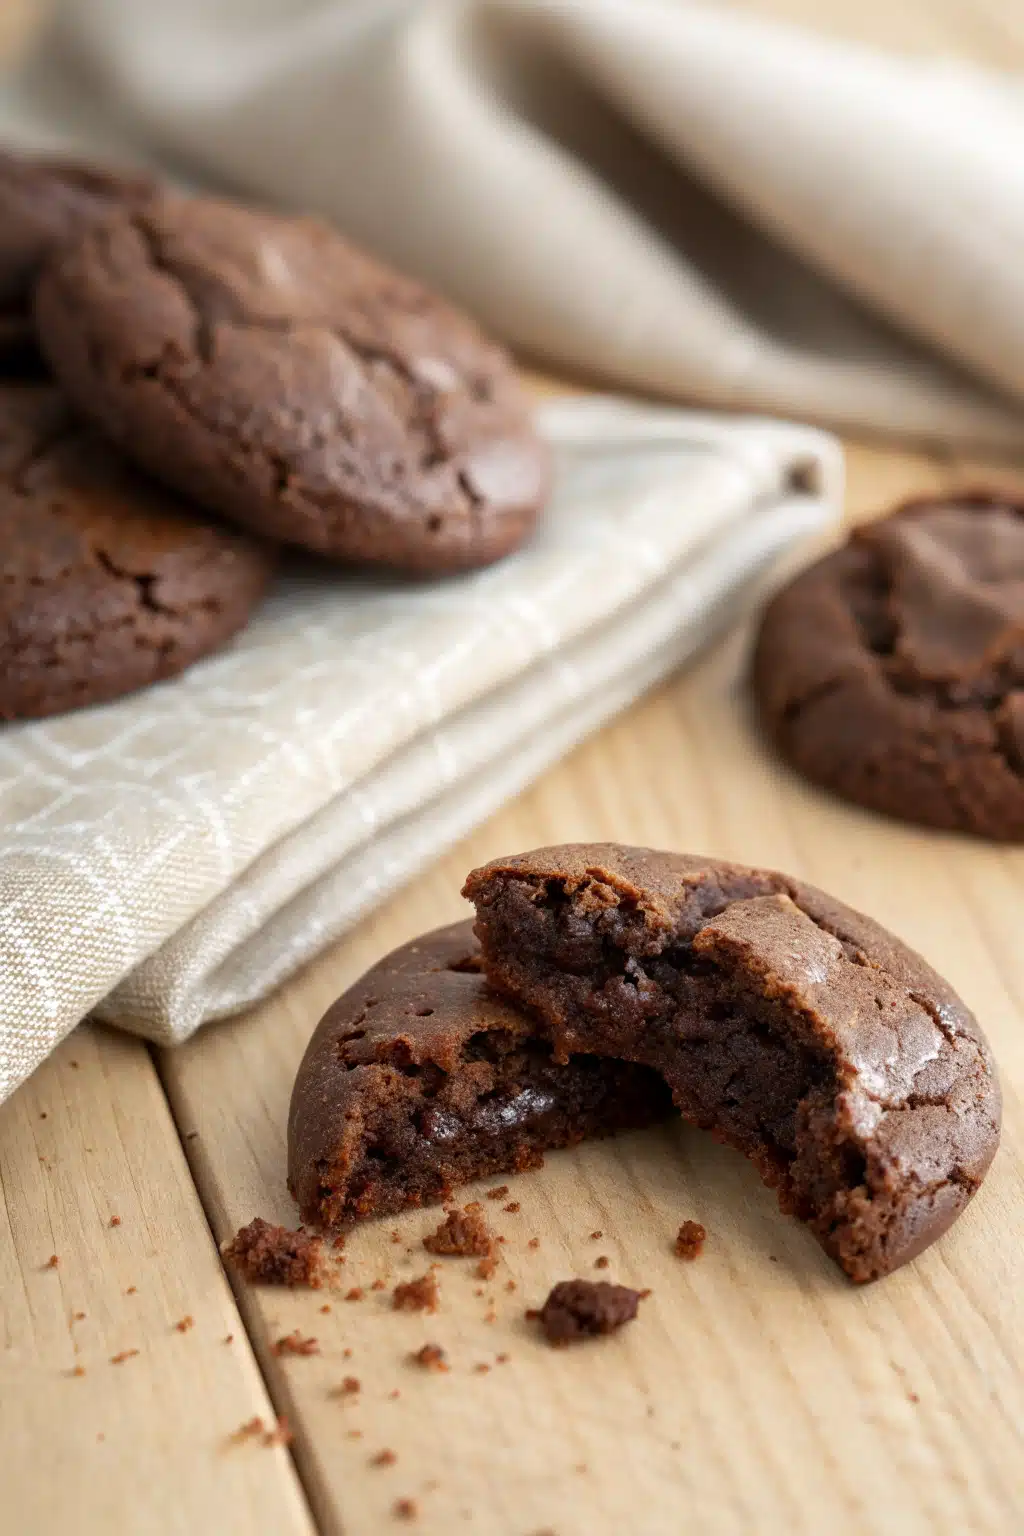
- Underbake them slightly: The secret to a fudgy center is pulling them out of the oven while the middles still look a little underdone. They will continue to cook and set up from the residual heat while they cool on the baking sheet.
Storing and Reheating Tips
If you somehow manage not to eat the entire batch in one sitting, which requires a serious amount of willpower, these cookies store wonderfully. Keep the completely cooled cookies in an airtight container at room temperature for up to four days. Because of their fudgy nature, they actually stay soft much longer than traditional cookies.
If you want to keep them longer, they freeze like a dream! Place the baked cookies in a freezer-safe zip-top bag with a piece of parchment paper between the layers, and they will keep for up to three months. When you’re ready for a treat, you can let one thaw at room temperature, but I highly recommend popping it in the microwave for about 10 to 15 seconds. It revitalizes the chocolate, making the center gooey and warm all over again, just like it was freshly baked.
Frequently Asked Questions
Final Thoughts
There you have it, friend! The absolute best gluten free fudge cookies you will ever make. I really hope this recipe brings as much joy to your kitchen as it has to mine. There is something truly special about pulling a warm tray of deeply chocolatey, perfectly crinkly cookies out of the oven, knowing that absolutely everyone can enjoy them regardless of dietary restrictions.
If you try these out, please leave a comment below and let me know how they turn out for you! I love hearing your baking success stories, and I’m always here if you run into any questions along the way. Grab a big glass of milk, treat yourself to a warm cookie, and happy baking!
Gluten Free Fudge Cookies
Ingredients
Main Ingredients
- 1 cup brown rice flour
- 0.33 cup cocoa powder
- 0.25 cup raw turbinado sugar
- 0.25 teaspoon baking soda
- 0.5 cup solid palm oil palm shortening
- 0.33 cup agave or maple syrup
- 2 Tablespoons flax meal
- 3 Tablespoons milk
- 1 teaspoon vanilla
- 0.33 cup mini dark chocolate chips
Instructions
Preparation Steps
- Preheat oven to 375 degrees F.
- In a medium bowl, whisk together the flour, cocoa powder, sugar, baking soda, and salt.
- In a cup, combine the ground flax seed and milk and set aside.
- In a separate bowl, cream the palm oil with a hand blender. Continue to blend and add in the agave, flax gel, and vanilla and blend ingredients until creamy and mixed thoroughly.
- Add the dry ingredients to the palm oil blend and mix together well with a hand blender or by hand until a thick dough forms.
- Blend or stir in the mini chocolate chips.
- Roll about 1 Tablespoon dough into balls and place on a cookie sheet lined with parchment or a baking stone.
- Bake for 8-10 minutes. Let cool on baking sheet for about 5 minutes before removing to wire rack to cool completely.
Notes
Featured Comments
“I love that they’re fudgy and not dry—gluten-free can be so disappointing, but these sound like a game changer.”
“Impressed! Clear steps and family favorite results. Perfect for busy nights.”
“New favorite here — super easy. crowd-pleaser was spot on.”
“Super easy and turned out amazing! My family asked for seconds. Saving this one.”
“This sweet treat was absolutely loved — the hearty really stands out. Thanks!”
“Made it tonight and wow — turned out amazing! Will definitely make gluten-free fudge cookies again.”


I love that they’re fudgy and not dry—gluten-free can be so disappointing, but these sound like a game changer.