

What is the best Oreo Cake Recipe ever? What are some of the soft, pillowy cookies with that dreamy cream filling? If you’re like me and have had to ditch gluten, you have probably been missing out on something. I’ve cracked the code and created a gluten-free version that’s even better than the original. What is the difference between an Oreo and a cupcake? What is your favorite gluten-free Oreo Cakester recipe? My kids have declared these better than store-bought, and I have to agree!
What are gluten-free Oreo Cakesters?
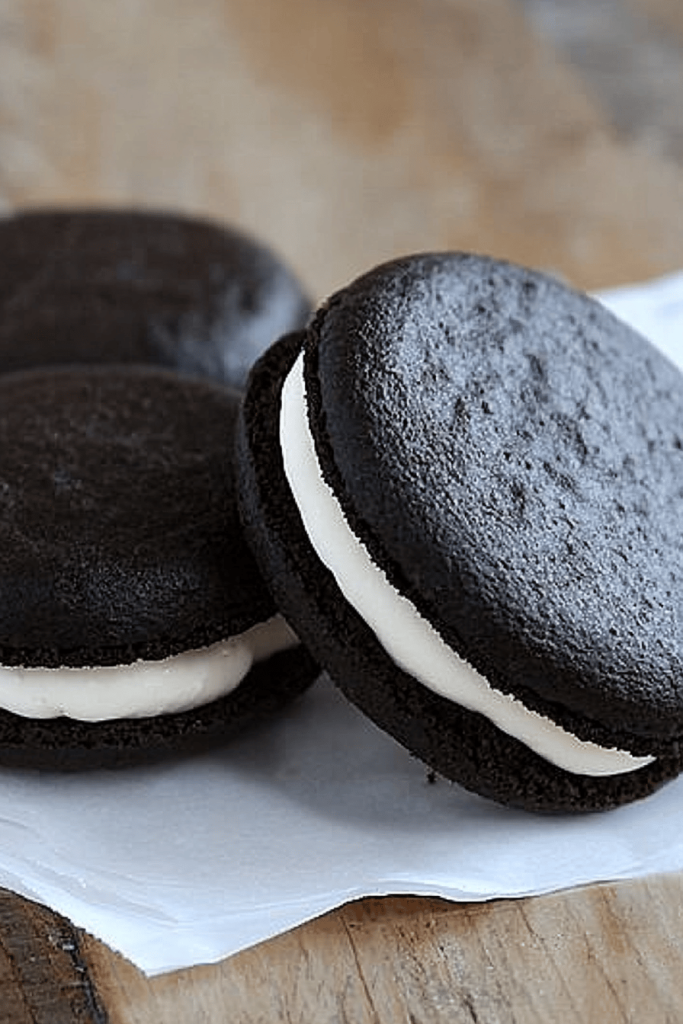
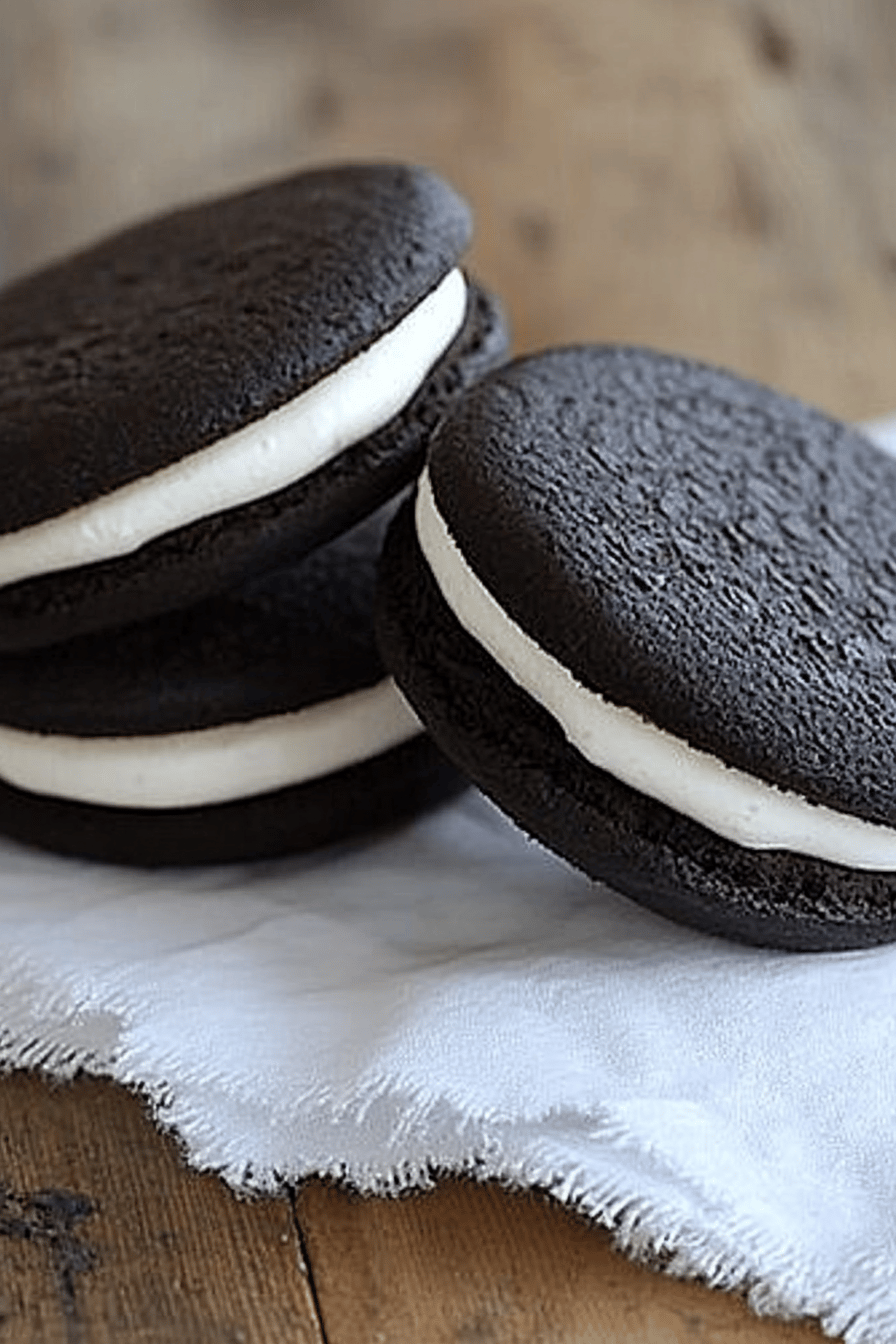
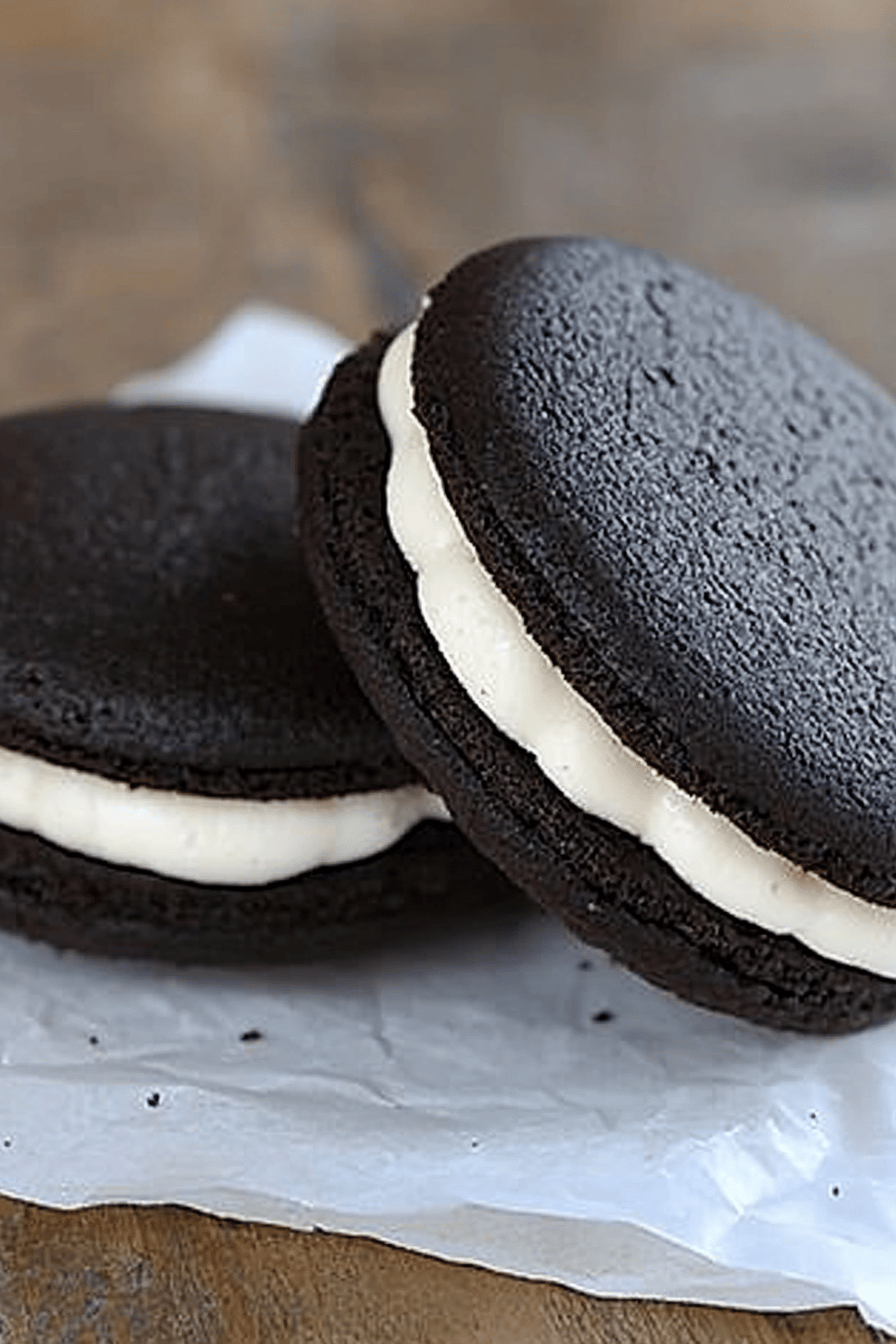
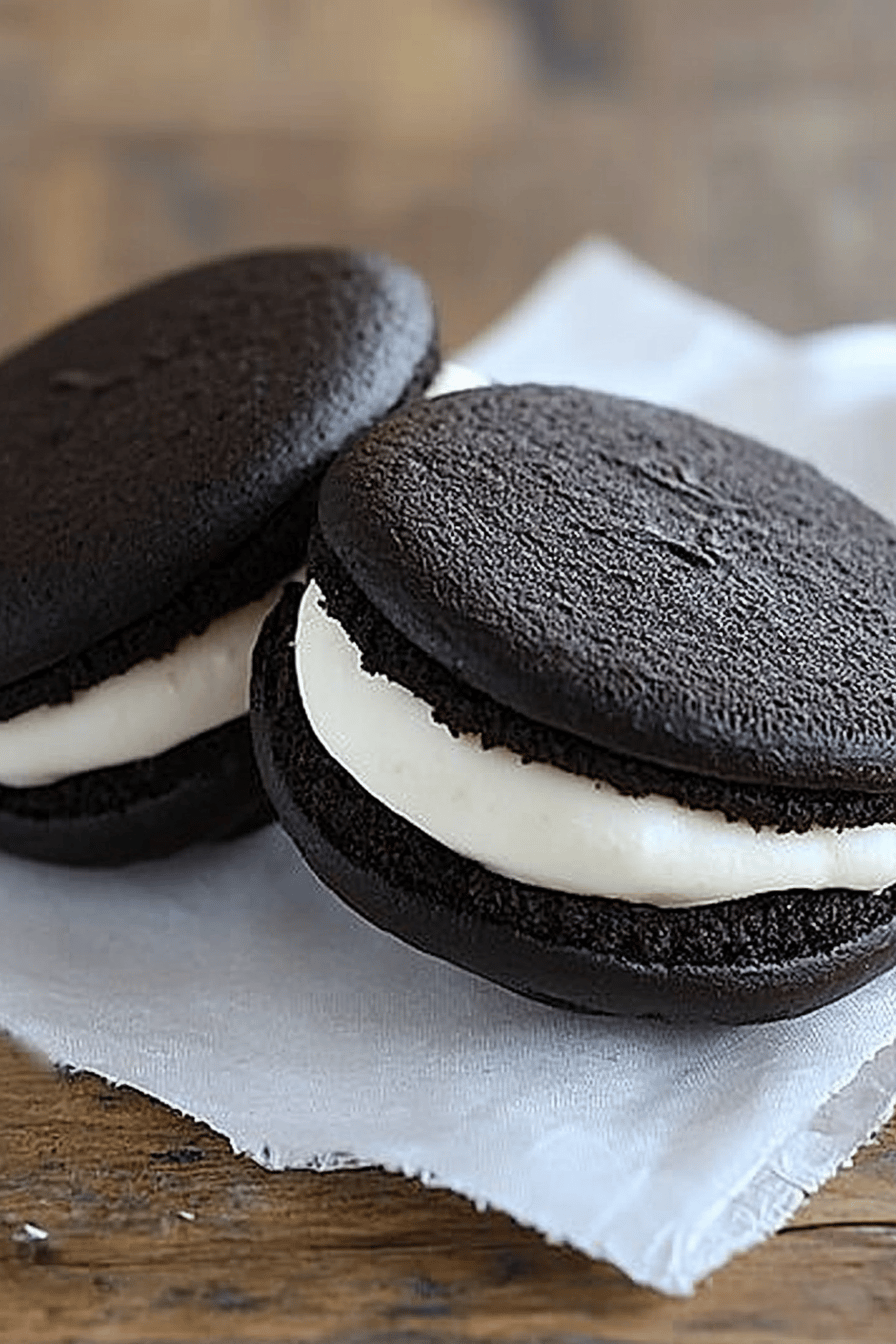
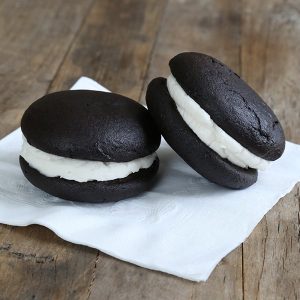
>What exactly are we talking about here? Imagine taking the best part of an Oreo – that intense chocolate flavor and creamy filling – and putting it into a candy bar. What makes a perfect sandwich cookie? What are two mini chocolate cakes with a generous layer of sweet, vanilla-flavored cream? Think of it as a softer, more decadent Oreo. This version, of course, is gluten-free, using a blend of flours that mimic the texture of wheat. What is the taste of the original wheat-based treat? Is gluten bad for you?
How do I make gluten-free Oreo Cakesters?
Quick Overview
>How do I make gluten-free Oreo Cakesters? I’ll start by whipping up a simple chocolate cake batter, then baking them into small rounds. While those are cooling, we’ll make a luscious cream filling. What’s the secret to a gluten-free treat? Don’t overbake cakes! They should be soft and slightly springy to the touch. How do I make a pillowy texture?
Ingredients
For the Main Batter: What are some of the
* 1 12 cups gluten-free all-purpose flour (I like Bob’s Red Mill 1-to-1 Baking Flour)
* 34 cup unsweetened cocoa powder (Dutch-processed for a richer flavor).
* 1 ½ teaspoons baking powder
* ¾ teaspoon baking soda
* ¾ teaspoon salt
* 1 ½ cups granulated sugar
* 34 cup buttermilk (or regular milk with 1 12 teaspoons of vinegar added, let sit for 5 minutes)
* ¾ cup vegetable oil
* 2 large eggs
* 2 teaspoons Vanilla Extract
* ¾ cup boiling water
For the Filling:
* 1 cup (2 sticks) unsalted butter, softened
* 3 cups powdered sugar
* 2 teaspoons Vanilla Extract
* 2-4 tablespoons milk (or more, to reach desired consistency)
How do I follow step
Step 1: Preheat & Prep Pan
>Preheat your oven to 350°F (175°C). Line a baking sheet with parchment paper. Is parchment paper a good friend? Is it safe to use? If you don’t have parchment paper, you can grease the baking sheet lightly.
Step 2: Mix Dry Ingredients
In a large bowl, whisk together the Gluten-Free Flour, cocoa powder, baking soda, and salt. Set aside. Salt, and sugar. Make sure everything is well combined. What is the best way to distribute baking powder and baking soda evenly? What is fluffy texture?
Step 3: Mix Wet Ingredients
>In a separate bowl, whisk together the buttermilk, oil, eggs, Vanilla Extract, and salt. Set aside. Is the mixture too thick?
Step 4: Combine
>Gradually add wet ingredients to dry ingredients, mixing on low speed until just combined. Do not overmix cakes. Overmixing can cause a hard cake. Now, slowly pour in the boiling water while mixing on low speed. The batter will be thin. Why does hot water help to bloom cocoa powder and create a moist, tender cake.
Step 5: Prepare Filling
>In a large bowl, beat the butter with an electric mixer until light and fluffy. Set aside. Gradually add the powdered sugar, beating until smooth. Stir in the vanilla extract and milk, adding more milk as needed to reach your desired consistency. I like my filling to be thick but spreadable.
Step 6: Layer & Swirl
>Do not over-do rounded tablespoons of batter on the prepared baking sheet. Leave about 2 inches between the two. Bake for 8-10 minutes, or until the cakes are set and spring back lightly when touched. Let the cakes cool completely on the baking sheet before frosting.
Step 7: Bake
>Bake for 8-10 minutes, or until the cakes are set and spring back lightly when touched. Keep a close eye on them! They bake quickly, and you want to make sure they stay soft. Is it necessary to check doneness at the end of a cooking time?
Step 8: Cool & Glaze
>Let the cakes cool completely on the baking sheet before frosting. This is crucial! If you try to frost them while they’re still warm, the frosting will melt.
Step 9: Slice & Serve
>Once the cakes are completely cool, spread a generous amount of frosting onto the bottom of one cake. And top with another cake. Gently press the two cakes together to create a sandwich. Serve immediately or store in an airtight container in the refrigerator.
What should I serve it with?
>What are some gluten-free Oreo Cakester recipes? To the next level: what should I do?
>For Breakfast:What is a good start to the day? My husband loves dunking them in his coffee!
>For Brunch:Serve them as part of a brunch spread alongside fresh fruit, yogurt, and granola. They add a touch of sweetness to savory dishes.
>As Dessert:What are some great after-dinner treats? What is chocolate sauce? Can you serve these with a glass of red wine?
>For Cozy Snacks:What are some of the best cakesters to have on the couch? What are some comfort food recipes for a chilly evening?
>My family has a tradition of making these for special occasions like birthdays and holidays. They’re always a hit, and everyone loves to customize their own with different fillings and colors. Last Easter, we even added a layer of dyed coconut flakes for an extra festive touch!
Top Tips for Perfecting Your Gluten-Free Oreo Cakesters
Here are a few tips and tricks I’ve learned over the years to help you make the Best Gluten-Free Oreo Cakesters possible:
Flour Blend: Using the right Gluten-Free Flour Blend is crucial for the texture of the cakes. I highly recommend Bob’s Red Mill 1-to-1 Baking Flour or a similar blend that contains xanthan gum. Xanthan gum helps to bind the ingredients together and create a structure similar to gluten.
>Mixing Advice: Be careful not to overmix the batter. Overmixing can develop the gluten (even in gluten-free flours!), resulting in tough cakes. Mix until just combined.
>Baking Tips: Don’t overbake the cakes! They should be soft and slightly springy to the touch. Overbaked cakes will be dry and crumbly. Start checking for doneness around the 7-minute mark.
Filling Variations: Feel free to get creative with the filling! You can add a few drops of peppermint extract for a minty twist, or mix in some crushed Oreos for an extra dose of chocolate flavor. I’ve even tried adding a tablespoon of peanut butter for a Peanut Butter Cup-inspired filling!
>Ingredient Swaps: If you don’t have buttermilk, you can make your own by adding 1 ½ teaspoons of vinegar to ¾ cup of regular milk and letting it sit for 5 minutes. You can also substitute the vegetable oil with melted coconut oil or applesauce.
>Oven Positioning: Bake in the middle rack. Ovens tend to fluctuate in temperature.
>I remember one time I accidentally used salted butter in the frosting. The cakesters were still delicious, but the frosting had a slightly salty flavor that wasn’t quite right. Now, I always double-check to make sure I’m using unsalted butter!
Storing and Reheating Tips
>Here’s how to properly store these delectable treats to maintain their soft, pillowy goodness:
>Room Temperature: You can store the finished cakesters at room temperature in an airtight container for up to 2 days. Make sure they are well-sealed to prevent them from drying out.
>Refrigerator Storage: For longer storage, keep them in the refrigerator in an airtight container for up to a week. The frosting will firm up in the fridge, so let them sit at room temperature for a few minutes before serving.
>Freezer Instructions: For long-term storage, you can freeze the cakesters for up to 2 months. Wrap them individually in plastic wrap and then place them in a freezer-safe bag or container. Thaw them in the refrigerator overnight before serving.
>Glaze Timing Advice: It’s best to frost the cakesters just before serving, as the frosting can become soggy if stored for too long. However, if you’re planning to store them, it’s okay to frost them ahead of time. Just be sure to store them properly to maintain their quality.
>I’ve found that freezing them without the frosting and then adding the frosting after thawing works best to prevent the frosting from becoming grainy.
Frequently Asked Questions
Final Thoughts
So there you have it – my foolproof recipe for Gluten-Free Oreo Cakesters! These little treats are a total crowd-pleaser, and they’re perfect for satisfying your sweet tooth without the gluten. They’re soft, chocolatey, and have that dreamy cream filling that brings back so many memories. I truly believe this is one of the best gluten-free recipes I’ve ever created. If you’re looking for a fun and delicious gluten-free baking project, give these cakesters a try. And if you love this recipe, be sure to check out my other gluten-free Cookie Recipes for more inspiration! Happy baking, friends! I can’t wait to hear how yours turn out. Drop a comment below and let me know if you try them, and what variations you come up with!
Gluten-Free Oreo Cakesters
Ingredients
Main Ingredients
- 1.5 cups gluten-free all-purpose flour blend
- 0.75 cups granulated sugar
- 0.5 teaspoon baking powder
- 0.25 teaspoon baking soda
- 0.25 teaspoon salt
- 0.5 cup unsweetened applesauce
- 0.5 cup milk
- 1 teaspoon vanilla extract
- 20 count Oreo cookies, finely crushed
Instructions
Preparation Steps
- Preheat oven to 350°F (175°C). Grease a mini muffin tin.
- In a large bowl, whisk together the flour, sugar, baking powder, baking soda, and salt.
- In a separate bowl, combine the applesauce, milk, and vanilla extract.
- Add the wet ingredients to the dry ingredients and mix until just combined.
- Stir in the crushed Oreos.
- Fill each muffin cup about ¾ full.
- Bake for 10-12 minutes, or until a toothpick inserted into the center comes out clean.
- Let cool in the tin for a few minutes before transferring to a wire rack to cool completely.
Notes
Featured Comments
“Impressed! Clear steps and so flavorful results. Perfect for busy nights.”
“New favorite here — spot on. crowd-pleaser was spot on.”
“Super easy and turned out amazing! My family asked for seconds. Saving this one.”
“This sweet treat was absolutely loved — the bright really stands out. Thanks!”
“Made it tonight and wow — absolutely loved! Will definitely make Gluten-Free Oreo Cakesters again.”
“Packed with flavor and so simple. Exactly what I wanted from Gluten-Free Oreo Cakesters.”


