


The Easiest Homemade Sandwich Bread (Bag Method!)
Is it just me, or does absolutely nothing make a house feel more like a home than the smell of fresh bread baking in the oven? I used to be so intimidated by yeast, kneading, and endless rising times. I’d stand in the bakery aisle looking at all those plastic-wrapped loaves, wishing I had the time and patience to bake my own from scratch. Well, let me tell you a little secret: baking your own homemade sandwich bread doesn’t have to be a stressful, flour-everywhere kind of chore.
I stumbled upon this incredibly fun “bread in a bag” method, and it completely changed my baking game. It is practically foolproof, requires zero fancy equipment—no stand mixer, no heavy dough hooks—and honestly, the kids go absolutely crazy helping me squish the dough in the ziplock bag. Whenever I pull this gorgeous, golden loaf out of the oven, it barely has time to cool before my family is slicing into it for thick, warm PB&J sandwiches. If you’ve ever wanted to bake your own amazingly soft bread, grab a mixing bag and let’s get baking!
What Is Homemade Sandwich Bread?
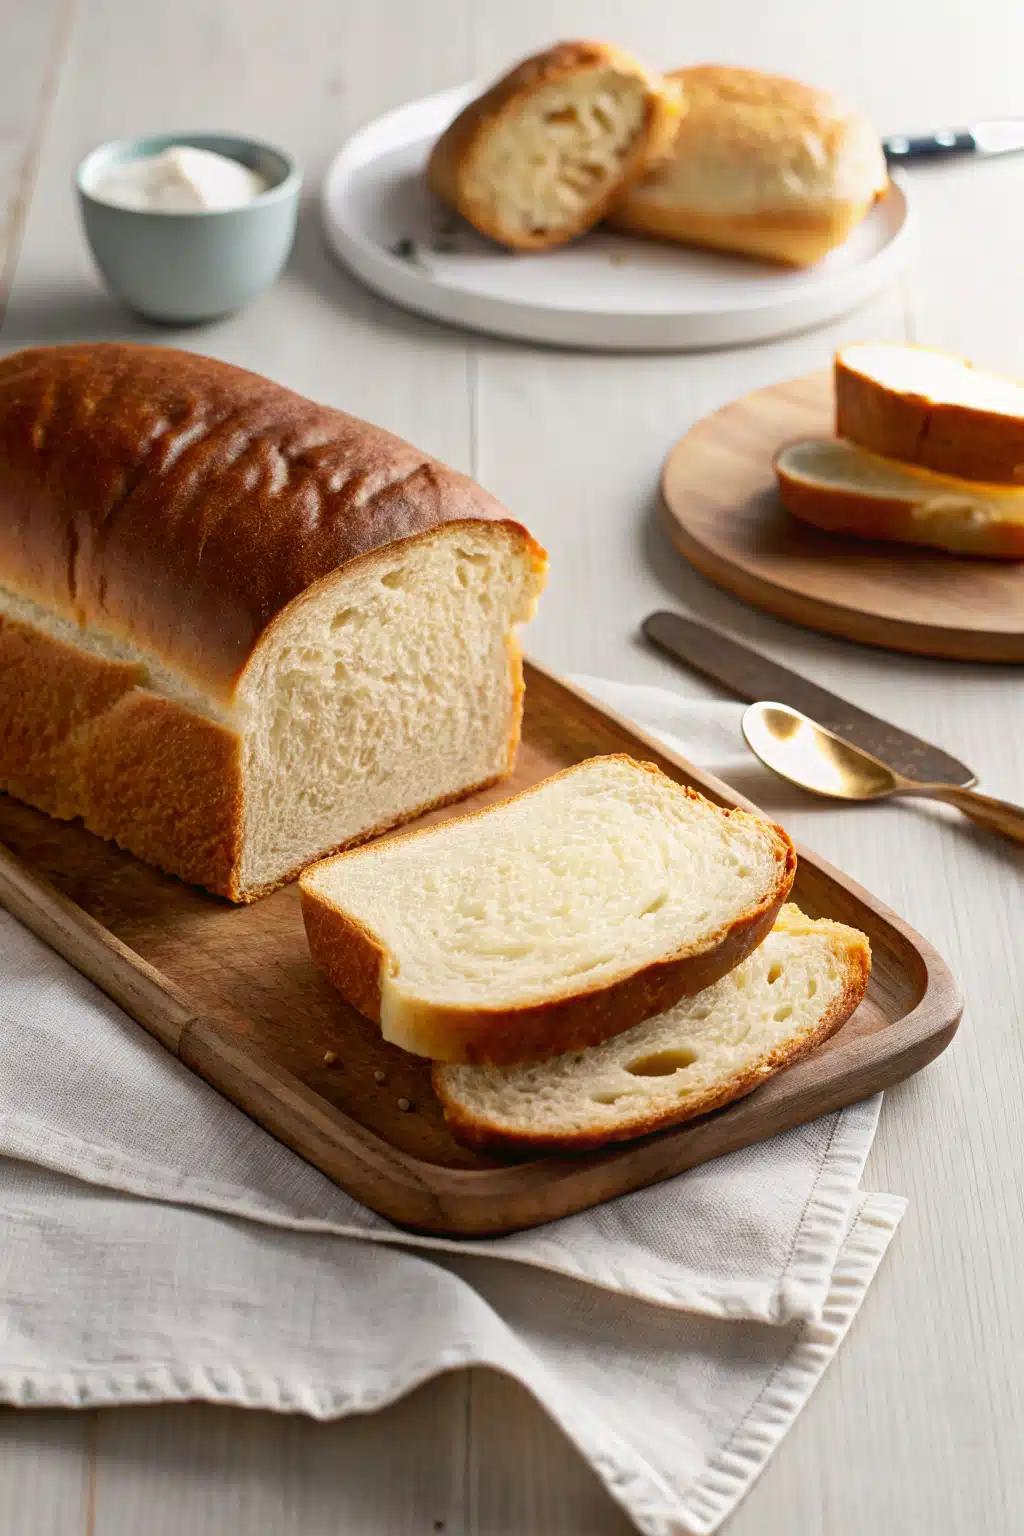
When we talk about homemade sandwich bread, we’re talking about that classic, everyday white loaf that holds up perfectly to your favorite deli meats, grilled cheeses, and morning toast. Unlike rustic sourdoughs or crusty artisanal boules that require a stiff, chewy crust and large air pockets, a traditional sandwich loaf is all about a tight, tender crumb and a beautifully soft exterior.
This specific recipe is a brilliant shortcut to that bakery-style perfection. Often affectionately called “bread in a bag,” it relies on a simple one-gallon resealable plastic bag to do the heavy lifting of mixing the wet and dry ingredients. By using whole milk instead of water, the dough is enriched with natural fats and sugars. This doesn’t just feed the yeast to give you a gorgeous rise; it also guarantees that your homemade sandwich bread stays unbelievably soft, fluffy, and full of rich flavor. It’s the kind of nostalgic, comforting bread that reminds you of childhood, but made entirely from scratch right in your own kitchen.
How to Make Homemade Sandwich Bread
Quick Overview
Making your own bread might sound like an all-day affair, but the hands-on time for this recipe is surprisingly short. You’ll spend about 25 minutes actively mixing and kneading, and the rest of the time is just letting the yeast work its magic. We’ll start by activating our yeast with warm milk and a bit of sugar right in our mixing bag. Then, we gradually add our flour, squishing it until a dough forms. A quick five-minute knead on the counter, a short rest, and then we shape it into a log for the loaf pan. After a single hour-long rise, it bakes to golden perfection. It really is that straightforward!
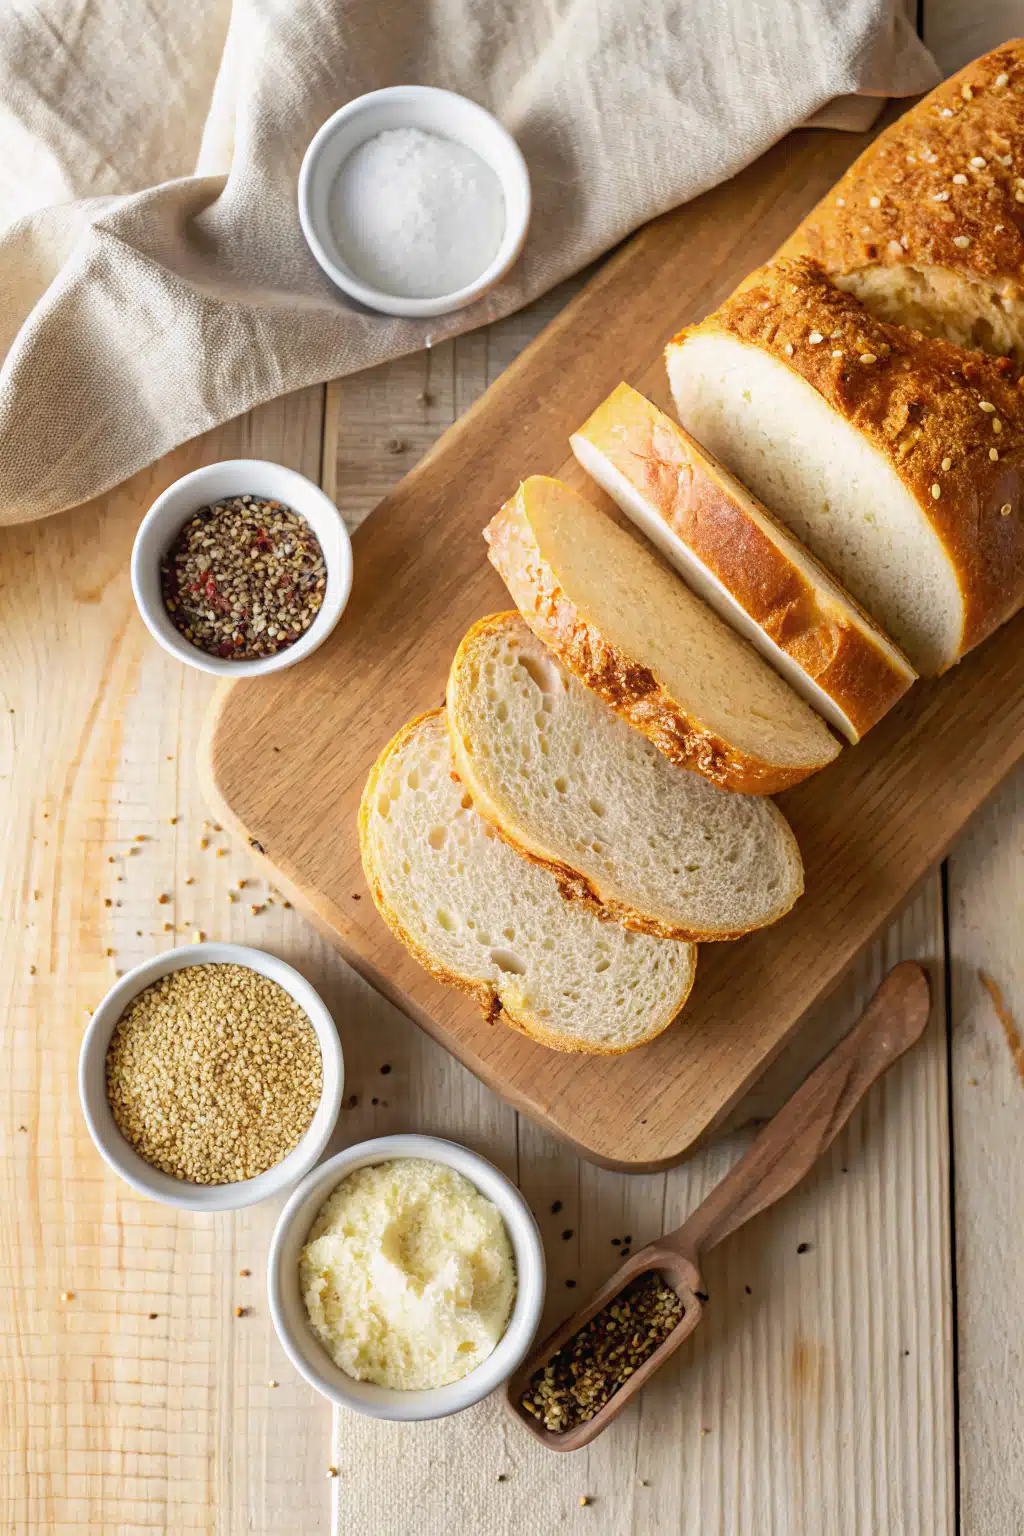
Ingredients
- All-Purpose Flour: You’ll need 2 ½ to 3 cups. All-purpose gives a wonderfully soft crumb, though bread flour works too if you prefer a slightly chewier texture.
- Fast-Acting Dry Yeast: 1 envelope (about 2 ½ teaspoons). Instant or rapid-rise yeast keeps this recipe moving quickly without needing a separate proofing step.
- Granulated Sugar: 3 tablespoons to feed the yeast and add a subtle hint of sweetness.
- Salt: 1 teaspoon to balance the flavors. Never skip the salt in bread!
- Whole Milk: 1 cup. The fat in whole milk is the secret to an extra tender, rich loaf.
- Vegetable Oil: 3 tablespoons. Keeps the bread moist and soft for days. Olive oil works great too!
Step-by-Step Instructions
Step 1: Mix the Dry Ingredients
Grab a sturdy 1-gallon resealable plastic bag. Inside, combine your fast-acting yeast, sugar, salt, and exactly 1 cup of the flour. Seal the bag tightly and give it a good shake so everything is evenly mixed.
Step 2: Warm the Liquids
In a small saucepan on the stove, heat your whole milk and vegetable oil over medium heat. You want it to reach between 110°F and 115°F. I highly recommend using a thermometer here! If it’s too hot, it will kill the yeast; too cold, and the yeast won’t wake up. It should feel like warm bathwater.
Step 3: Combine and Squish
Open your ziplock bag and carefully pour in the warm milk mixture. Seal the bag again, pressing out excess air. Now, use your hands to squish and work the bag until the wet and dry ingredients are fully combined. This is the fun part!
Step 4: Add Remaining Flour
Open the bag and add the rest of your flour, about ½ cup at a time. After each addition, seal the bag and squish it around. Keep doing this until a soft dough forms and starts pulling away from the sides of the plastic bag.
Step 5: Knead the Dough
Dust a clean countertop generously with flour. Take the dough out of the bag and knead it with your hands for about 5 minutes. If it gets too sticky, sprinkle a little more flour. You’ll know it’s ready when the dough feels smooth, springy, and elastic.
Step 6: Rest and Shape
Cover your beautiful dough ball with a clean kitchen towel and let it rest for 10 minutes. This relaxes the gluten. Next, use a rolling pin to roll the dough out into a 12×7-inch rectangle. Starting from the short end, roll the dough up tightly into a log shape.
Step 7: Rise and Bake
Place your dough log into a greased 9×5-inch loaf pan. Cover it with your towel again and set it in a warm spot to rise for about 1 hour, or until it has doubled in size. Once risen, bake at 375°F for 30 minutes. Let it cool in the pan for 5 minutes before moving it to a wire rack. Don’t forget to rub a little butter on the warm crust!
What to Serve It With
Honestly, my absolute favorite way to eat this homemade sandwich bread is right after it has cooled enough to slice, slathered with a generous pat of salted butter and a drizzle of honey. It is pure heaven.
But since it’s a sturdy, reliable sandwich bread, it truly shines when loaded up with your favorite fillings. It makes the most incredible grilled cheese sandwiches because the buttery crust crisps up beautifully in the skillet while the inside stays fluffy. It’s also my go-to for classic peanut butter and jelly, hearty turkey clubs, or a BLT with thick-cut bacon and garden-fresh tomatoes.
If you happen to have a few slices left over after a couple of days, it makes phenomenal French toast or homemade garlic bread to serve alongside a warm bowl of pasta or soup.
Top Tips for Perfecting Your Homemade Sandwich Bread
Even though this recipe is wonderfully beginner-friendly, a few little tricks can make your baking experience absolutely flawless:
- Check your yeast: Because we aren’t proofing the yeast in water first, you need to make sure your instant yeast is fresh. If it’s expired, your bread simply won’t rise.
- Find a warm spot for rising: Yeast loves a cozy environment. If your kitchen is chilly, try my mom’s trick: set the covered bowl in the laundry room while the dryer is running! You can also preheat your oven to 200°F for just one minute, turn it completely OFF, and let the dough rise inside the warm oven.
- Butter the crust: The second you pull the hot loaf out of the oven, take a tablespoon of cold butter and rub it all over the top crust. It melts in, softens the crust beautifully, and gives it an irresistible flavor that goes a long way.
- Don’t rush the cooling: I know it’s tempting to cut into a steaming hot loaf, but try to wait! Slicing bread while it’s too hot can make the inside gummy. Let it cool completely on a wire rack for the best texture.
Storing and Reheating Tips
There are no preservatives in this homemade sandwich bread, so it’s at its absolute best on the first day. However, it will keep wonderfully for 3 to 4 days if you store it properly.
Room Temperature: Keep your completely cooled loaf wrapped tightly in aluminum foil or sealed in an airtight container on the counter. This traps the moisture and keeps the crumb soft. Don’t put it in the fridge, as the cold air will actually dry out the bread and make it go stale much faster!
Freezing: This bread freezes beautifully! Wait until the loaf is 100% cool. Wrap it securely in plastic wrap, then place it inside a heavy-duty ziplock freezer bag. It will stay fresh in the freezer for up to 6 months. When you’re ready to eat, just let it thaw on the counter at room temperature. Pro tip: Slice the bread before freezing so you can pull out individual pieces for the toaster whenever a craving strikes!
Frequently Asked Questions
Final Thoughts

Baking your own homemade sandwich bread is one of those simple kitchen joys that makes you feel like an absolute superstar. There is something deeply satisfying about turning a few basic pantry staples into a warm, fragrant loaf that your whole family will devour. Whether you’re making a batch of toast for a cozy Sunday morning breakfast or packing school lunches for the week, this soft, tender bread is sure to bring a smile to everyone’s face.
I hope this “bread in a bag” method takes all the fear out of working with yeast and encourages you to bake more often. Don’t forget to get the kids involved, embrace the fun of squishing the dough, and definitely treat yourself to that first warm, buttered slice. Happy baking, friends!

Homemade Sandwich Bread
Ingredients
Main Ingredients
- 2.5 cups all-purpose flour up to 3 cups
- 1 envelope fast acting dry yeast 0.25 ounce or 2.5 teaspoons
- 3 tablespoons granulated sugar
- 1 teaspoon salt
- 1 cup whole milk
- 3 tablespoons vegetable oil
Instructions
Preparation Steps
- In a 1-gallon resealable plastic bag, combine yeast, sugar, salt and 1 cup of flour. Seal bag and shake to combine.
- In a small saucepan, heat the milk and oil over medium-high heat, until it reaches 110°F to 115°F degrees on a thermometer. It should NOT boil – you can touch the liquid at this point, but it should be warm to the touch. You do not want to kill the yeast with too hot of liquid.
- Open the zip-top bag and pour the warmed milk and oil into the bag. Reseal the bag and use your hands to work the bag to combine the ingredients.
- Add the flour, about 0.5 cup at a time, working the bag with your hands between each addition, until a soft dough forms and pulls away from the sides of the bag.
- Sprinkle a clean countertop generously with extra flour and remove the dough from the bag. Knead the dough on the counter for 5 minutes, with your hands. Add additional flour as you knead, just until the dough is smooth and elastic.
- Cover the dough with a clean kitchen towel and let it rest for 10 minutes.
- Using a rolling pin, roll the dough into a 12x7-inch rectangle. Beginning from one short end, roll the dough up tightly into a log.
- Place the dough into a 9x5 inch loaf pan that has been greased with non-stick cooking spray. Cover with a clean kitchen towel and set aside in a warm place to rise until doubled, about 1 hour.
- Bake the bread at 375°F for 30 minutes or until done. Cool the bread for 5 minutes in the pan, then remove and cool completely on a wire cooling rack.
Notes
Featured Comments
“This brings back so many warm memories. That Saturday morning routine sounds like pure comfort.”
“Impressed! Clear steps and comforting results. Perfect for busy nights.”
“New favorite here — absolutely loved. crowd-pleaser was spot on.”
“Super easy and turned out amazing! My family asked for seconds. Saving this one.”
“This sweet treat was absolutely loved — the light really stands out. Thanks!”
“Made it tonight and wow — family favorite! Will definitely make homemade bread again.”


This brings back so many warm memories. That Saturday morning routine sounds like pure comfort.