

The Ultimate Homemade Honey Buns Recipe (Baked or Fried!)
Do you remember tearing open that crinkly little plastic wrapper to get to a sticky, perfectly sweet honey bun? I certainly do. Growing up, grabbing one of those store-bought treats felt like hitting the breakfast jackpot. But let me tell you a little secret: making homemade honey buns in your own kitchen is a total game-changer. They completely blow the packaged ones out of the water!
You get that incredible, melt-in-your-mouth magic without any weird preservatives, plus your whole house is going to smell like a cozy neighborhood bakery. Whether you decide to fry them up for that classic, slightly crisp edge or bake them for a softer, pillowy bite, this recipe is pure nostalgic bliss. Grab your apron and maybe a cup of coffee, because we are about to make some serious breakfast magic together.
What Are Homemade Honey Buns?
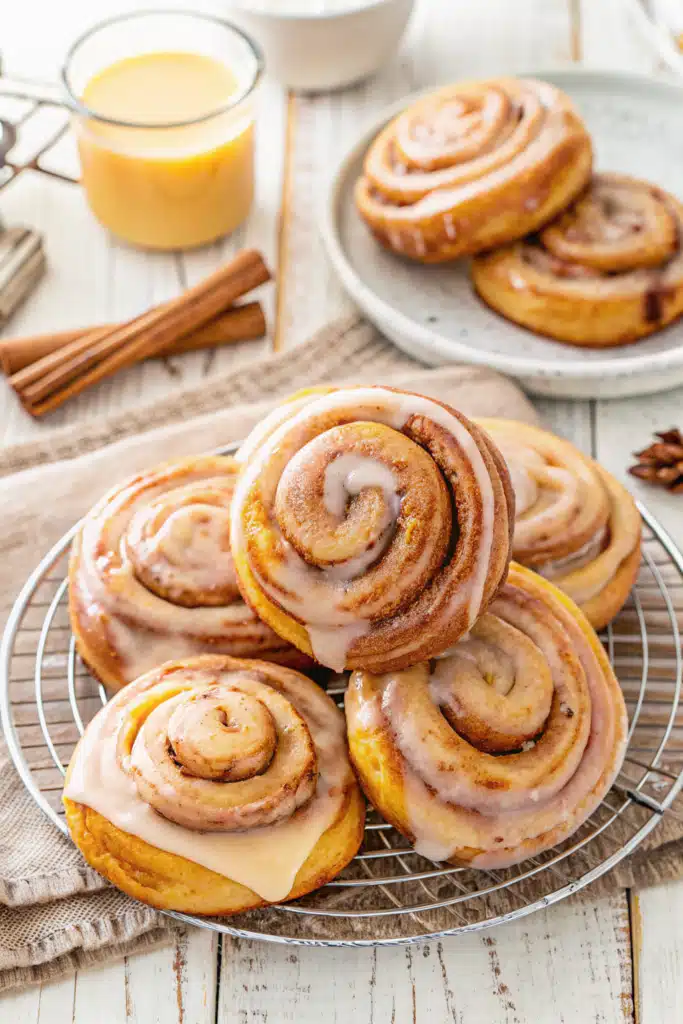
Think of a homemade honey bun as the beautiful love child between a classic cinnamon roll and a fluffy yeast donut. If you have ever had a Little Debbie honey bun, you know the general shape and vibe, but making them from scratch elevates the experience entirely.
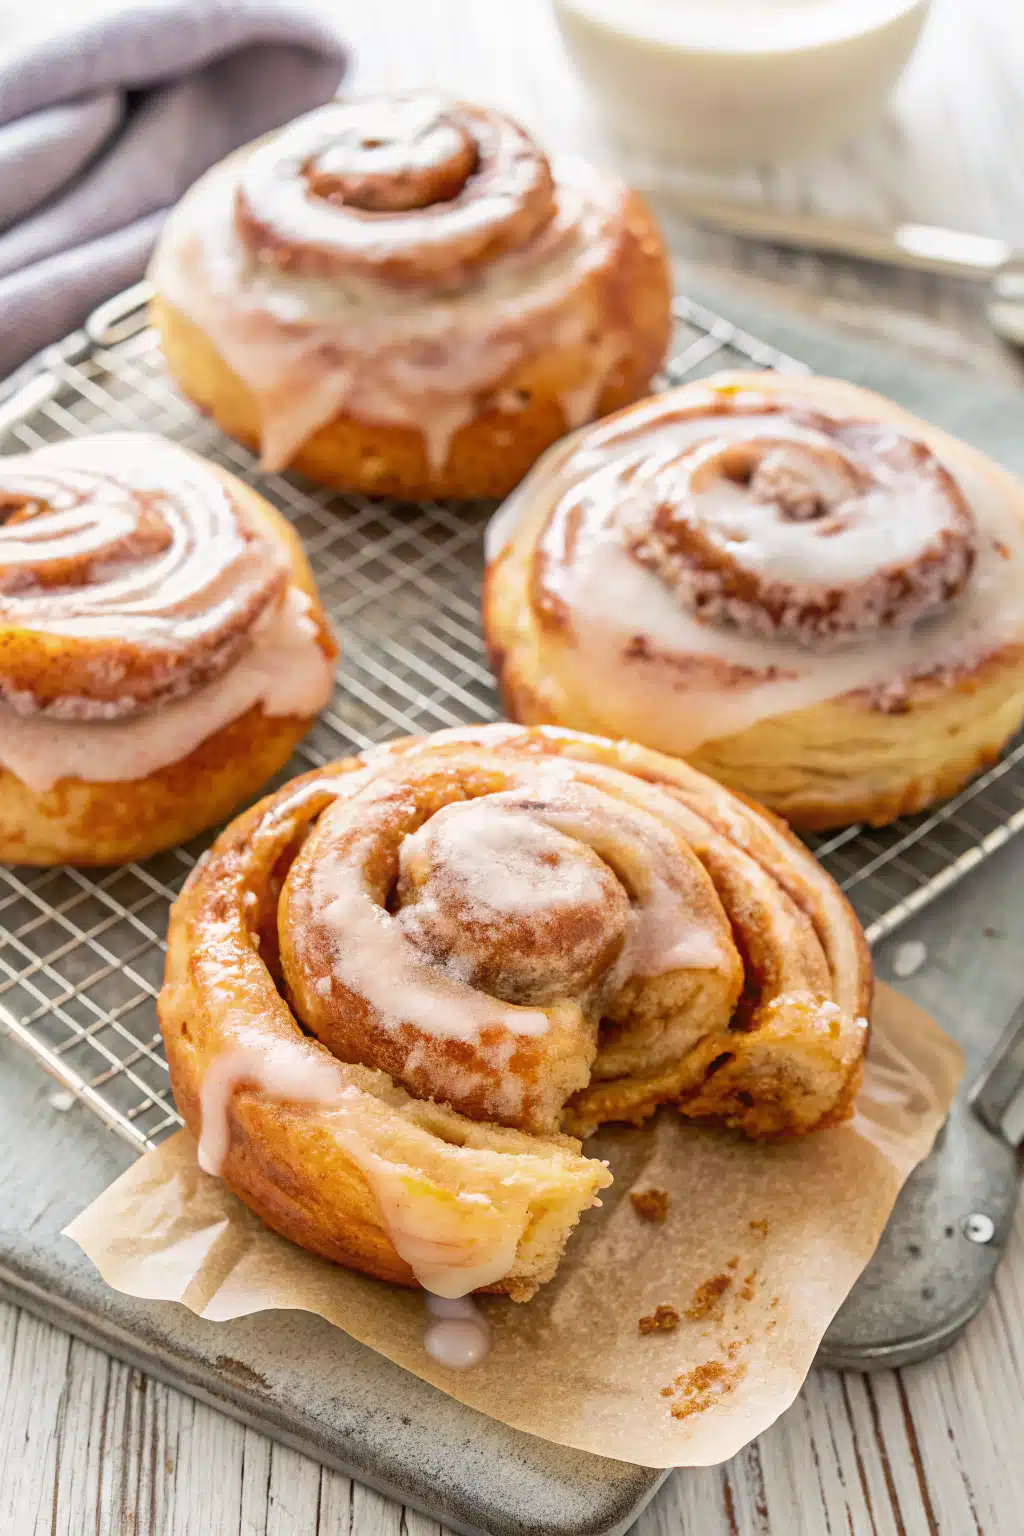
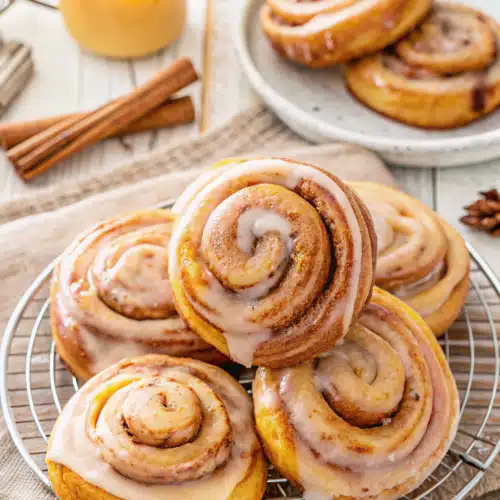
At their core, they feature a rich, yeast-based dough that is rolled out thin, sprinkled with a perfect layer of cinnamon sugar, and then rolled back up into a tight log. After being sliced into those iconic oblong shapes and given a little time to rise and get puffy, they are cooked to golden perfection. The absolute best part? While they are still warm, the buns get completely drenched in a sweet, sticky honey glaze that sets up into a delicate crust. It is a sticky, sweet, finger-licking treat that hits all the right comfort food notes.
How to Make Homemade Honey Buns
Quick Overview
Don’t let working with yeast intimidate you! The process is actually incredibly straightforward. We start by mixing a simple yeast dough and letting it rise until it is nice and puffy. Then, we roll it out, add a thin layer of cinnamon sugar, and roll it into a log. After slicing the dough into portions, they get a quick second rise to ensure they are light and airy. Finally, we cook them—either by frying or baking—and dunk them generously in a sweet honey glaze while they are still warm. You just need a little patience for the rise times!
Ingredients
For the Dough:
- 3 cups all-purpose flour (plus a little extra for rolling)
- 3 tablespoons granulated sugar
- 1 tablespoon instant yeast
- 1/2 teaspoon salt
- 1/2 cup warm water (make sure it is between 105°F and 115°F)
- 1/3 cup honey
- 1 large egg
- 1 teaspoon vanilla extract
- 1/4 cup shortening, melted
- Vegetable or peanut oil (only if you choose to fry them)
For the Cinnamon Sugar Filling:
- 1/4 cup granulated sugar
- 1 1/2 teaspoons ground cinnamon
For the Glaze:
- 4 2/3 cups powdered sugar
- 2 1/2 tablespoons honey
- 1 tablespoon butter, melted
- 1/2 teaspoon vanilla extract
- 1/4 teaspoon salt
- 1/3 to 1/2 cup warm water (to thin it out)
Step-by-Step Instructions
Step 1: Mix the Dough
Start by whisking together your flour, sugar, instant yeast, and salt in a large bowl. In a separate bowl, whisk the warm water, honey, egg, and vanilla until just combined. Pour in your melted shortening. Add these wet ingredients into your dry ingredients. If you are using a stand mixer, mix on low until everything comes together.
Step 2: Knead and First Rise
Knead the dough on medium speed for about 8 minutes. It will be slightly sticky, but that is exactly what you want! Form it into a smooth ball, place it in an oiled bowl, and cover it. Let it hang out in a warm, draft-free spot for 1 to 2 hours until it has almost doubled in size.
Step 3: Roll and Fill
Punch down the dough and turn it out onto a lightly floured surface. Roll it into a 12×8-inch rectangle. Mix your cinnamon and sugar together, then sprinkle it evenly over the dough, leaving a small clean border at one of the long edges. Roll the dough up tightly toward that clean edge. Brush a tiny bit of water on the clean edge and pinch the seam completely shut so they do not burst open later.
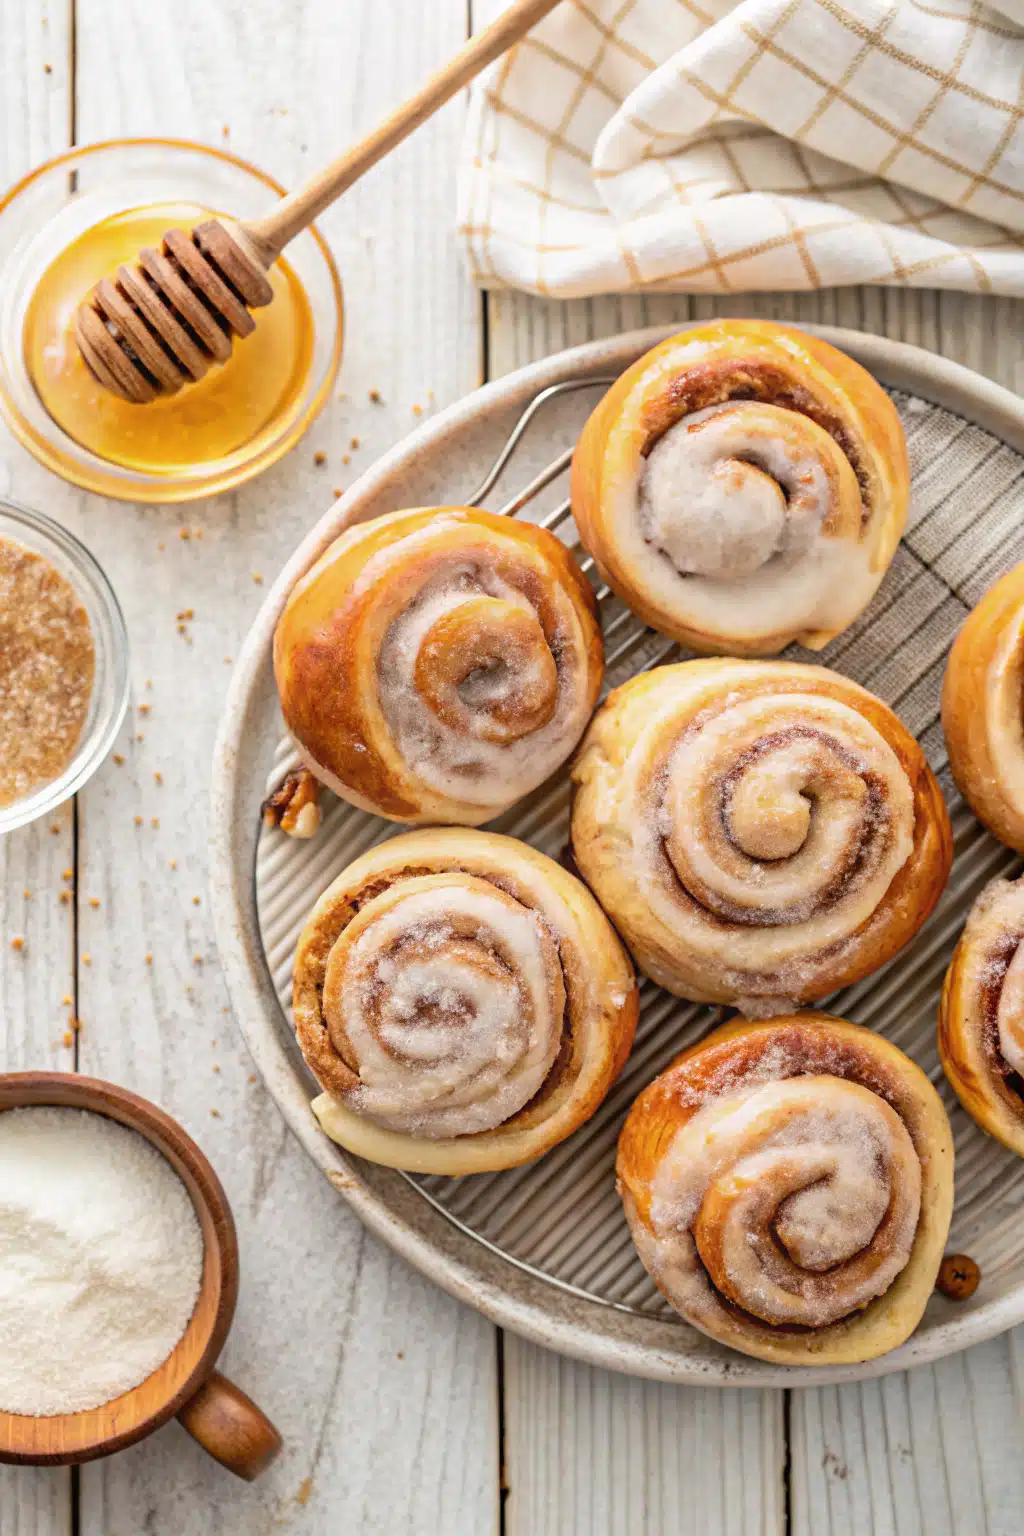
Step 4: Slice and Second Rise
Trim off the uneven ends of your log, then slice the rest into 1-inch pieces. Place them on a parchment-lined baking sheet, pressing down gently on each one to give them that classic oblong honey bun shape. Let them rest and rise for about 45 minutes until they look nice and puffy.
Step 5: Cook (Fry or Bake)
If frying: Heat 3 inches of oil in a heavy pot to 365°F. Gently drop a few buns in at a time, frying for 90 seconds per side until deeply golden brown. Move them to a wire rack over paper towels. If baking: Preheat your oven to 350°F and bake the buns for about 18 minutes until lightly golden.
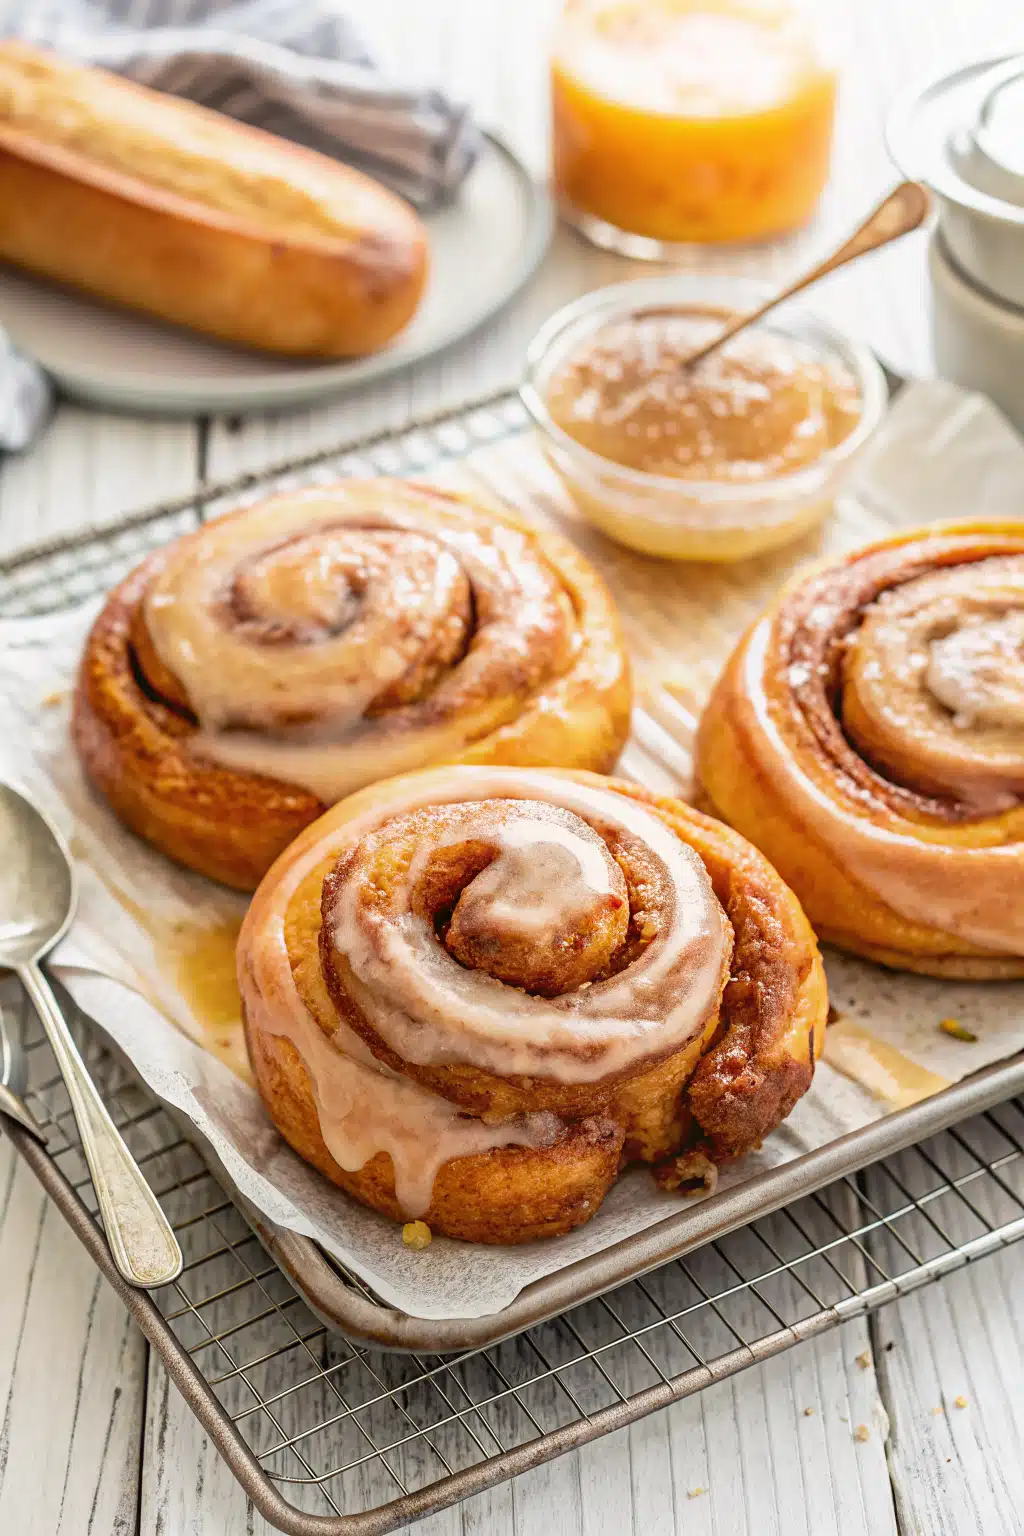
Step 6: Glaze While Warm
Whisk together all your glaze ingredients until smooth. While the honey buns are still warm, dunk them completely into the glaze, letting the excess drip off on a wire rack. This creates that iconic sticky, sweet coating we all love!
What to Serve It With
Honestly, a fresh homemade honey bun is a masterpiece all on its own, but pairing it with the right beverage elevates the whole experience. You absolutely cannot go wrong with a hot, steaming mug of black coffee—the bitterness cuts through the sweet, sticky glaze perfectly. If you are serving these to kids (or if you are just a kid at heart), a tall glass of ice-cold milk is practically mandatory for dunking.
If you are making these as part of a larger weekend brunch spread, try serving them alongside some savory breakfast staples. A side of crispy bacon or a hearty breakfast sausage balances out the sugar rush beautifully. I also love putting out a big bowl of fresh berries or a bright fruit salad to add a little freshness to the table.
Top Tips for Perfecting Your Homemade Honey Buns
Over the years, I have learned a few tricks to make sure these turn out flawless every single time. Here is what you need to know:
- Watch your water temperature: Yeast is a living thing! If your water is too hot, it will kill the yeast. Too cold, and the dough will not rise. Use a thermometer to ensure your water is right between 105°F and 115°F.
- Do not overstuff the filling: It is tempting to add extra cinnamon sugar, but keep the layer thin and even. Too much filling will actually cause the dough to unravel while it cooks.
- Pinch that seam: When you roll the dough into a log, pinch the final seam together aggressively. You want it tightly sealed so the buns keep their beautiful spiral shape in the hot oil.
- Use a thermometer for frying: Guessing the oil temperature is a recipe for disaster. Keep your oil between 350°F and 365°F. If it is too hot, the outside will burn before the inside cooks. If it is too cold, the buns will soak up the oil and become incredibly greasy.
Storing and Reheating Tips
Here is a fun fact: I actually prefer eating these the day after I make them! Letting them sit overnight gives the glaze time to really soak into the dough, creating that ultra-soft, classic store-bought texture. You can store your glazed honey buns in an airtight container at room temperature for up to 5 days.
When you are ready to eat a leftover bun, do yourself a favor and pop it in the microwave for about 5 to 10 seconds. It warms the dough right back up and makes the glaze perfectly gooey again. If you want to freeze them, flash-freeze the glazed buns in a single layer until the icing is solid. Then, transfer them to a freezer bag with wax paper between the layers to prevent sticking. They will keep in the freezer for up to three months. Just let them thaw at room temperature before warming!
Frequently Asked Questions
Final Thoughts
There is just nothing quite like the feeling of pulling a batch of warm, freshly glazed homemade honey buns out of your own kitchen. Whether you are making these for a special holiday breakfast, a lazy Sunday morning, or just to satisfy a serious sweet tooth, they are guaranteed to bring a smile to your face. I really hope you give this recipe a try and share it with the people you love. Do not forget to let me know if you are team baked or team fried in the end! Happy baking, friends!
Homemade Honey Buns
Ingredients
Main Ingredients
- 3 cup all-purpose flour plus more for rolling
- 3 tablespoon granulated sugar
- 1 tablespoon instant yeast
- 0.5 teaspoon salt
- 0.5 cup warm water between 105°F-115°F
- 0.33 cup honey
- 1 large egg
- 1 teaspoon vanilla extract
- 0.25 cup shortening melted
- Vegetable or peanut oil for frying
- 0.25 cup granulated sugar
- 1.5 teaspoon cinnamon
- 4.66 cup powdered sugar
- 2.5 tablespoon honey
- 1 tablespoon melted butter
- 0.5 teaspoon vanilla extract
- 0.25 teaspoon salt
- Warm water as needed
Instructions
Preparation Steps
- Whisk together the flour, sugar, yeast, and salt. Set aside.
- In a medium sized bowl, whisk to combine the warm water, honey (you can heat the honey for a few seconds in the microwave if it is not pourable), egg, and vanilla extract. Beating just until the egg is well combined. Melt the shortening and add it to the wet ingredients, mixing until well combined.
- With a dough hook on your stand mixer, add the wet ingredients to the dry ingredients. With the stand mixer on low, mix the dough on low until the wet and dry ingredients are well combined.
- Once combined, knead the dough on medium speed for 8 minutes. The dough will still be somewhat sticky but workable. Using a bowl scrapper or your hand, shape the dough into a nice ball and place it into a lightly oiled glass bowl, flipping the dough to coat the top of the dough with oil as well.
- Cover the dough with plastic wrap (or a clean kitchen towel) and place in a draft-free slightly warm spot. Let rise for 1 to 2 hours, until it has almost doubled in size. Depending on the temperature of your home, the rise time for the dough will vary. In cooler climates, the dough may not double but should still have a noticeable rise.
- While the dough is rising, whisk to combine the cinnamon and sugar in a small bowl. Set aside.
- Once the dough has risen, turn it out onto a lightly floured, clean surface. Roll the dough out to a 12 inches long and 8 inches wide rectangle. Dust with the cinnamon sugar mixture leaving a clean edge (you can cover the edge with parchment if needed) and gently press into the dough.
- Roll the dough up from the long side toward the clean edge. Using a pastry brush (or even your finger), brush the clean edge with a little water. Then push the clean edge into the roll and smooth with your finger to adhere the dough together.
- Using a sharp serrated knife, cut off the pinched ends from the roll, about 1.5 inches per end. Then cut it equally into 1-inch pieces and place each piece onto a parchment-lined baking sheet with at least 2 inches space between them. The pieces should be oblong in shape. Press down lightly on each slice and lightly shape each one with your fingers, then let rise for about 45 minutes - until puffy, but not doubled in size.
Frying The Honey Buns
- Part of the way through the rise time, pour oil into a large pan or stockpot until the oil is about 3-inches deep. Heat over medium heat, until the oil reaches 365°F. I highly recommend using a clip-on pot thermometer to ensure your oil is at the correct frying temperature!
- Right before frying the buns, whisk together the glaze. In a medium-sized bowl, whisk to combine the powdered sugar, honey, melted butter, vanilla, and salt. Then add in about 0.33 cup (or up to 0.5 cup) of warm water, whisking until the desired consistency is achieved. If your glaze starts to develop a crust before you’ve glazed your honey buns, stir it and add a little water if needed to make it smooth again.
- Once the rolls have risen, gently press them down again with your fingers, then place a few honey buns into the hot oil, making sure not to crowd the pan. Fry for 90 seconds on one side, then flip and fry for an additional 90 seconds on the other side, until golden brown on both sides.
- Once honey buns are golden brown, remove them from the oil and place them onto a wire cooling rack over a paper towel-lined baking sheet. Immediately dip each bun into the glaze and return to the cooling rack. This will give it that crisp texture once set. Repeat the frying and glazing process with any remaining honey buns.
Baking the Honey Buns
- Preheat your oven to 350°F with the rack placed in the lower third of the oven. Once the rolls have risen, bake for 18 minutes or until the honey buns are lightly golden brown.
- Let them rest for 5 minutes after baking and then dip each bun into the glaze (or brush the glaze on) and place on a wire cooling rack.
Notes
Featured Comments
“Impressed! Clear steps and super easy results. Perfect for busy nights.”
“New favorite here — super easy. crowd-pleaser was spot on.”
“Super easy and turned out amazing! My family asked for seconds. Saving this one.”
“This sweet treat was absolutely loved — the balanced really stands out. Thanks!”
“Made it tonight and wow — turned out amazing! Will definitely make Homemade Honey Buns again.”
“Packed with flavor and so simple. Exactly what I wanted from Homemade Honey Buns.”


