

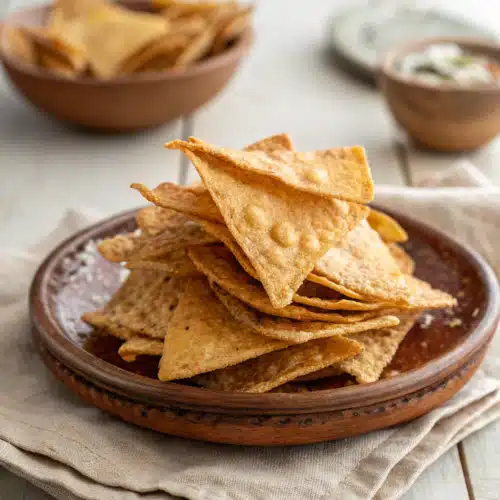
The Ultimate Crispy Homemade Tortilla Chips
Have you ever found yourself staring blankly into the pantry, desperately craving a salty, crunchy snack, only to realize you’re completely out of chips? We’ve all been there, and it’s a specific kind of heartbreak. But here’s a little secret I learned years ago that completely changed the way I snack: if you have a half-empty pack of corn tortillas sitting in the back of your fridge, you’re just minutes away from the absolute best chips of your life.
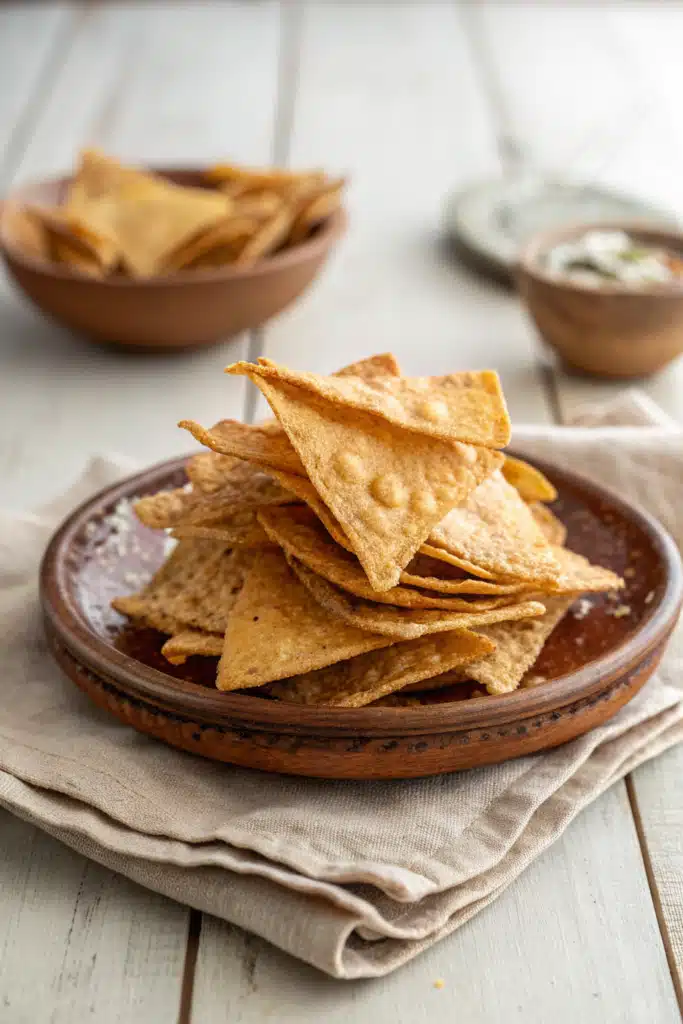
Making homemade tortilla chips isn’t just a fun little kitchen experiment; it’s a total game-changer for your taco nights, party appetizer spreads, and random late-night cravings. Once you pull a hot, golden-brown tray of these crispy, salty triangles out of your oven, you’ll seriously question why you ever settled for the bagged stuff. They’re warm, they’re incredibly sturdy, and they have this beautiful, roasted corn flavor that you just can’t get from a store-bought bag. Grab your favorite salsa, because we’re about to make your brand new snacking obsession.
What Are Homemade Tortilla Chips?
If we’re getting technical, what exactly are homemade tortilla chips? At their absolute core, they are simply standard corn tortillas that have been sliced into wedges, lightly coated in a neutral cooking oil, and baked or fried until they reach a state of shatteringly crisp perfection. It’s a humble, magical transformation.
While the commercial chips you buy at the grocery store are usually deep-fried in massive industrial vats and sitting on shelves for months, the homemade version is wonderfully fresh and pure. You’re taking a basic ingredient and elevating it through the simple magic of heat. You can use yellow corn, white corn, or even blue corn tortillas depending on what you happen to have on hand. The true beauty of making them yourself is that you dictate the entire process. Want them super thin and light? Buy thin tortillas. Prefer a hearty, thick chip that won’t snap in half when you dive into a heavy bean dip? Grab a thicker, restaurant-style tortilla. It’s snacking, completely on your own terms.
How to Make Homemade Tortilla Chips
Quick Overview
Let’s do a quick mental run-through before we get our hands oily. Making homemade tortilla chips is a foolproof, three-step dance that anyone can master, even if you rarely cook. First, you’ll stack your tortillas and slice them into those iconic little triangles. Next, you’ll toss them with a touch of oil and your seasonings of choice, making sure every single chip gets a little love. Finally, you spread them out on a baking sheet and let the oven do all the heavy lifting. The whole process takes less than twenty minutes from the moment you take the tortillas out of the fridge to the second you’re dipping them into a bowl of fresh guacamole. It’s fast, it’s incredibly easy, and it requires zero fancy kitchen equipment.
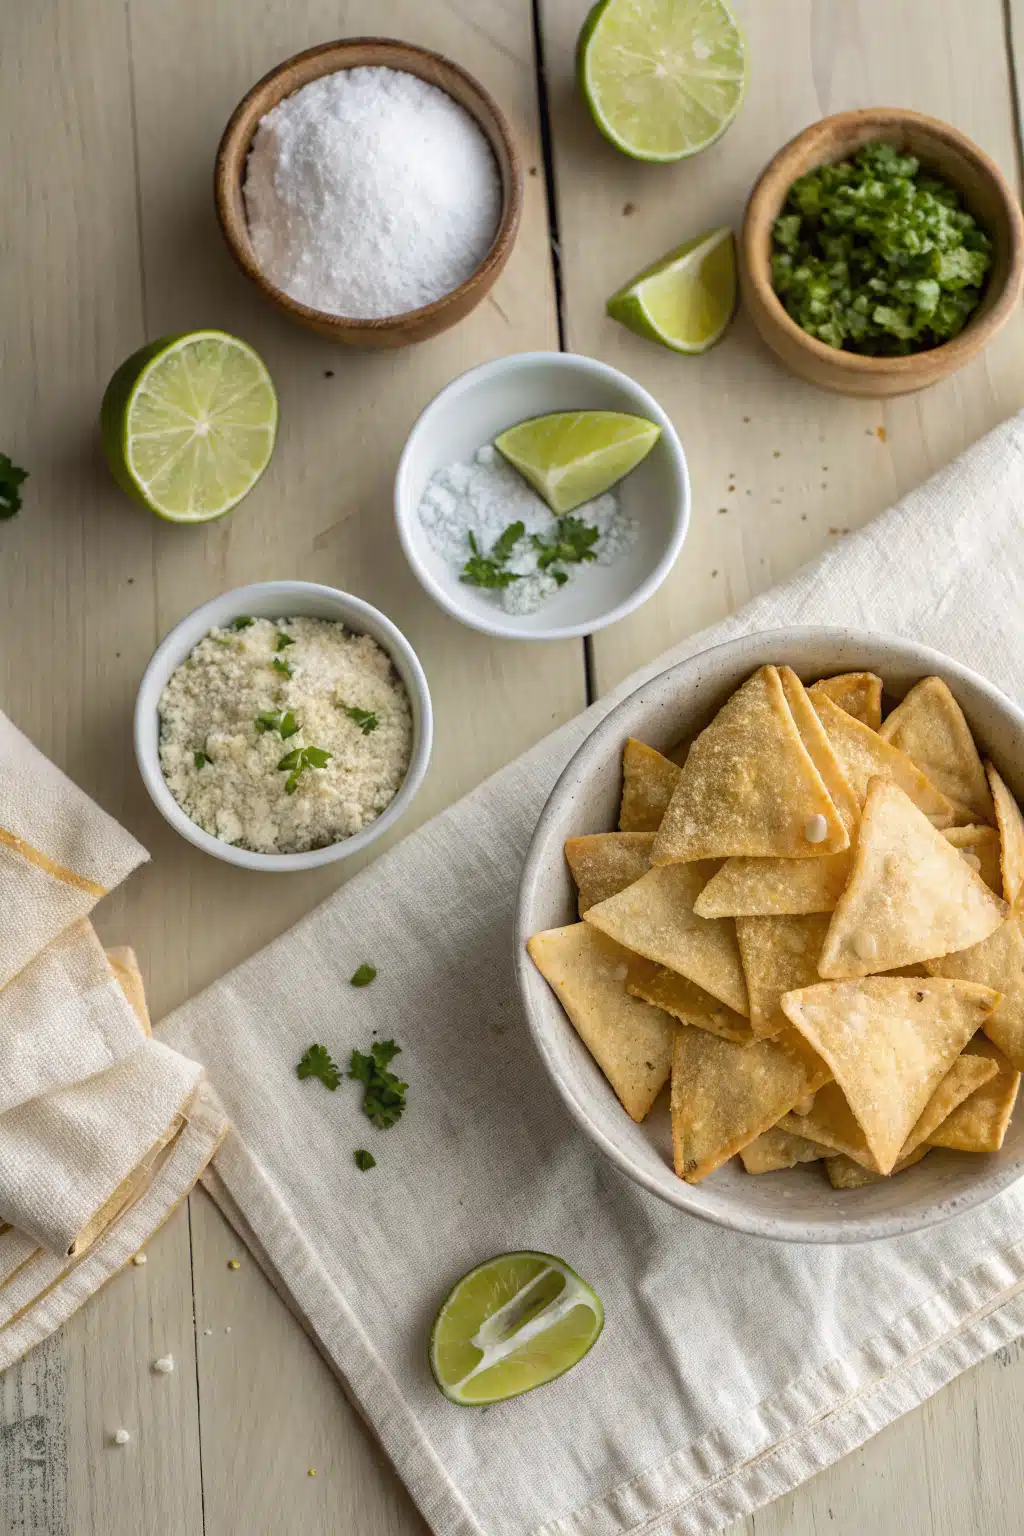
Ingredients
You really only need three basic ingredients to make the magic happen, but feel free to get creative with the spices!
- Corn Tortillas: Yellow or white corn tortillas work best. Try to use ones that are a few days old and slightly stiff.
- Neutral Oil: Avocado oil, canola oil, or light olive oil are perfect for helping the chips crisp up and giving the salt something to stick to.
- Flaky Sea Salt: A good quality sea salt or kosher salt makes all the difference in the world.
- Optional Seasonings: Chili powder, cumin, garlic powder, or a squeeze of fresh lime juice if you want to spice things up.
Step-by-Step Instructions
Step 1: Preheat & Prep Pan
Start by preheating your oven to 350°F (175°C). Grab a large rimmed baking sheet and line it with parchment paper or a silicone baking mat. This ensures your chips won’t stick and makes cleanup an absolute breeze.
Step 2: Cut the Tortillas
Take about 6 to 8 corn tortillas and stack them neatly on top of each other on a cutting board. Using a sharp chef’s knife, cut the stack in half. Cut those halves into quarters, and then cut the quarters once more so you end up with 8 perfectly sized triangles per tortilla.
Step 3: Oil and Season
Transfer all your tortilla triangles into a large mixing bowl. Drizzle about 1 to 2 tablespoons of your chosen oil over the top. Use your hands to gently toss the chips, making sure every single piece has a very light, even coating of oil. This is also the time to toss in any extra spices if you’re using them!
Step 4: Bake to Perfection
Spread the oiled chips out onto your prepared baking sheet in a single layer. It’s super important that they aren’t overlapping too much, or they’ll steam instead of getting crispy. Pop them in the oven and bake for 8 to 12 minutes. You’ll want to take them out halfway through and give them a quick flip with some tongs so they bake evenly.
Step 5: Cool and Crisp
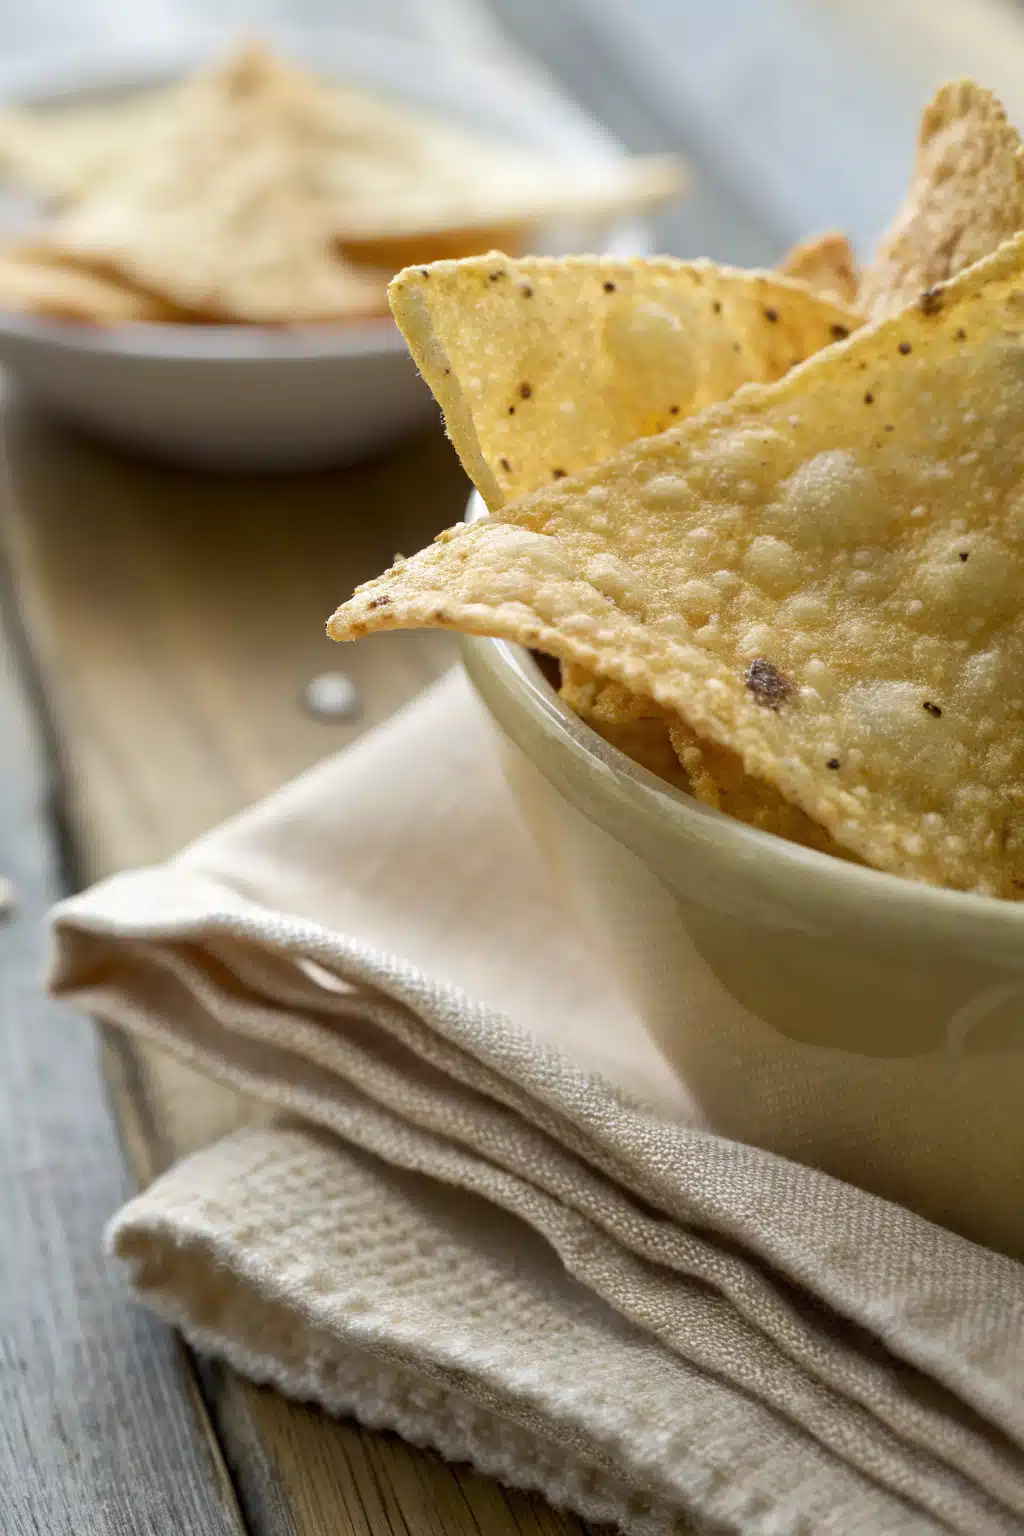
Keep a close eye on them during the last few minutes, as they can go from perfectly golden to burnt very quickly! Once they are golden brown and crispy, remove them from the oven. Immediately sprinkle them generously with your flaky sea salt while the oil is still warm. Let them cool on the pan for about 5 minutes—they will actually continue to crisp up as they cool down.
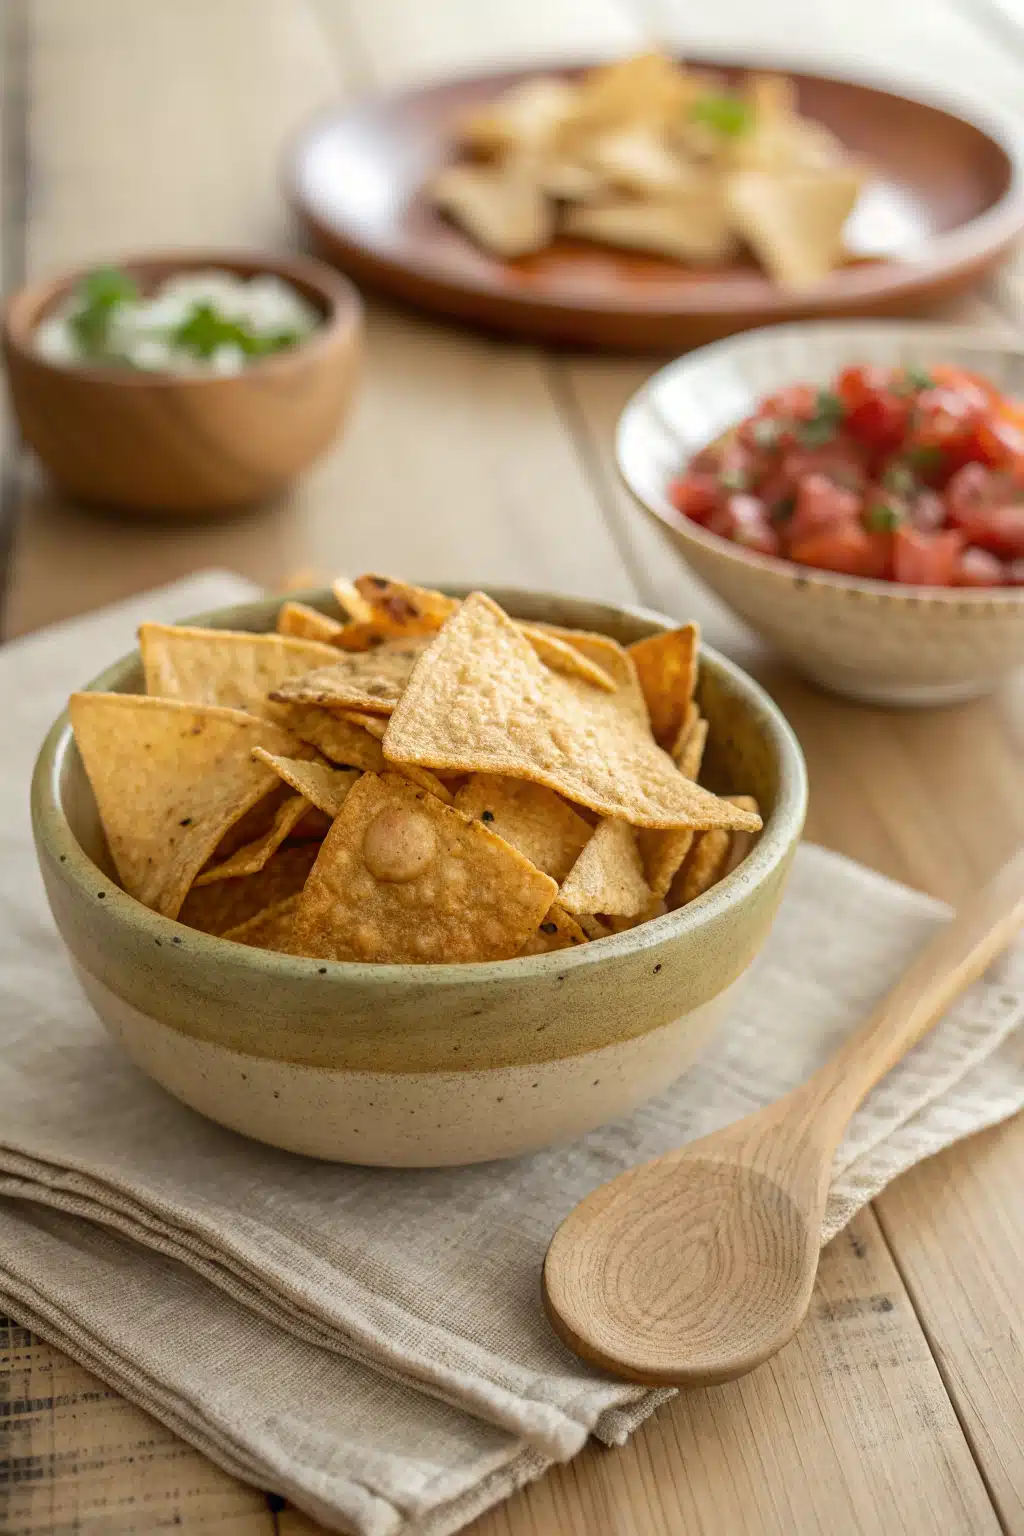
What to Serve It With
Honestly, these chips are so good I usually end up eating half the pan plain before they even make it to a serving bowl. But if you have more self-control than I do, they are the perfect vehicle for all your favorite dips. Serve them alongside a massive bowl of chunky, fresh guacamole, a bright and zesty pico de gallo, or a bubbling hot skillet of queso dip.
Because these homemade chips are naturally a bit thicker and sturdier than store-bought chips, they are the absolute best choice for making loaded sheet pan nachos. They won’t get soggy under the weight of melted cheese, black beans, and pulled pork. I also love crushing a few of them up to use as a crunchy garnish on top of a warm bowl of chicken tortilla soup or chili!
Top Tips for Perfecting Your Homemade Tortilla Chips
Want to make sure your chips come out flawlessly every single time? Keep these simple tricks in your back pocket:
- Stale is better: Fresh tortillas have a lot of moisture in them, which can make your chips chewy. Leave your tortillas out on the counter for a few hours, or use a pack that’s been sitting in your fridge for a week. Less moisture equals a better crunch!
- Don’t overcrowd the pan: I know it’s tempting to cram as many chips onto the baking sheet as possible, but if they overlap, they will steam. Bake in batches if you have to. It’s worth the extra few minutes.
- Salt them while they’re hot: This is a crucial rule for any fried or baked snack. The salt will only stick to the chips if you sprinkle it on while the residual oil is still hot and glistening.
- Watch them like a hawk: Every oven is a little different, and tortilla chips are notorious for burning in the blink of an eye. Start checking them right at the 8-minute mark.
Storing and Reheating Tips
If you somehow end up with leftovers (which rarely happens in my house), you’ll want to make sure you store them correctly so they don’t lose that beautiful crunch. First, let the chips cool completely to room temperature. If you put warm chips in a container, the condensation will make them soggy.
Store the completely cooled chips in an airtight container, a zip-top bag with the air pressed out, or a classic brown paper bag at room temperature for up to a week. If you find that they’ve lost a little bit of their crispness after a few days, don’t panic! Just spread them out on a baking sheet and pop them back into a 350°F oven for about 3 to 5 minutes. They’ll warm right up and get incredibly crunchy all over again.
Frequently Asked Questions
Final Thoughts
There is just something so deeply satisfying about making your own snacks from scratch, and these homemade tortilla chips are the perfect gateway recipe. They take minimal effort, cost barely anything, and yield a result that is infinitely better than anything you could pull off a grocery store shelf. The next time you’re planning a taco night or having friends over for drinks, do yourself a favor and whip up a batch of these.
I hope you love this recipe as much as my family does. Don’t be afraid to play around with the seasonings and make them your own. Happy snacking, and as always, if you try these out, I’d love to hear what you served them with!
Homemade Tortilla Chips
Ingredients
Main Ingredients
- 10 corn tortillas
- 2 tablespoons olive oil
- 0.5 teaspoon salt
Instructions
Preparation Steps
- Preheat your oven to 375°F (190°C) and line a baking sheet with parchment paper.
- Brush both sides of each corn tortilla lightly with olive oil.
- Cut each tortilla into 6 or 8 wedges using a knife or pizza cutter.
- Arrange the tortilla wedges in a single layer on the prepared baking sheet.
- Sprinkle the wedges evenly with salt.
- Bake for 10 to 15 minutes, flipping halfway through, until the chips are golden brown and crispy.
- Remove from the oven and let cool slightly before serving.
Notes
Featured Comments
“Impressed! Clear steps and perfect for busy nights results. Perfect for busy nights.”
“New favorite here — perfect for busy nights. crowd-pleaser was spot on.”
“Super easy and turned out amazing! My family asked for seconds. Saving this one.”
“This sweet treat was absolutely loved — the bright really stands out. Thanks!”
“Made it tonight and wow — family favorite! Will definitely make homemade tortilla chips again.”
“Packed with flavor and so simple. Exactly what I wanted from homemade tortilla chips.”


