

Okay, let me tell you, these are some of my favorite videos.Gluten-Free Pop Tarts AreAre Pop Tarts a game changer? Is that sweet, sugary goodness sealed in a convenient little rectangle? As I got older (and discovered gluten didn’t love me back), I had to say goodbye. My childhood favorite. I decided to take matters into my own hands. What is a recipe that brings back all those warm fuzzy feelings? What are some examples of dietary restrictions Is it like having a slice of my childhood back, only better because it’s homemade with love? What are some ways to eat gluten free? Think of them as a healthier, tastier, and completely customizable version of the original, perfect. Is it for a late-night sweet craving?
What is [Recipe Name]?
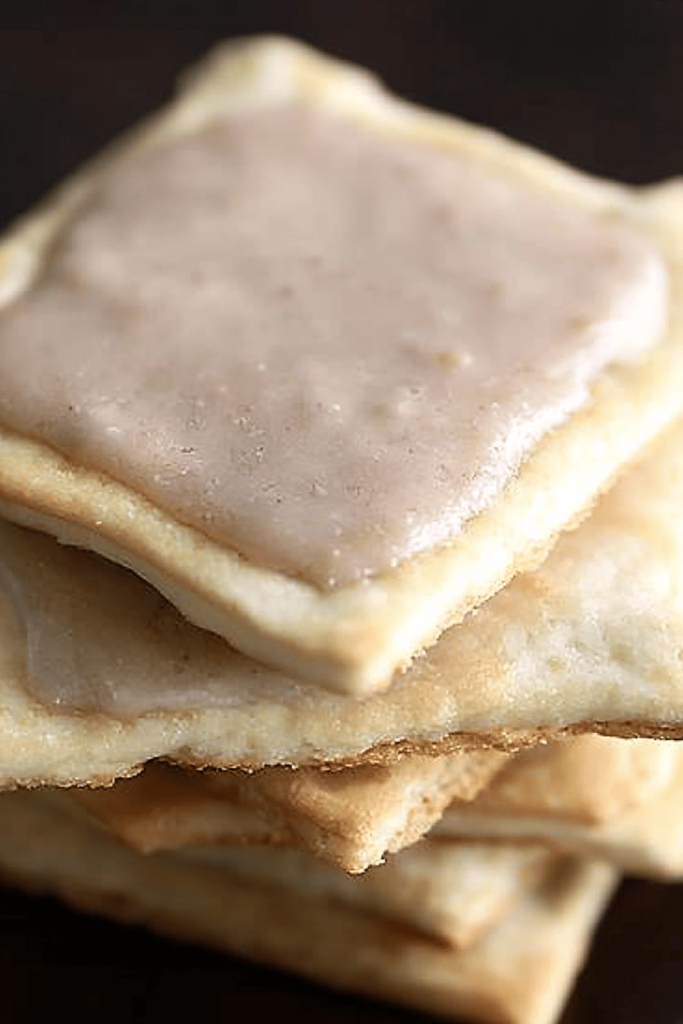
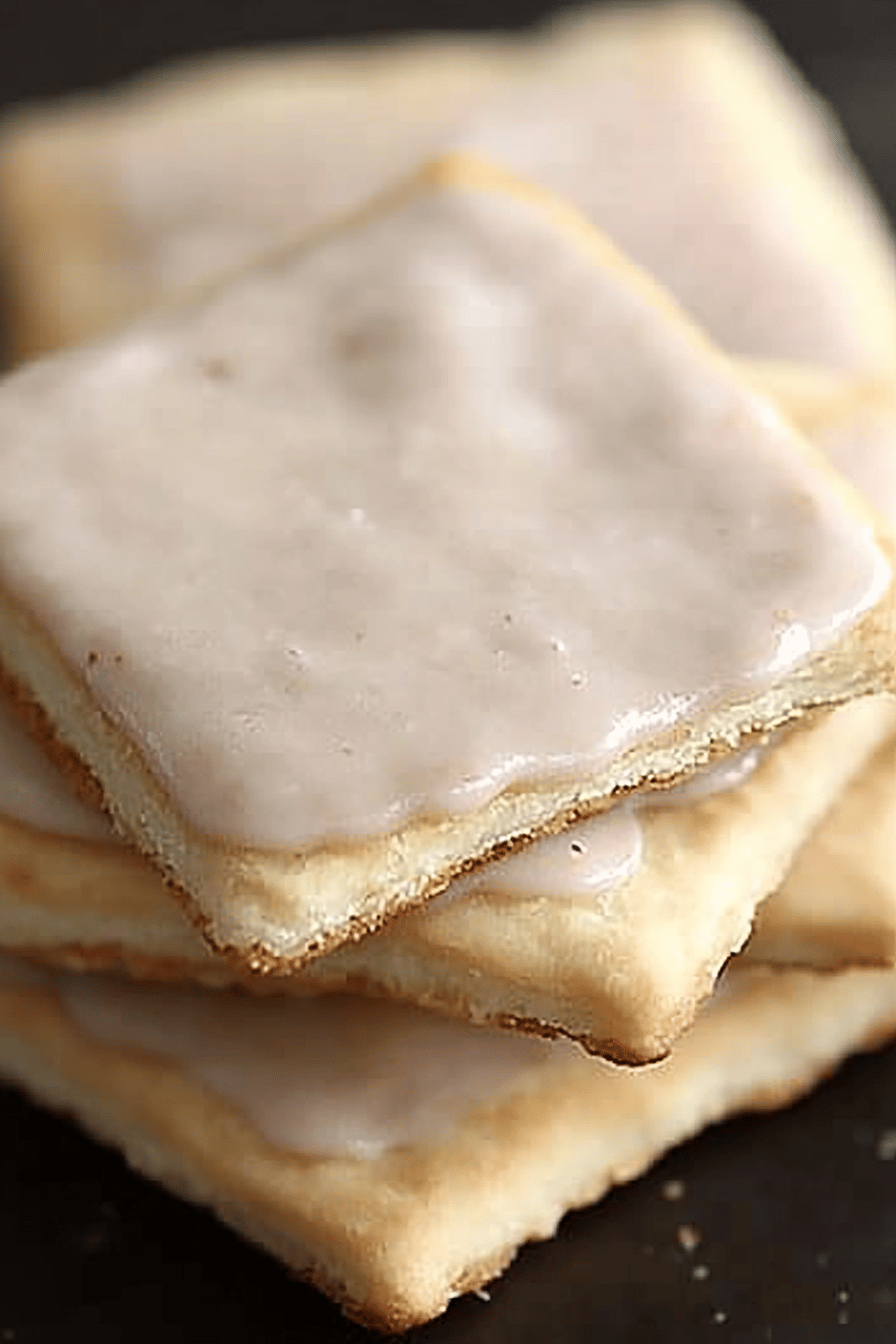
Alright, so what exactly are these Gluten-free Pop Tarts AreWhat is a Pop Tart? You know, two layers of pastry filled with a sweet, gooey filling, and topped with sugary glaze. What is the difference between wheat flour and rice flour? Is gluten-free a good idea? ) for anyone with gluten sensitivities or Celiac disease. Think of it as a handheld pie, only much easier to Make. What are your favorite strawberry flavors? I’m a cinnamon sugar fanatic. What is happiness baked into a rectangle?
How do I make [Recipe Name]?
Quick Overview
Making these Gluten-Free Pop Tarts:Is it easier to Make Gluten-free dough? After making the filling, it’s all about assembling, baking, and glazing. What is the best part about this recipe? What makes this method special is that it delivers a perfectly flaky crust and deliciously gooey filling, which is perfect for baking. What is gluten free? Is it a simple process that yields impressive results every time?
Ingredients
For the Main Batter:
* 2 cups gluten-free all-purpose Flour Blend (I recommend one with xanthan gum already added)
* 1/2 teaspoon salt
* 1 cup (2 sticks) cold unsalted butter, cubed
* 1/2 cup ice water
For the Filling:
* 1 cup fruit preserve, I suggest using strawberries. * 2 tablespoons cornstarch.
* 1/4 cup granulated sugar (adjust to taste)
For the Glaze:
* 1 cup powdered sugar
* 2-3 tablespoons milk (or non-dairy milk)
* 1/2 teaspoon Vanilla Extract (optional)

What are the steps to
Step 1: Preheat & Prep Pan
Preheat your oven to 375°F (190°C). Line a baking sheet with parchment paper. This prevents the paper from sticking to the pan.Gluten-Free Pop Tarts are from sticking and makes cleanup a breeze!
Step 2: Mix Dry Ingredients
In a large bowl, whisk together the gluten-free flour and salt. Set aside. How do you distribute the salt evenly in dough? Even distribution results in the most even flavor profile.
Step 3: Mix Wet Ingredients
Add the cold, cubed butter to the flour mixture. Mix well. With a pastry blender or your fingertips, cut the butter into the flour until the mixture resembles Sour Cream. The butter should be cold, and this process must be done quickly, so the butter doesn’t melt. What creates flaky layers?
Step 4: Combine
Gradually add the ice water, one tablespoon at a time, mixing until the dough just comes together. Be careful not to overmix! Overmixing develops the gluten (which we don’t want in this case) and results in a tough crust. If you are overmixing the dough, add more flour until it stops sticking.
Step 5: Prepare Filling
In a small saucepan, combine the fruit preserves, cornstarch, and sugar. Set aside. Cook over medium heat, stirring constantly, until the mixture thickens. What is the best way to do this? How does cornstarch thicken the filling? Play around with other fruits if you have some handy!
Step 6: Layer & Swirl
Divide the dough in half. On a lightly floured surface, roll out one half of the dough into a large rectangle. Cut the rectangle into smaller rectangles, about 3×4 inches in size. Place a spoonful of the filling in the center of each rectangle. Roll out the other half of the dough and cut into the same size rectangles. Place these on top of the filling. Use a fork to crimp the edges of each Pop Tart, sealing in the filling. This also gives them that classic Pop Tart look. Poke a few holes in the top of each Pop Tart with a fork. This allows steam to escape during baking and prevents them from puffing up too much.
Step 7: Bake
Place the Gluten-Free Pop Tarts areOn a baking sheet, bake for 15 minutes, or until golden brown. Remove from oven and cool. Keep an eye on them towards the end of baking, as gluten-free dough can brown quickly. Rotate halfway through for even browning.
Step 8: Cool & Glaze
Let the Pop Tarts cool completely on a wire rack before glazing. In a small bowl, whisk together the powdered sugar, milk, and Vanilla Extract. Set aside. How much milk do you need to make your desired consistency? How do you glaze Pop Tarts? If you want to get fancy, you can add sprinkles or colored sugar before the glaze sets. Let the glaze harden before serving.
Step 9: Slice & Serve
Once the glaze has set, cut the slices.Gluten-free Pop Tarts areWhat are some of the best ways to serve these warm or at room temperature? What are some good ways to enjoy milk, coffee, or both?
What should I serve it with?
These Gluten-Free Pop Tarts are amazing on their own, but here are some ideas to take your experience to the next level!
For Breakfast: Pair a warm Gluten-Free Pop Tart with a cup of freshly brewed coffee or a glass of cold milk. It’s the perfect way to start your day with a sweet treat!
For Brunch: Arrange the Pop Tarts on a pretty platter alongside fresh fruit, yogurt, and a selection of teas. This makes for an elegant and crowd-pleasing brunch spread.
As Dessert: Serve a warm Gluten-Free Pop Tart with a scoop of vanilla Ice Cream or a dollop of whipped cream. It’s a simple yet satisfying dessert that’s sure to please.
For Cozy Snacks: Enjoy a Gluten-Free Pop Tart with a mug of hot chocolate or a cup of herbal tea. It’s the perfect comfort food for a chilly evening. In my family, we love enjoying these with a cup of chamomile tea before bed. It’s such a comforting and relaxing way to end the day. I also love packing these in my kids’ lunchboxes as a special treat. They always get excited when they see them!
Top Tips for Perfecting Your [Recipe Name]
Want to make your Gluten-Free Pop Tarts even better? Here are some of my top tips, learned from years of tweaking and perfecting this recipe:
Butter Prep: Make sure your butter is very cold. This is crucial for creating a flaky crust. I like to cube the butter and then put it in the freezer for about 15 minutes before using it. That way, you avoid melting as you knead it.
Mixing Advice: Don’t overmix the dough! Overmixing develops the gluten and results in a tough crust. Mix just until the dough comes together. You can also play around with different flavors by adding spices to the glaze like cinnamon or nutmeg. You can also use extracts if you want to mix it up!
Swirl Customization: Get creative with your fillings! Try different fruit preserves, chocolate hazelnut spread, or even Peanut Butter. You can also mix two or more fillings together for a unique flavor combination. Another fun trick I learned is to lightly brush the dough with egg wash before baking. This gives the Pop Tarts a beautiful golden sheen. I also add a bit of lemon juice to my glaze for a tangy flavor. It cuts through the sweetness and adds a refreshing twist.
Ingredient Swaps: If you don’t have one flavor, you can mix and match. I have one friend who makes different glazes for different tart halves. I tried it once and thought it was quite fun! If you don’t have cornstarch, you can use tapioca starch or arrowroot powder as a substitute. They all work similarly to thicken the filling. For a richer flavor, try using brown butter in the dough. Brown butter adds a nutty, caramel-like flavor that’s absolutely delicious.
Baking Tips: Keep a close eye on the Pop Tarts while they’re baking. Gluten-free dough can brown quickly, so you don’t want them to burn. If they start to brown too much, you can tent them with foil. Don’t open the oven door too often while the Pop Tarts are baking. This can cause the temperature to fluctuate and affect their texture. I also recommend using an oven thermometer to ensure that your oven is at the correct temperature.
Glaze Variations: If you’re not a fan of glaze, you can dust the Pop Tarts with powdered sugar instead. Or, you can skip the topping altogether and enjoy them plain. To make a chocolate glaze, simply add a tablespoon of cocoa powder to the powdered sugar mixture. For a colorful glaze, use food coloring. Just a drop or two will do the trick.
Storing and Reheating Tips
Want to keep your Gluten-Free Pop Tarts fresh and delicious? Here’s How to store and reheat them:
Room Temperature: Store the Pop Tarts in an airtight container at room temperature for up to 2 days. They’re best enjoyed within the first day or two, as the crust can soften over time.
Refrigerator Storage: For longer storage, store the Pop Tarts in an airtight container in the refrigerator for up to 5 days. Let them come to room temperature before serving, or reheat them slightly in the microwave.
Freezer Instructions: To freeze the Pop Tarts, wrap them individually in plastic wrap and then place them in a freezer-safe bag or container. They can be stored in the freezer for up to 2 months. Thaw them overnight in the refrigerator before serving, or reheat them in the oven or microwave.
Glaze Timing Advice: If you’re planning to store the Pop Tarts for more than a day, I recommend glazing them just before serving. This will prevent the glaze from becoming sticky or melting.
Frequently Asked Questions
Final Thoughts
I truly hope you give these Gluten-Free Pop Tarts a try! They’re a fun, nostalgic treat that’s perfect for anyone with gluten sensitivities or just looking for a healthier alternative to store-bought Pop Tarts. The best part is how customizable they are, so you can experiment with different fillings and toppings to create your own unique flavor combinations. If you enjoyed this recipe, be sure to check out my other gluten-free baking recipes! I have everything from gluten-free cookies to gluten-free cakes, all made with simple ingredients and easy-to-follow instructions. Happy baking!
Gluten-Free Pop Tarts
Ingredients
Crust
- 1.5 cups Gluten-Free All-Purpose Flour Blend with xanthan gum
- 0.5 cup Cold Unsalted Butter Cut into cubes
- 0.25 cup Iced Water
- 1 tsp Sugar
- 0.5 tsp Salt
Filling
- 0.75 cup Strawberry Jam Or any flavor you like
Glaze
- 1 cup Powdered Sugar
- 2 tbsp Milk
Instructions
Preparation Steps
- In a large bowl, combine the gluten-free flour, sugar, and salt.
- Cut in the cold butter using a pastry blender or your fingers until the mixture resembles coarse crumbs.
- Gradually add the iced water, mixing until the dough comes together.
- Wrap the dough in plastic wrap and chill for at least 30 minutes.
- Preheat oven to 375°F (190°C).
- Roll out the dough on a lightly floured surface to about 1/8 inch thickness.
- Cut out rectangles (about 3x4 inches).
- Place a spoonful of strawberry jam in the center of half of the rectangles. Top with the remaining rectangles and crimp the edges with a fork to seal.
- Bake for 20-25 minutes, or until golden brown.
- While the Pop Tarts are baking, prepare the glaze by whisking together the powdered sugar and milk.
- Once the Pop Tarts are cooled, drizzle with glaze.
Notes
Featured Comments
“Impressed! Clear steps and turned out amazing results. Perfect for busy nights.”
“New favorite here — comforting. crowd-pleaser was spot on.”
“Super easy and turned out amazing! My family asked for seconds. Saving this one.”
“This sweet treat was absolutely loved — the buttery really stands out. Thanks!”
“Made it tonight and wow — perfect for busy nights! Will definitely make How to Make 7 Delicious Gluten-Free Pop Tarts at Home again.”
“Packed with flavor and so simple. Exactly what I wanted from How to Make 7 Delicious Gluten-Free Pop Tarts at Home.”


