

The Ultimate Cream Cheese Cherry Pie Recipe
Hey there, baking friends! If you’re anything like me, you probably have a soft spot for desserts that look incredibly fancy but are actually a total breeze to throw together on a lazy Sunday afternoon. Today, I am beyond thrilled to share a recipe that has been a total game-changer in my kitchen: the classic cream cheese cherry pie. There is just something undeniably magical about the pairing of rich, velvety cream cheese and the bright, slightly tart pop of sweet cherries.
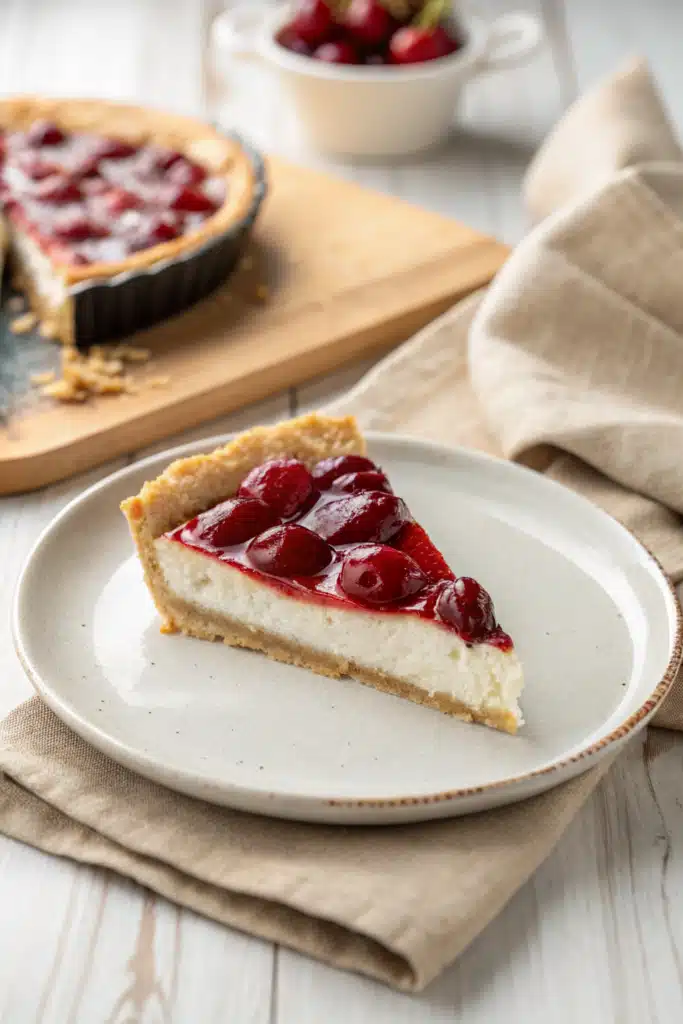
It’s the kind of dessert that makes your whole house smell like a cozy neighborhood bakery and brings everyone running to the kitchen before it’s even fully chilled. I’ve brought this pie to potlucks, holiday dinners, and impromptu weekend get-togethers, and let me tell you, it never lasts long. The graham cracker crust adds the perfect buttery crunch, balancing out that luscious, cheesecake-like filling. Grab your favorite mixing bowl, pour yourself a cup of coffee, and let’s dive right into making what is guaranteed to become your new favorite treat!
What Is Cream Cheese Cherry Pie?
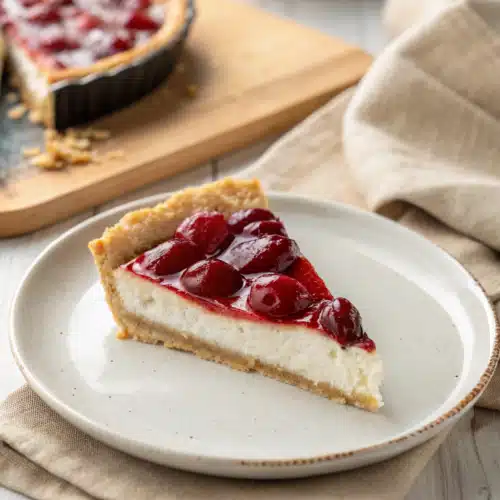
If you’ve never had the absolute pleasure of trying one, a cream cheese cherry pie is essentially the beautiful, delicious lovechild of a classic cherry pie and a rich, creamy cheesecake. It usually starts with a buttery, crumbly graham cracker crust (though a traditional flaky pastry crust works beautifully, too!). Inside, you’ll find a luscious, sweetened cream cheese layer that’s been whipped to absolute perfection until it’s incredibly light and fluffy.
Top that all off with a generous layer of glossy, ruby-red cherry pie filling, and you have a dessert that hits every single flavor and texture note you could possibly crave. It’s sweet, it’s tangy, it’s creamy, and it has that irresistible crunch from the crust. What I really love about this specific dessert is that it doesn’t feel as heavy as a traditional baked New York cheesecake, nor is it as intensely fruity as a standard double-crust cherry pie. It sits perfectly right in the middle. Whether you are baking for a special summer picnic or a cozy winter holiday, this pie fits the bill flawlessly.
How to Make Cream Cheese Cherry Pie
Quick Overview
Making this delightful pie is much easier than you might think! We are basically breaking the process down into three very simple, manageable parts: the crust, the creamy filling, and the cherry topping. You’ll start by mixing up a quick graham cracker crust and baking it just long enough to set. While that cools, you’ll whip together softened cream cheese, a touch of sugar, and some vanilla until it’s gloriously smooth. Once your crust is ready, simply spread that creamy mixture right in, top it with your cherry filling, and let it chill. The hardest part of this entire recipe is honestly just waiting for it to set in the fridge before you can slice into it!
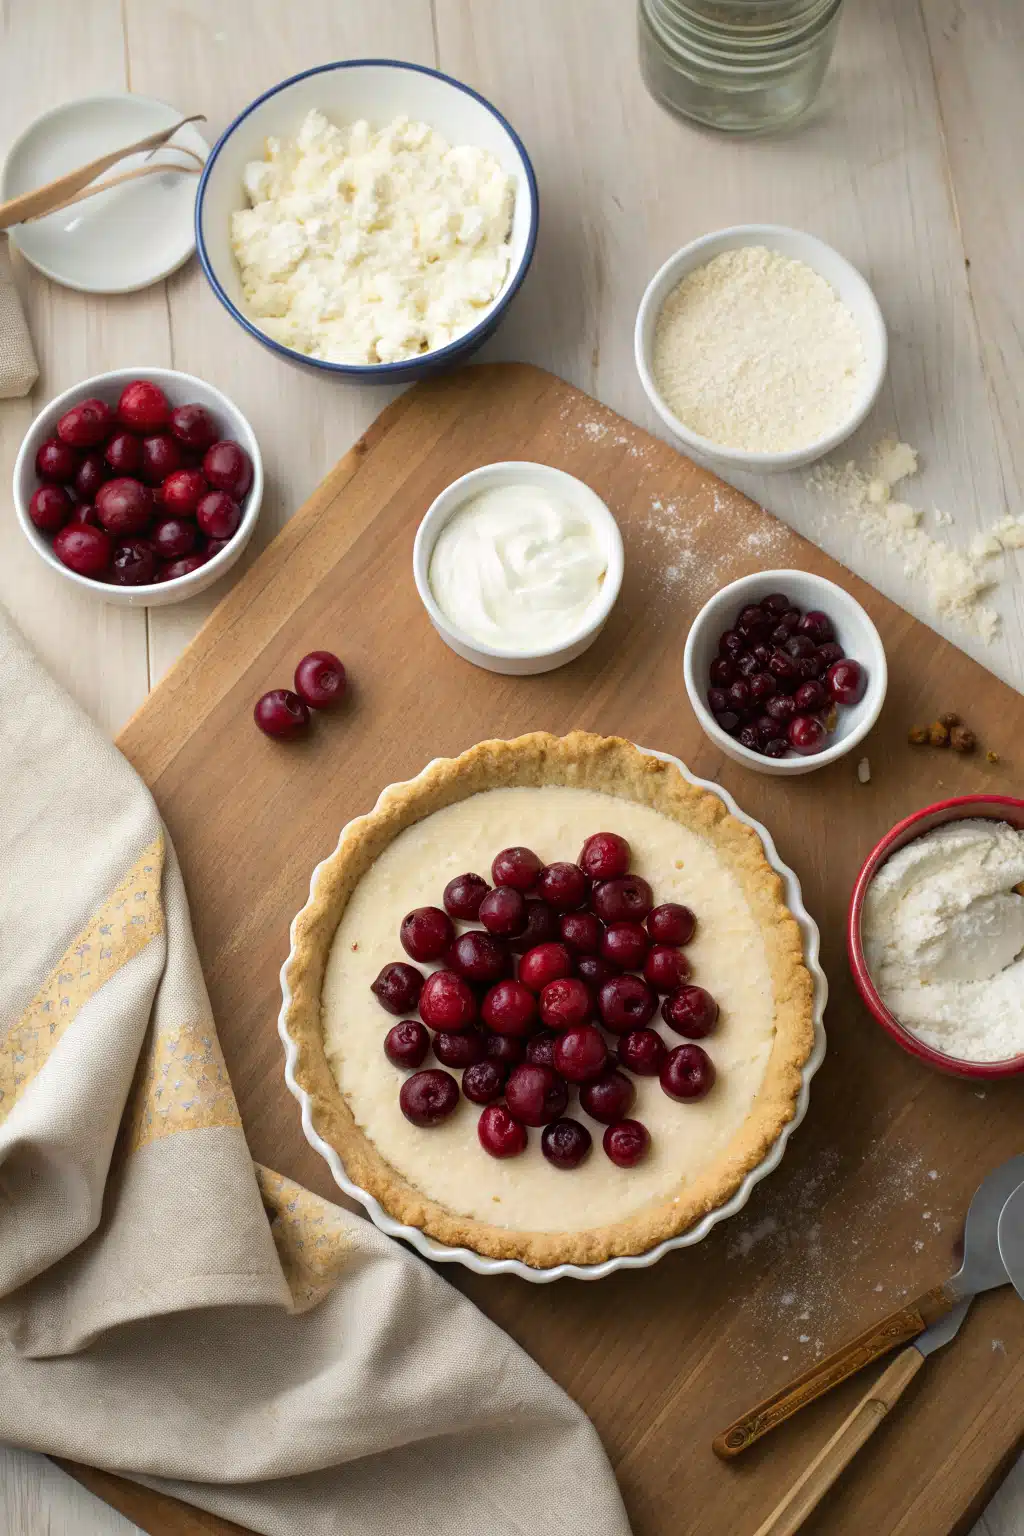
Ingredients
- Graham Cracker Crumbs: About one and a half cups for that perfect, buttery base.
- Melted Butter: Six tablespoons of unsalted butter to hold your crust together.
- Granulated Sugar: A little for the crust and a little for the filling.
- Cream Cheese: Two 8-ounce blocks, softened to room temperature. This is absolutely crucial for a lump-free filling!
- Vanilla Extract: One teaspoon of pure vanilla for that wonderful bakery flavor.
- Heavy Whipping Cream: Half a cup, whipped, to fold into the cream cheese and make it light and airy.
- Cherry Pie Filling: One 21-ounce can (or homemade if you’re feeling adventurous!).
Step-by-Step Instructions
Step 1: Preheat & Prep Pan
Start by preheating your oven to 350 degrees Fahrenheit. Lightly grease a 9-inch pie dish with cooking spray or a little butter to ensure your slices come out cleanly later.
Step 2: Mix and Press the Crust
In a medium mixing bowl, combine your graham cracker crumbs, melted butter, and a couple of tablespoons of sugar. Stir until it looks like wet sand. Pour this mixture into your prepared pie dish and press it firmly and evenly across the bottom and up the sides. A flat-bottomed measuring cup works wonders for getting a perfectly packed crust!
Step 3: Bake the Crust
Pop the crust into your preheated oven for about 8 to 10 minutes until it’s golden brown and fragrant. Let it cool completely on a wire rack. Please don’t rush this step—putting the filling into a warm crust will melt your cream cheese and ruin the texture.
Step 4: Whip the Cream Cheese Filling
In a large bowl, use an electric hand mixer to beat the softened cream cheese, sugar, and vanilla extract until it’s completely smooth and creamy. In a separate smaller bowl, whip your heavy cream until stiff peaks form, then gently fold it into the cream cheese mixture until beautifully combined and fluffy.
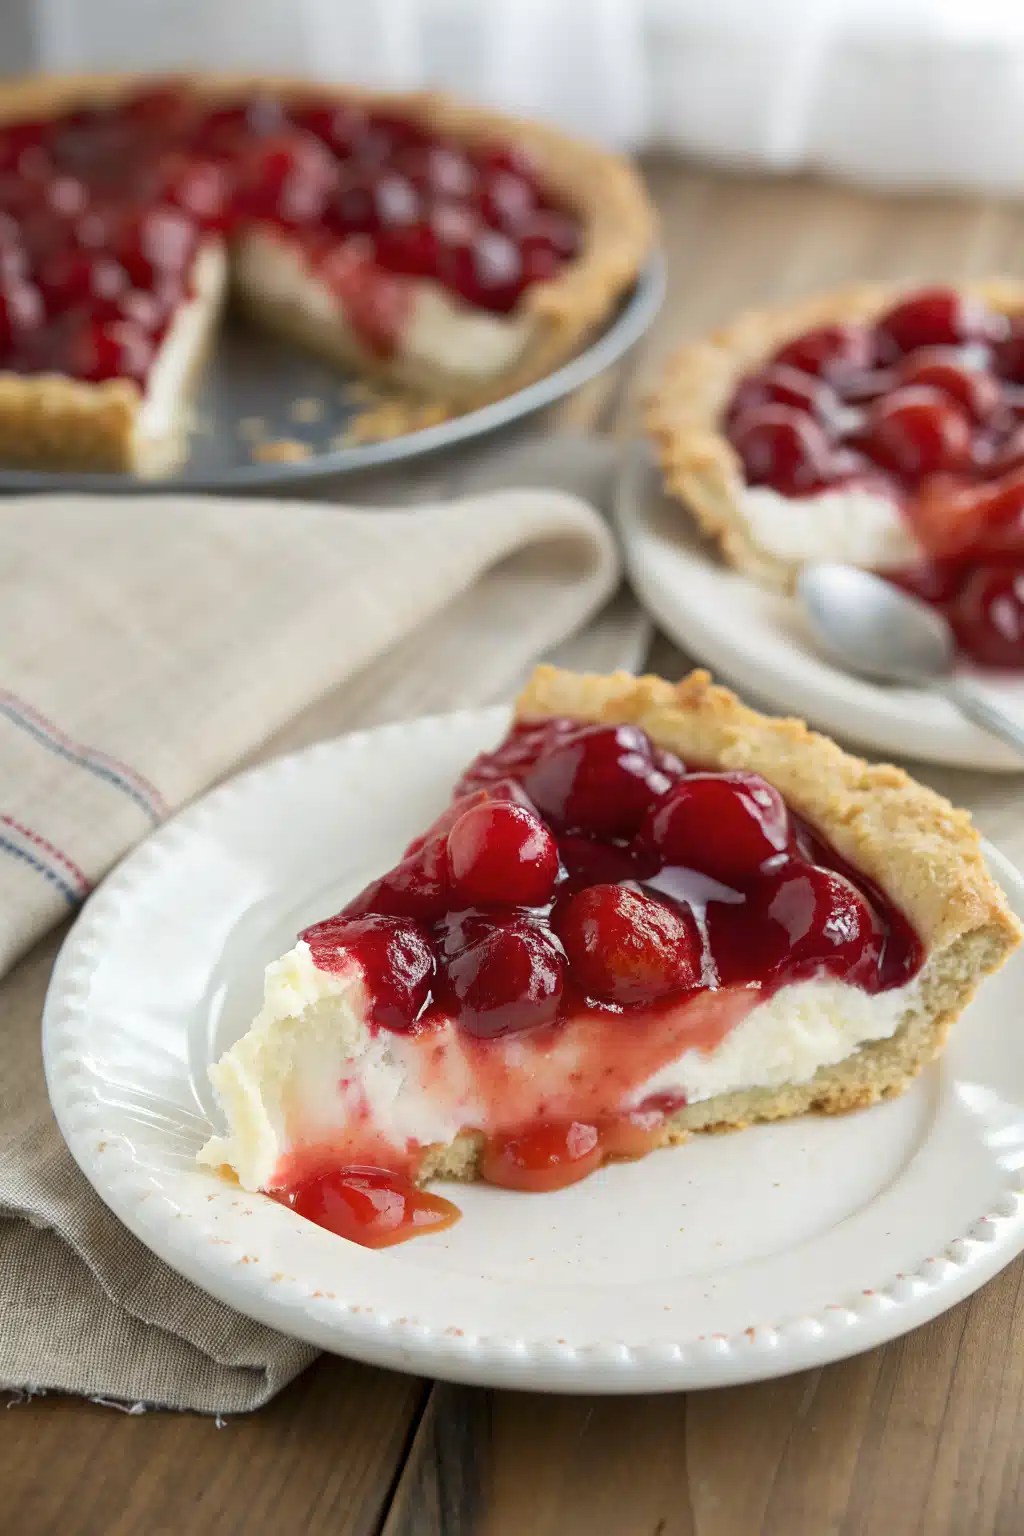
Step 5: Assemble the Pie
Spoon the fluffy cream cheese filling into your cooled graham cracker crust, smoothing the top with a rubber spatula. Next, gently pour the cherry pie filling right on top, spreading it out evenly so every slice gets plenty of fruit.
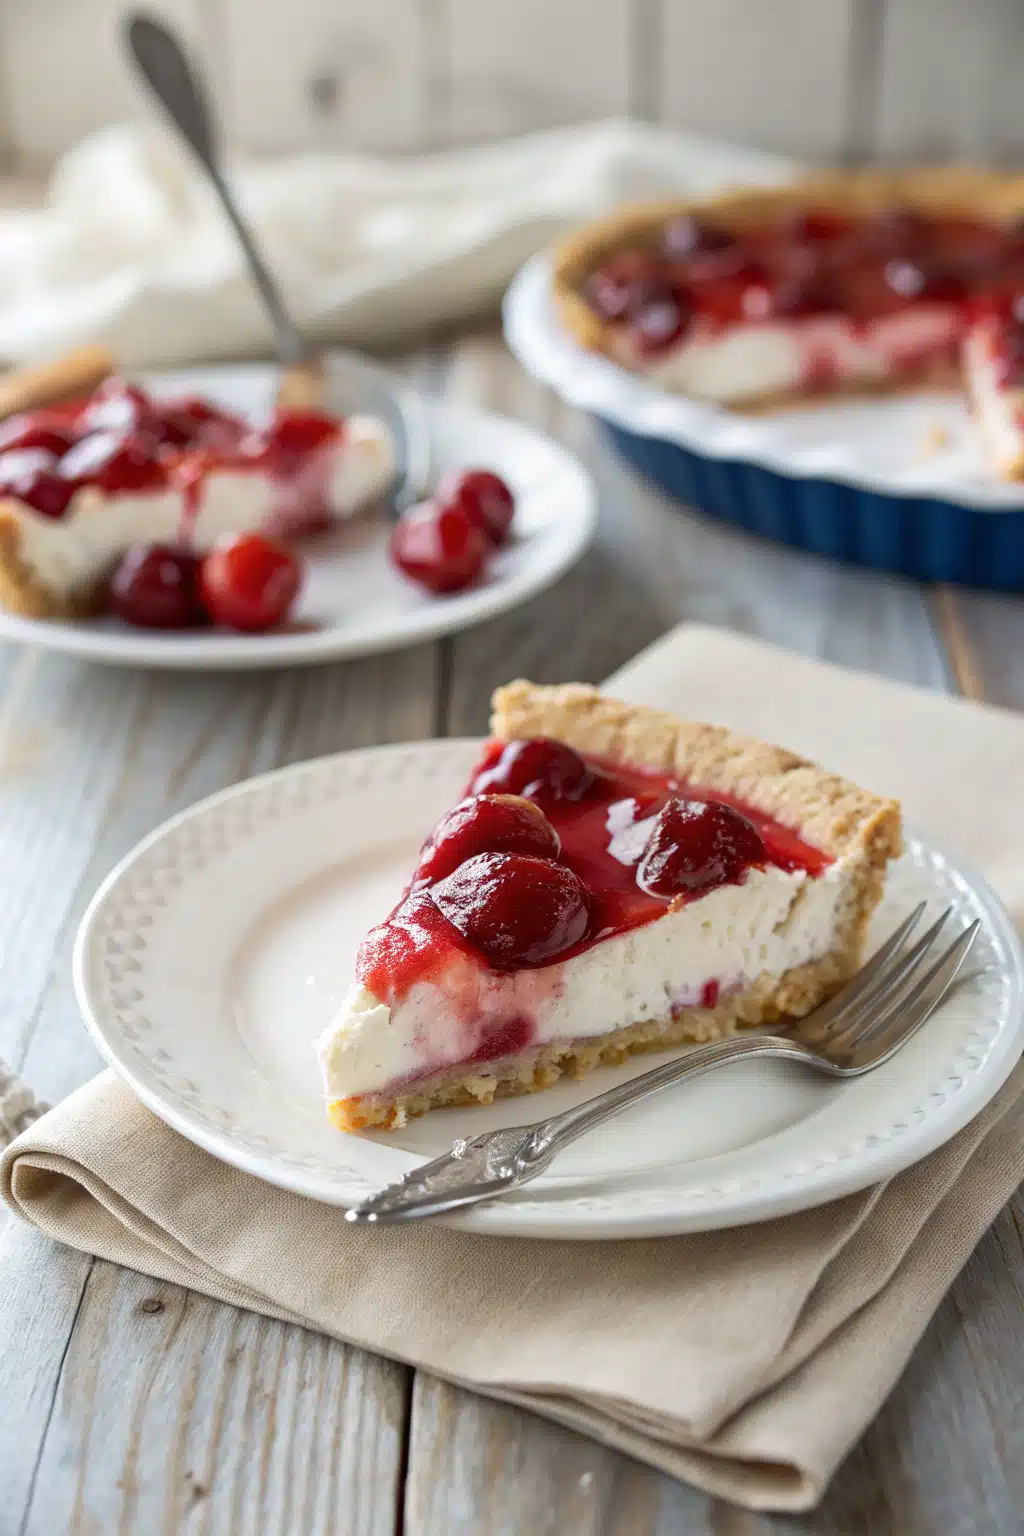
Step 6: Chill and Serve
Place your gorgeous pie in the refrigerator to chill for at least 3 to 4 hours. This allows the filling to firm up so you get those perfect, clean slices. Serve cold and get ready to enjoy all the compliments!
What to Serve It With
Honestly, this cream cheese cherry pie is an absolute star all on its own, but there are a few fun ways you can dress it up if you want to be a little extra! I love serving each slice with a generous dollop of freshly whipped cream. The light, airy texture of the whipped cream complements the dense cheesecake layer beautifully.
If you’re serving this during the hot summer months, a scoop of vanilla bean ice cream on the side is a total crowd-pleaser. You can also add a sprinkle of toasted sliced almonds or some shaved dark chocolate over the top right before serving. The slight bitterness of the dark chocolate pairs incredibly well with the sweet, tangy cherries!
Top Tips for Perfecting Your Cream Cheese Cherry Pie
Over the years, I’ve made this pie more times than I can count. Here are a few insider secrets to ensure yours turns out flawlessly every single time:
- Room Temperature Cream Cheese: I cannot stress this enough! If your cream cheese is even a little bit cold, your filling will be lumpy. Leave it out on the counter for a couple of hours before you start baking.
- Pack the Crust Tightly: To prevent your graham cracker crust from crumbling when you slice it, really pack those crumbs down firmly. I like to use the back of a spoon or a drinking glass to press it in tightly.
- Don’t Rush the Chill Time: It is so tempting to cut into this pie right away, but it really needs that time in the fridge to set up. Give it at least 3 hours, though overnight is truly best.
- Make Your Own Filling: Canned filling is super convenient, but if fresh cherries are in season, simmering them down with a little sugar and cornstarch elevates this pie to a whole new level!
Storing and Reheating Tips
Because of the dairy in the cream cheese filling, this pie absolutely needs to be stored in the refrigerator. Cover it loosely with plastic wrap or aluminum foil, or store individual slices in an airtight container. It will stay fresh and delicious for up to 4 or 5 days—if it even lasts that long without someone eating it!
I really don’t recommend freezing this particular pie, as the texture of the cream cheese can become a bit grainy and watery once thawed. And since this is a chilled dessert, there is absolutely no reheating required! Just pull it straight from the fridge, slice, and enjoy it nice and cold.
Frequently Asked Questions
Final Thoughts
There you have it, my friends! A wonderfully simple, undeniably delicious cream cheese cherry pie that is bound to become a staple in your dessert rotation. It brings together the very best elements of a cheesecake and a fruit pie without the fuss of a water bath or complicated pastry dough. I really hope you give this recipe a try the next time you need a sweet treat to brighten your day. Don’t forget to let me know how it turns out—I always love hearing about your baking adventures!
Cream Cheese Cherry Pie
Ingredients
Main Ingredients
- 1 crust Graham Cracker Ready Crust 6 oz
- 8 oz cream cheese softened
- 0.25 cup granulated sugar
- 2 tablespoons sour cream
- 1 teaspoon lemon juice fresh squeezed or bottled
- 0.5 teaspoon vanilla extract
- 1.5 cups Cool Whip
- 21 oz cherry pie filling 1 can
Instructions
Preparation Steps
- Cream together the softened cream cheese and sugar in a mixing bowl with an electric hand mixer on medium speed.
- Add sour cream, lemon juice, and vanilla extract. Mix until combined and creamy.
- Stir in the Cool Whip with a spatula until combined well.
- Evenly spread the filling into the graham cracker crust and smooth out the top.
- Cover the pie with the enclosed plastic lid and refrigerate for at least 6 hours.
- After the filling has refrigerated, cover the pie with the cherry pie filling (you don't have to use it all) and put the lid back on.
- Refrigerate for at least 2 hours before slicing and serving.
Notes
Featured Comments
“This sounds amazing! I’ve been craving a creamy, fruity pie—definitely giving this a try soon.”
“Impressed! Clear steps and restaurant-level results. Perfect for busy nights.”
“New favorite here — crowd-pleaser. crowd-pleaser was spot on.”
“Super easy and turned out amazing! My family asked for seconds. Saving this one.”
“This sweet treat was absolutely loved — the silky really stands out. Thanks!”
“Made it tonight and wow — crowd-pleaser! Will definitely make How to Make the Best Cream Cheese Cherry Pie in 7 Simple Steps again.”


This sounds amazing! I’ve been craving a creamy, fruity pie—definitely giving this a try soon.