

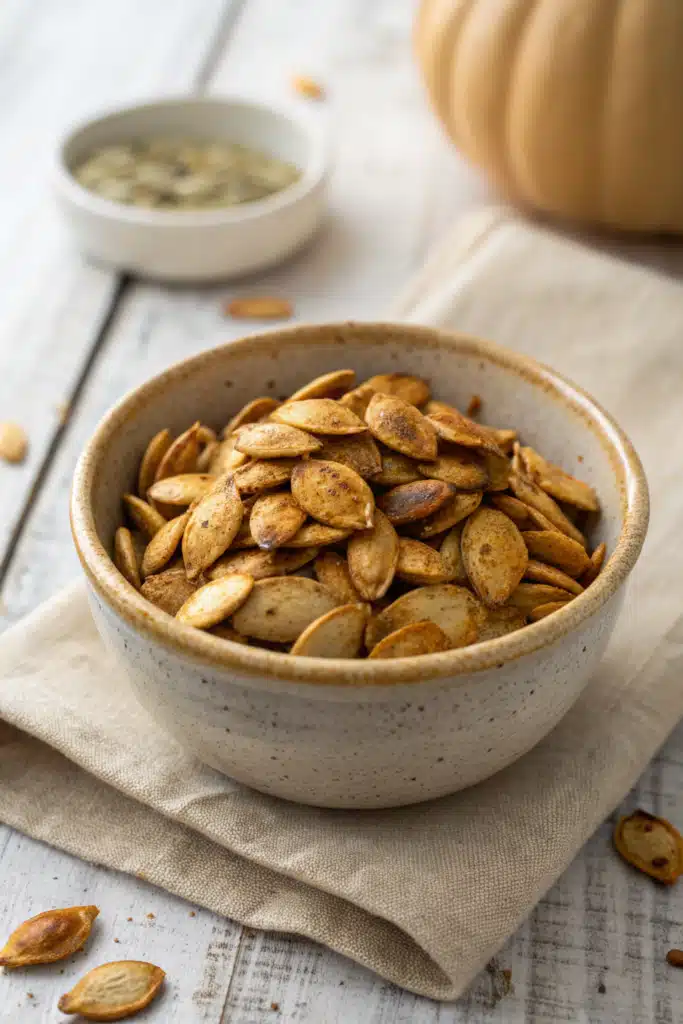
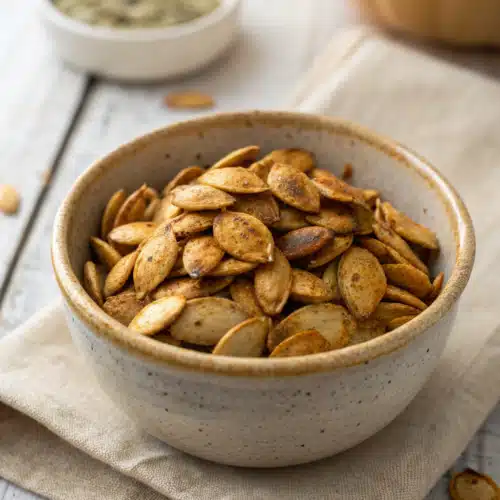
The Best Crispy Roasted Pumpkin Seeds
Fall is officially here, and if you’re anything like me, your kitchen is currently covered in pumpkin guts. Every year, we gather around the table to carve jack-o’-lanterns, and every single year, the absolute best part isn’t the spooky faces we create—it’s the massive bowl of freshly scooped seeds waiting to be transformed. I used to just toss them out in the trash. Can you believe that? What a total waste! But once I figured out how to make the absolute best roasted pumpkin seeds, it quickly became my family’s favorite autumn tradition.
There’s just something incredibly satisfying about taking what is essentially a kitchen scrap and turning it into an addictive, crunchy, salty snack. Plus, your house is going to smell amazing while they bake in the oven. Whether you’re snacking on them during a scary movie marathon or tossing them over a warm autumn salad, these little gems are pure gold. Grab that messy bowl of seeds, and let’s turn them into your new favorite snack!
What Are Roasted Pumpkin Seeds?
So, what exactly are roasted pumpkin seeds? If you’ve never had them outside of a store-bought bag, you’re in for a serious treat. Essentially, they are the edible seeds found inside your everyday carving pumpkins (or sugar pumpkins, butternut squash, and other winter squashes). When you scoop out the stringy, gooey insides of a pumpkin, you’re left with hundreds of these nutrient-packed seeds.
Instead of throwing them in the compost bin, we clean them, boil them briefly in salted water (this is my secret trick for the perfect crunch!), toss them with a little oil and your favorite seasonings, and bake them until they are golden brown and crispy. The result is a savory, nutty, and incredibly crunchy snack. They are naturally vegan, gluten-free, and loaded with good stuff like magnesium, zinc, and healthy fats. Think of them as nature’s perfect crunchy snack. Once you realize how simple they are to make from scratch, you’ll never look at a raw pumpkin the same way again.
How to Make Roasted Pumpkin Seeds
Quick Overview
Making perfectly crispy roasted pumpkin seeds is surprisingly easy, but it does require a little bit of patience during the cleaning phase. Don’t worry, though—it’s worth every second! First, you’ll separate the seeds from the pumpkin guts and give them a good rinse. Then comes the magic step: boiling them in salted water for about ten minutes. This step is crucial for that signature crunch. After boiling, you’ll dry them thoroughly (moisture is the enemy of crispiness!), toss them with a little olive oil and your favorite seasonings, and spread them out on a baking sheet. A slow and steady roast in the oven brings out their natural nutty flavor and ensures they crisp up all the way through without burning.
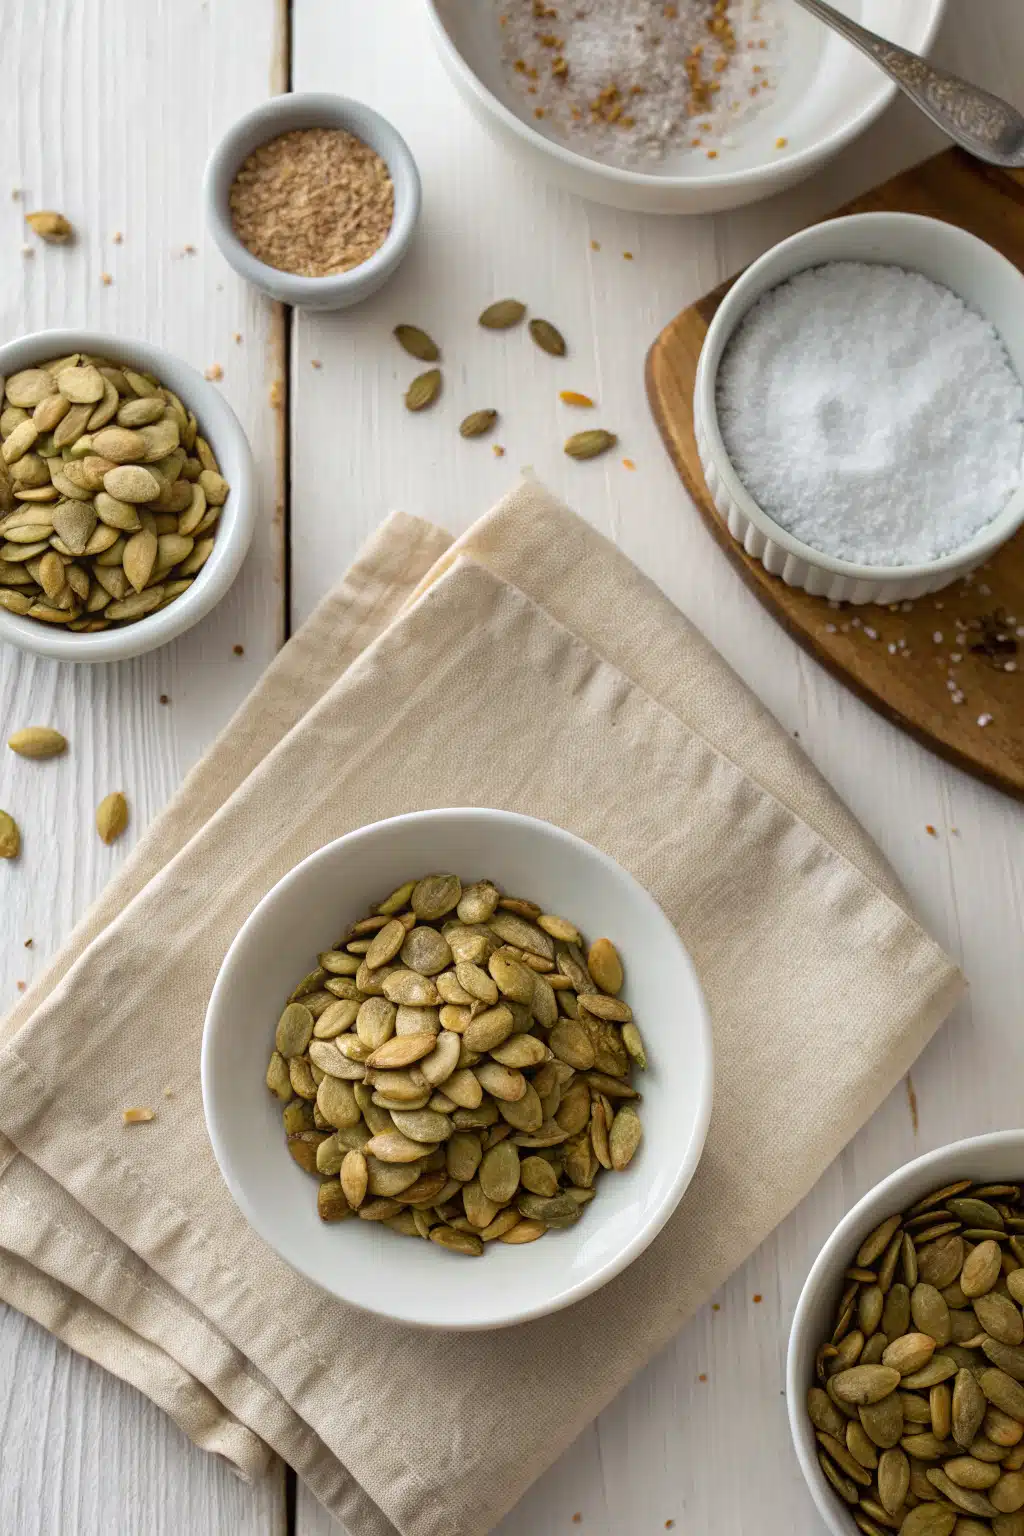
Ingredients
- Raw Pumpkin Seeds: About 1.5 to 2 cups, scooped straight from your pumpkin.
- Water: For boiling the seeds.
- Sea Salt: For the boiling water and for sprinkling on top.
- Olive Oil or Melted Butter: 1 tablespoon to help the seeds crisp up and make the spices stick.
- Garlic Powder: 1/2 teaspoon for a savory kick.
- Black Pepper: Just a pinch to taste.
Step-by-Step Instructions
Step 1: Clean the Seeds – Start by scooping the seeds out of your pumpkin. Place the messy mixture of seeds and pulp into a large colander in the sink. Run cold water over them while using your hands to pull the stringy orange flesh away from the seeds. Don’t stress if a tiny bit of pumpkin remains—it actually adds flavor!
Step 2: Boil in Salted Water – Bring a medium pot of water to a rolling boil and add about a tablespoon of salt. Drop your cleaned seeds into the boiling water and let them simmer for 10 minutes. This draws the salt inside the seed shell and pre-cooks them slightly so they roast perfectly.
Step 3: Drain and Dry Completely – Drain the seeds well in your colander. Now, spread them out on a clean kitchen towel or a few layers of paper towels. Pat them completely dry. I can’t stress this enough: the drier your seeds are, the crispier they will become in the oven.
Step 4: Season the Seeds – Preheat your oven to 350°F (175°C). Transfer your dry seeds to a medium bowl. Drizzle them with the olive oil (or melted butter), and sprinkle in your garlic powder, a little extra sea salt, and black pepper. Toss everything together until every single seed is beautifully coated.
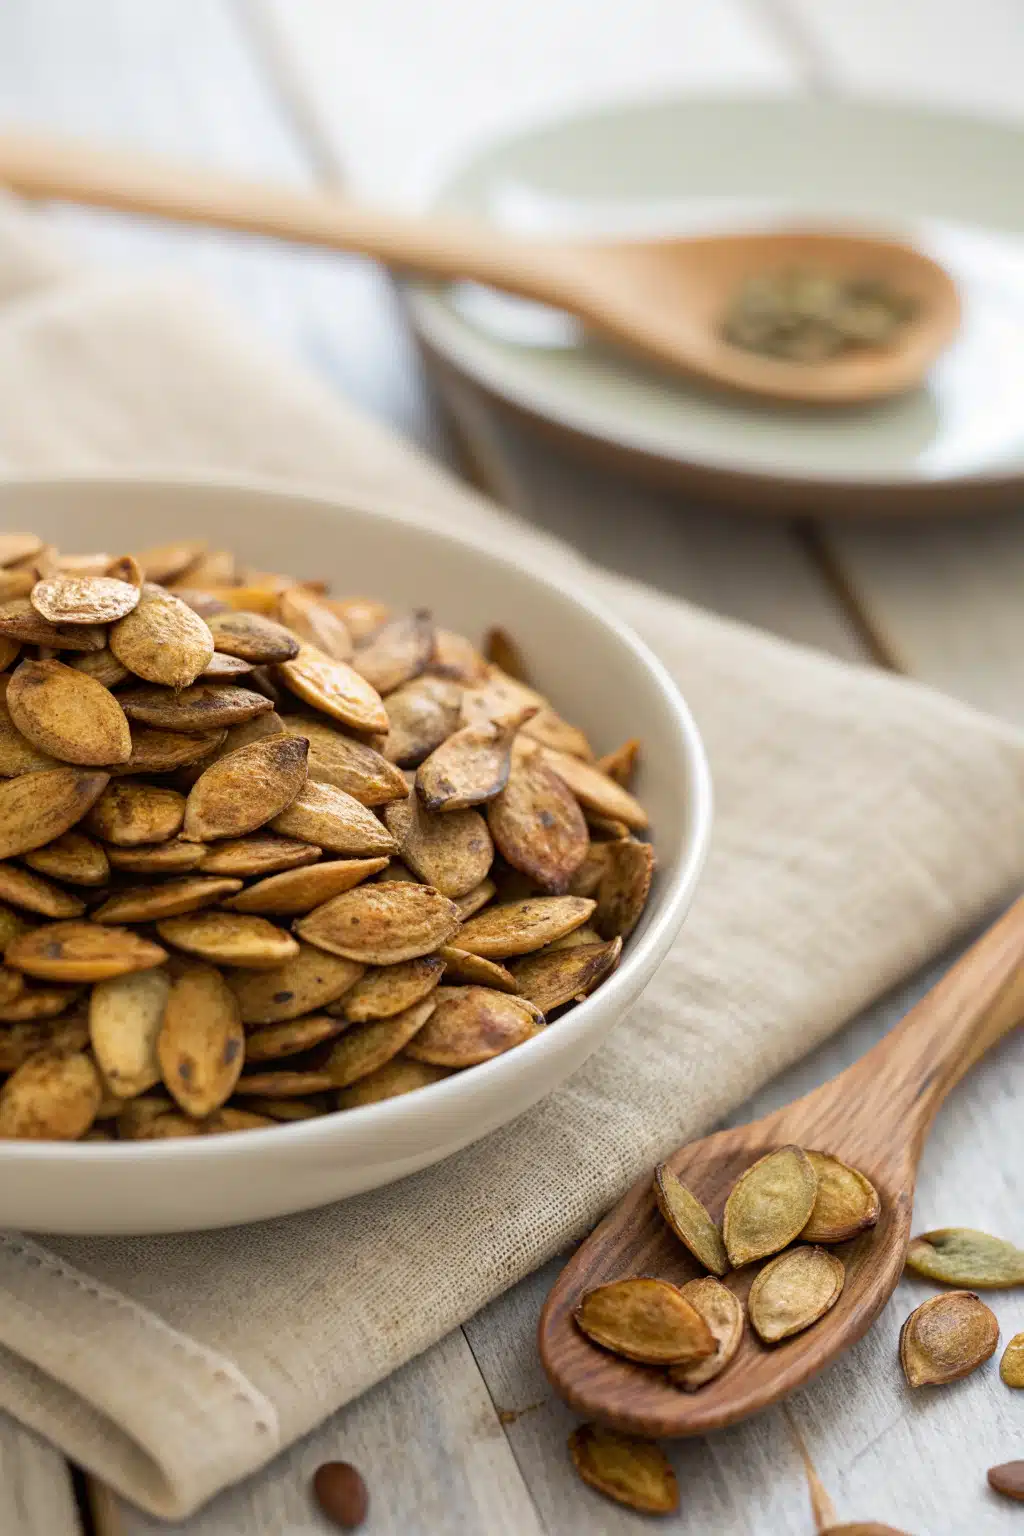
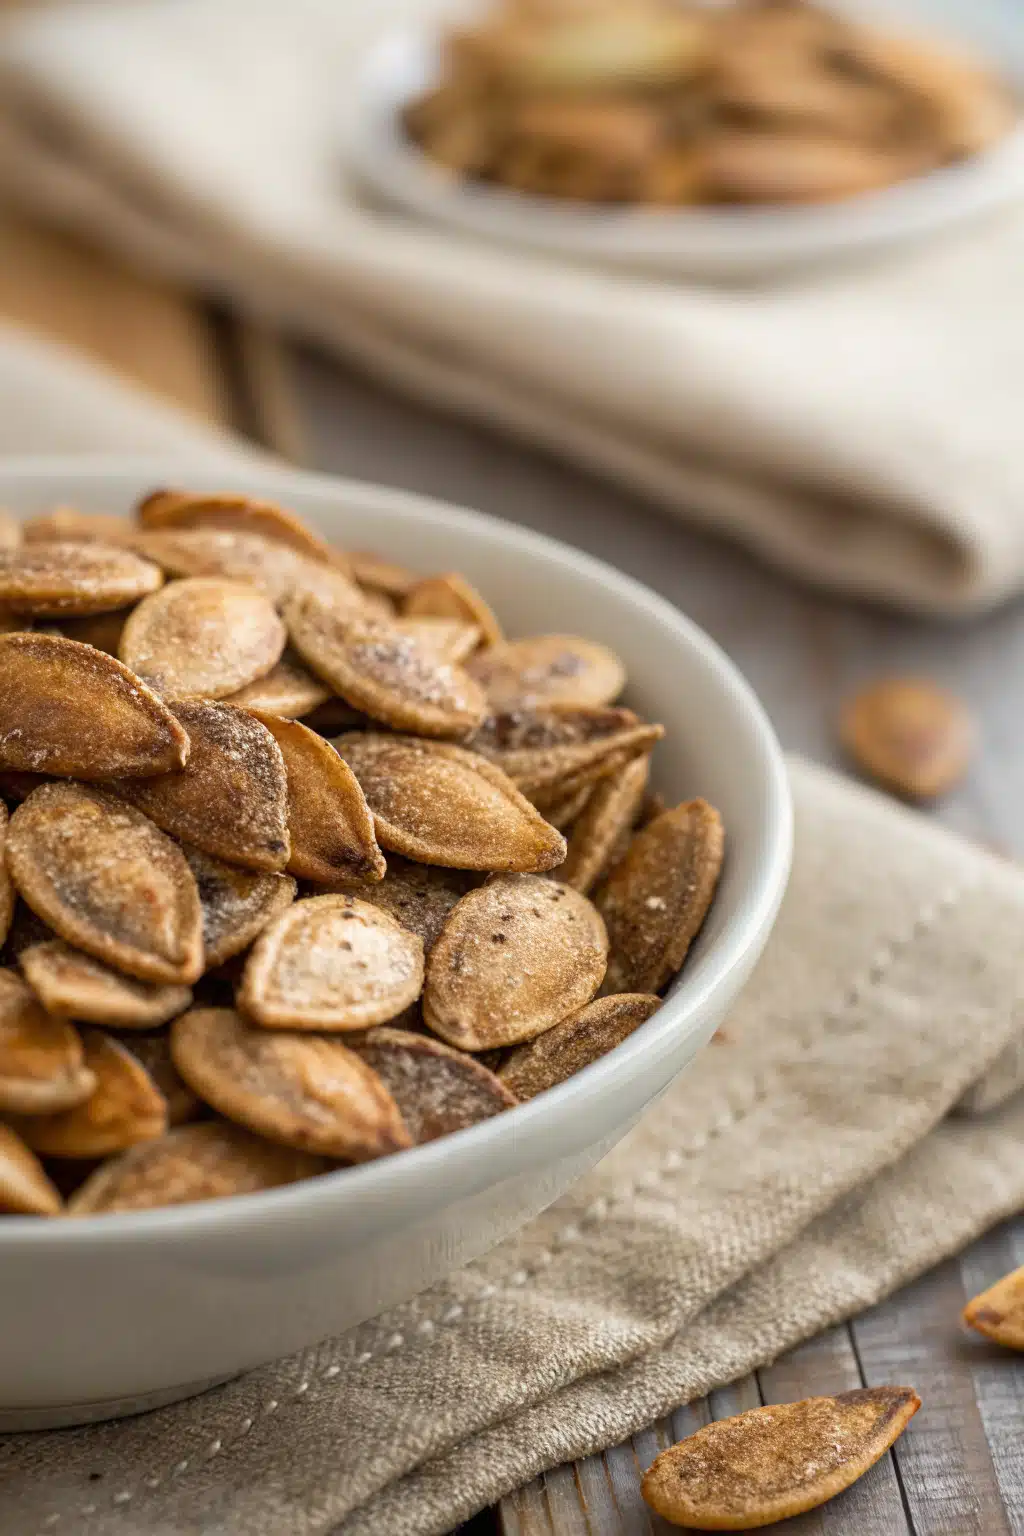
Step 5: Roast to Perfection – Spread the seasoned seeds in a single, even layer on a large baking sheet lined with parchment paper. Pop them into the oven and roast for 20 to 30 minutes. Be sure to pull the pan out and give them a good stir every 10 minutes so they brown evenly. You’ll know they’re done when they are golden brown and smell incredibly nutty.
Step 6: Cool and Crisp – Remove the pan from the oven and let the seeds cool completely on the baking sheet. As they cool down, they will crisp up even more. Try to resist eating them all right off the hot pan!
What to Serve It With
Honestly, my absolute favorite way to eat roasted pumpkin seeds is straight out of the bowl by the handful! But if you want to get a little fancy, they make an incredible crunchy topping for so many dishes. Toss a handful over a bowl of creamy butternut squash soup or a hearty bowl of chili to add the perfect textural contrast. They’re also absolutely fantastic on salads—try them on a kale and apple autumn salad with a maple vinaigrette. If you made a sweet batch with cinnamon and sugar, they are wonderful sprinkled over your morning oatmeal, stirred into yogurt, or even used as a crunchy topping for vanilla bean ice cream.
Top Tips for Perfecting Your Roasted Pumpkin Seeds
Don’t skip the boil: I know it seems like an annoying extra step, but boiling the seeds in salted water is the absolute secret to seeds that are crispy instead of tough. It makes all the difference in the world.
Dry them like your life depends on it: Water creates steam, and steam prevents roasting. If your seeds go into the oven wet, they’ll steam and become chewy. Use a clean dish towel to get them as dry as humanly possible.
Give them space: Make sure your seeds are in a single layer on the baking sheet. If they’re piled on top of each other, they won’t roast evenly. Use two baking sheets if you have a massive pumpkin!
Watch them closely at the end: Pumpkin seeds can go from perfectly golden to sadly burnt in just a matter of minutes. Keep a close eye on them during the last 5 to 10 minutes of baking.
Storing and Reheating Tips
If you somehow manage not to eat the entire batch in one sitting, storing your roasted pumpkin seeds is super easy. Let them cool completely to room temperature first—this is vital so they don’t create condensation and get soggy in storage. Once cooled, transfer them to an airtight container or a glass mason jar. They’ll stay perfectly fresh and crunchy at room temperature for up to two weeks.
If you live in a really humid climate and find that your seeds have lost a little bit of their crunch after a few days, don’t panic! You can easily revive them. Just spread them back out on a baking sheet and pop them into a 300°F oven for about 5 to 10 minutes until they are warmed through and crispy again. Let them cool, and they will be as good as new.
Frequently Asked Questions
Final Thoughts
There’s just something so incredibly special about turning a messy Halloween chore into a delicious, healthy snack. Making roasted pumpkin seeds has become one of my most cherished fall rituals, and I really hope this recipe brings a little bit of that same cozy magic into your kitchen. Whether you’re munching on them while handing out candy to trick-or-treaters or packing them into lunchboxes for a midday crunch, they’re guaranteed to bring a smile to your face. Don’t be afraid to play around with the spices and make this recipe your own. Grab a pumpkin, get your hands messy, and enjoy every single crunchy bite. Happy roasting, friends!
How To Toast Pumpkin Seeds Perfectly
Ingredients
Main Ingredients
- 1.5 cups fresh pumpkin seeds
- 1 tablespoon olive oil
- 0.5 teaspoon sea salt
- 0.25 teaspoon garlic powder
- 0.25 teaspoon black pepper
Instructions
Preparation Steps
- Preheat your oven to 350°F (175°C). Line a baking sheet with parchment paper.
- Remove the seeds from the pumpkin. Place them in a colander and rinse thoroughly under cold water to remove the pulp and stringy fibers.
- Pat the seeds completely dry using a clean kitchen towel or paper towels. Removing moisture is key to getting them crispy.
- In a medium bowl, toss the dried pumpkin seeds with olive oil, sea salt, garlic powder, and black pepper until evenly coated.
- Spread the seasoned seeds in a single, even layer on the prepared baking sheet.
- Bake for 12 to 15 minutes, stirring the seeds every 5 minutes to ensure even browning. Watch closely towards the end so they do not burn.
- Remove from the oven and let the seeds cool completely on the baking sheet. They will become crispier as they cool.
Notes
Featured Comments
“I always forget to save the seeds—thanks for the reminder! This makes roasting them so much easier next year.”
“Impressed! Clear steps and quick weeknight win results. Perfect for busy nights.”
“New favorite here — absolutely loved. crowd-pleaser was spot on.”
“Super easy and turned out amazing! My family asked for seconds. Saving this one.”
“This sweet treat was absolutely loved — the buttery really stands out. Thanks!”
“Made it tonight and wow — quick weeknight win! Will definitely make How to Toast Pumpkin Seeds Perfectly again.”


I always forget to save the seeds—thanks for the reminder! This makes roasting them so much easier next year.