

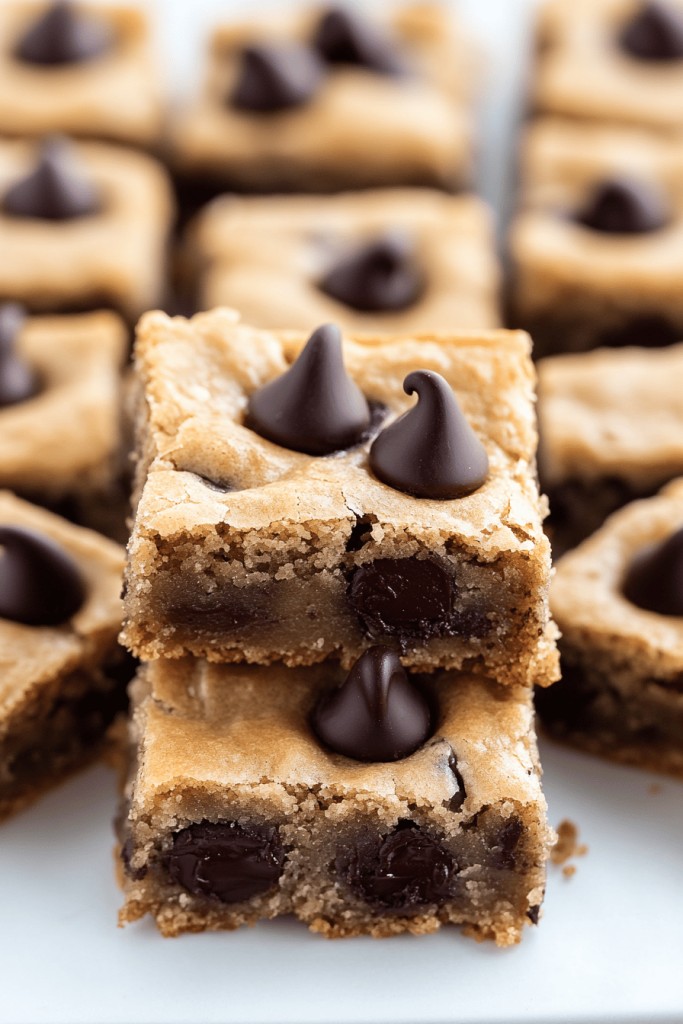
Okay, friend, let me tell you about these Chocolate Chip Cookie Bars. Seriously, if you’re anything like me and sometimes crave the warm, gooey goodness of a chocolate chip cookie but just *cannot* be bothered with scooping and baking individual cookies, this is your answer. Think of it like a giant, shareable chocolate chip cookie, but even easier! Honestly, I’ve made this so many times I could probably do it in my sleep – it’s that simple. And the taste? Pure, unadulterated chocolate chip cookie heaven. These are even easier to whip up than traditional brownies sometimes!
What are chocolate chip cookie bars?
Chocolate Chip Cookie Bars are essentially what you get when you mix a chocolate chip cookie and blondie. Have a delicious baby? Can you cut them into bars? What is the shortcut to cookie bliss? Instead of carefully scooping individual cookies, you just press the dough into a pan and bake. How do you make Chocolate Chip Cookies? What are pockets of happiness? Is it the same dough as a chocolate chip cookie? Is it easier to eat all by yourself? What is the name of a company?
How do I make chocolate chip cookie bars?
Quick Overview
How do you make chocolate chip cookie bars? How do you make Chocolate Chip Cookie Dough? Bake until golden brown and slightly gooey in the center. What is the beauty of this recipe is that you don’t have to worry about individual cookies spreading too much. Thin or burning on the bottom. What is the best way to do it in less than an hour? Is it really easy to bake a cake?
Ingredients
For the Main Batter:
* 1 cup (2 sticks) unsalted butter, softened. Make sure it’s *really* soft, not melted, for the best texture.
* ¾ cup granulated sugar. Adds sweetness and helps with browning.
* ¾ cup packed brown sugar. This is key for that chewy texture.
* 2 large eggs. Use room-temperature eggs for better mixing.
* 1 teaspoon Vanilla Extract. Adds a warm, comforting flavor. I always use pure vanilla extract; the imitation stuff just doesn’t compare.
* 2 ¼ cups all-purpose flour. Spoon and level it into the measuring cup to avoid using too much.
* 1 teaspoon baking soda. Helps the bars rise and become fluffy.
* 1 teaspoon salt. Balances the sweetness and enhances the other flavors.
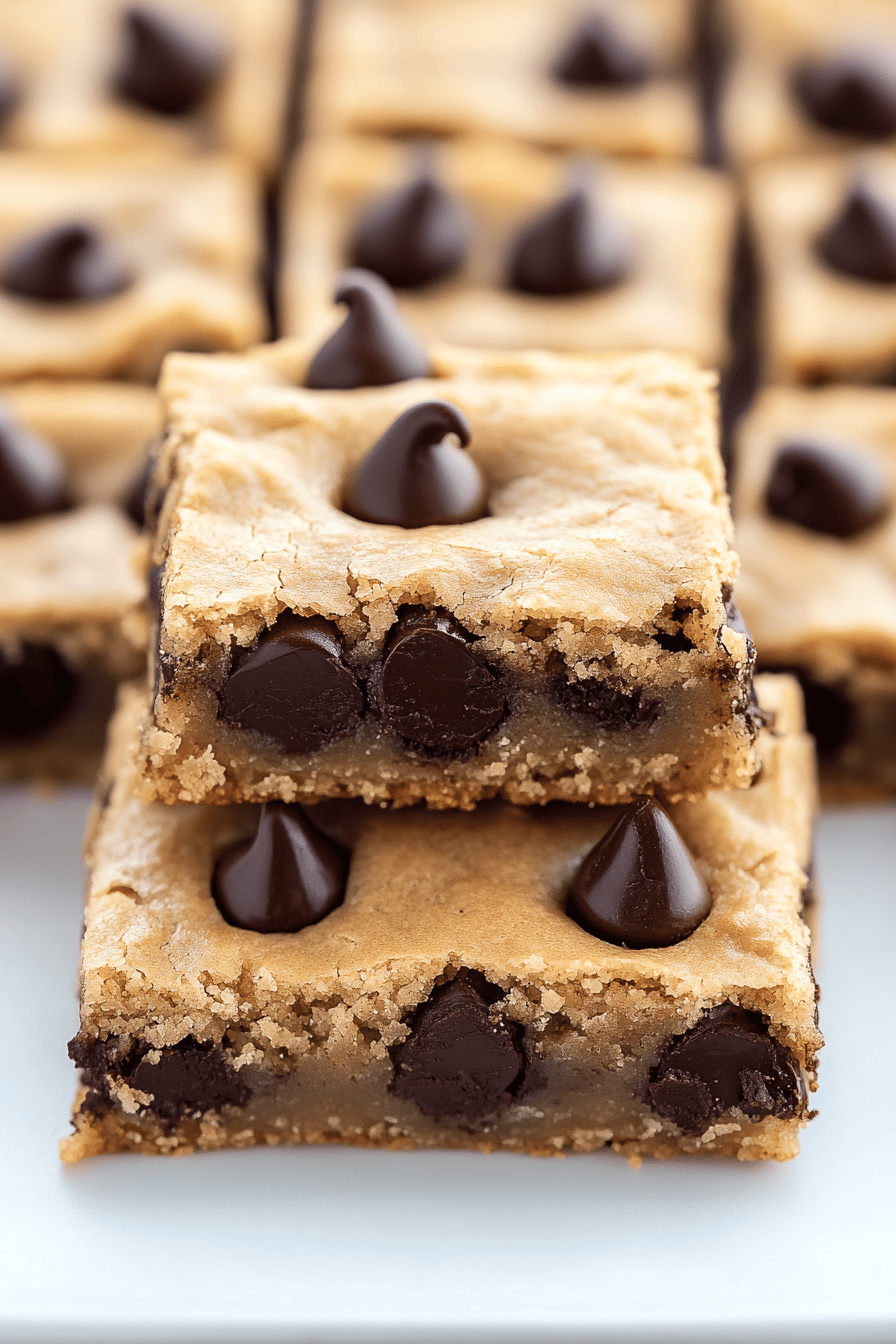
* 2 cups chocolate chips. I like a mix of semi-sweet and milk chocolate, but you can use whatever you prefer. Sometimes I even throw in some dark chocolate chunks for extra richness.

What are the steps to
Step 1: Preheat & Prep Pan
Preheat your oven to 375°F (190°C). While the oven is heating, grease and flour a 9×13 inch baking pan. Is it possible to line a dish with parchment paper, leaving an overhang on the sides? I always prefer parchment paper – makes cleanup a breeze!
Step 2: Mix Dry Ingredients
In a medium bowl, whisk together the flour, baking soda, and salt. Set aside. Make sure to whisk it well to distribute the baking soda and salt evenly. How do I Make a bar that rises properly?
Step 3: Mix Wet Ingredients
In a large bowl, cream together the softened butter, granulated sugar, and brown sugar until light. Set aside. Is it possible to Make a dough with an electric mixer for about 3 minutes? Beat the eggs one at a time, then stir in the vanilla extract. Make sure the butter is properly creamed with the sugars – this is super important for the right consistency.
Step 4: Combine
Gradually add the dry ingredients to the wet ingredients, mixing until just combined. Be careful not to overmix, as this can result in tough bars. How do you make dough? I usually stop mixing when there are still a few streaks of flour and then finish it by hand.
Step 5: Add Chocolate Chips
Stir in the chocolate chips until evenly distributed throughout the dough. I like to sprinkle chocolate chips on top of the bars before baking for a prettier finish. I love to use them in my brownies.
Step 6: Press into Pan
Press dough into the prepared baking pan. If the dough is too sticky, you can lightly grease your hands or use a piece of parchment paper to make it easier to clean. I’ve found that slightly damp hands work best.
Step 7: Bake
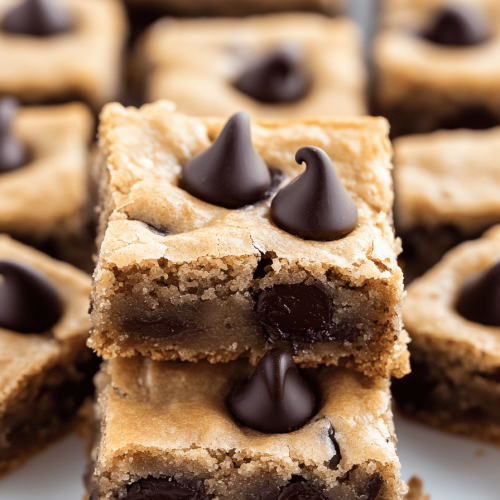
Bake for 20-25 minutes, or until the edges are golden brown and the center is set but still slightly soft. Be careful not to overbake, as this will result in dry bars. A toothpick inserted into the center should come out with a few moist crumbs attached. Remember, ovens vary, so keep a close eye on them!
Step 8: Cool & Slice
Let the bars cool completely in the pan before slicing into squares. If you used parchment paper, you can lift the bars out of the pan and onto a cutting board. I usually let them cool for at least an hour before slicing, but if you’re impatient (like me), you can pop them in the fridge for a bit to speed up the process.
What should I serve it with?
Chocolate Chip Cookie Bars are delicious on their own, but they’re also great with a variety of other cookies. What are accompaniments?
For Breakfast:What is the best way to serve a warm bar with coffee or milk? What is the best way to start the day with a cup of coffee?
For Brunch:Serve the bars alongside a Fruit Salad, yogurt parfaits, and mimosa bars. What are some great additions to a brunch spread?
As Dessert:Top the bars with vanilla Ice Cream, a drizzle of chocolate sauce, and sprinkle of whipped cream. For a more elegant presentation, you can layer them with whipped cream and berries. For the most elegant, layer it with strawberries and serve it as sundae.
For Cozy Snacks:What are some of the best ways to enjoy hot chocolate while watching a movie? What are some good snacks for kids?
During the holidays, I like to add a scoop of peppermint ice cream. Are these bars good with anything? I even had them with a bit of cheddar cheese once (don’t judge me)!
How do you make chocolate chip cookie bars?
How do you take chocolate chip cookie bars to the next level? What are some of the best tips I’ve learned over the years?
Butter Softening:Make sure your butter is properly softened. Should your finger be soft enough to press into easily, but not melted. If it’s too cold, the bars will be dense and hard, if it is too melted, they’ll be greasy.
Mixing Advice:Don’t overmix dough! Overmixing develops gluten in the flour, resulting in tough bars. Mix until just combined, and then stop.
Chocolate Chips: What is the bestExperiment with different types of chocolate chips. I love using a mix of semi-sweet and milk chocolate, but you can also try dark chocolate or white chocolate. What are the best peanut butter chips?
Baking Tips:Do not over bake the bars. They may need longer to bake. Keep a close eye on them while they’re baking. They’re done when the edges are golden brown and the center is set but still slightly soft.
Salted Butter Sub: If you only have salted butter, you can use it, just reduce the salt by 1/4 teaspoon.
Nuts:What are some good ways to add nuts? When you stir in chocolate chips, add them to the mixture.
Glaze Variations:What’s your favorite way to drizzle a glaze on cooled bars? From powdered sugar and milk. What flavorings can you add to a recipe? Vanilla extract or lemon extract. To the glaze, zest, to the zest.
I once accidentally used salted butter when I made this recipe and they still turned out great – I’m not a huge fan of butter. Just a tiny bit saltier. Don’t be afraid to try different extracts! Almond extract is great if you like that flavor.
Storing and Reheating Tips
These Chocolate Chip Cookie Bars are best enjoyed fresh, but they can also be stored for later.
Room Temperature: Store the cooled bars in an airtight container at room temperature for up to 3 days. They may dry out a bit over time, so it’s best to eat them sooner rather than later.
Refrigerator Storage: For longer storage, you can store the bars in an airtight container in the refrigerator for up to a week. Just be sure to bring them to room temperature before serving for the best texture.
Freezer Instructions: To freeze the bars, wrap them individually in plastic wrap and then place them in a freezer-safe bag or container. They can be frozen for up to 2 months. Thaw them at room temperature before serving.
I usually don’t glaze them until right before serving, especially if I plan to freeze them. That way the glaze stays nice and fresh.
Frequently Asked Questions
Final Thoughts
So, there you have it – my go-to Chocolate Chip Cookie Bars Recipe! I truly hope you give it a try because I know you’re going to love it. It’s the perfect combination of simplicity and deliciousness, and it’s sure to become a family favorite. Plus, it’s so much easier than making individual cookies! If you’re looking for other easy and delicious dessert recipes, be sure to check out my other blog posts. I’ve got a fantastic brownie recipe that you might also enjoy!
Happy baking! And please, let me know how your bars turn out in the comments below. I can’t wait to hear from you! Also, I’d love to know if you try any variations. Sharing is caring!
Indulge in 7 Easy Steps: Toll House Chocolate Chip Cookie Bars Recipe
Ingredients
Main Ingredients
- 0.5 cup Unsalted Butter Softened
- 0.75 cup Granulated Sugar
- 0.75 cup Brown Sugar Packed
- 2 Large Eggs
- 1 teaspoon Vanilla Extract
- 2.25 cups All-Purpose Flour
- 1 teaspoon Baking Soda
- 1 teaspoon Salt
- 2 cups Chocolate Chips
Instructions
Preparation Steps
- Preheat oven to 350°F (175°C). Grease and flour a 9x13 inch baking pan.
- In a large bowl, cream together the butter, granulated sugar, and brown sugar until smooth.
- Beat in the eggs one at a time, then stir in the vanilla.
- In a separate bowl, whisk together the flour, baking soda, and salt. Gradually add to the wet ingredients and mix until just combined.
- Stir in the chocolate chips.
- Spread the batter evenly into the prepared pan.
- Bake for 25-30 minutes, or until a toothpick inserted into the center comes out with moist crumbs. Let cool completely before cutting into bars.
Notes
Featured Comments
“Impressed! Clear steps and family favorite results. Perfect for busy nights.”
“New favorite here — creamy. crowd-pleaser was spot on.”
“Super easy and turned out amazing! My family asked for seconds. Saving this one.”
“This sweet treat was absolutely loved — the zingy really stands out. Thanks!”
“Made it tonight and wow — super easy! Will definitely make Indulge in 7 Easy Steps: Toll House Chocolate Chip Cookie Bars Recipe again.”
“Packed with flavor and so simple. Exactly what I wanted from Indulge in 7 Easy Steps: Toll House Chocolate Chip Cookie Bars Recipe.”


