

Oh, where do I even begin with this Jims Pineapple Cheese Pie? It feels like just yesterday my Grandma Elsie was pulling this golden beauty out of her oven, filling our tiny kitchen with a scent that was pure magic – sweet pineapple, creamy cheese, and a hint of something wonderfully comforting. This isn’t just a pie; it’s a warm hug on a plate, a memory of lazy summer afternoons and whispered secrets. I remember one time, we had unexpected guests arrive, and I panicked, thinking I had nothing to serve. Then it hit me: Jims Pineapple Cheese Pie! I whipped it up in under an hour, and honestly, they raved about it more than any fancy dessert I’d ever attempted. It’s that kind of recipe – the one that makes you look like a culinary superstar with minimal fuss. If you’re someone who loves a good cheesecake but also craves that bright, fruity zing, this pie is going to be your new best friend. It’s like a tropical vacation and a cozy night in all rolled into one delicious, golden crust.
What is Jim’s Pineapple Cheese Pie?
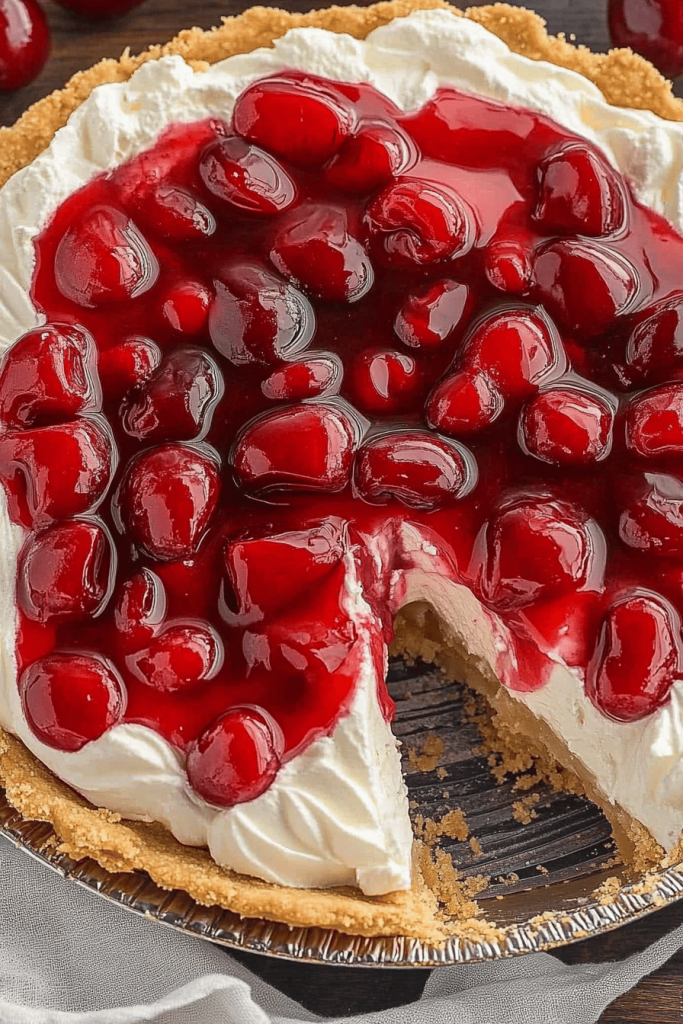
So, what exactly *is* this delightful Jims Pineapple Cheese Pie? Well, think of it as the most harmonious marriage between a classic pineapple upside-down cake and a creamy, dreamy cheesecake, all nestled in a buttery, crumbly crust. It’s not overly complicated, which is probably why my Grandma Elsie made it so often. The name, “Jim’s,” is actually a nod to my Grandpa Jim, who apparently couldn’t get enough of Elsie’s version. It’s essentially a moist, tender cake base infused with the vibrant sweetness of crushed pineapple, topped with a luscious, tangy Cream Cheese layer that bakes up beautifully golden and slightly brûléed on top. The pineapple bakes down into this syrupy, caramelized goodness, creating a sticky, sweet topping that’s just out of this world. It’s not quite a pie, not quite a cake, but that’s precisely what makes it so special and utterly irresistible.
How to Make Jims Pineapple Cheese Pie
Quick Overview
This Jims Pineapple Cheese Pie comes together surprisingly fast! You’ll essentially mix up a simple cake batter, layer it with a luscious Cream Cheese mixture, and let the oven do the rest. The pineapple cooks down to create a naturally sweet, caramelized topping, and the cream cheese bakes into a wonderfully tangy, rich layer. It’s all about layering flavors and textures, and the result is a dessert that’s both comforting and excitingly different from your average pie. Trust me, the aroma that fills your kitchen while this bakes is enough to make your neighbors jealous!
Ingredients
For the Main Batter:
- 2 cups all-purpose flour
- 1 ½ cups granulated sugar
- 1 teaspoon baking soda
- ½ teaspoon salt
- 1 teaspoon ground cinnamon
- ½ teaspoon ground nutmeg
- 2 large eggs, at room temperature
- 1 cup buttermilk, at room temperature (or ½ cup milk + ½ cup yogurt, mixed)
- ½ cup unsalted butter, melted and slightly cooled
- 1 teaspoon vanilla extract
When I measure my flour, I always do the spoon-and-level method. Scooping directly from the bag can pack too much in, leading to a dry cake, and nobody wants that! And for the eggs and buttermilk, having them at room temperature really helps everything emulsify beautifully, creating a smoother, more tender cake. If you don’t have buttermilk, don’t sweat it! Just mix regular milk with a tablespoon of lemon juice or white vinegar and let it sit for 5-10 minutes. It works like a charm and gives that lovely tang.
For the Filling:
- 1 (20-ounce) can crushed pineapple, undrained
- 8 ounces cream cheese, softened
- ½ cup granulated sugar
- 1 large egg
- 1 teaspoon lemon zest (optional, but I love it!)
Make sure your Cream Cheese is truly soft – I usually leave mine on the counter for a good hour or two. This ensures it whips up smoothly without any lumps. And for the crushed pineapple, I specifically use *undrained* because that juice is pure gold; it adds so much moisture and sweetness to the pie. If you’re feeling adventurous, you can even add a tablespoon or two of the pineapple juice to the cream cheese mixture for an extra punch of flavor!
For the Glaze (Optional, but highly recommended!):
- ½ cup powdered sugar
- 1-2 tablespoons pineapple juice (from the can or reserved)
- ¼ teaspoon almond extract (or vanilla)
This glaze is super simple but takes the Jims Pineapple Cheese Pie to another level of deliciousness. You want it to be pourable but not too thin. Start with just one tablespoon of pineapple juice and add more a teaspoon at a time until you get that perfect drizzling consistency. The almond extract adds a subtle, sophisticated note that really complements the pineapple.
Step-by-Step Instructions
Step 1: Preheat & Prep Pan
First things first, let’s get that oven preheating to 350°F (175°C). I like to use a 9-inch round cake pan for this, or a similar-sized pie plate. Grease it really well with butter or cooking spray, and then a little dusting of flour. This is crucial to prevent any sticking, especially with that lovely caramelized pineapple. I usually give it a good swirl and tap out any excess flour. It’s a small step, but it makes a big difference when it’s time to unmold or slice!
Step 2: Mix Dry Ingredients
In a large mixing bowl, whisk together your flour, granulated sugar, baking soda, salt, cinnamon, and nutmeg. Give it a good whisk to make sure everything is evenly distributed. This is where you’re building the foundation of that moist, tender cake layer. Getting the spices mixed in now ensures they’re throughout the batter, not clumped in one spot. I always do this first to make sure all the dry components are happy and acquainted before the wet ingredients join the party.
Step 3: Mix Wet Ingredients
In a separate medium bowl, whisk together your eggs until they’re lightly beaten. Then, stir in the buttermilk and melted butter. Add the Vanilla Extract. Whisk it all together until it’s well combined. You’ll notice it looks a little separated, that’s totally normal with buttermilk and melted butter. Just give it a good whisk, and it’ll come together beautifully when you combine it with the dry ingredients.
Step 4: Combine
Now, pour the wet ingredients into the bowl with the dry ingredients. Using a spatula or a wooden spoon, gently mix them together until *just* combined. Seriously, don’t overmix! A few streaks of flour are okay. Overmixing develops the gluten too much, which can lead to a tough cake. We want this to be tender and moist, so a light touch is key here. The batter will be thick and lovely.
Step 5: Prepare Filling
In another bowl, beat your softened cream cheese with the ½ cup of sugar until it’s smooth and creamy. Beat in the egg and lemon zest (if using) until well combined. This filling should be smooth and luscious, with no lumps. I usually use a hand mixer for this, but a sturdy whisk and some elbow grease work just fine! This creamy layer is going to bake up into that gorgeous tangy topping.
Step 6: Layer & Swirl
Spoon about half of the cake batter into your prepared pan, spreading it out evenly. Then, spoon the cream cheese mixture over the batter. Dollop the undrained crushed pineapple over the cream cheese layer. Now, gently spread the remaining cake batter over the pineapple, trying to cover as much of it as you can. It doesn’t have to be perfect! Some pineapple peeking through is part of its charm. If you like a swirled effect, you can gently run a knife or skewer through the layers, but honestly, I usually just let it be. The flavors meld beautifully as it bakes.
Step 7: Bake
Pop the pan into your preheated oven and bake for 40-50 minutes. You’ll know it’s done when the top is golden brown, and a wooden skewer inserted into the center comes out clean, or with just a few moist crumbs attached. The edges should be pulling away slightly from the sides of the pan. If the top is browning too quickly, you can always loosely tent it with foil. Ovens can be so different, so keep an eye on it during the last 10-15 minutes.
Step 8: Cool & Glaze
Once baked, let the Jims Pineapple Cheese Pie cool in the pan on a wire rack for about 15-20 minutes. This allows it to set up properly. While it’s cooling, quickly whisk together your powdered sugar, 1 tablespoon of pineapple juice, and the almond extract for the glaze. Add more pineapple juice a teaspoon at a time if needed to reach a drizzling consistency. Once the pie has cooled slightly, drizzle the glaze over the top. The warmth of the pie helps the glaze melt just a little, creating a beautiful sheen.
Step 9: Slice & Serve
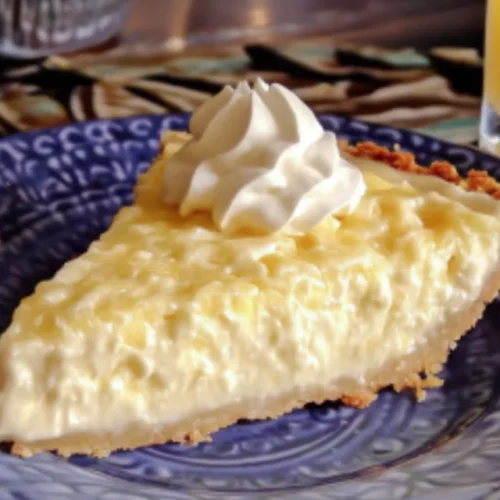
Let the pie cool completely before slicing. This is the hardest part, I know! If you try to slice it when it’s too warm, it might be a bit messy. A sharp knife is your friend here. I love serving this Jims Pineapple Cheese Pie slightly warm or at room temperature. It’s wonderful on its own, but a dollop of whipped cream or a scoop of vanilla ice cream takes it to a whole new level of decadent. Enjoy every single bite!
What to Serve It With
This Jims Pineapple Cheese Pie is incredibly versatile, so it fits right in for all sorts of occasions! For a sweet start to your day, I love serving a warm slice with a strong cup of coffee – the bitterness of the coffee cuts through the sweetness of the pie beautifully. It’s like a tropical hug to wake you up. If you’re hosting a lovely weekend brunch, this pie is a showstopper. I like to serve it in slightly larger slices, maybe with a few fresh berries on the side for a pop of color and freshness. A mimosa or a sparkling rosé pairs wonderfully with its bright flavors. As a decadent dessert, it’s perfect after a hearty meal. Imagine this: a warm slice of Jims Pineapple Cheese Pie, a scoop of good quality vanilla bean ice cream slowly melting into the pineapple and cream cheese, and maybe a small drizzle of extra caramel sauce if you’re feeling extra indulgent. It’s pure bliss! And for those moments when you just need a little something sweet during the afternoon or evening – a cozy snack, if you will – a smaller slice with a glass of milk is absolutely perfect. It’s satisfying without being too heavy. My kids absolutely love it after school with a glass of cold milk, and honestly, so do I!
Top Tips for Perfecting Your Jims Pineapple Cheese Pie
Over the years, I’ve learned a few tricks that make this Jims Pineapple Cheese Pie absolutely sing. For the zucchini prep, if you decide to add it (more on that later!), always squeeze out as much liquid as possible. You can do this by grating it, salting it for about 15 minutes, and then squeezing it in a clean kitchen towel or cheesecloth. This is super important to prevent a soggy pie! For mixing advice, I really can’t stress enough the importance of not overmixing the batter. Just mix until the dry ingredients are *barely* incorporated into the wet. A few lumps are totally fine. If you beat it too much, you’ll end up with a tougher texture, and we want this to be incredibly tender. When it comes to swirl customization, if you do decide to swirl (and I sometimes do!), use a light hand. You don’t want to overwork it, or you’ll lose the distinct layers. A simple up-and-down motion with a knife is usually enough to create a pretty marbled effect. For ingredient swaps, I’ve experimented quite a bit! If you’re out of buttermilk, that milk-and-yogurt trick is a lifesaver. I’ve also used brown sugar in place of some of the granulated sugar in the cake batter for a slightly deeper, caramel-like flavor. For the baking tips, always trust your oven’s instincts over the timer. If it looks done, test it. If it’s browning too fast, tent it with foil. I usually bake mine on the middle rack. And for glaze variations, feel free to get creative! A simple dusting of powdered sugar is beautiful too, or you could even do a cream cheese frosting if you’re feeling really decadent. Sometimes, I’ll add a tiny pinch of cayenne pepper to the glaze for a surprising kick that balances the sweetness. It’s all about making it your own!
Storing and Reheating Tips
This Jims Pineapple Cheese Pie is pretty forgiving when it comes to storing, which is another reason I love it. If you have any leftovers (which is rare in my house!), you can keep it at room temperature for up to two days, as long as it’s covered well. I usually use a cake dome or just plastic wrap directly over the pie. It maintains its moisture beautifully at room temperature. If you need to store it for longer, refrigerator storage is your best bet. Pop it into an airtight container or cover it tightly with plastic wrap. It’ll stay delicious for about 4-5 days in the fridge. The flavors actually meld even more overnight, which is a bonus! For freezer instructions, this pie freezes surprisingly well. I’d recommend letting it cool completely, then wrapping it tightly in a couple of layers of plastic wrap, followed by a layer of aluminum foil. You can freeze the whole pie or individual slices. It should last in the freezer for about 2-3 months. To thaw, just transfer it to the refrigerator overnight. For glaze timing advice, if you plan to freeze it *with* the glaze, make sure the glaze is completely set before wrapping. Sometimes, I prefer to make the glaze fresh when I’m ready to serve from frozen, just to ensure it has that perfect drizzle. If you’re storing it at room temperature or in the fridge, you can glaze it before storing, and it holds up beautifully.
Frequently Asked Questions
Final Thoughts
So there you have it, my friends – the Jims Pineapple Cheese Pie! This recipe holds such a special place in my heart, and I truly hope it brings as much joy and deliciousness to your table as it has to mine. It’s the perfect blend of sweet, tangy, moist, and creamy, all wrapped up in a package that’s surprisingly simple to create. Whether you’re looking for a showstopper for a potluck, a comforting treat on a rainy day, or just something to brighten your afternoon, this pie delivers. It’s the kind of dessert that sparks conversation and creates lasting memories. If you’re a fan of pineapple desserts or creamy cheesecakes, you absolutely *have* to give this a try. And please, if you do make it, I’d love to hear all about it in the comments below! Did you try any fun variations? How did your family like it? Your feedback makes my day! And don’t forget to share your beautiful pies on social media and tag me – I love seeing your creations! Happy baking, everyone!
Jims Pineapple Cheese Pie
Ingredients
Crust
- 2.5 cups all-purpose flour
- 0.5 cup granulated sugar
- 0.5 teaspoon salt
- 1 cup unsalted butter, cold and cubed
Filling
- 2 packages cream cheese, softened 8 oz each
- 1 cup granulated sugar
- 3 large eggs
- 1 can crushed pineapple, drained 20 oz can
- 0.5 teaspoon vanilla extract
Instructions
Preparation Steps
- Preheat oven to 350°F (175°C).
- In a large bowl, combine flour, sugar, and salt for the crust. Cut in the cold butter until the mixture resembles coarse crumbs.
- Press the crust mixture evenly into the bottom and up the sides of a 9-inch pie plate.
- Bake the crust for 10-12 minutes, or until lightly golden. Remove from oven and let cool slightly.
- In a separate bowl, beat the softened cream cheese and sugar until smooth.
- Beat in the eggs one at a time, then stir in the vanilla extract.
- Gently fold in the drained crushed pineapple.
- Pour the filling into the pre-baked crust.
- Bake for 30-35 minutes, or until the center is just set. The pie should be slightly jiggly in the center.
- Let the pie cool completely on a wire rack before chilling in the refrigerator for at least 2 hours before serving.
Notes
Featured Comments
“This pie brings back such sweet memories—Grandma’s kitchen was the best place to be! Thanks for sharing this heartwarming recipe.”
“Impressed! Clear steps and so flavorful results. Perfect for busy nights.”
“New favorite here — absolutely loved. crowd-pleaser was spot on.”
“Super easy and turned out amazing! My family asked for seconds. Saving this one.”
“This sweet treat was absolutely loved — the buttery really stands out. Thanks!”
“Made it tonight and wow — absolutely loved! Will definitely make Jims Pineapple Cheese Pie again.”


This pie brings back such sweet memories—Grandma’s kitchen was the best place to be! Thanks for sharing this heartwarming recipe.