

The Best Easy Lemon Bars You’ll Ever Make
Let’s be real for a second—is there anything better than a dessert that perfectly balances sweet and tart? When the weather starts to warm up, or honestly, even when I just need a little sunshine on a gloomy afternoon, these easy lemon bars are the first thing I crave. They are bright, intensely citrusy, and have this melt-in-your-mouth buttery shortbread crust that is absolutely to die for.
I used to be intimidated by making lemon curd from scratch, but trust me, this recipe is foolproof. With just 7 basic pantry ingredients, you can whip up a batch that tastes like it came straight out of a high-end bakery. The best part? I tweaked my original recipe to double the filling. Because let’s face it, nobody wants a skimpy lemon layer!
Whether you are bringing these to a spring picnic, a baby shower, or just leaving a plate on the counter for your family to devour (which happens dangerously fast in my house), these bars are always a massive hit. Grab your lemons, and let’s get baking!
What Are Easy Lemon Bars?
If you have never had the absolute pleasure of sinking your teeth into a homemade lemon bar, you are in for a serious treat. At their core, easy lemon bars are a classic, nostalgic two-layer dessert that marries rich, comforting butter with zesty, bright citrus.
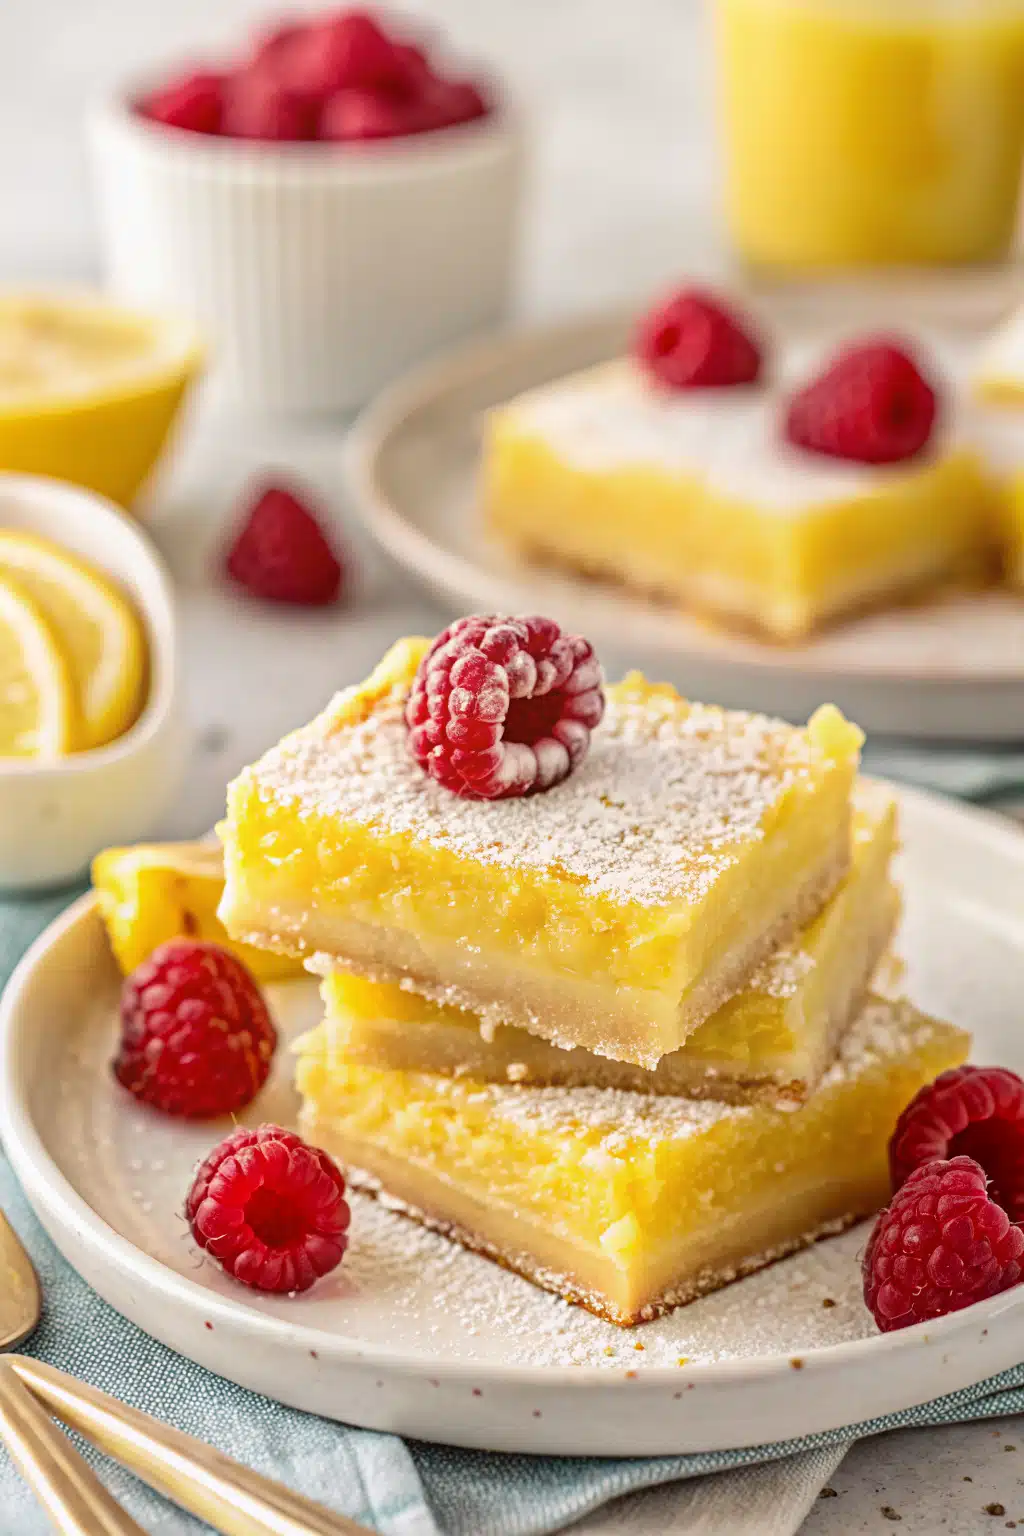
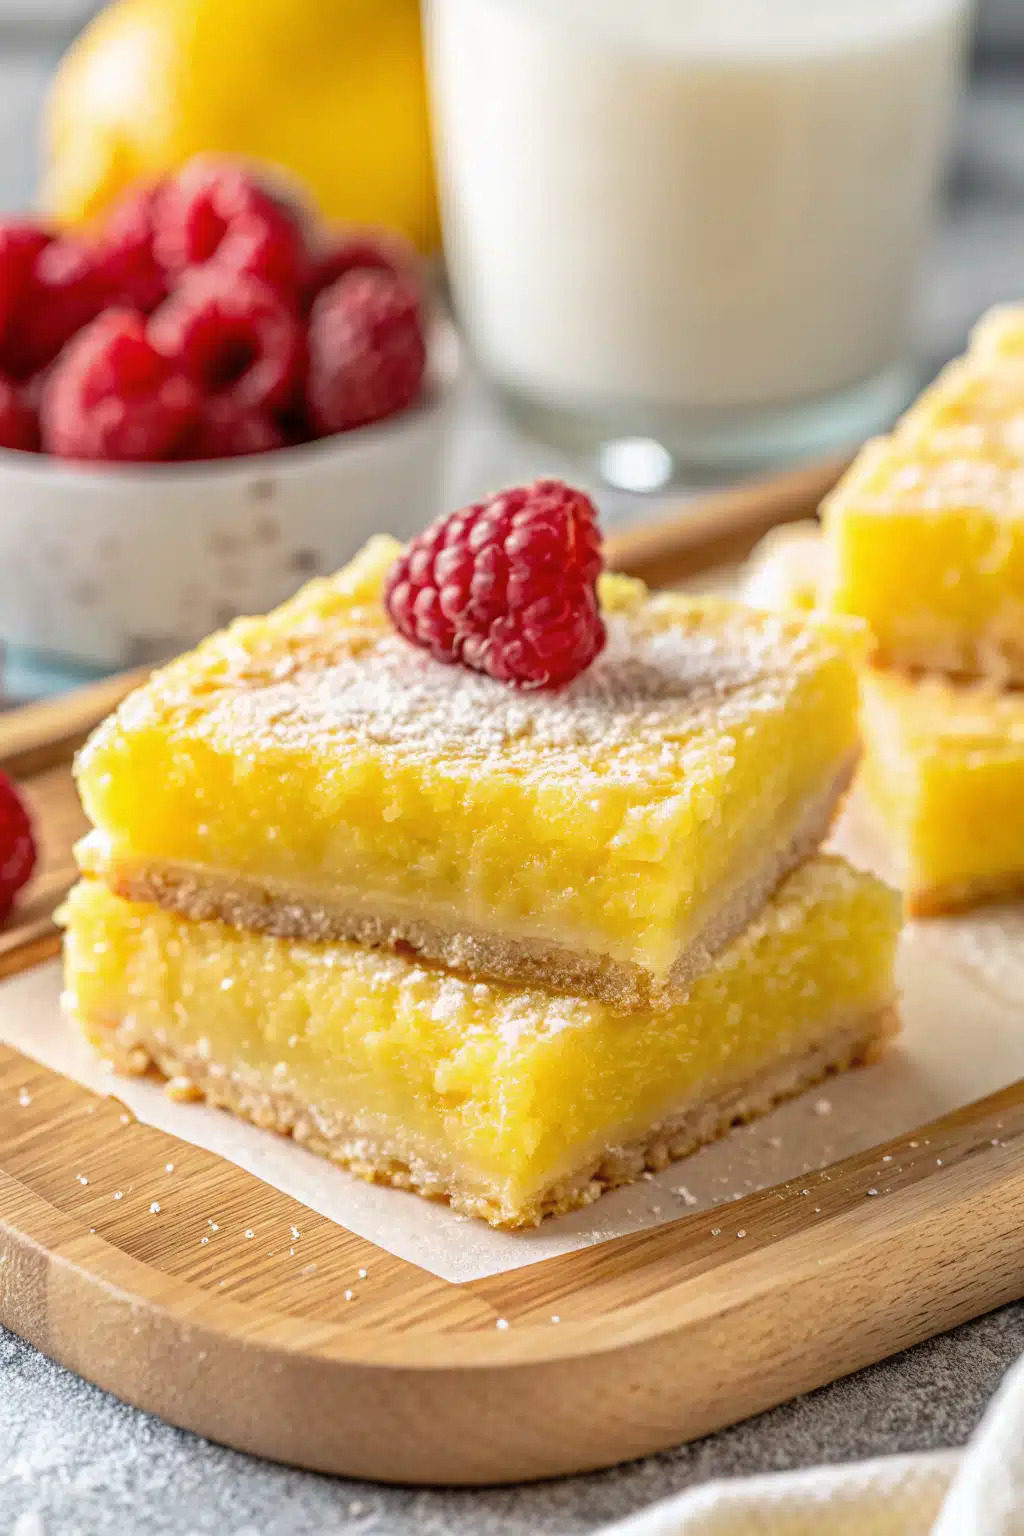
The bottom layer is a simple, slightly crisp shortbread crust made from just butter, sugar, flour, and a pinch of salt. It acts as the perfect sturdy, sweet foundation. The top layer is a baked lemon custard—also known as lemon curd—that sets up beautifully in the oven. It is made with fresh lemon juice, lemon zest, sugar, and eggs, creating a smooth, velvety texture that is equal parts sweet and tangy.
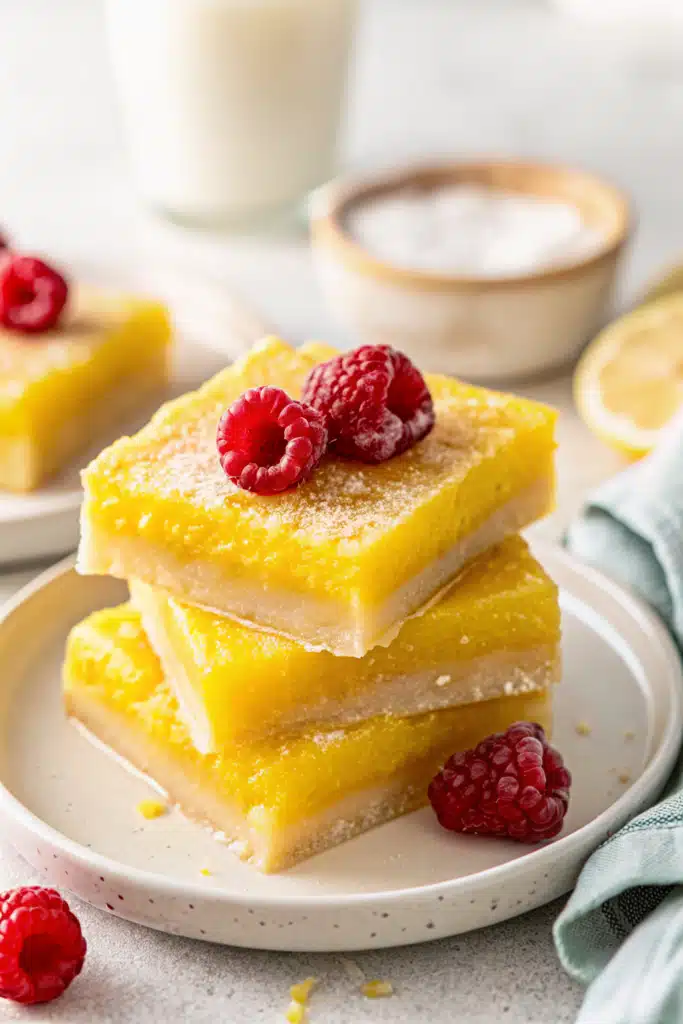
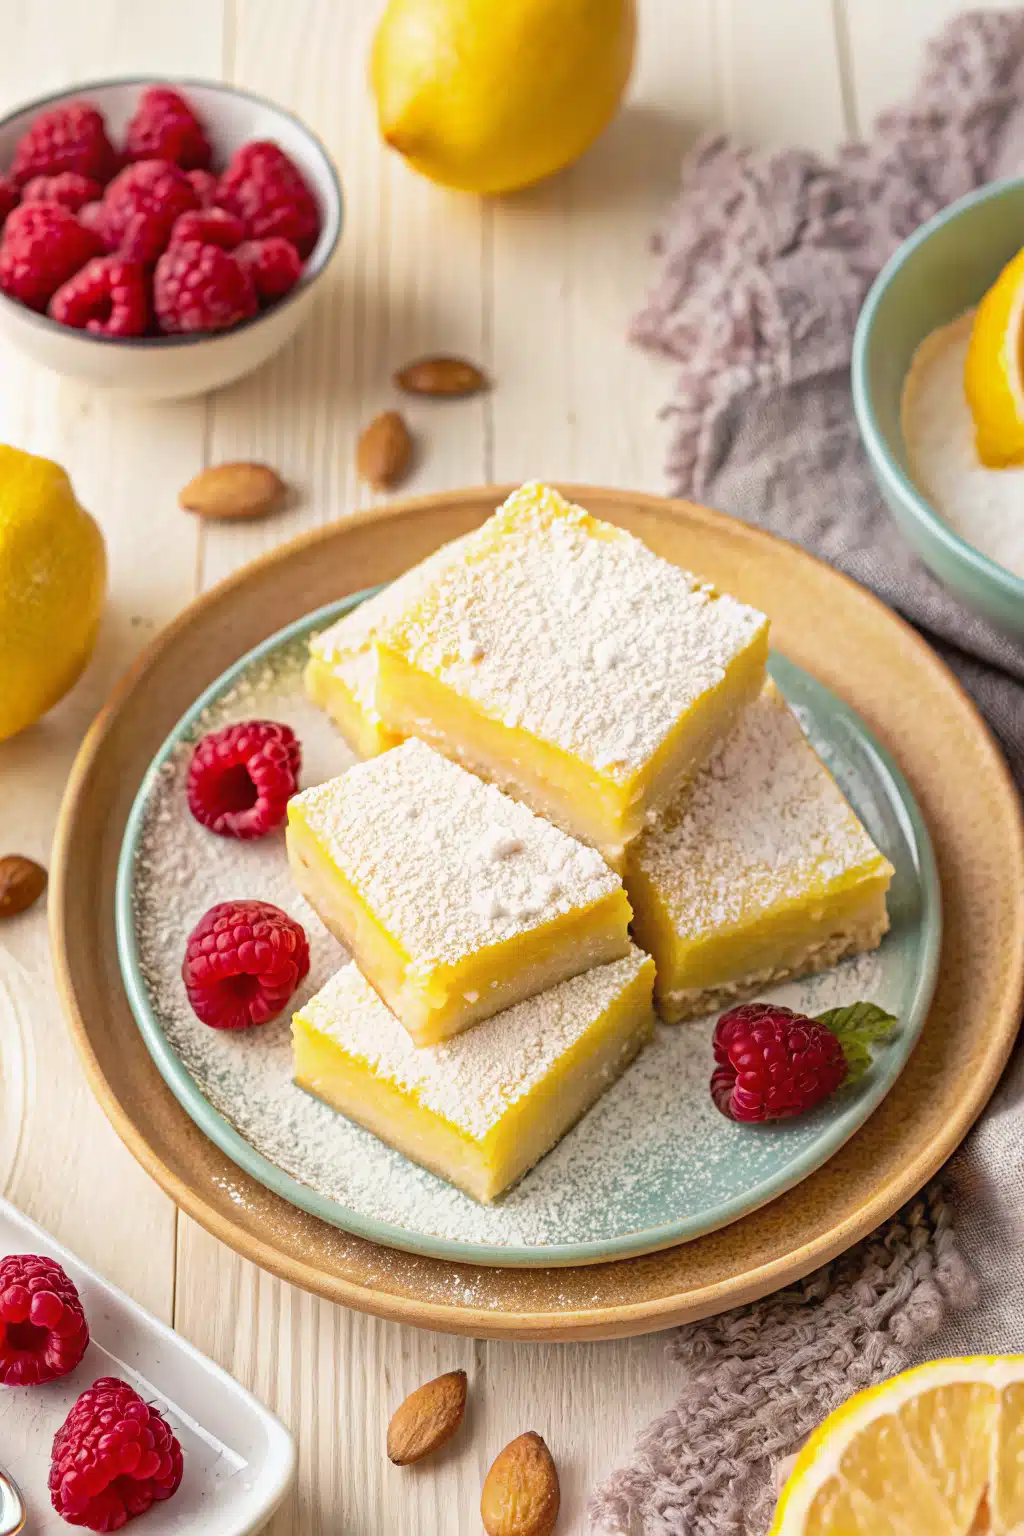
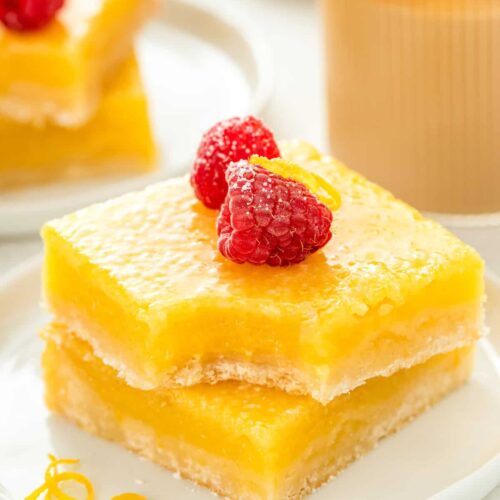
Once baked and chilled, the bars are traditionally dusted with a snowy layer of powdered sugar. The powdered sugar not only makes them look incredibly pretty and bakery-worthy, but it also provides a final touch of sweetness that cuts right through the tartness of the lemon. They are basically little squares of sunshine.
How to Make Easy Lemon Bars
Quick Overview
Making these easy lemon bars is broken down into two incredibly simple parts. First, you will mix up your buttery shortbread crust, press it into your baking dish, and pop it in the oven until it’s lightly golden. While that bakes, you will whisk together your vibrant lemon custard filling. Once the crust is ready, you just pour the liquid filling right over the top and bake it again until it sets. Let it chill, slice it up, and you are done!
Ingredients
Here is everything you will need to grab before we get started. Make sure your butter is softened to room temperature so it creams easily!
- Unsalted Butter: I prefer unsalted so I can control the saltiness, but if you only have salted butter, just reduce the extra added salt to 1/4 teaspoon.
- Granulated Sugar: You will need this for both the crust and the filling to bring the perfect amount of sweetness.
- All-Purpose Flour: This gives structure to our shortbread crust and helps thicken the lemon custard so it sets up nicely.
- Salt: Just a pinch to balance all the flavors.
- Large Eggs: The eggs are crucial for giving the lemon filling that rich, custard-like texture.
- Fresh Lemons: You will need about 3 lemons for the juice (2/3 cup) and the zest. Please don’t use bottled lemon juice—fresh is the secret to the best flavor!
- Vanilla Extract: Just a splash adds a beautiful depth of flavor that complements the tart lemon perfectly.
- Powdered Sugar: Strictly for dusting on top to make them look pretty and add a hint of extra sweetness.
Step-by-Step Instructions
Step 1: Preheat & Prep Your Pan
Preheat your oven to 350°F. Grab an 8×8-inch glass baking pan and line it with parchment paper. Leave a little overhang on the sides—this acts as a “sling” so you can easily lift the whole batch of bars out later for clean slicing!
Step 2: Make the Shortbread Crust
In a medium bowl, use a hand mixer to beat together 1/2 cup of softened butter and 1/4 cup of granulated sugar until it’s nice and creamy. Add in 1 cup of flour and 1/2 teaspoon of salt, beating just until combined. It might look a little crumbly, but that’s okay! Pour the mixture into your prepared pan and press it firmly and evenly into the bottom.
Step 3: Bake the Crust
Bake the crust for about 20 minutes, or until it is firm and lightly golden brown around the edges. Keep in mind it will bake a bit more once we add the filling.
Step 4: Whisk the Lemon Filling
While the crust is baking, grab another bowl. Whisk together 1 1/2 cups of granulated sugar and 1/3 cup of flour. Then, whisk in your 4 eggs, 2/3 cup of fresh lemon juice, the zest of 1 (or 2!) lemons, and 1 teaspoon of vanilla extract. Whisk until it is completely smooth.
Step 5: Pour and Bake
As soon as the crust comes out of the oven, pour your lemon filling directly over the hot crust. Carefully return the pan to the oven and bake for another 20 to 25 minutes. You will know they are done when the edges are set and the center just barely jiggles if you gently shake the pan.
Step 6: Cool and Chill
Let the bars cool completely at room temperature. Then, pop them into the refrigerator to chill for at least 2 hours. This is the secret to getting perfectly clean, sharp edges when you cut them! Dust generously with powdered sugar right before serving.
What to Serve It With
Honestly, these easy lemon bars are a showstopper all on their own, but if you want to elevate your dessert game, I have a few favorite pairings. They are absolutely heavenly served alongside a hot cup of coffee or a tall glass of iced sweet tea. The bitterness of the coffee and tea balances the sugary, tart lemon perfectly.
If you are serving these at a dinner party or a summer barbecue, try adding a dollop of freshly whipped cream and a few fresh raspberries or blueberries on the side of the plate. The berries look beautiful against the bright yellow bars, and the flavors complement each other wonderfully.
Top Tips for Perfecting Your Easy Lemon Bars
Over the years of making these for my family, I’ve picked up a few crucial tricks that guarantee perfect results every single time. Keep these in mind before you start baking:
- Use a Glass Baking Pan: This is a big one! I highly recommend baking your lemon bars in a glass pan rather than a metal one. Citrus is highly acidic, and when it reacts with a metal pan, it can sometimes give the bars a weird, slightly metallic taste. Glass is completely safe and bakes them perfectly.
- Fresh Lemons Only: I know the bottled stuff is convenient, but it lacks the bright, floral notes of fresh lemons and can taste a bit flat or bitter. Plus, you need the fresh lemon zest anyway for that intense punch of flavor!
- Measure Flour Correctly: When measuring your flour, fluff it up with a fork, spoon it into your measuring cup, and level it off with a knife. If you scoop directly from the bag, you will pack too much flour into the cup, leading to a dry crust and a gummy filling.
- The Warm Knife Trick: For those gorgeous, bakery-style clean cuts, make sure your bars are completely chilled. Run a sharp knife under hot water, wipe it completely dry with a towel, and make a slice. Wipe the blade clean between every single cut. It takes a little extra time, but the results are so worth it!
Storing and Reheating Tips
Because these bars have a custard-based filling, they definitely need to be kept cold. Place any leftover lemon bars in an airtight container and store them in the refrigerator for up to 5 days. Honestly, I think they taste even better on day two and three because the lemon flavor really has time to develop and intensify.
Want to save some for later? These freeze beautifully! Once the bars are completely chilled and cut into squares, place them on a parchment-lined baking sheet and freeze for about an hour until firm. Then, wrap each square individually in plastic wrap and toss them into a freezer-safe zip-top bag for up to 3 months. When the craving strikes, just let a bar thaw overnight in the fridge. Do not try to reheat them—lemon bars are always meant to be enjoyed chilled or at room temperature!
Frequently Asked Questions
Final Thoughts
There is just something so incredibly comforting about baking a batch of these easy lemon bars from scratch. They are bright, cheerful, and practically guaranteed to put a smile on anyone’s face. Whether you are baking them for a holiday gathering, a summer potluck, or just to treat yourself on a Tuesday evening, I hope this recipe brings as much joy to your kitchen as it has to mine.
Don’t forget to take your time letting them chill—I know the waiting is the hardest part, but that perfectly thick, sweet, and tangy lemon layer is so worth the patience. Happy baking, friends! I can’t wait for you to try these.
Easy Lemon Bars
Ingredients
Crust
- 0.5 cup unsalted butter softened
- 0.25 cup granulated sugar
- 1 cup all-purpose flour
- 0.5 teaspoon salt
Lemon Filling
- 4 large eggs
- 1.5 cups granulated sugar
- 0.33 cup all-purpose flour
- 0.66 cup lemon juice about 3 lemons, juiced
- 1 lemon zest or zest of 2 lemons for an extra tangy filling
- 1 teaspoon vanilla extract
- powdered sugar for dusting
Instructions
Preparation Steps
- Preheat oven to 350°F. Line an 8x8 glass baking pan with parchment paper, set aside.
- In a medium bowl with a hand mixer, beat together the butter and sugar. Add in the flour and salt, beating until well combined.
- Press dough into the bottom of the prepared baking pan. Bake for 20 minutes, or until firm and lightly golden brown. Remember the crust will bake more once you top it with the lemon filling!
- Lemon Filling: In a medium-sized bowl, whisk to combine the sugar and flour. Whisk in the eggs, lemon juice, lemon zest and vanilla extract. Pour over the baked crust.
- Return bars to the oven and bake for 20 to 25 minutes, until edges are set and the center just barely jiggles when you shake the pan.
- Let bars cool completely. Then refrigerate until chilled before slicing into squares. Dust with powdered sugar before serving.
Notes
Featured Comments
“I’m definitely making these soon—they look so fresh and perfect for a sunny morning!”
“Lemon bars sound absolutely delicious! That citrus scent and sunny kitchen vibe make my mouth water just thinking about it.”
“Impressed! Clear steps and creamy results. Perfect for busy nights.”
“New favorite here — quick weeknight win. crowd-pleaser was spot on.”
“Super easy and turned out amazing! My family asked for seconds. Saving this one.”
“This sweet treat was absolutely loved — the rich really stands out. Thanks!”


Lemon bars sound absolutely delicious! That citrus scent and sunny kitchen vibe make my mouth water just thinking about it.
I’m definitely making these soon—they look so fresh and perfect for a sunny morning!