

Irresistible Mini Cherry Cheesecakes (Easy & Perfect for Parties!)
Let me tell you a little secret: I absolutely adore cheesecake, but I rarely have the energy to make a full-sized one. Why? Because the fussy water baths, the dreaded surface cracking, and the endless hours of chilling time… it’s just a lot to handle on a busy weekend. That’s exactly why these Mini Cherry Cheesecakes have become my absolute lifesaver in the kitchen.
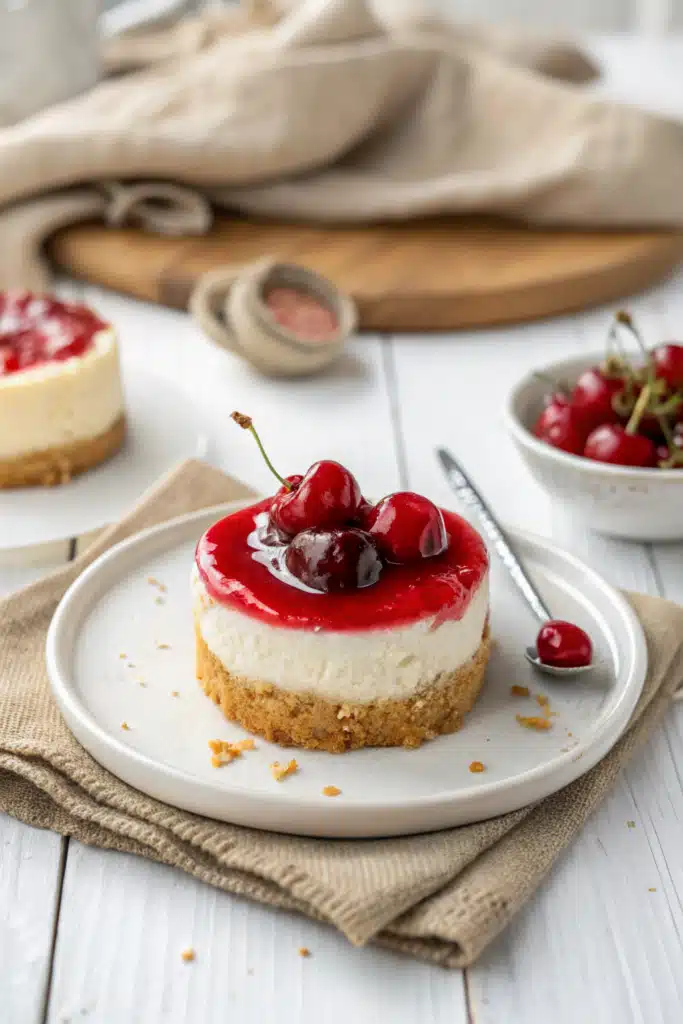
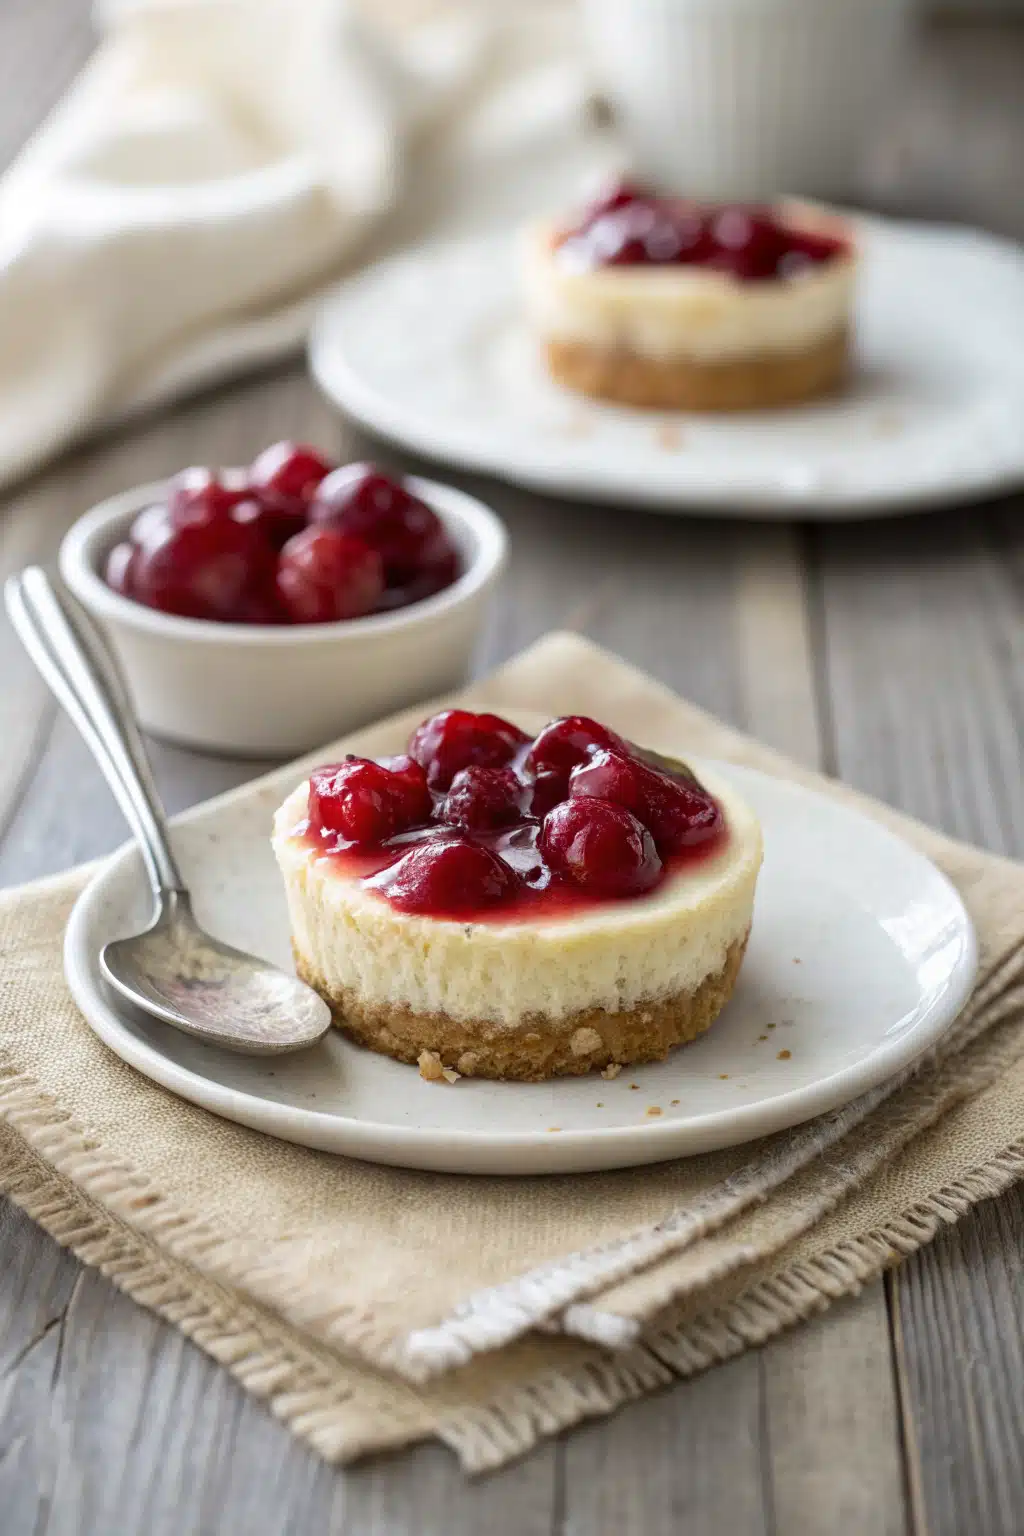
You get all that rich, creamy, tangy goodness of a classic New York-style cheesecake, but in a perfectly portioned, bite-sized package. I first whipped these up for a neighborhood potluck last summer, and let me tell you, they vanished before I even set the platter down properly! There’s just something so nostalgic and comforting about that glossy ruby-red cherry topping spooned over a buttery graham cracker crust. Whether you’re hosting a bridal shower, a holiday dinner, or just craving a little midnight sweet treat for yourself, this recipe is going to be your new best friend. Grab your favorite muffin tin, and let’s get baking!
What Is A Mini Cherry Cheesecake?
So, what exactly are we making today? Think of mini cherry cheesecakes as individual, handheld versions of the classic dessert we all know and love. Instead of dragging out a massive springform pan, we bake these little beauties right in a standard muffin or cupcake tin using paper liners.
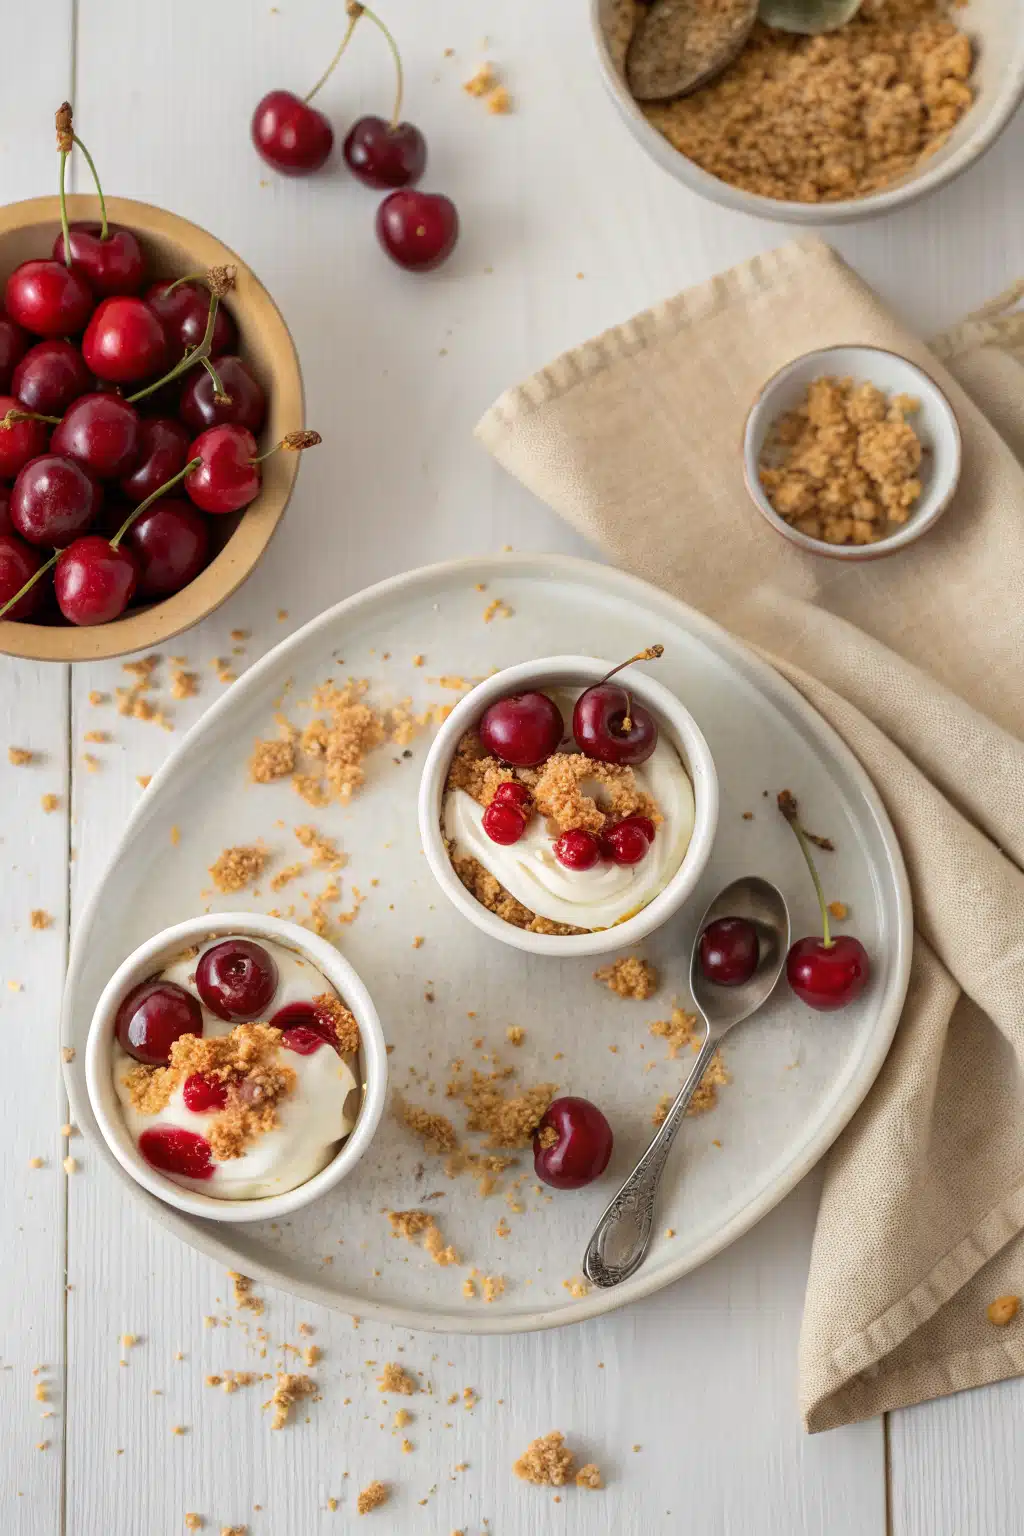
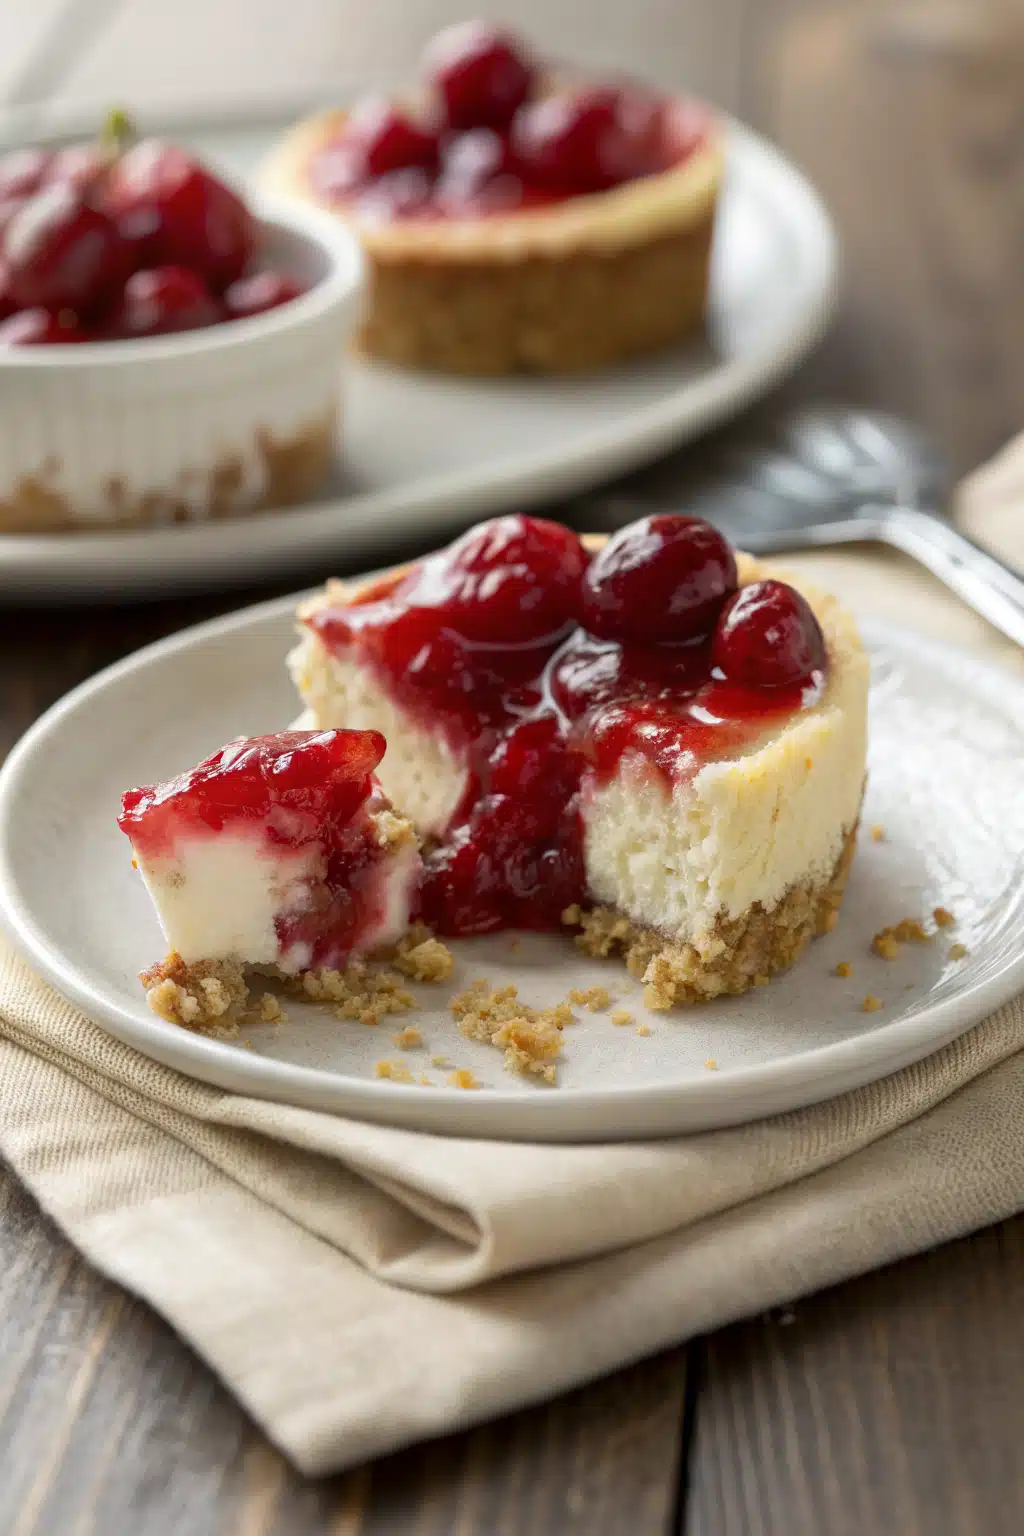
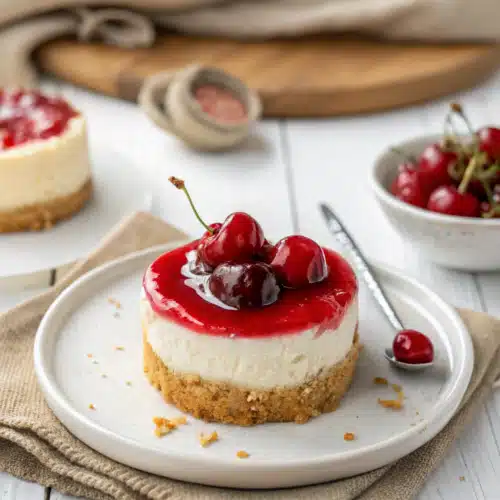
The foundation is a simple, buttery graham cracker crust that gets pressed right into the bottom of the cups. On top of that sits a luscious, velvety cream cheese filling made with just a handful of staple ingredients—cream cheese, sugar, a splash of vanilla, and a couple of eggs to bind it all together. Once they are baked to fluffy perfection and chilled, they are crowned with a generous spoonful of sweet, tart cherry pie filling. The contrast between the crunchy crust, the dense, smooth cheesecake center, and the fruity topping is honestly out of this world. Plus, making them “mini” means the baking time is slashed in half!
How to Make Mini Cherry Cheesecakes
Quick Overview
Making these mini cherry cheesecakes is surprisingly quick and painless. We’ll start by mixing up our simple graham cracker crust and pressing it firmly into a lined muffin tin. Then, we whip together the softened cream cheese, sugar, vanilla, and eggs until the batter is perfectly smooth and silky. We divide that luscious batter over our crusts and bake them until they are just set. After a quick chill in the fridge to firm up, we top them with our cherry filling. That’s it! No fancy equipment or stressful techniques required. I love doing this on a Friday evening so I have sweet treats ready for the whole weekend.
Ingredients
- Graham Cracker Crumbs: About 1 cup. You can buy them pre-crushed or smash up full sheets yourself.
- Unsalted Butter: 3 tablespoons, melted. This binds our crust together.
- Granulated Sugar: A little for the crust, and 1/2 cup for the cheesecake filling.
- Cream Cheese: Two 8-ounce blocks. Make sure it is full-fat and completely softened to room temperature!
- Eggs: 2 large eggs, also at room temperature.
- Vanilla Extract: 1 teaspoon for that classic bakery flavor.
- Cherry Pie Filling: 1 can (21 oz), or you can absolutely use homemade if you prefer.
Step-by-Step Instructions
Step 1: Preheat & Prep Pan
Preheat your oven to 325°F (163°C). Line a standard 12-cup muffin tin with paper cupcake liners. This makes popping them out later an absolute breeze.
Step 2: Mix the Crust
In a medium mixing bowl, combine your graham cracker crumbs, melted butter, and 1 tablespoon of granulated sugar. Stir it around with a fork until the mixture resembles wet sand.
Step 3: Press the Crust
Spoon about a tablespoon of the crumb mixture into each muffin liner. Use the bottom of a shot glass, a small measuring cup, or your fingers to press the crumbs down firmly into an even layer. Bake the crusts for just 5 minutes to set, then let them cool while you make the filling.
Step 4: Whip the Cheesecake Filling
In a large bowl, use a hand mixer or stand mixer to beat the softened cream cheese until it’s completely smooth and creamy. Add the 1/2 cup of sugar and vanilla extract, beating until combined. Finally, add the eggs one at a time. Mix on low speed just until the yellow yolk disappears into the batter. Do not overmix!
Step 5: Fill and Bake
Divide the cheesecake batter evenly among the muffin cups, pouring it right over the baked crusts. Fill them almost to the top. Bake for 15-18 minutes, or until the centers are just barely set and no longer jiggle like liquid.
Step 6: Cool and Top
Let the cheesecakes cool in the pan at room temperature for about an hour. Then, transfer them to the fridge to chill for at least 3 hours (overnight is even better). Right before serving, spoon a generous dollop of cherry pie filling onto each cheesecake.
What to Serve It With
These mini cherry cheesecakes are honestly a showstopper all on their own, but if you want to elevate your dessert table, there are a few things I love to pair them with. A hot cup of dark roast coffee or an espresso is the ultimate companion—the bitterness of the coffee cuts right through the rich, sweet cream cheese perfectly.
If you’re serving these at a summer cookout, a glass of crisp, chilled prosecco or a fruity iced tea goes beautifully. For a fun dessert spread, I like to serve these alongside a platter of fresh berries, some dark chocolate truffles, and maybe a bowl of freshly whipped cream for those who want an extra dollop on top of their cherries.
Top Tips for Perfecting Your Mini Cherry Cheesecakes
Let’s talk about how to get these perfect every single time. I’ve made every mistake in the book so you don’t have to!
Room Temperature Ingredients are Non-Negotiable: I cannot stress this enough! Make sure your cream cheese and eggs are completely at room temperature before you start mixing. Cold cream cheese will give you a lumpy batter, and nobody wants chunky cheesecake.
Don’t Overmix the Eggs: Once you add the eggs to the batter, mix on low speed just until they are incorporated. Overmixing beats too much air into the batter, which can cause the cheesecakes to puff up like soufflés in the oven and then collapse and crack as they cool.
Press the Crust Firmly: Use the bottom of a shot glass or a measuring spoon to press the graham cracker crumbs tightly into the liners. A compact crust won’t crumble when you peel the paper off later.
Chill Out: Don’t rush the cooling process! Let them cool completely at room temperature before moving them to the fridge. Sudden temperature changes are the number one cause of cracked cheesecake.
Storing and Reheating Tips
One of the best things about these mini cherry cheesecakes is how beautifully they store, making them the ultimate make-ahead treat.
In the Fridge: Keep your cheesecakes in an airtight container in the refrigerator for up to 5 days. I actually recommend waiting to add the cherry topping until an hour or two before you plan to serve them, just so the crust doesn’t get soggy from the fruit juices.
In the Freezer: Yes, you can freeze them! Bake the cheesecakes (without the cherry topping), let them cool completely, and then place them in a freezer-safe container. They will keep nicely for up to 3 months. When you’re ready for a treat, just thaw them overnight in the fridge, add your cherries, and enjoy.
Reheating: Cheesecake is meant to be enjoyed chilled, so there is no reheating required here! Just grab one straight from the fridge and dig in.
Frequently Asked Questions
Final Thoughts
I really hope these mini cherry cheesecakes bring as much joy to your kitchen as they do to mine. There is just something incredibly satisfying about peeling back that little paper liner to reveal a perfectly layered, bakery-worthy dessert that you made with your own two hands. Whether you’re baking for a crowd or just treating yourself after a long week, this recipe is a guaranteed winner.
Don’t forget to experiment with your favorite toppings once you master the base—the flavor possibilities are truly endless! If you give these a try, I’d absolutely love to hear how they turned out for you. Happy baking, friends!
Mini Cherry Cheesecakes
Ingredients
Main Ingredients
- 12 vanilla wafers
- 16 ounce cream cheese softened
- 0.75 cup granulated sugar
- 2 large eggs
- 1 teaspoon vanilla extract
- 1 tablespoon lemon juice
- 21 ounce cherry pie filling 1 can
Instructions
Preparation Steps
- Preheat your oven to 350°F (175°C) and line a 12-cup muffin tin with paper liners.
- Place one vanilla wafer, flat side down, into the bottom of each muffin liner to form the crust.
- In a large mixing bowl, beat the softened cream cheese and granulated sugar together until smooth and fluffy.
- Add the eggs one at a time, beating well after each addition. Mix in the vanilla extract and lemon juice until fully combined.
- Divide the cream cheese mixture evenly among the muffin cups, filling each about 0.75 full over the vanilla wafers.
- Bake in the preheated oven for 15 to 20 minutes, or until the centers are just set.
- Remove from the oven and let the cheesecakes cool completely in the pan. They will sink slightly in the center as they cool.
- Once cooled, top each mini cheesecake with a spoonful of cherry pie filling. Refrigerate until ready to serve.
Notes
Featured Comments
“Impressed! Clear steps and turned out amazing results. Perfect for busy nights.”
“New favorite here — comforting. crowd-pleaser was spot on.”
“Super easy and turned out amazing! My family asked for seconds. Saving this one.”
“This sweet treat was absolutely loved — the rich really stands out. Thanks!”
“Made it tonight and wow — creamy! Will definitely make mini cherry cheesecakes again.”
“Packed with flavor and so simple. Exactly what I wanted from mini cherry cheesecakes.”


