

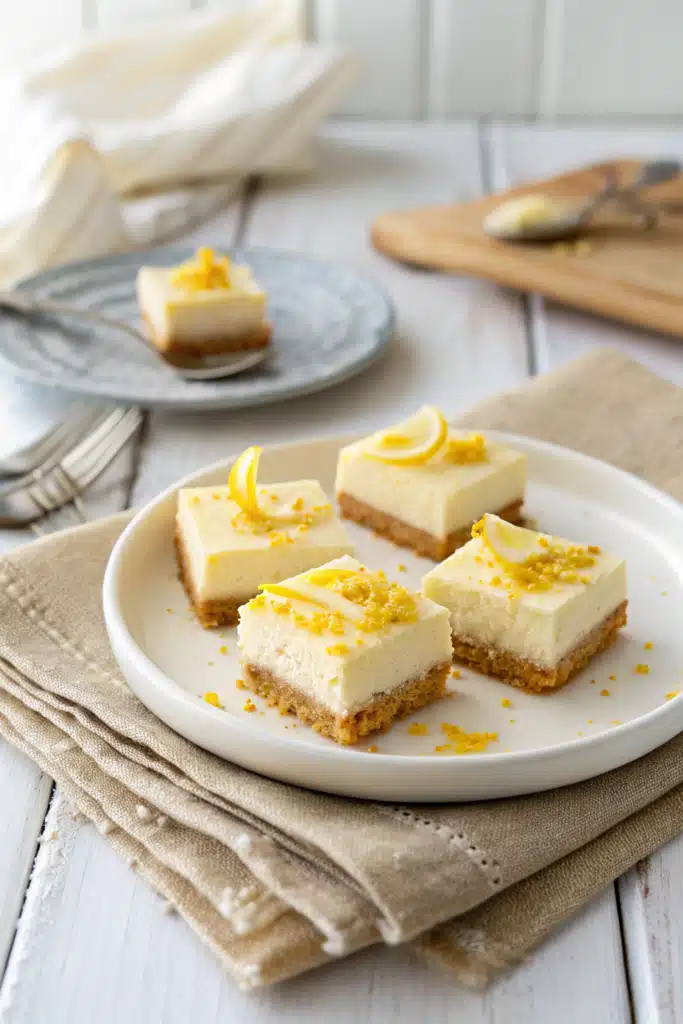
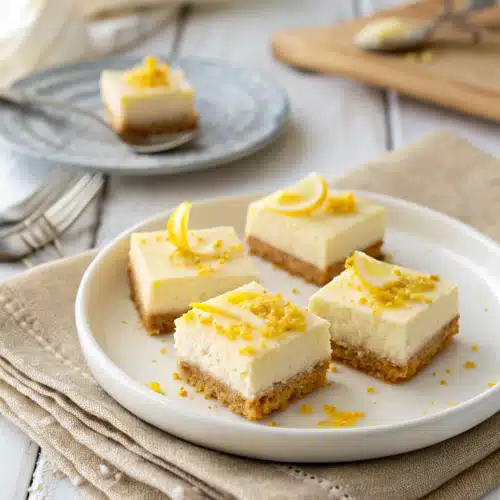
Easy Lemon Cheesecake Bites
Hey there, fellow dessert lovers! If there’s one flavor that instantly brings a smile to my face, it’s bright, zesty lemon. There is just something incredibly uplifting about that sweet and tart combo, especially when it’s paired with rich, creamy cheesecake. Today, I’m so excited to share a recipe that has been an absolute lifesaver for me at countless potlucks, summer picnics, and late-night sweet cravings: my Easy Lemon Cheesecake Bites.
I remember the very first time I whipped these up. I was super short on time, craving something decadent, but completely unwilling to commit to the fuss of a water bath and a springform pan. These little gems were the perfect solution! They’re perfectly portioned, wonderfully tangy, and feature a buttery graham cracker crust that is to die for. Plus, you don’t need any fancy equipment to pull them off. If you have a standard muffin tin and a love for citrus, you’re already halfway there. Grab your favorite mixing bowl, and let’s get baking!
What Are Easy Lemon Cheesecake Bites?
So, what exactly are these Easy Lemon Cheesecake Bites? Think of them as miniature, perfectly portioned versions of a classic lemon cheesecake, but without all the traditional baking stress and long cooling times. They start with a classic, sweet graham cracker crust packed tightly into the bottom of a simple paper muffin liner.
On top of that golden crust sits a velvety, smooth cream cheese filling that is heavily infused with fresh lemon juice and fragrant lemon zest. Because they are baked in a standard muffin tin, they cook so much faster than a full-sized cheesecake and absolutely do not require a complicated water bath to prevent the top from cracking. These bite-sized treats offer the ultimate balance of rich, sweet, and tart flavors. They are the ideal dessert for folks who want the gourmet experience of a bakery-style cheesecake but only have a fraction of the time to spend in the kitchen. Whether you call them mini cheesecakes, lemon tartlets, or cheesecake cupcakes, they’re guaranteed to be a hit.
How to Make Easy Lemon Cheesecake Bites
Quick Overview
Making these Easy Lemon Cheesecake Bites is a total breeze, even if you are a beginner in the kitchen. We’ll start by mixing up a simple, three-ingredient graham cracker crust and pressing it gently into a lined muffin tin. After a quick pre-bake to set the crust, we will whip together our creamy lemon filling. The biggest trick here is making sure your cream cheese is completely softened to room temperature so you get that silky, lump-free texture. We’ll spoon the filling over our baked crusts, pop them back in the oven until just set, and then let the fridge do the rest of the work. Patience is key here, as they need to chill completely before serving!
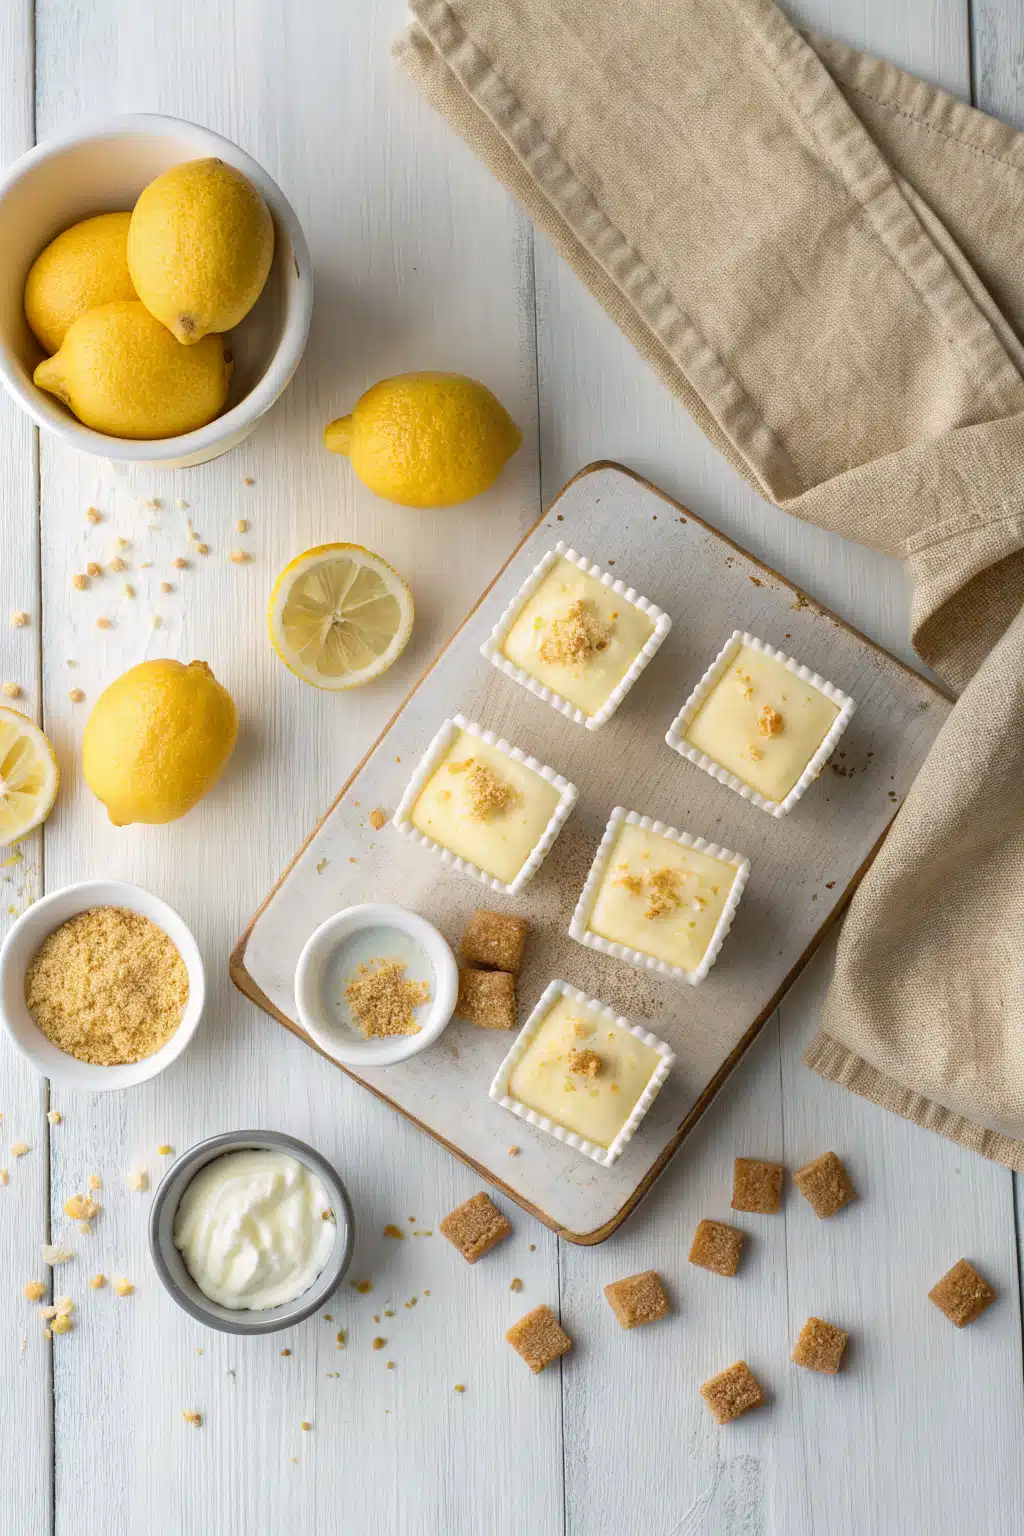
Ingredients
For the Crust:
- Graham Cracker Crumbs: About 1 cup. You can buy them pre-crushed or crush your own!
- Granulated Sugar: Just 2 tablespoons to sweeten the crust slightly.
- Unsalted Butter: 3 tablespoons, melted, to bind the crust together.
For the Lemon Cheesecake Filling:
- Cream Cheese: 16 oz (two standard blocks), softened to room temperature. This is crucial!
- Granulated Sugar: 1/2 cup to balance the tart lemon.
- Eggs: 2 large eggs, also at room temperature.
- Fresh Lemon Juice: 3 tablespoons. Please use fresh lemons, not bottled juice!
- Lemon Zest: 1 tablespoon, packed with natural citrus oils for maximum flavor.
- Vanilla Extract: 1 teaspoon to round out the flavors.
Step-by-Step Instructions
Step 1: Preheat & Prep Pan
Start by preheating your oven to 325°F (160°C). Grab a standard 12-cup muffin tin and line it with paper liners. This makes removing the cheesecake bites incredibly easy later on.
Step 2: Mix the Crust
In a medium bowl, toss together your graham cracker crumbs and sugar. Pour in the melted butter and stir with a fork until the mixture resembles wet sand. Every crumb should be lightly coated in butter.
Step 3: Press and Pre-bake
Spoon about a tablespoon of the crust mixture into each muffin liner. Use the bottom of a small glass or a measuring spoon to press the crumbs down firmly into an even layer. Bake the crusts for 5 minutes, then pull them out and let them cool slightly while you make the filling.
Step 4: Beat the Cream Cheese
In a large bowl, use a hand mixer to beat the softened cream cheese and sugar together on medium speed. Keep mixing until it is completely smooth, creamy, and free of any lumps. Scrape down the sides of the bowl with a rubber spatula as needed.
Step 5: Add Flavor and Eggs
Add the fresh lemon juice, lemon zest, and vanilla extract, mixing just until combined. Next, add the eggs one at a time. Beat on low speed just until the yellow of the yolk disappears. Be careful not to over-mix here, as adding too much air can cause your mini cheesecakes to sink in the middle!
Step 6: Fill and Bake
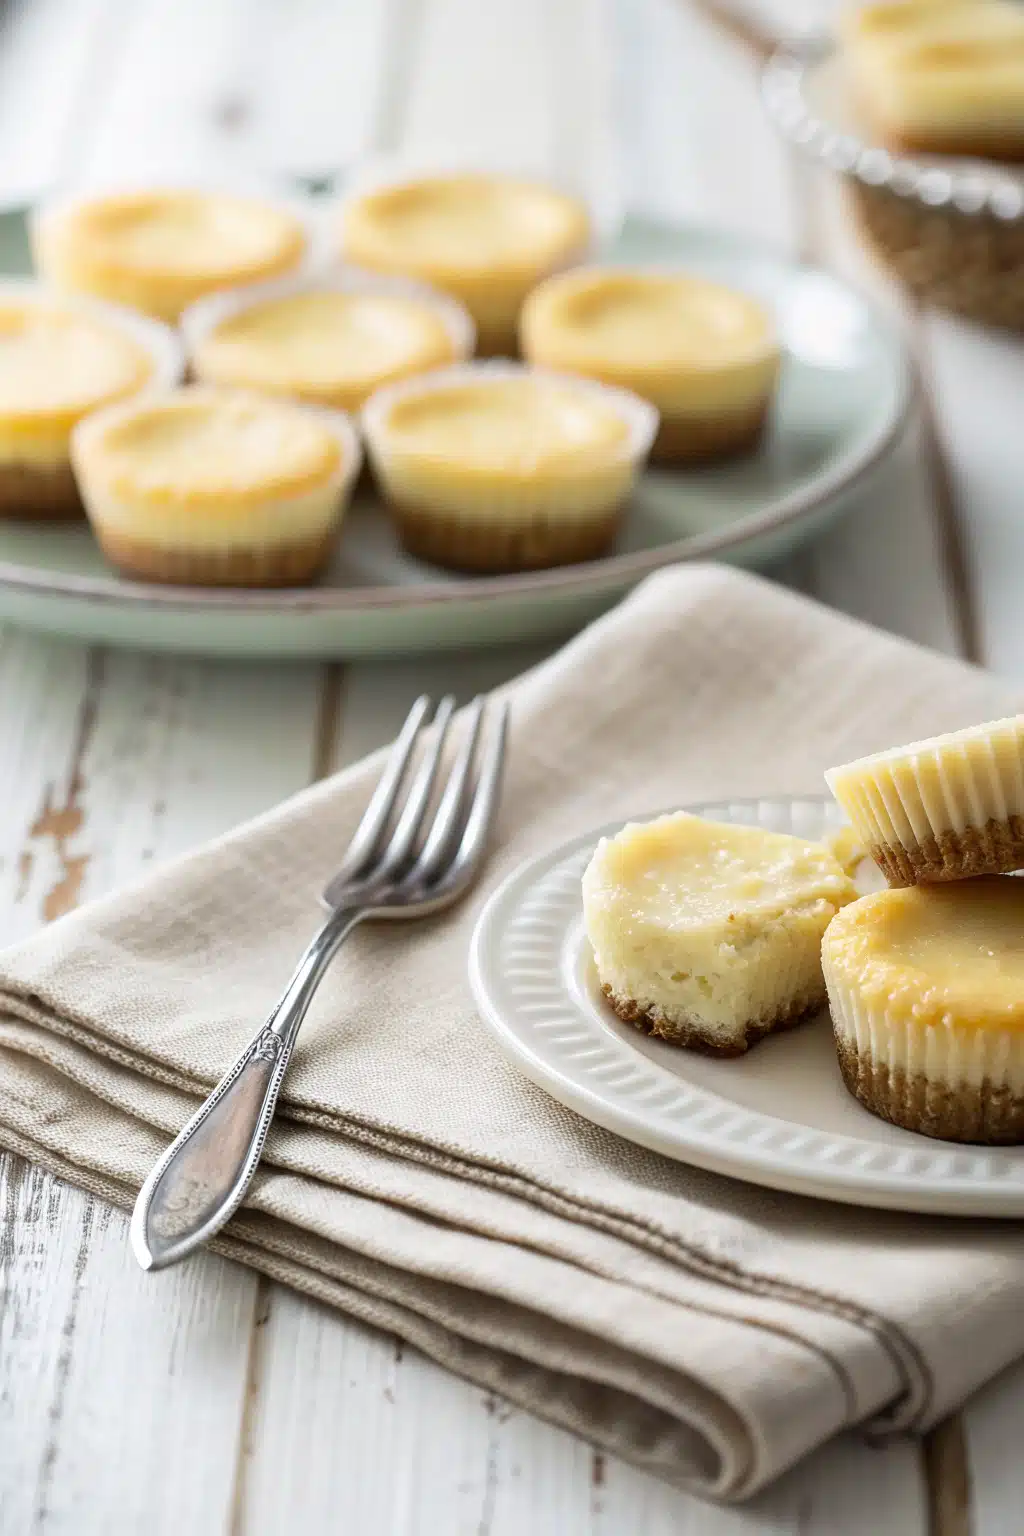
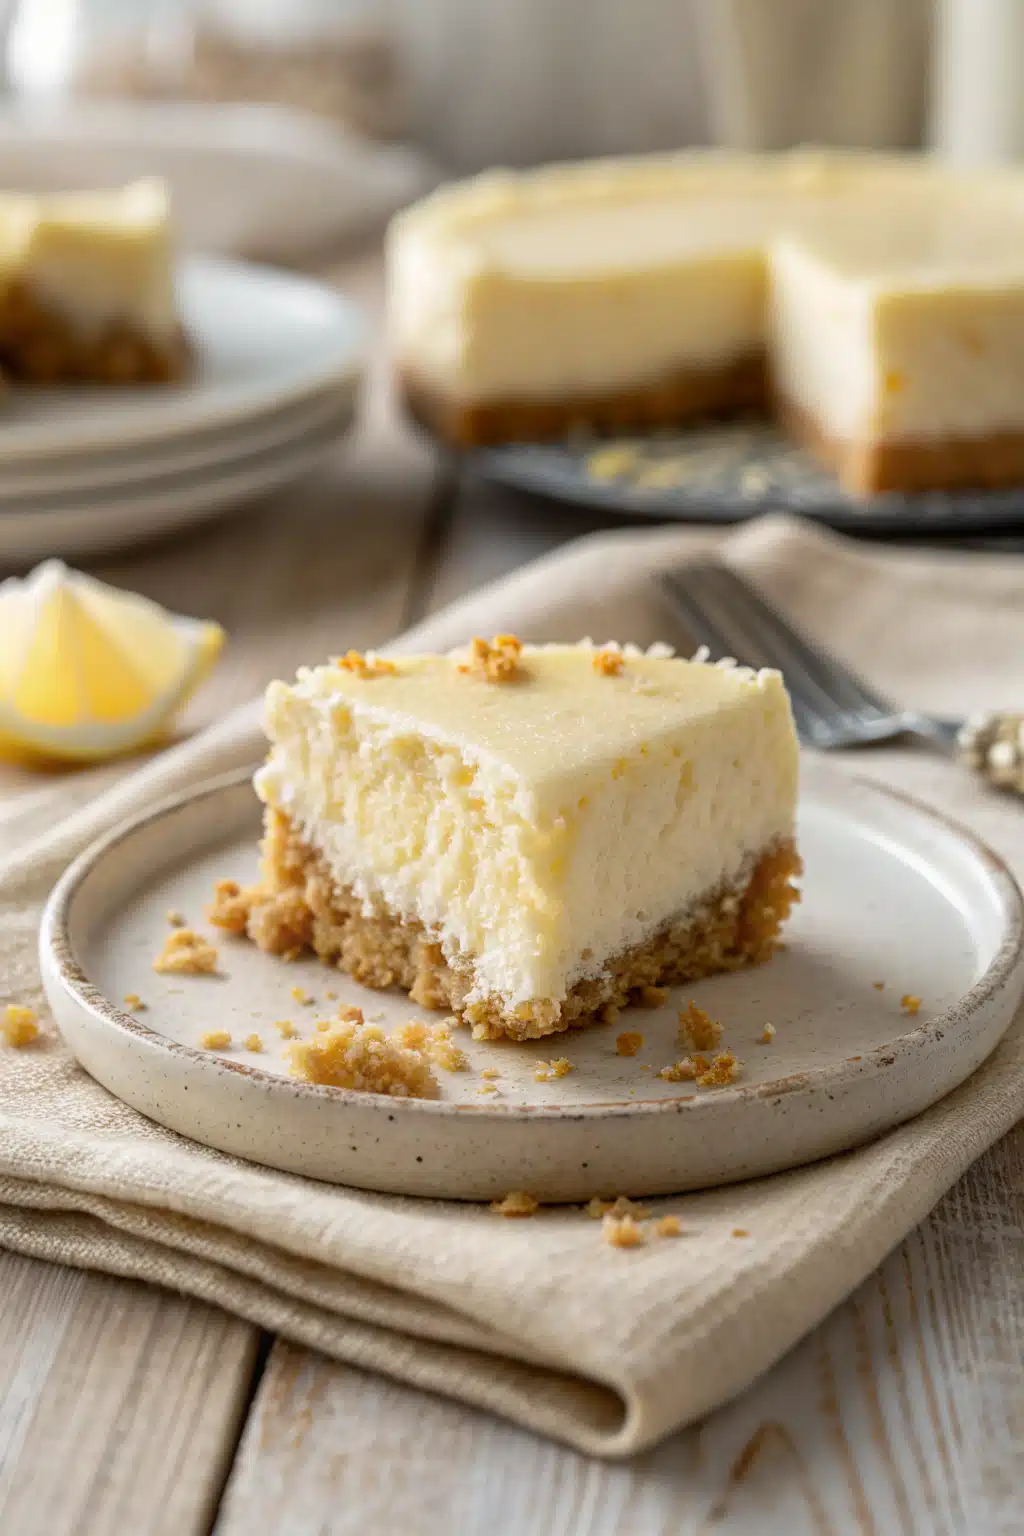
Divide the lemon cheesecake batter evenly among the muffin cups, pouring it right over the slightly cooled crusts. They should be nearly full. Bake for 15-18 minutes. You’ll know they are done when the edges are set, but the very centers still have a slight jiggle to them.
Step 7: Cool and Chill
Remove the pan from the oven and let the cheesecakes cool completely in the tin at room temperature (about an hour). Once cooled, transfer the whole tin to the refrigerator and chill for at least 3 hours, or preferably overnight, before peeling off the liners and serving.
What to Serve It With
While these Easy Lemon Cheesecake Bites are absolute perfection all on their own, dressing them up is half the fun! I love topping each little cheesecake with a dollop of freshly whipped cream and a small curl of lemon zest for a bakery-worthy presentation.
If you want to add a fruity contrast, a spoonful of homemade blueberry compote or a drizzle of raspberry sauce pairs beautifully with the tart lemon flavor. Fresh berries, like sliced strawberries or whole blackberries, also make a wonderful, fresh garnish. For a fun, extra-decadent twist, try a drizzle of melted white chocolate or a tiny dollop of tangy lemon curd right on top to really double down on that citrus punch!
Top Tips for Perfecting Your Easy Lemon Cheesecake Bites
Over the years, I’ve made dozens of batches of these, and I’ve picked up a few crucial secrets for absolute success:
- Room Temperature Ingredients: I can’t stress this enough! Your cream cheese and eggs must be at room temperature. Cold cream cheese will give you a lumpy filling, and over-mixing to get the lumps out will incorporate too much air.
- Fresh Lemon is Best: Please skip the little plastic squeeze bottle of lemon juice. Freshly squeezed lemon juice and fresh zest provide the vibrant, authentic citrus flavor that makes these bites so special.
- Do Not Overbake: You want to pull these out of the oven when the edges are set but the centers still have a slight jiggle. They will continue to firm up as they cool down and chill in the fridge.
- Patience While Chilling: Give them ample time in the fridge. At least three to four hours is required, but overnight is ideal for the best texture and flavor development.
Storing and Reheating Tips
Because these contain dairy, your Easy Lemon Cheesecake Bites absolutely need to be stored in the refrigerator. Keep them in an airtight container, and they will stay fresh, creamy, and delicious for up to five days. Honestly, I actually think they taste best on day two or three after the lemon flavor has really had time to blossom!
Can you freeze them? Absolutely! These mini cheesecakes are incredibly freezer-friendly. I like to freeze them on a baking sheet first so they don’t get squished, then transfer them to a freezer-safe zip-top bag or container for up to three months. When you are ready to enjoy one, simply let it thaw in the refrigerator overnight. I do not recommend reheating these in the microwave or oven, as cheesecake is meant to be enjoyed wonderfully chilled!
Frequently Asked Questions
Yes, absolutely! While graham crackers are traditional, crushed vanilla wafers, shortbread cookies, or even golden Oreos make a fantastic and delicious crust for these lemon bites.
Sinking is usually caused by over-mixing the batter after adding the eggs. Beating the eggs incorporates air, which puffs up in the oven and then collapses as it cools. Mix the eggs on low speed just until combined!
The secret is chilling them completely! If you try to peel the liners off while the cheesecakes are still warm or at room temperature, they will stick. Wait until they have been in the fridge for at least 3 hours.
Final Thoughts
There you have it, friends—my absolute favorite way to get a cheesecake fix without the fuss! These Easy Lemon Cheesecake Bites really are the perfect little dessert. They are bright, creamy, buttery, and just so darn cute. Whether you are baking for a crowd, making a special weekend treat for your family, or just wanting to keep a stash of something sweet in the fridge for yourself, this recipe is sure to become a treasured favorite.
I hope you love baking (and eating!) these as much as I do. If you give them a try, I’d love to hear how they turned out for you. Grab a cup of coffee, peel back that wrapper, and enjoy every single zesty bite. Happy baking!
Mini Lemon Cheesecakes
Ingredients
Main Ingredients
- 12 vanilla wafer cookies
- 16 ounces cream cheese room temperature
- 0.67 cup granulated sugar
- 1 large lemon zested
- 2 large eggs room temperature
- 2 teaspoons pure vanilla extract
- 1 tablespoon freshly squeezed lemon juice
Instructions
Preparation Steps
- Preheat your oven to 325°F (165°C) and line a 12-cup muffin tin with paper liners.
- Place one vanilla wafer cookie, flat side down, into the bottom of each muffin cup to form the crust.
- In a medium bowl, combine the granulated sugar and lemon zest. Rub them together with your fingertips until the sugar becomes moist and fragrant.
- Add the room temperature cream cheese to the lemon sugar and beat with an electric mixer until light and fluffy.
- Add the eggs one at a time, mixing well after each addition. Then, mix in the vanilla extract and freshly squeezed lemon juice until the batter is smooth.
- Spoon the cheesecake batter evenly into the prepared muffin cups, filling each about 0.67 full.
- Bake for 22 to 24 minutes, or until the centers of the cheesecakes are almost set.
- Remove from the oven and let cool completely in the pan on a wire rack. Transfer to the refrigerator to chill for at least 4 hours before serving.
Notes
Featured Comments
“These look absolutely dreamy! I’ve been wanting to try mini desserts like this for ages—perfect for a quick sweet fix.”
“These little cheesecakes look perfect—so cute and delicious! I’ve been craving something light and sweet lately, and this is exactly what I need.”
“Impressed! Clear steps and spot on results. Perfect for busy nights.”
“New favorite here — creamy. crowd-pleaser was spot on.”
“Super easy and turned out amazing! My family asked for seconds. Saving this one.”
“This sweet treat was absolutely loved — the hearty really stands out. Thanks!”


These little cheesecakes look perfect—so cute and delicious! I’ve been craving something light and sweet lately, and this is exactly what I need.
These look absolutely dreamy! I’ve been wanting to try mini desserts like this for ages—perfect for a quick sweet fix.