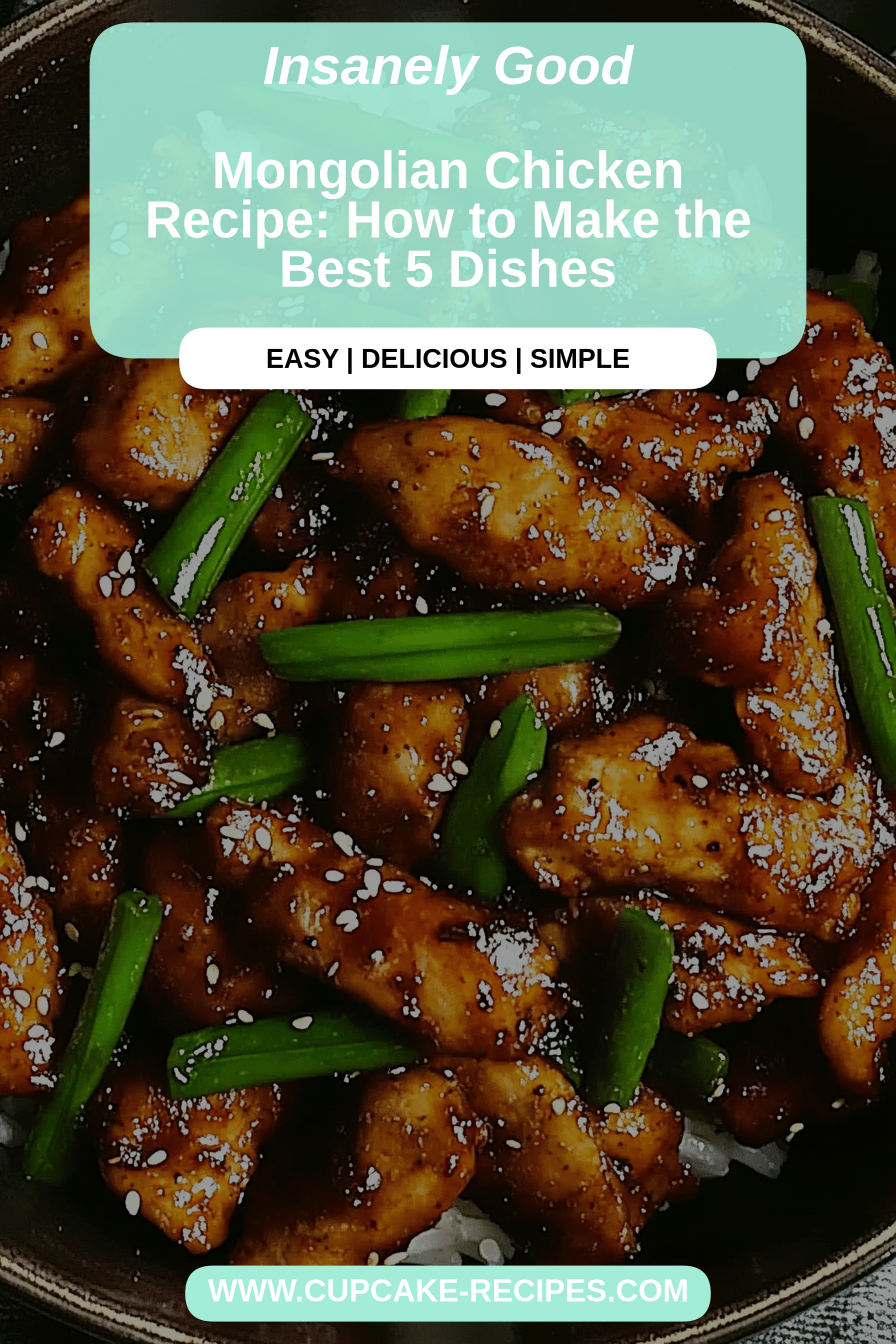
You know those nights? The ones where everyone’s just *starving*, and you’re staring into the fridge wondering what on earth to whip up that won’t involve a twenty-minute drive and a hefty takeout bill? Yeah, I live for those nights now, thanks to this incredible Mongolian Chicken. It’s got that sweet, savory, slightly tangy kick that just screams comfort food, but it’s surprisingly light and doesn’t weigh you down like some other dishes. Honestly, it gives your favorite takeout joint a serious run for its money, and the best part? You can have it on the table in under an hour. My kids ask for this Mongolian Chicken at least once a week, and even my pickiest eater devours it. It’s become a staple in our home, a true lifesaver when time is tight but the craving for something delicious is huge.
What Is Mongolian Chicken?
So, what exactly is this Mongolian Chicken magic? Well, it’s a popular Chinese-American dish that’s known for its incredibly addictive sticky sauce. Don’t let the name fool you into thinking it’s a traditional dish from Mongolia, though! It actually hails from the culinary scene in Taiwan and became super popular in the United States. Think of it as a wonderfully sweet, savory, and slightly garlicky stir-fry. The chicken is usually coated in a light batter and fried to crispy perfection before being tossed in that glorious sauce. It’s essentially the perfect balance of textures and flavors – tender chicken with a delightful crispy coating, all drenched in a glaze that makes you want to lick the plate clean. It’s simple, yet sophisticated enough to impress, and that’s what I love about it.
How to Make Mongolian Chicken
Quick Overview
The magic behind this Mongolian Chicken is really in its simplicity. We’re going to coat bite-sized pieces of chicken in a light, crispy batter, give them a quick fry until golden, and then toss them in a luscious, homemade sauce that’s both sweet and savory. The whole process is surprisingly fast, usually taking less than an hour from start to finish, making it an absolute lifesaver for busy evenings. What makes this method special is the balance – we achieve that restaurant-style crispiness without deep-frying the whole lot, and the sauce is perfectly seasoned to coat every single piece of chicken beautifully.
Ingredients
For the Main Batter:
Here’s what you’ll need to get that chicken beautifully crispy. I always make sure to use chicken thighs because they stay so incredibly moist and tender, even after frying. You can absolutely use Chicken Breast if that’s your preference, just be mindful not to overcook it! For the batter itself, a mix of all-purpose flour and cornstarch is my go-to. The cornstarch is key for that extra crunch! A pinch of salt and pepper will ensure the batter is flavorful on its own. For about 1.5 pounds of chicken, I usually use 1/2 cup of all-purpose flour and 1/4 cup of cornstarch.
For the Filling:
This is where the star of the show comes in – your protein! I typically use about 1.5 pounds of boneless, skinless chicken thighs, cut into bite-sized pieces. As I mentioned, thighs are my favorite for their moisture, but breasts work too. Make sure the pieces are relatively uniform in size so they cook evenly. Sometimes, if I’m feeling fancy or have some on hand, I’ll add a sliced bell pepper or some thinly sliced onions to the stir-fry towards the end, but honestly, it’s fantastic just as is with the chicken.
For the Glaze:
Ah, the sauce! This is the heart of the Mongolian Chicken. It’s a beautiful balance of sweet, savory, and a little bit tangy. We’ll need soy sauce (or tamari for a gluten-free option), a touch of dark soy sauce for color and depth (if you can find it!), brown sugar for that lovely sweetness, a splash of rice vinegar for brightness, some minced garlic and grated fresh ginger for that quintessential Asian flavor kick, and a little cornstarch mixed with water to thicken it all up into that perfect glossy glaze. I usually use about 1/4 cup soy sauce, 2 tablespoons brown sugar, 1 tablespoon rice vinegar, 2 cloves garlic minced, 1 teaspoon grated ginger, and about 1 tablespoon cornstarch mixed with 2 tablespoons water.
Step-by-Step Instructions
Step 1: Preheat & Prep Pan
First things first, let’s get our cooking environment ready. We’re going to be doing some pan-frying, so grab a large skillet or a wok. Add about 1/4 cup of neutral oil (like vegetable or canola oil) to the pan and set it over medium-high heat. You want it hot but not smoking. While the oil heats up, get your chicken pieces ready.
Step 2: Mix Dry Ingredients
In a medium bowl, whisk together your all-purpose flour, cornstarch, salt, and pepper. Make sure everything is well combined. This mixture is going to create a lovely, light coating for your chicken, giving it that satisfying crispiness. Don’t over-whisk it; just a good stir to distribute the cornstarch evenly.
Step 3: Mix Wet Ingredients
In a separate small bowl, whisk together the soy sauce, dark soy sauce (if using), brown sugar, rice vinegar, minced garlic, and grated ginger. This is your flavor base for that amazing Mongolian sauce. Give it a good stir to ensure the brown sugar is dissolved.
Step 4: Combine
Add your bite-sized chicken pieces to the bowl with the dry ingredients. Toss them around until each piece is lightly coated. You don’t want a super thick, pasty coating; just a nice, even dusting. This helps the chicken fry up beautifully and get nice and crispy.
Step 5: Prepare Filling
This step is technically already done when you prepared your chicken pieces! They are cut into bite-sized, uniform pieces, ready to be coated and cooked. If you were adding vegetables like bell peppers or onions, you would slice those up now, about 1/2-inch thick for peppers and similar for onions, so they cook up tender-crisp.
Step 6: Layer & Swirl
This is where the action happens! Working in batches (don’t crowd the pan!), carefully add the coated chicken pieces to the hot oil in your skillet. Let them fry for about 3-4 minutes per side, until they are golden brown and crispy. You want a nice sear on all sides. Once they’re done, remove them with a slotted spoon and place them on a plate lined with paper towels to drain any excess oil. Repeat with the remaining chicken. Once all chicken is fried, pour off all but about 1 tablespoon of oil from the pan.
Step 7: Bake
Actually, we don’t bake this recipe! We’re pan-frying the chicken and then tossing it in a sauce. So, no oven needed for this step. The cooking happens right on the stovetop. Once the chicken is golden and crispy, it’s ready for its saucy bath.
Step 8: Cool & Glaze
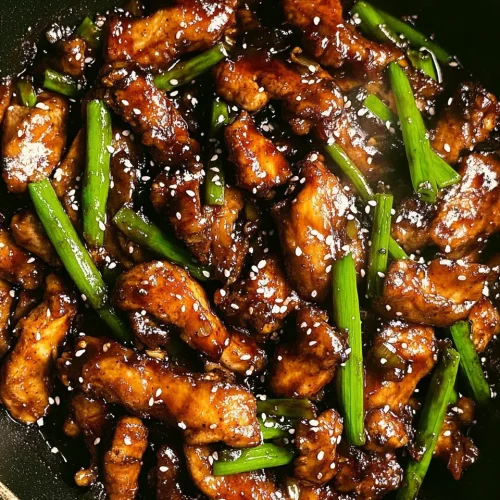
Now for the part that makes it truly Mongolian Chicken! Return all the fried chicken to the skillet. Pour the prepared sauce mixture over the chicken. In a separate small bowl, whisk together the cornstarch and water to make a slurry. Add this slurry to the pan. Stir everything together quickly over medium heat. The sauce will start to thicken almost immediately, creating that beautiful, glossy glaze. Keep stirring for about 1-2 minutes until the sauce coats the chicken evenly and has a beautiful sheen. If you’re adding any vegetables, toss them in now and cook for another minute until they’re tender-crisp.
Step 9: Slice & Serve
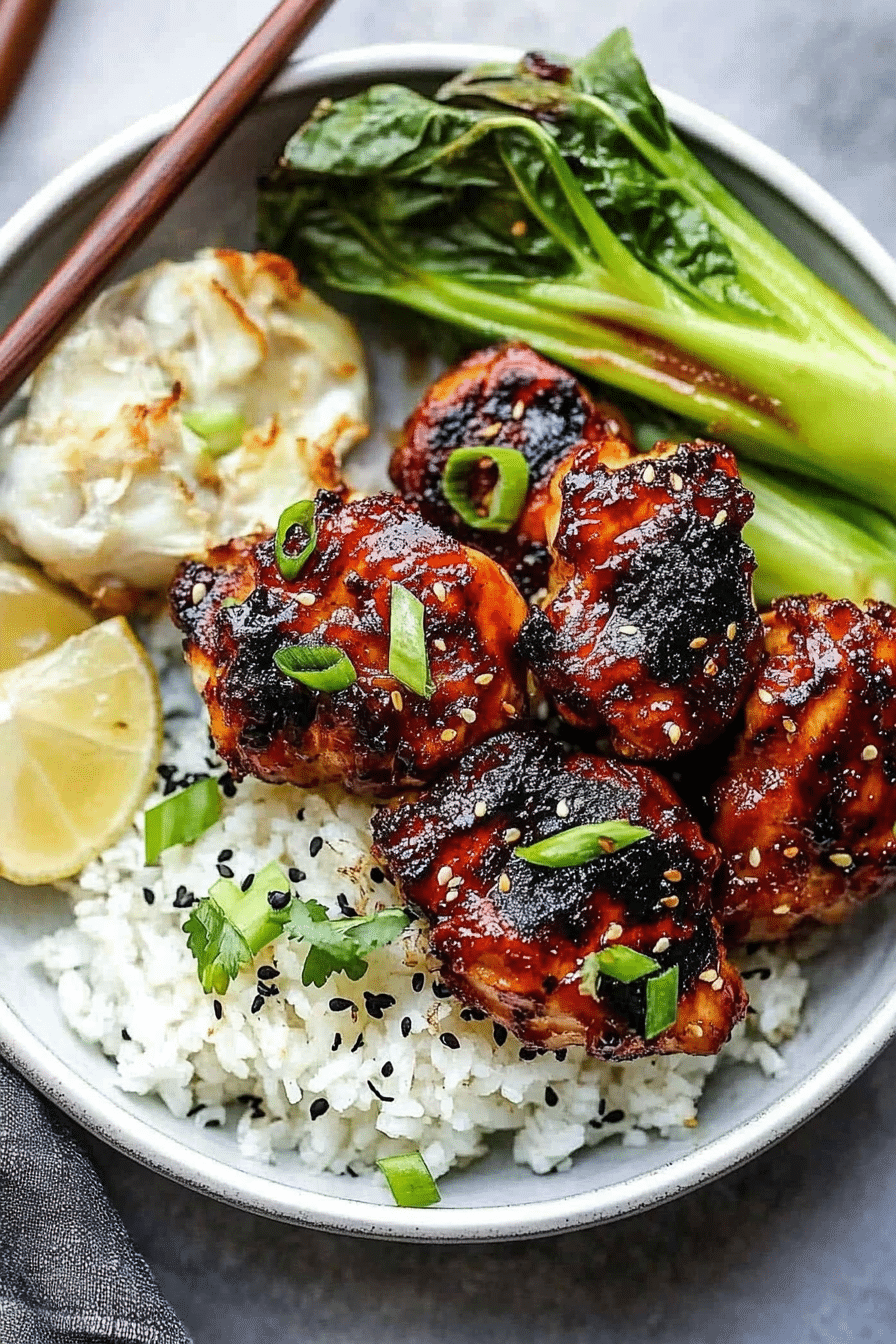
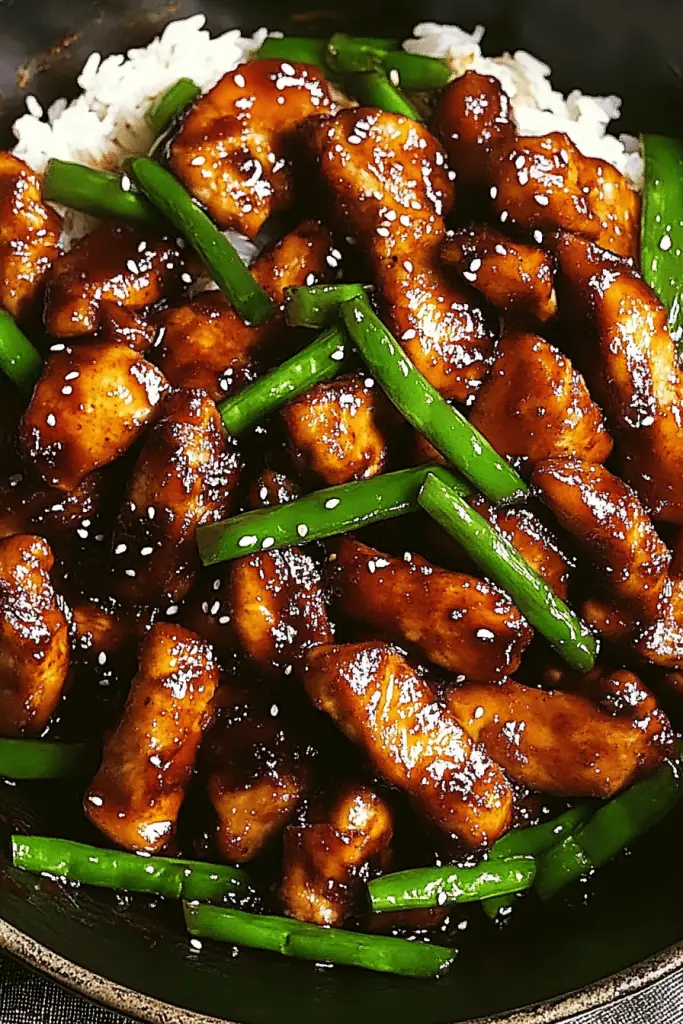
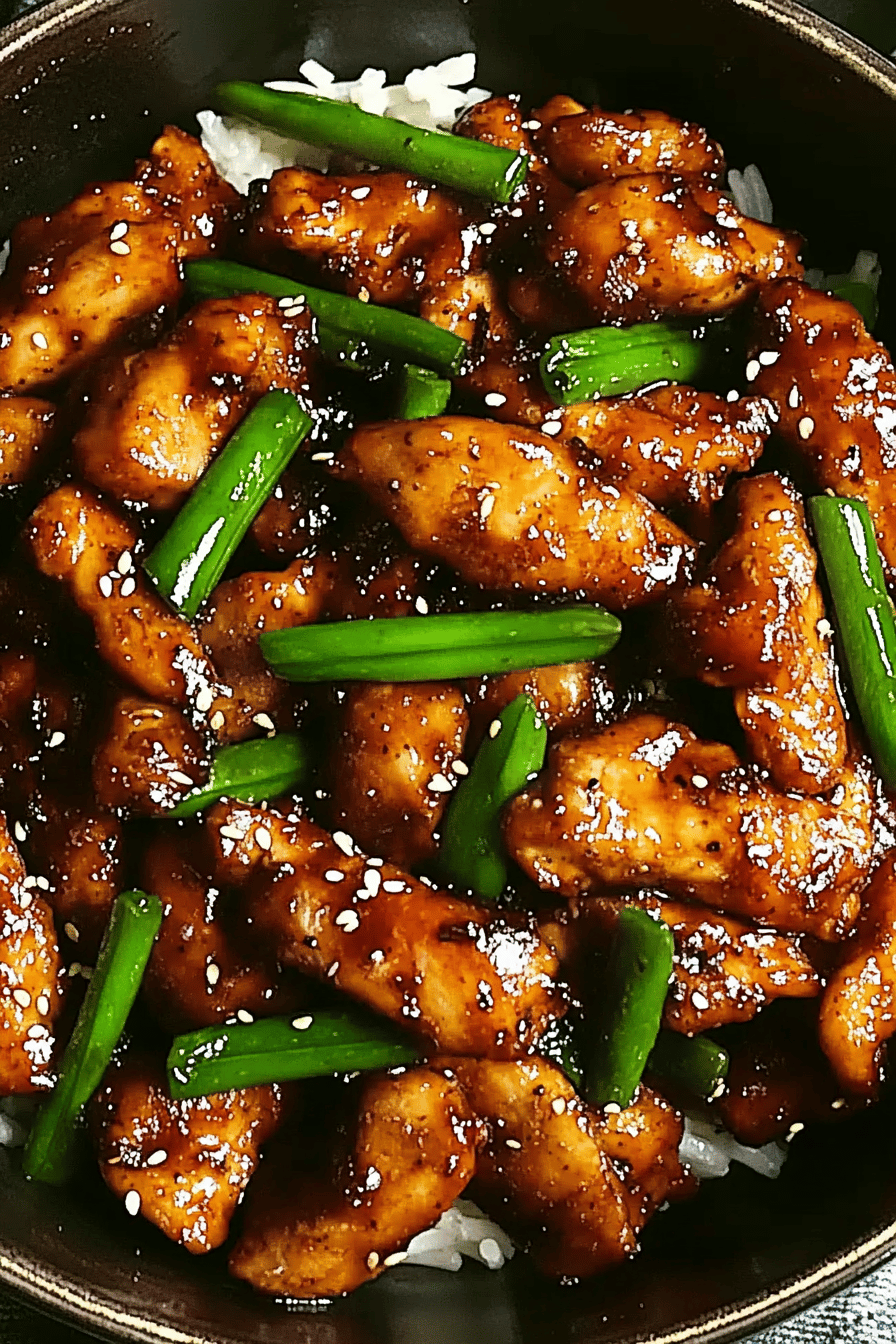
Once the chicken is beautifully coated in that glossy sauce, it’s ready to serve! I usually serve this piping hot, straight from the pan. It’s perfect spooned over fluffy steamed white rice or brown rice. You can also serve it with noodles, or even just with a side of steamed broccoli or asparagus. Garnish with some sliced green onions or sesame seeds if you like for an extra touch of color and flavor. The smell alone will have everyone gathering in the kitchen!
What to Serve It With
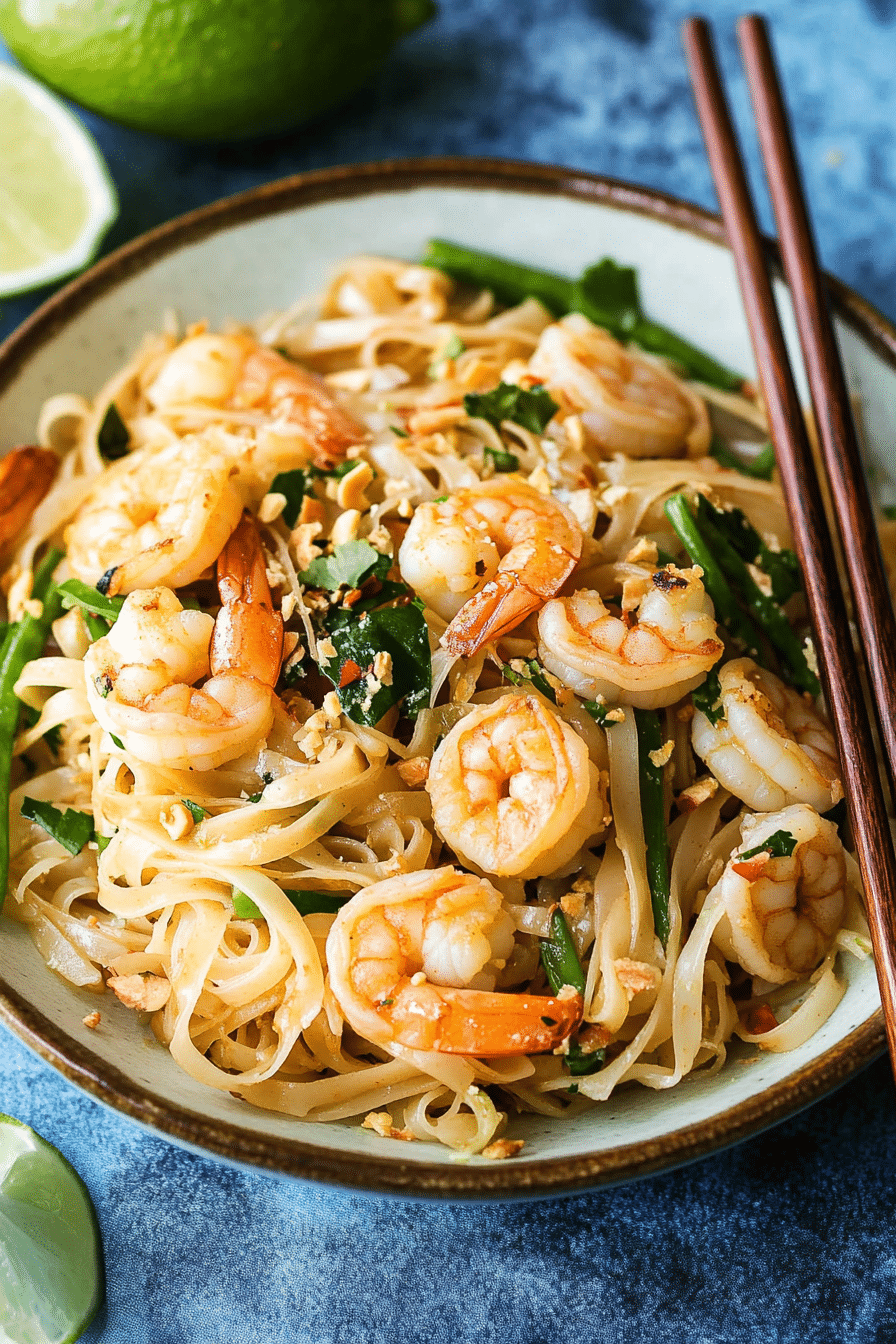
This Mongolian Chicken is so versatile, you can really serve it with just about anything! For a truly classic meal, a big bowl of fluffy steamed white or brown rice is absolutely essential. The rice soaks up all that incredible sauce beautifully. If you’re looking for something a bit different, stir-fried noodles, like lo mein or even just spaghetti, make a fantastic base. For a lighter meal, pair it with a side of steamed or stir-fried vegetables. My personal favorites include broccoli, snap peas, or bok choy. They add a lovely freshness and crunch that balances the richness of the chicken and sauce. Sometimes, if I’m feeling really adventurous, I’ll serve it alongside some crispy spring rolls or potstickers for an ultimate Asian feast. The key is to have something to complement the bold flavors of the Mongolian Chicken.
Top Tips for Perfecting Your Mongolian Chicken
Over the years, I’ve picked up a few tricks that I think make this Mongolian Chicken Recipe truly shine. Let’s start with the chicken itself: I *always* opt for boneless, skinless chicken thighs. They have a bit more fat than chicken breast, which means they stay incredibly moist and tender, even after a quick fry. If you do use chicken breast, just be extra careful not to overcook it; it can go from perfectly cooked to dry in a matter of minutes. When it comes to the batter, don’t go overboard. A light, even coating is what you’re after. Too much batter can lead to a greasy or gummy texture, and we definitely don’t want that! For the sauce, taste and adjust. Everyone’s preference for sweetness and saltiness is a little different. So, once you’ve got everything simmering and thickening, give it a quick taste. Need more sweetness? Add a pinch more brown sugar. A little more tang? A tiny splash more rice vinegar. The ginger and garlic are crucial for that authentic flavor; don’t skimp on them! Freshly minced garlic and grated ginger make a world of difference compared to the pre-minced stuff. When you’re frying the chicken, make sure your oil is hot enough before you add it. This ensures the chicken fries up quickly and gets nice and crispy, rather than absorbing too much oil and becoming soggy. Working in batches is also super important. If you overcrowd the pan, the oil temperature will drop, and you’ll end up steaming your chicken instead of frying it. Finally, for the glaze, the cornstarch slurry is your best friend. Mix it well before adding it to the sauce to avoid lumps. Add it gradually until you reach your desired consistency – you want it thick enough to coat the chicken beautifully, but not so thick that it’s gloppy. A nice, glossy sheen is what you’re aiming for!
Storing and Reheating Tips
I find that Mongolian Chicken is actually pretty good at holding up for leftovers, which is a huge win in my book! If you have any that miraculously makes it to the next day, the best way to store it is in an airtight container in the refrigerator. It should stay good for about 3-4 days. When you’re ready to reheat it, I usually opt for the stovetop. Gently reheat it in a skillet over medium-low heat, adding a tablespoon or two of water or chicken broth if it seems a bit dry. This helps revive the sauce and prevent the chicken from drying out further. You can also reheat it in the microwave, but I find the stovetop method gives you a better texture. If you’re planning to freeze it, I’d recommend freezing the sauce and chicken separately, or at least ensuring the chicken isn’t drowning in sauce before freezing. Wrap it well in plastic wrap and then foil, and it should last in the freezer for up to 2 months. When you’re ready to use it, thaw it in the refrigerator overnight and then reheat as directed above. The key to keeping it tasting fresh is to reheat it gently and avoid overcooking it a second time. For the glaze, if you store it separately, you can add a little extra liquid when reheating to loosen it up.
Frequently Asked Questions
Final Thoughts

So there you have it – my absolute favorite way to make Mongolian Chicken at home! It’s a recipe that I truly believe anyone can master, and the reward is a dish that’s bursting with flavor, incredibly satisfying, and surprisingly easy to pull off. It’s the kind of meal that makes everyone happy, from the little ones to the grown-ups. If you’re a fan of takeout flavors but love the idea of making them yourself, this is your golden ticket. Don’t be afraid to experiment with the spice level or add in your favorite veggies. That’s the beauty of home cooking! I can’t wait to hear what you think of this Mongolian Chicken. Please leave a comment below and let me know how yours turned out, or share any amazing variations you come up with. Happy cooking!
Mongolian Chicken
Ingredients
For the Chicken:
- 0.75 pound boneless, skinless chicken thighs cut into 1-inch pieces
- 0.5 cup cornstarch
- 0.5 teaspoon salt
- 0.25 teaspoon black pepper
- 0.5 cup vegetable oil for frying
For the Sauce:
- 0.5 cup soy sauce
- 0.25 cup beef broth
- 0.25 cup brown sugar
- 2 tablespoon sesame oil
- 1 tablespoon rice vinegar
- 1 tablespoon cornstarch
- 2 cloves garlic minced
- 1 teaspoon fresh ginger grated
Garnishes (Optional):
- 0.25 cup green onions sliced
- sesame seeds toasted
Instructions
Preparation Steps
- In a bowl, combine chicken pieces with salt and pepper. Add cornstarch and toss to coat evenly.
- In a separate bowl, whisk together soy sauce, beef broth, brown sugar, sesame oil, rice vinegar, and cornstarch. Set aside.
- Heat vegetable oil in a large skillet or wok over medium-high heat. Fry chicken in batches until golden brown and cooked through. Remove chicken and drain on paper towels.
- Pour off most of the oil from the skillet, leaving about 1 tablespoon. Add minced garlic and grated ginger and stir-fry for about 30 seconds until fragrant.
- Whisk the sauce mixture again and pour it into the skillet. Cook, stirring, until the sauce thickens.
- Return the fried chicken to the skillet and toss to coat evenly with the sauce. Cook for another minute.
- Serve immediately, garnished with sliced green onions and toasted sesame seeds, if desired. It's delicious served over steamed rice.
Notes
Featured Comments
“Impressed! Clear steps and super easy results. Perfect for busy nights.”
“New favorite here — creamy. crowd-pleaser was spot on.”
“Super easy and turned out amazing! My family asked for seconds. Saving this one.”
“This sweet treat was absolutely loved — the zingy really stands out. Thanks!”
“Made it tonight and wow — family favorite! Will definitely make Mongolian Chicken again.”
“Packed with flavor and so simple. Exactly what I wanted from Mongolian Chicken.”