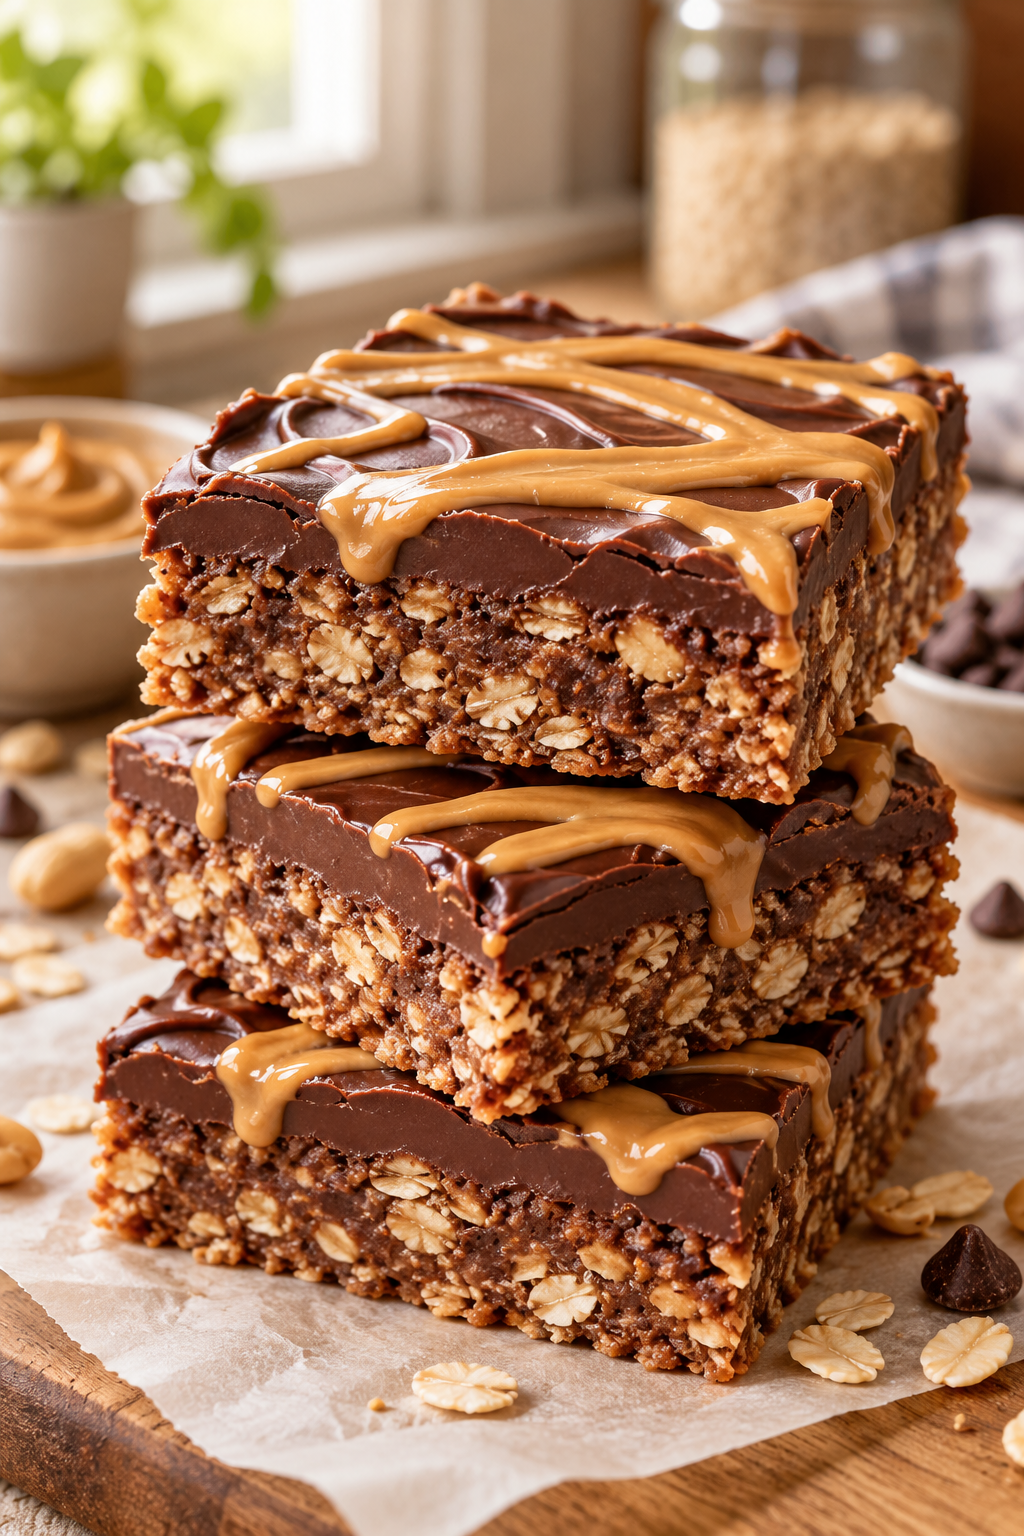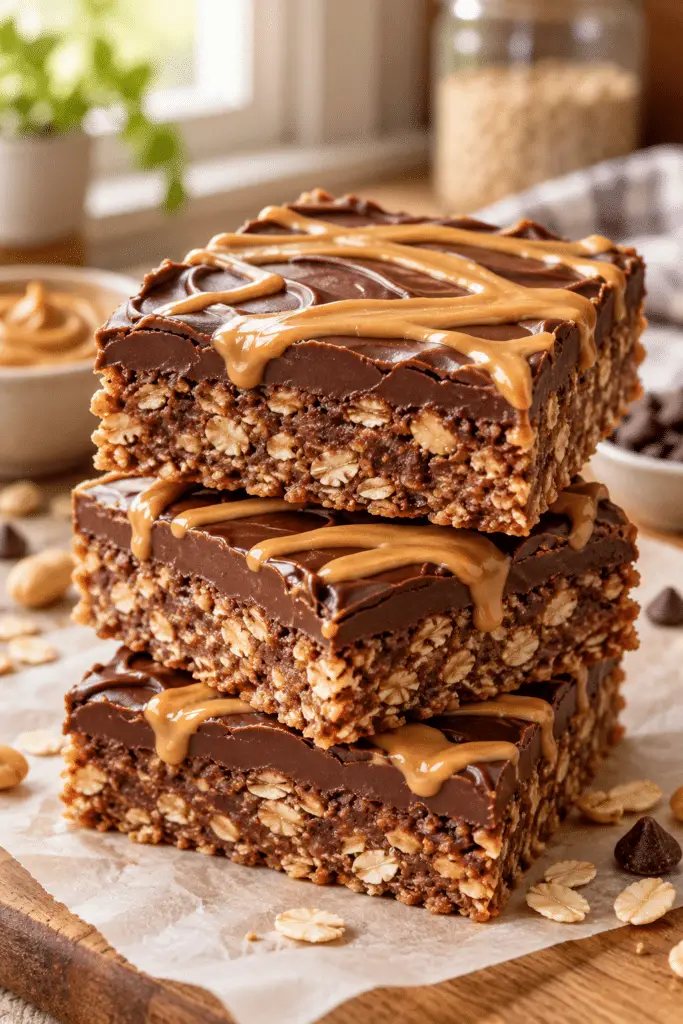
No bake peanut butter chocolate bars are a simple chilled treat with a chewy oat-and-cocoa base, a glossy chocolate topping, and a final peanut butter drizzle. They need no oven, no mixer, and no waiting for dough to rise. Warm the base ingredients briefly, press the mixture into a pan, add the topping, and let the refrigerator do the setting. The result is a firm, sliceable bar with balanced sweetness and plenty of peanut butter flavor.
What are no bake peanut butter chocolate bars?
These bars use rolled oats for texture and cocoa for a deep chocolate base. Honey binds the mixture while vanilla and salt keep the flavor rounded. A thin chocolate layer sets on top, and the peanut butter drizzle adds a soft contrast.
Why this method works
Gentle heat loosens the peanut butter and honey so they coat the oats evenly. Pressing the mixture firmly prevents crumbly bars. Chilling is essential because it sets both the base and topping without baking.
How to make the bars
Ingredients
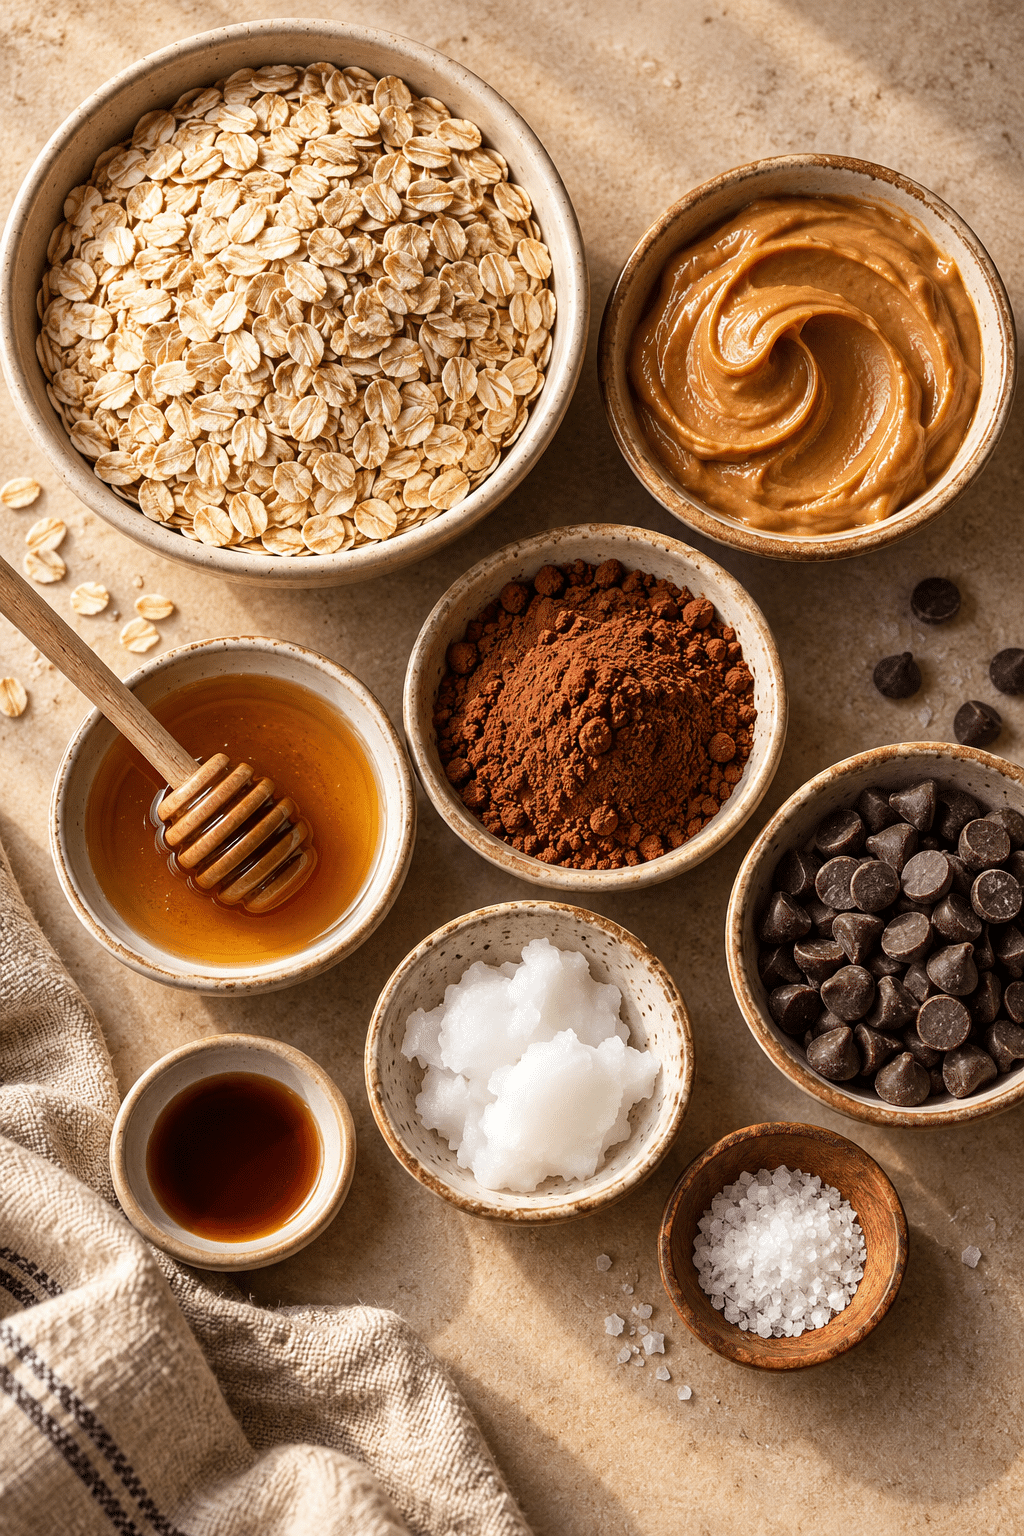
- 1 cup creamy peanut butter, divided
- 1/2 cup honey
- 1/2 cup unsweetened cocoa powder
- 2 cups old-fashioned rolled oats
- 1 teaspoon vanilla extract
- 1/4 teaspoon salt
- 1 cup semisweet chocolate chips
- 1 tablespoon coconut oil
Method
- Line an 8-inch square pan with parchment paper, leaving overhang for lifting.
- Warm 3/4 cup peanut butter and honey in a saucepan over low heat until smooth; do not boil.
- Remove from heat and stir in cocoa powder, vanilla, and salt.
- Fold in the oats until evenly coated.
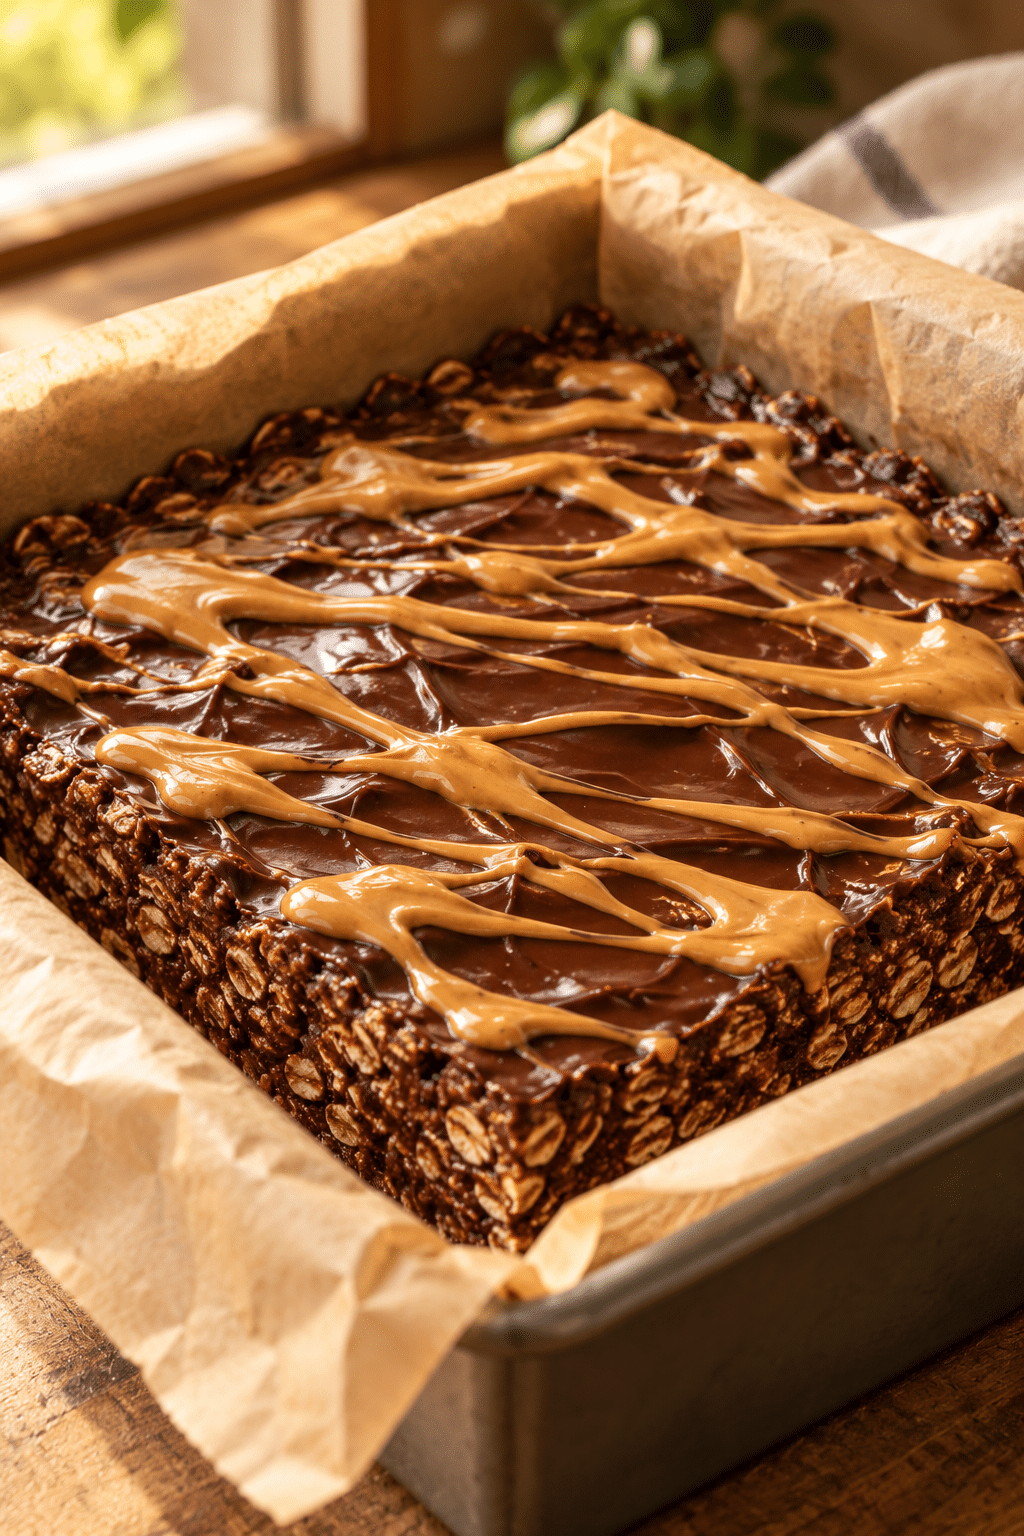
- Press the mixture firmly into the lined pan and smooth the top.
- Melt the chocolate chips with the coconut oil until glossy, then spread over the base.
- Warm the remaining peanut butter briefly and drizzle it over the chocolate.
- Chill for at least 2 hours, then lift out and cut into 16 bars.
Serving ideas
Cut the chilled slab into small squares for a lunchbox, afternoon snack, or simple dessert tray. A cup of coffee or cold milk balances the cocoa, while fresh berries add brightness. For a party, cut smaller pieces and keep them cold until serving.
The bars are especially useful when a dessert needs to travel. Keep them in a flat container with parchment between layers, and take out only what you plan to serve. The chocolate surface stays neat when the pieces remain cool. For a more polished plate, add a few roasted peanuts and a dusting of cocoa beside each bar rather than adding extra sweetness.
Because the base is made with oats and peanut butter, a small square is satisfying. Serve one after school, pack one with a picnic, or place several on a brunch board with fruit and yogurt. The chewy texture pairs well with crisp apples and pears, and the chocolate topping makes the bars feel dessert-like without requiring frosting.
Tips and optional variation
Recipe-specific tip: Press the oat mixture firmly into the corners and center of the pan; loose packing is the main cause of crumbly bars. Let the chocolate cool slightly before spreading so it does not soften the base.
Optional variation: Stir a small handful of finely chopped roasted peanuts into the oat mixture for extra crunch. This changes texture without changing the primary method.
Storage
Store the bars in an airtight container in the refrigerator for up to one week. Separate layers with parchment. They can be frozen for up to two months; thaw them in the refrigerator so the chocolate topping remains firm.
Allow the bars to sit for five minutes before serving if they are very cold. This short rest softens the base slightly while keeping the topping set. If the kitchen is warm, return the container to the refrigerator between servings. Avoid leaving the full batch uncovered, because oats absorb humidity and the chocolate can lose its clean snap.
If the chocolate layer looks streaky, the topping was probably spread while too warm or the peanut butter drizzle was not warmed enough to flow. The flavor is unaffected. For even layers next time, spread the chocolate with a small offset spatula and drizzle the peanut butter in thin lines before making only two or three shallow passes with a toothpick.
Search answers
Do no-bake bars need refrigeration?
Yes. Chilling sets the honey-and-peanut-butter base and keeps the chocolate topping firm.
Why are my bars crumbly?
The oats may not have been evenly coated or the mixture was not pressed firmly enough. Compact the base while it is still warm.
Can I use quick oats?
Old-fashioned oats provide the intended chew. Quick oats will make a softer, finer-textured bar.
No-bake bar FAQs
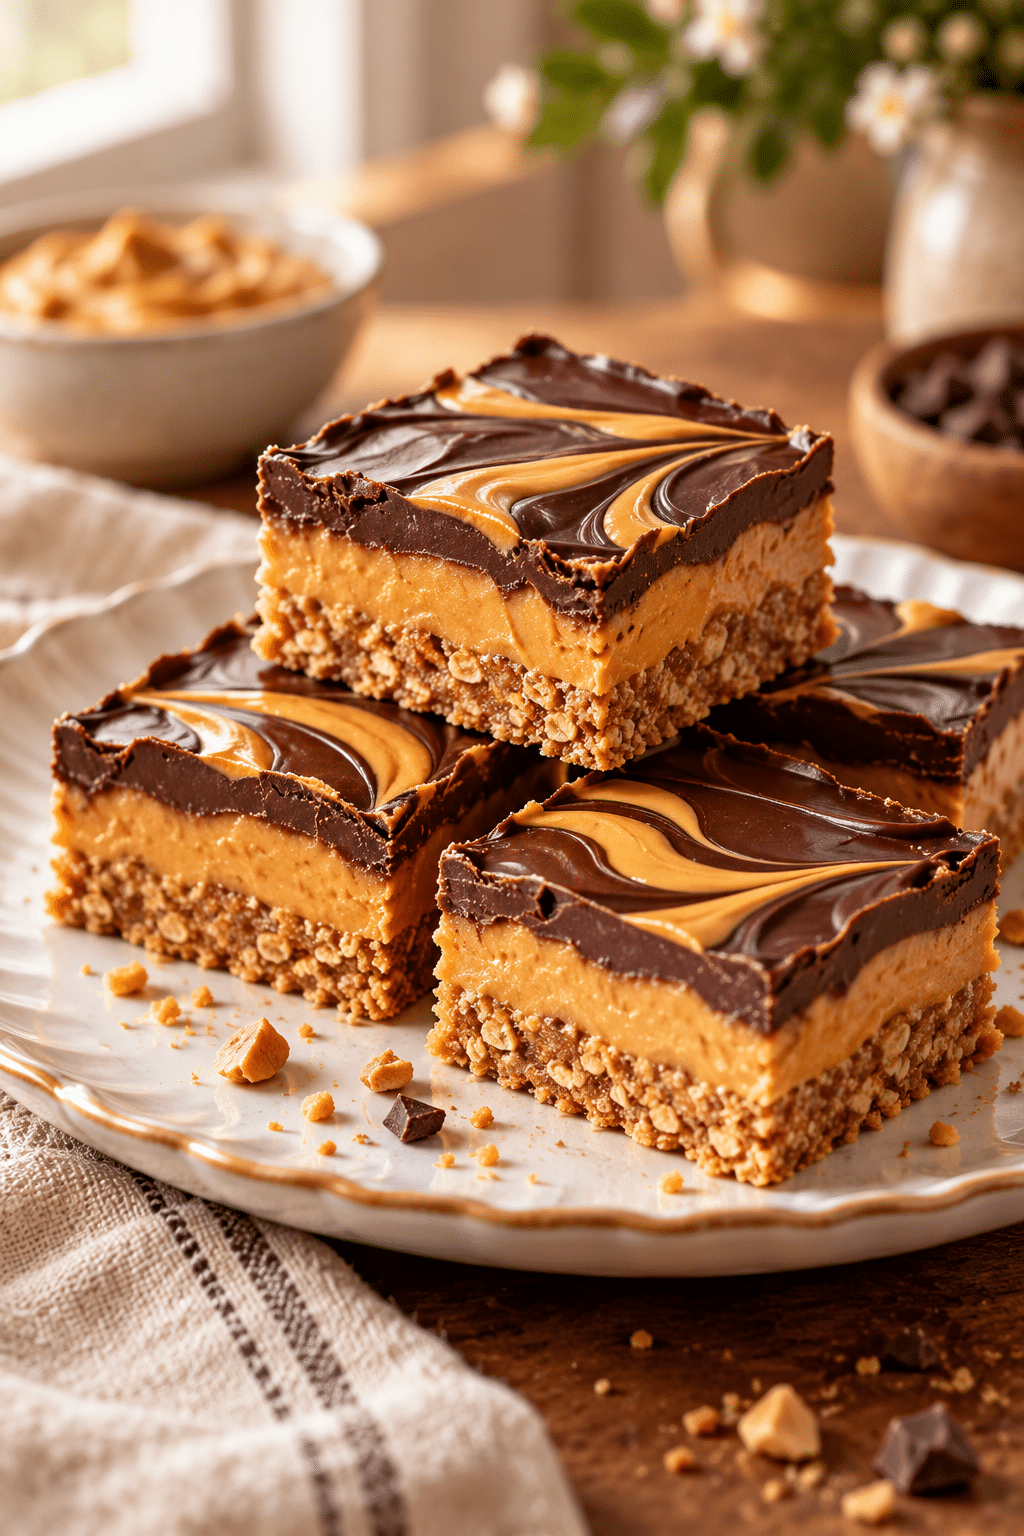
These no bake peanut butter chocolate bars are an efficient pantry dessert: a short stovetop step, one pan, and a reliable chill create a rich, chewy treat with a clean chocolate finish.
For the best texture, measure the oats rather than adding them by sight. A packed cup can make the base dry, while too few oats can leave it sticky. Use a level measure, fold gently, and scrape every bit of the warm mixture into the pan before pressing.

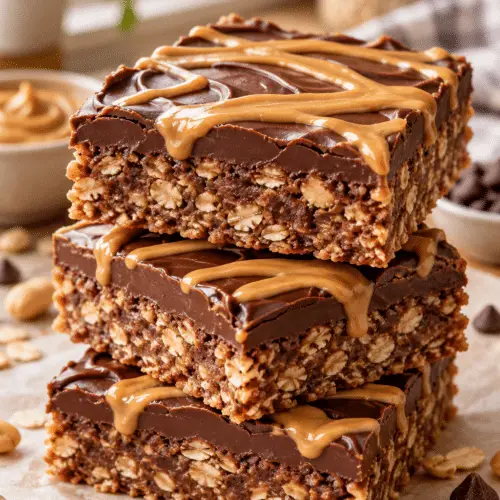
No-Bake Peanut Butter Chocolate Bars
Ingredients
Ingredients
- 1 cup creamy peanut butter divided
- 1/2 cup honey
- 1/2 cup unsweetened cocoa powder
- 2 cups old-fashioned rolled oats
- 1 teaspoon vanilla extract
- 1/4 teaspoon salt
- 1 cup semisweet chocolate chips
- 1 tablespoon coconut oil
Instructions
Instructions
- Line an 8-inch square pan with parchment paper, leaving overhang for lifting.
- Warm 3/4 cup peanut butter and honey in a saucepan over low heat until smooth; do not boil.
- Remove from heat and stir in cocoa powder, vanilla, and salt.
- Fold in the oats until evenly coated.
- Press the mixture firmly into the lined pan and smooth the top.
- Melt the chocolate chips with the coconut oil until glossy, then spread over the base.
- Warm the remaining peanut butter briefly and drizzle it over the chocolate.
- Chill for at least 2 hours, then lift out and cut into 16 bars.