

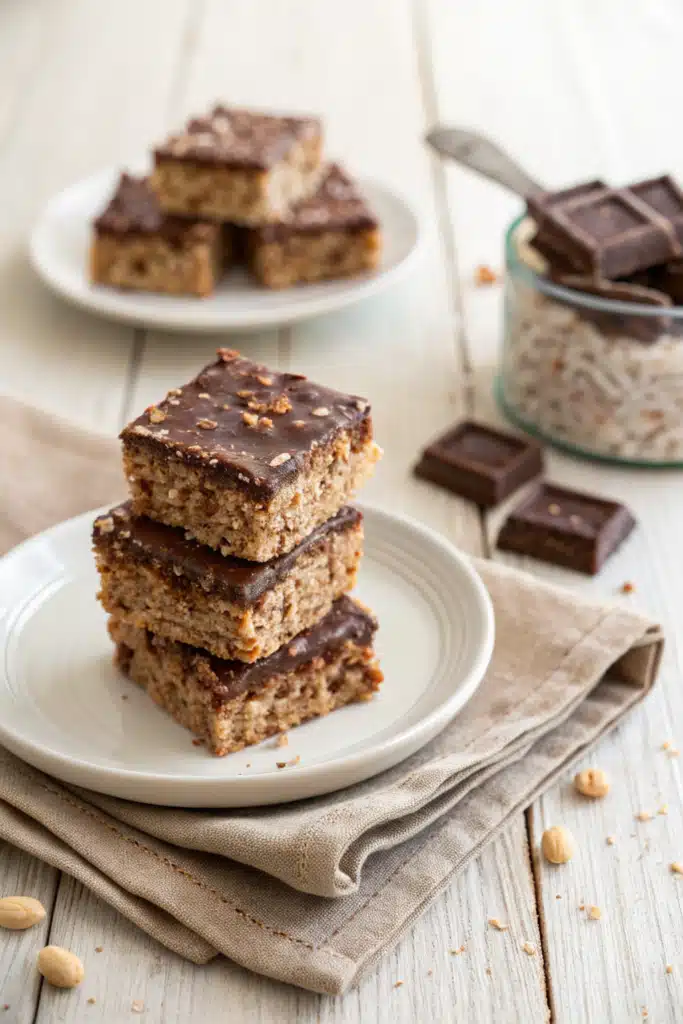
The Ultimate Gooey Nutella Rice Krispie Treats
Let’s be honest for a second. We all have that one specific dessert that instantly teleports us right back to our childhood kitchens. For me, it has always been those classic, sticky-sweet marshmallow cereal bars. But as we grow up, our palates crave something just a little bit more decadent, right? Enter the absolute game-changer: Nutella Rice Krispie Treats. I first whipped these up on a rainy Tuesday afternoon when my kids were begging for a snack and I was desperately craving chocolate. I peered into my pantry, saw a half-empty jar of that glorious chocolate hazelnut spread, and thought… why not?
The result was pure magic. Imagine the buttery, gooey chewiness of the original treat, but completely transformed by rich, velvety Nutella. It is the kind of dessert that makes you close your eyes and do a little happy dance in the middle of your kitchen. Whether you are making these for a school bake sale, a midnight snack, or just because you survived a long week, these treats are going to become your new obsession. Grab your biggest mixing bowl, and let’s get sticky!
What Are Nutella Rice Krispie Treats?
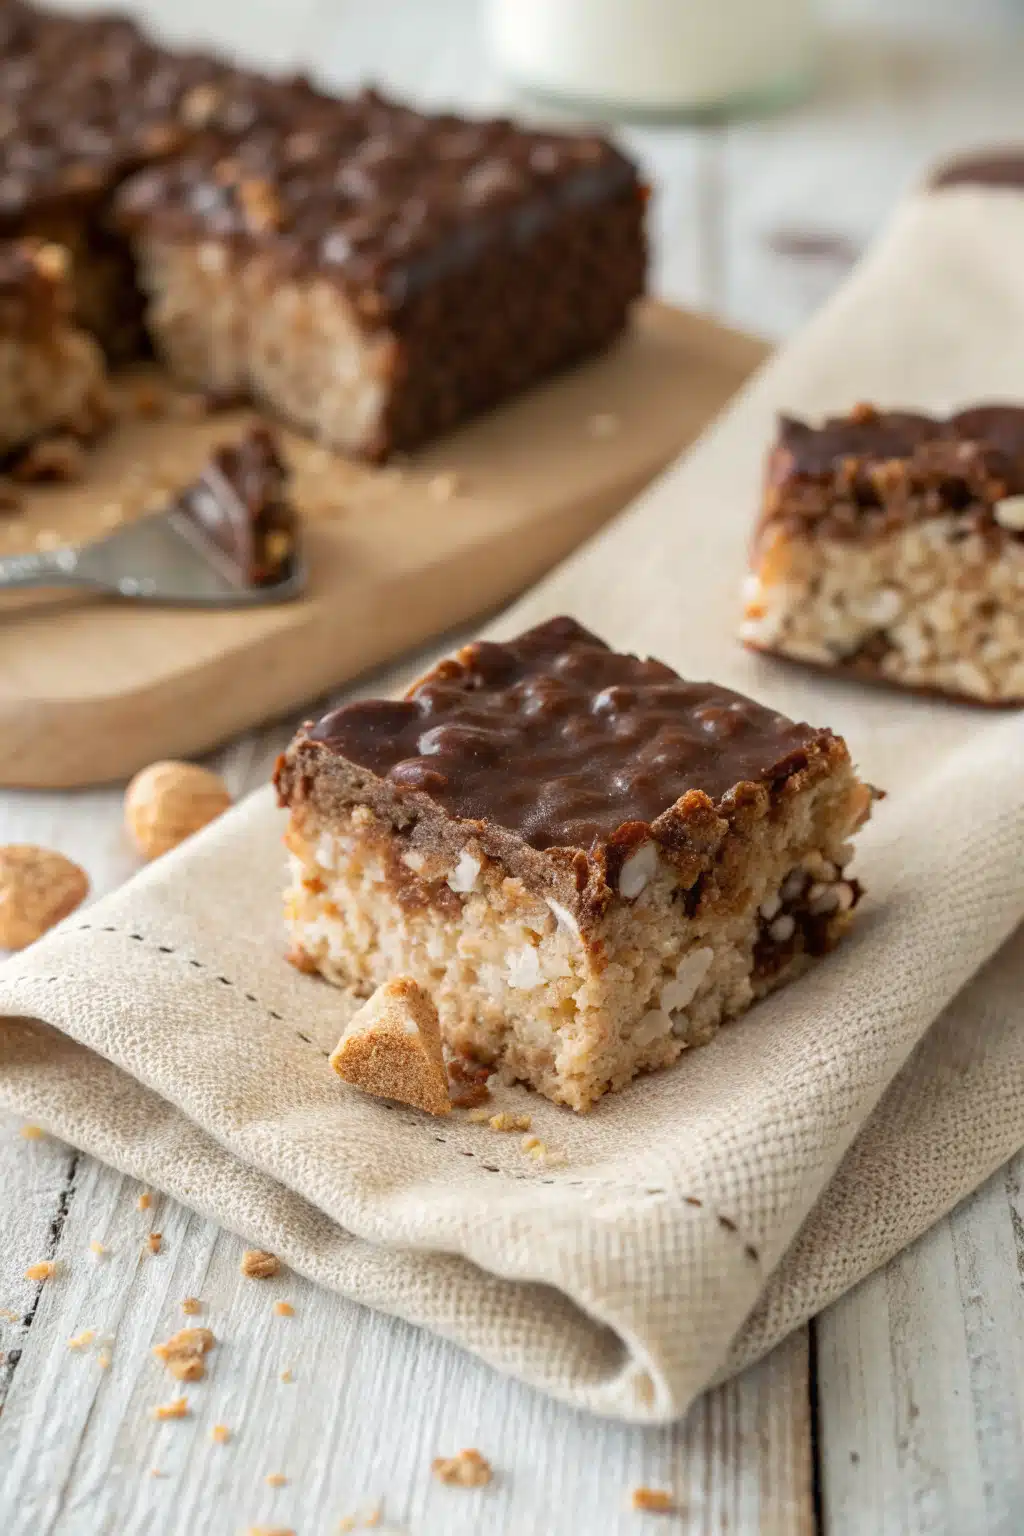
If you have somehow never experienced this specific brand of joy, let me paint a picture for you. Nutella Rice Krispie Treats are exactly what they sound like, but somehow so much more than the sum of their parts. At their core, they are a simple, no-bake dessert made by melting down butter and marshmallows, then tossing in crispy puffed rice cereal until everything is coated in a web of sticky sweetness. But here is the brilliant twist: right before you mix in the cereal, you fold in a generous, heaping scoop of Nutella.
The hazelnut spread melts effortlessly into the hot marshmallow mixture, turning the entire base into a rich, chocolatey, nutty dream. Unlike traditional treats that rely solely on vanilla and sugar for flavor, this variation brings a deep, roasted cocoa profile that perfectly balances the intense sweetness of the marshmallows. They are dense but airy, chewy but crispy, and absolutely bursting with that iconic hazelnut flavor. It is a modern, slightly elevated spin on the lunchbox classic we all grew up eating.
How to Make Nutella Rice Krispie Treats
Quick Overview
Making these gooey masterpieces is an absolute breeze, but moving quickly is the secret to success. You will start by gently melting your butter in a large pot over low heat. Once that is bubbling away, the marshmallows join the party until they are completely melted and smooth. This is where the magic happens: you will pull the pot off the heat and vigorously stir in your Nutella and a splash of vanilla extract. Once you have a beautiful, chocolatey marshmallow soup, you fold in the crispy rice cereal until every single piece is coated. Finally, you will gently press the mixture into a prepared baking dish and practice extreme patience while they cool and set. That is it!
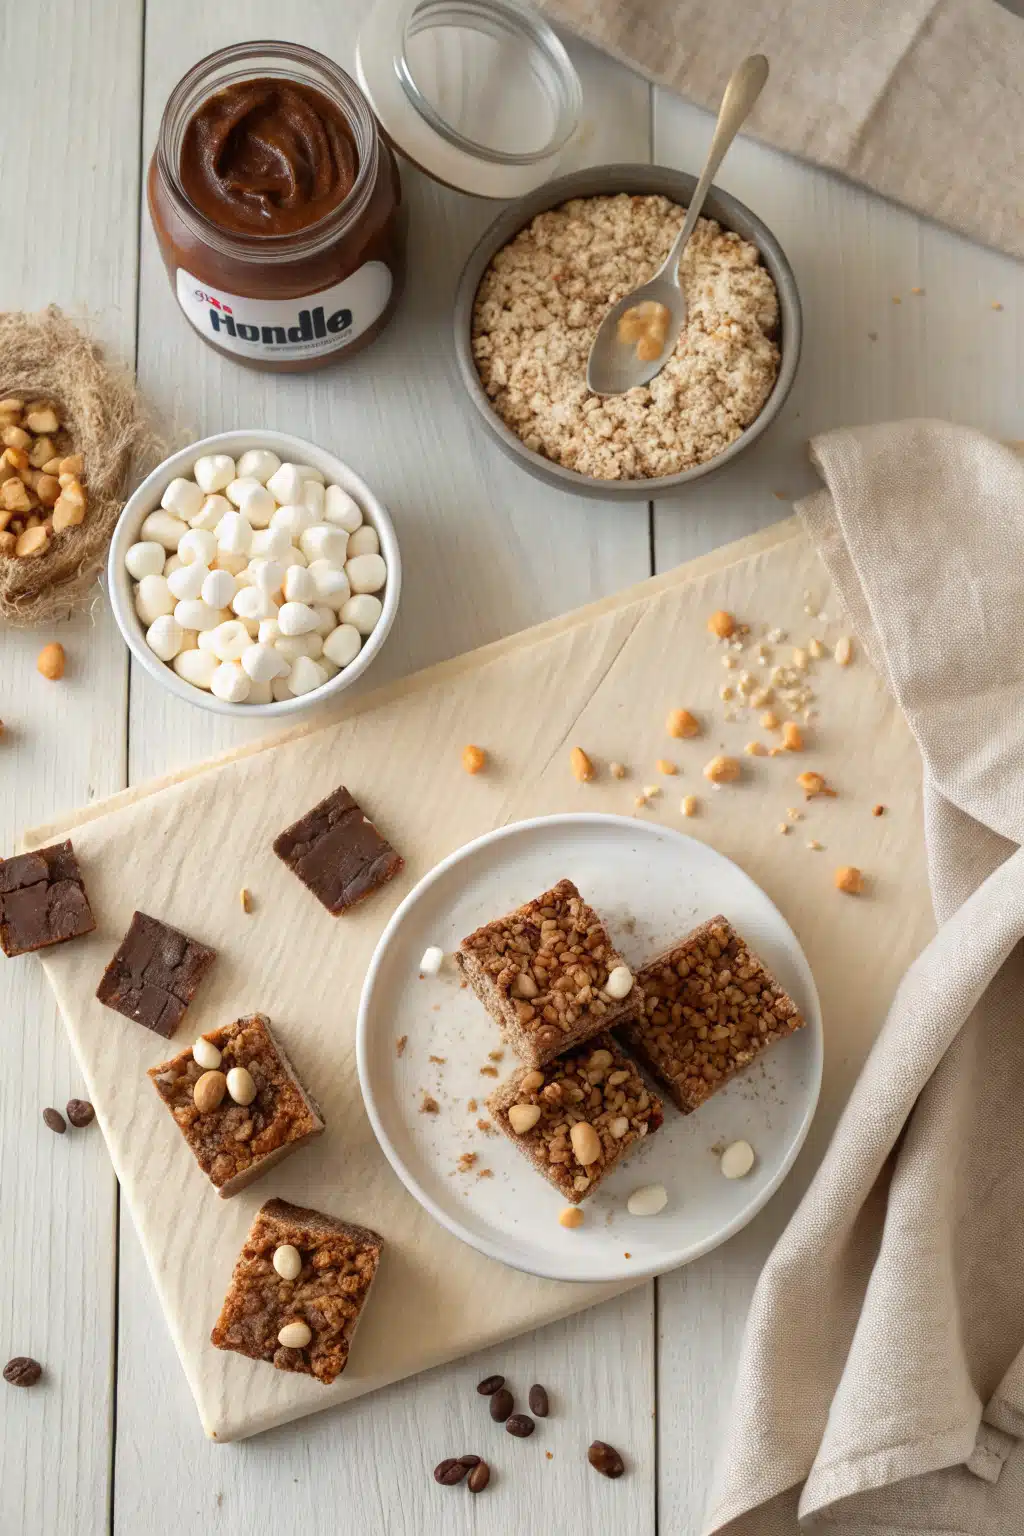
Ingredients
Here is what you need to gather from your pantry to make this magic happen:
- Unsalted Butter: Half a cup (one stick) is perfect. Unsalted lets us control the overall sodium.
- Mini Marshmallows: You will need one 16-ounce bag. Freshness matters here—don’t use that stale bag from last Thanksgiving!
- Nutella: The star of the show. Grab about 3/4 cup of your favorite chocolate hazelnut spread.
- Vanilla Extract: Just a teaspoon to enhance all those sweet bakery flavors.
- Salt: A generous pinch to cut through the sweetness and balance the chocolate.
- Crispy Rice Cereal: 6 cups of the classic stuff. Generic brands work beautifully too.

Step-by-Step Instructions
Step 1: Preheat & Prep Pan
Start by lining a 9×9 inch square baking pan with parchment paper. Leave a little overhang on the sides so you can easily lift the treats out later. Give the parchment a very light mist of non-stick cooking spray to prevent any sticking.
Step 2: Melt the Butter
Place a large, heavy-bottomed pot or Dutch oven over low heat. Add your unsalted butter and let it melt completely. Do not rush this over high heat; we want gentle melting to prevent the butter from browning too fast or burning.
Step 3: Melt the Marshmallows
Pour in your fresh mini marshmallows. If you love extra gooey pockets, reserve about one cup to fold in later! Stir continuously with a silicone spatula until the marshmallows in the pot are completely melted and smooth.
Step 4: Swirl in the Nutella
Remove the pot from the heat immediately. Stir in the Nutella, vanilla extract, and that crucial pinch of salt. Keep stirring until the mixture is a uniform, glossy chocolate color.
Step 5: Fold in the Cereal
Pour in the crispy rice cereal (and those reserved mini marshmallows if you saved them). Gently fold everything together. You want to lift and fold from the bottom so you don’t crush the cereal, making sure every single piece is coated in chocolatey goodness.
Step 6: Press and Cool
Transfer the sticky mixture into your prepared baking pan. Using a lightly greased spatula, or your fingers rubbed with a little butter, very gently press the mixture into an even layer. Do not pack it down tightly! Let them cool at room temperature for about an hour before slicing.
What to Serve It With
Honestly, these treats are incredibly rich and satisfying entirely on their own. But if you want to elevate the experience, I highly recommend pairing them with an ice-cold glass of whole milk. The cold milk cuts right through the sweet, chocolatey hazelnut flavor in the most refreshing way possible. If you are serving these to adults, a hot cup of black coffee or an unsweetened iced latte makes for a phenomenal flavor contrast. For a truly over-the-top dessert presentation, place a warm square of this treat in a bowl and top it with a generous scoop of classic vanilla bean ice cream. The way the ice cream slowly melts into the chewy crevices of the cereal bar is an experience you won’t soon forget!
Top Tips for Perfecting Your Nutella Rice Krispie Treats
Over the years, I have made more batches of these than I can count. Here are my absolute best secrets for getting them right every single time:
- Use Fresh Marshmallows: I cannot stress this enough. Old, stale marshmallows lose their moisture and will result in hard, tough treats. Buy a fresh bag specifically for this recipe!
- Low and Slow Heat: When melting your butter and marshmallows, keep the heat on low. High heat crystallizes the sugar in the marshmallows, which makes the final product rock hard instead of soft and chewy.
- Do Not Pack Them Tight: When pressing the mixture into your pan, use the lightest touch possible. If you compact the cereal too firmly, your treats will be dense and difficult to bite into.
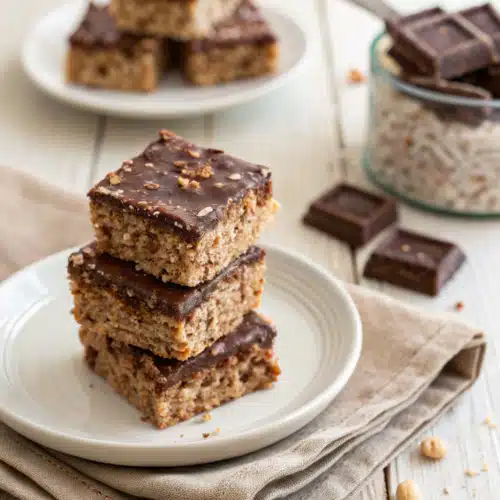
- The Extra Drizzle: For a bakery-style finish, warm up a couple of extra tablespoons of Nutella in the microwave for fifteen seconds, then drizzle it over the top of the cooled treats before slicing. Add a sprinkle of flaky sea salt if you are feeling fancy.
Storing and Reheating Tips
If you somehow have leftovers (which is a rare occurrence in my house!), storing them properly is key to keeping that gooey texture. Place the cut squares in an airtight container and keep them at room temperature. You can layer them with parchment paper so they don’t stick together. They will stay fresh and soft for up to three days on the counter. Whatever you do, do not put them in the refrigerator! The cold temperature will harden the butter and melted marshmallows, turning them into bricks. If you want to recreate that “just made” warm and gooey experience a day or two later, simply pop a square into the microwave for about 5 to 8 seconds. It softens right up and tastes like it just came out of the pot.
Frequently Asked Questions
Final Thoughts
There you have it, my absolute favorite twist on a timeless childhood classic! Making these Nutella Rice Krispie Treats is such a joyful, nostalgic experience, and eating them is even better. Whether you whip these up for a school bake sale, a holiday dessert table, or just a cozy movie night on the couch, I know they are going to bring a massive smile to your face. They are the perfect blend of chewy, crispy, and chocolatey goodness. I really hope you give this recipe a try and love it as much as my family does. Don’t forget to pour a tall glass of milk to enjoy with them. Happy no-baking, friends, and enjoy every single gooey bite!
Nutella Rice Krispie Treats
Ingredients
Main Ingredients
- 4 tablespoons salted butter
- 10 oz marshmallows about 6 cups mini
- 1 cup Nutella chocolate hazelnut spread
- 6 cups Rice Krispies cereal
Instructions
Preparation Steps
- Grease a 9x13-inch baking pan with cooking spray or butter, or line with parchment paper.
- In a large pot over medium-low heat, melt the butter.
- Add the marshmallows to the melted butter and stir continuously until completely melted and smooth.
- Remove the pot from the heat and stir in the Nutella until fully combined and smooth.
- Add the Rice Krispies cereal to the pot and gently fold until the cereal is completely coated with the marshmallow-Nutella mixture.
- Transfer the mixture to the prepared baking pan and gently press it into an even layer.
- Let the treats cool at room temperature for at least 30 minutes before cutting into squares.
Notes
Featured Comments
“These are seriously irresistible! The Nutella flavor takes them to the next level—so rich and nostalgic.”
“Impressed! Clear steps and restaurant-level results. Perfect for busy nights.”
“New favorite here — absolutely loved. crowd-pleaser was spot on.”
“Super easy and turned out amazing! My family asked for seconds. Saving this one.”
“This sweet treat was absolutely loved — the silky really stands out. Thanks!”
“Made it tonight and wow — family favorite! Will definitely make Nutella Rice Krispie Treats again.”


These are seriously irresistible! The Nutella flavor takes them to the next level—so rich and nostalgic.