

The Best Red White and Blue Cupcakes for Your Patriotic Party
Summer is hands down my favorite time of year for baking, and nothing screams summer quite like a backyard Fourth of July barbecue. Between the smoky scent of burgers on the grill and the kids running through the sprinkler, there is a magical feeling in the air. But let’s be honest with each other, the real star of any summer get-together is the dessert table. That is exactly why I have been perfecting these Red White and Blue Cupcakes over the last few years. I wanted something that was as fun and festive as a fireworks display but didn’t require me to spend hours sweating in a hot kitchen while everyone else was outside enjoying the sunshine. These little beauties are a total showstopper. They are incredibly moist, perfectly sweet, and that gorgeous swirl of patriotic colors gets oohs and aahs every single time I bring them out on a platter. Whether you are celebrating Memorial Day, the Fourth of July, or Labor Day, these cupcakes are going to become your new go-to treat. Grab a cup of coffee (or a glass of iced tea!) and let me walk you through how easy it is to whip up a batch.
What Are Red White and Blue Cupcakes?
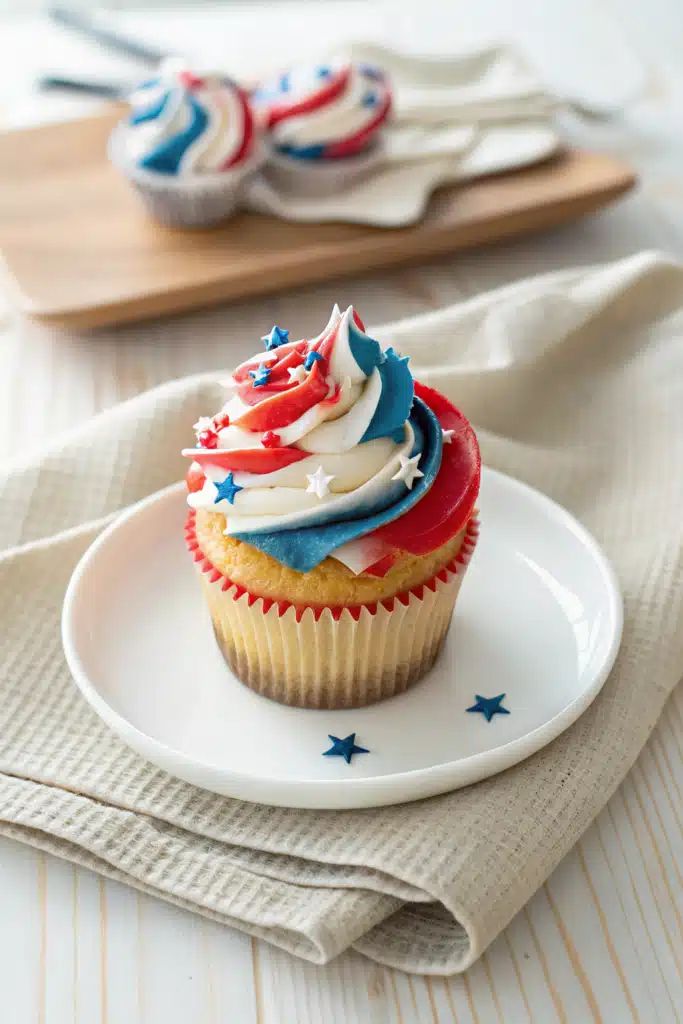
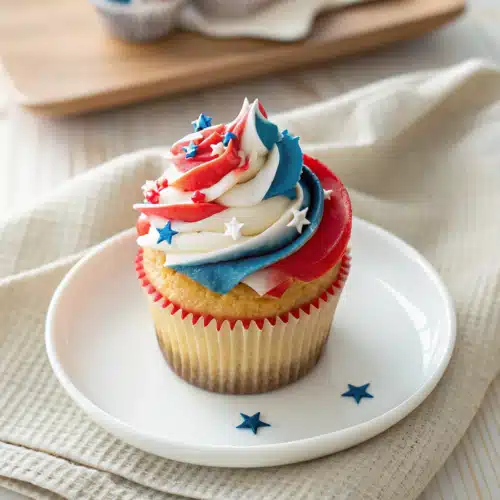
If you have never tried making them before, Red White and Blue Cupcakes are basically a classic, super tender vanilla cake that has been magically transformed into a patriotic masterpiece. Instead of just baking a plain white cupcake and slapping some colored frosting on top, we actually divide the cake batter into three separate bowls. We tint one batch a vibrant cherry red, one a deep royal blue, and leave the third a beautiful snowy white.
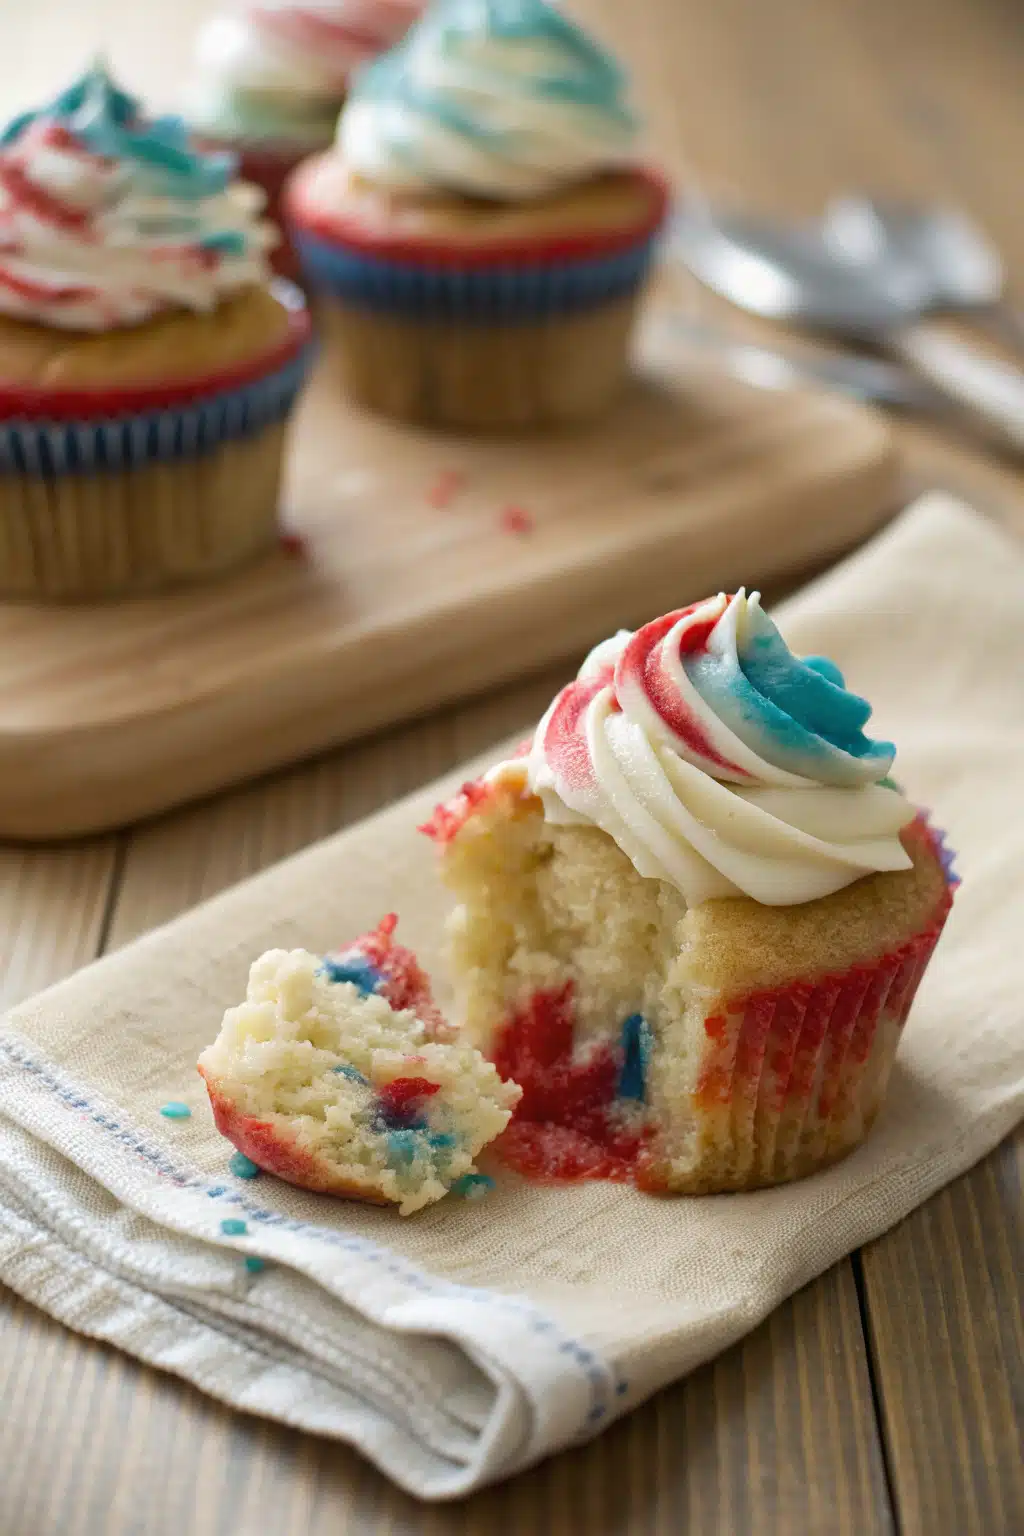
By carefully dropping these batters into your muffin tin, you create a stunning tie-dye or marbled effect right inside the cake itself. When you take that first bite, the inside is just as festive as the outside! The frosting is usually a rich, buttery vanilla buttercream, which can also be swirled with the same three colors using a simple piping bag trick. They are the ultimate festive dessert for American holidays. They look like they came straight from a high-end bakery, but they use simple, everyday pantry staples that you probably already have sitting in your kitchen right now.
How to Make Red White and Blue Cupcakes
Quick Overview
Making these cupcakes is way easier than it looks, I promise! We will start by mixing up a simple, foolproof vanilla cake batter. Once the batter is smooth and ready, we divide it evenly into three separate bowls. We will leave one bowl as is, tint the second bowl red, and tint the third bowl blue. Then, the fun part begins! We just drop a small spoonful of each colored batter into our cupcake liners, layering them right on top of each other. They bake up into a beautiful, swirled masterpiece. While they cool, we will whip up a quick vanilla buttercream, pipe it on top, and add some festive sprinkles. You will be completely done in under an hour!
Ingredients
Here is what you will need to grab from your pantry and fridge:
- All-purpose flour: The sturdy base of our cupcakes.
- Granulated sugar: For the perfect amount of sweetness.
- Baking powder and baking soda: To give our cupcakes that beautiful, fluffy lift.
- Unsalted butter: Softened to room temperature for a tender crumb.
- Vegetable oil: My secret weapon for keeping the cake moist for days.
- Large eggs: Make sure they are at room temperature so they mix in smoothly!
- Vanilla extract: Use a good quality pure vanilla since it is the star flavor here.
- Buttermilk: Adds a slight tang and makes the cake incredibly tender.
- Gel food coloring: You absolutely want gel coloring (not liquid) in red and blue to get those bright, vibrant shades without watering down the batter.
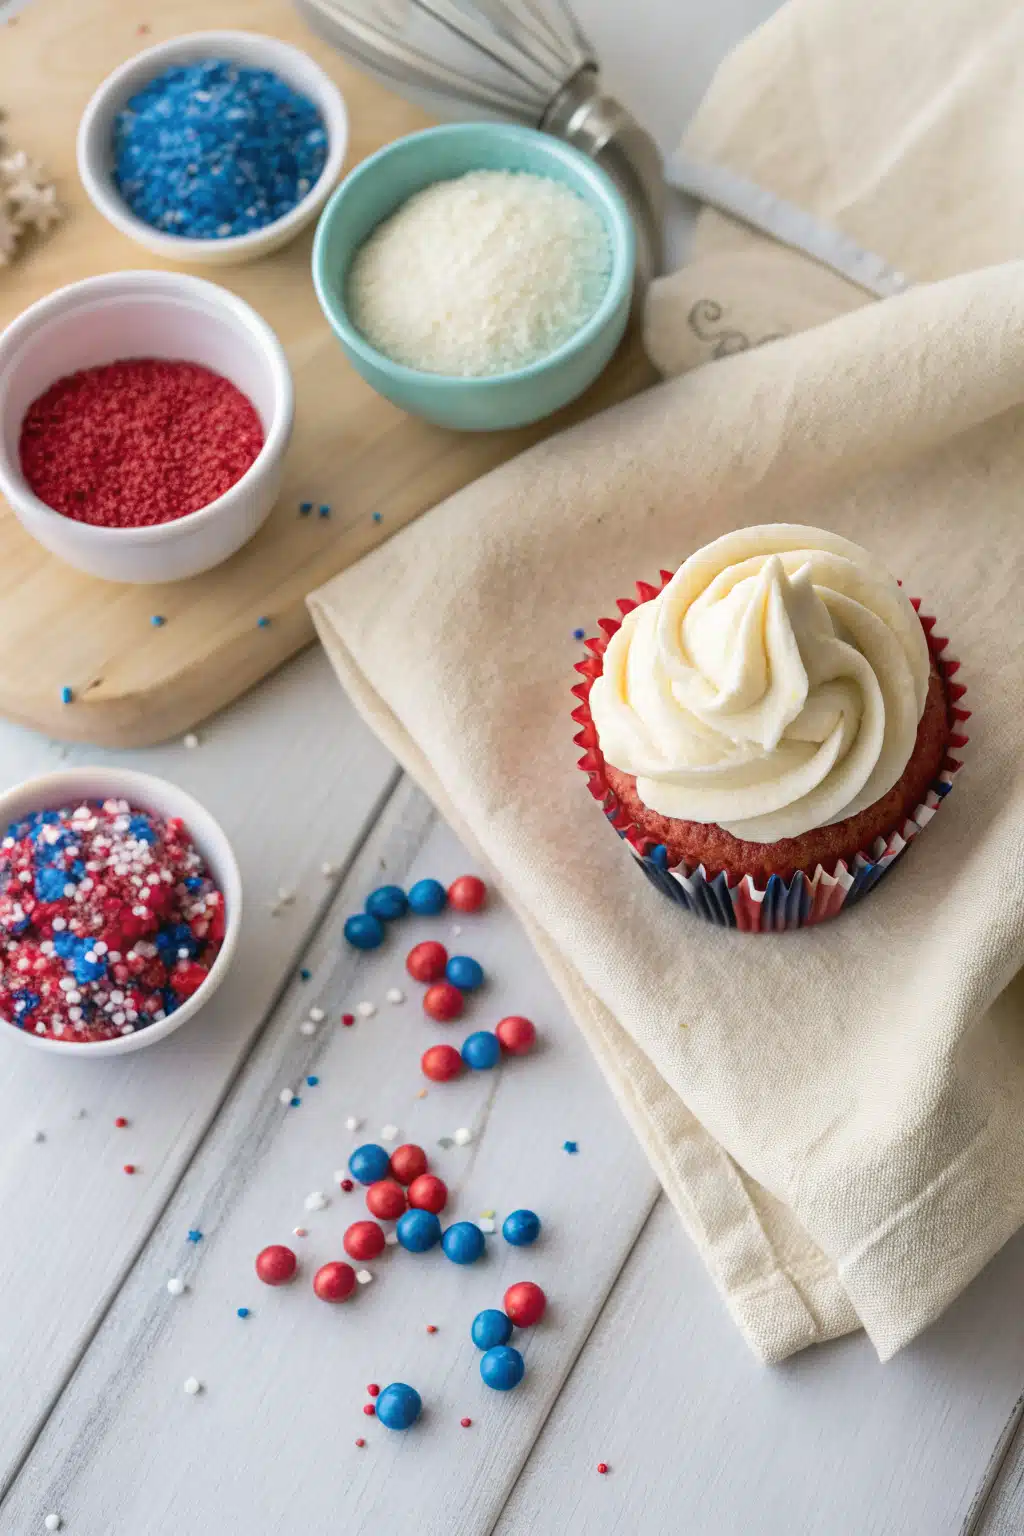
- For the frosting: Powdered sugar, more butter, a splash of heavy cream, and your favorite patriotic sprinkles.
Step-by-Step Instructions
Step 1: Preheat and Prep Pan – Start by preheating your oven to 350 degrees Fahrenheit. Line a standard 12-cup muffin tin with your favorite paper liners. I like to use plain white or foil liners so the colors of the cake really pop when you unwrap them.
Step 2: Mix the Dry Ingredients – In a medium bowl, whisk together your flour, baking powder, baking soda, and a pinch of salt. Set this aside for just a moment.
Step 3: Cream Butter and Sugar – In a large mixing bowl, beat the softened butter, oil, and granulated sugar together until it is pale, light, and fluffy. This usually takes about two minutes on medium speed. Beat in the eggs one at a time, followed by the vanilla extract.
Step 4: Combine Wet and Dry – Alternate adding your dry ingredients and the buttermilk to the butter mixture. Start and end with the dry ingredients. Mix just until combined. Be careful not to overmix, or your cupcakes will turn out dense!
Step 5: Color the Batter – Divide the batter evenly into three bowls. Add a few drops of red gel food coloring to one bowl and stir until you reach your desired shade. Do the same with the blue food coloring in the second bowl. Leave the third bowl plain white.
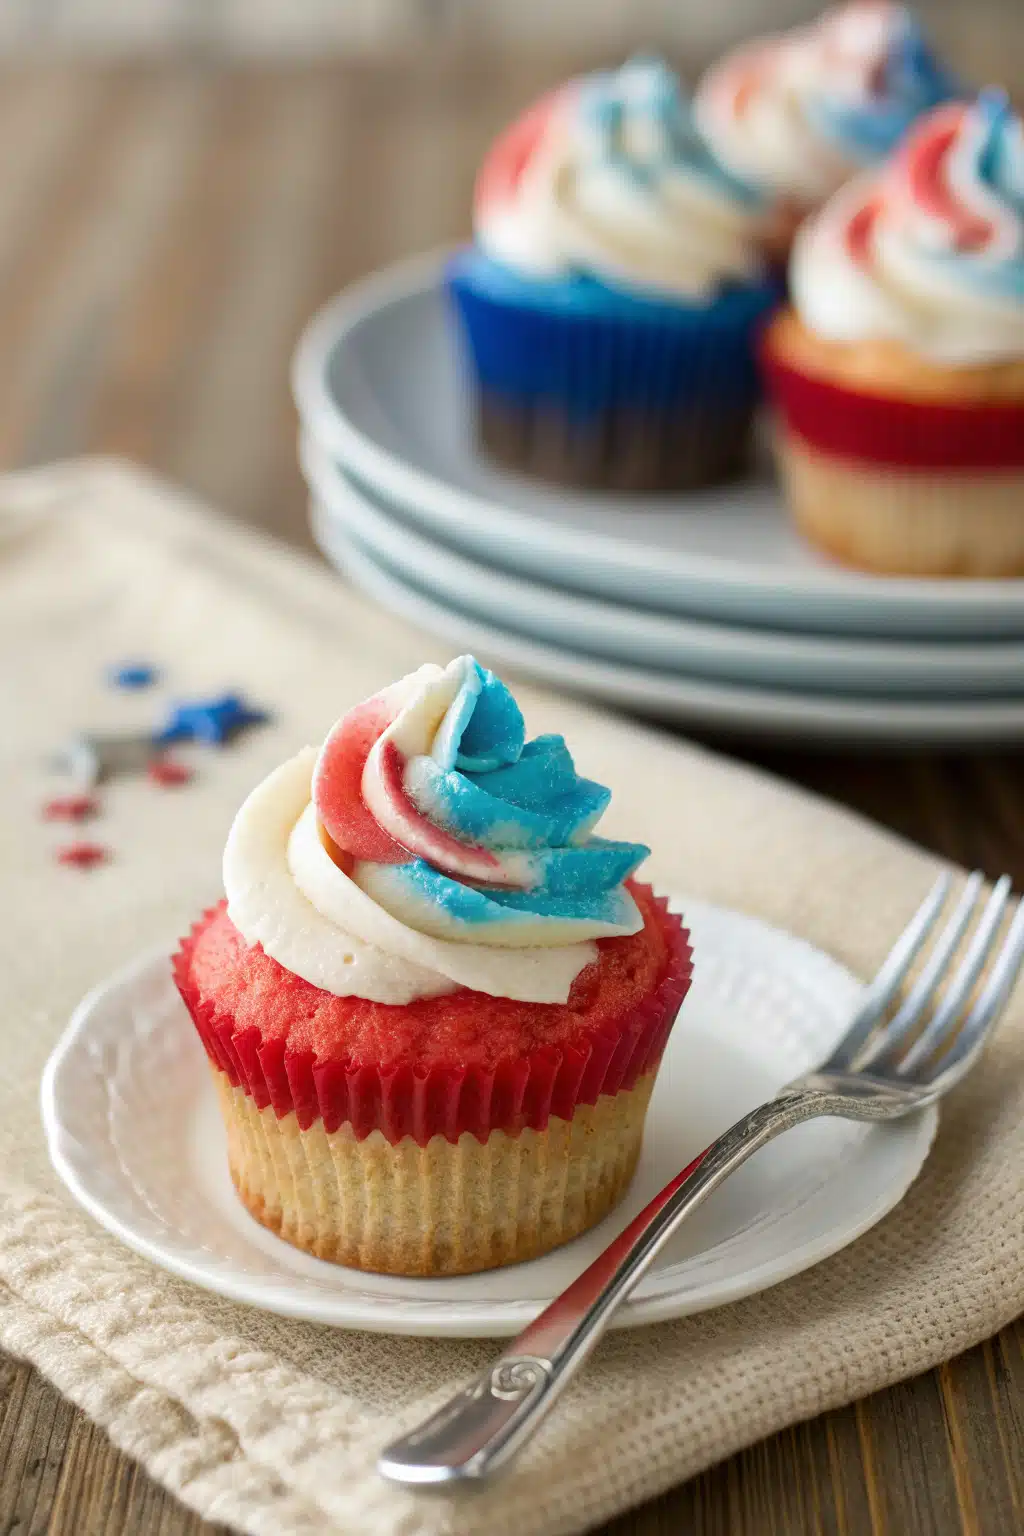
Step 6: Layer and Bake – Drop a spoonful of red batter into each cupcake liner, followed by a spoonful of white, and top with a spoonful of blue. They should be about two-thirds full. Bake for 15 to 18 minutes, or until a toothpick inserted in the center comes out clean. Let them cool completely before frosting.
What to Serve It With
These Red White and Blue Cupcakes are the life of the party all on their own, but they pair beautifully with classic summer cookout fare. I love serving them right after a big meal of grilled hot dogs, barbecue ribs, and homemade potato salad. If you are setting up a large dessert spread, they look fantastic placed next to a fresh berry trifle or a giant platter of sliced watermelon.
As for drinks, you really cannot go wrong with an ice-cold glass of homemade lemonade or sweet tea. If you are hosting an evening fireworks watch party, serving these with a scoop of vanilla bean ice cream on the side is an absolute dream. The creaminess of the ice cream balances the sweet, fluffy cake perfectly.
Top Tips for Perfecting Your Red White and Blue Cupcakes
Over the years, I have learned a few tricks to make sure these turn out perfectly every single time. Here are my top secrets for baking success:
- Use Gel Food Coloring: I cannot stress this enough! Liquid food coloring from the grocery store requires you to use a lot of liquid to get a bright color, which can actually change the consistency of your batter and make it runny. Gel coloring is highly concentrated, so you only need a tiny drop to get brilliant reds and blues.
- Do Not Swirl the Batter: When you add the three colors to your cupcake liners, just layer them directly on top of each other. Resist the urge to take a toothpick and swirl them around! Swirling them too much will cause the colors to muddy together and bake up into a murky purple color.
- Room Temperature Ingredients: Make sure your butter, eggs, and buttermilk are all at room temperature before you start. This ensures the batter mixes together smoothly without any lumps, giving you a perfectly tender cake.
Storing and Reheating Tips
If you somehow have leftovers of these Red White and Blue Cupcakes (which rarely happens in my house!), they are very easy to store. Because the buttercream frosting contains dairy, I recommend storing them in an airtight container in the refrigerator if you are keeping them for more than a day. They will stay fresh in the fridge for up to four days.
However, cupcakes always taste best at room temperature. When you are ready to eat one, pull it out of the fridge and let it sit on the counter for about 30 to 45 minutes to take the chill off. This allows the butter in the cake and frosting to soften back up, bringing back that melt-in-your-mouth texture. If you want to freeze them, I suggest freezing the unfrosted cupcakes wrapped tightly in plastic wrap for up to three months. Thaw at room temperature and frost them fresh when you are ready!
Frequently Asked Questions
Final Thoughts
There is just something so special about baking for the people you love, especially during the summer holidays. These Red White and Blue Cupcakes have brought so much joy to my family’s Fourth of July picnics over the years, and I am so thrilled to finally share the recipe with you. They are bright, cheerful, and absolutely delicious, which is everything a good party dessert should be.
I hope you have as much fun making these as you will eating them. Do not stress if your layers are not absolutely perfect; the charm of these cupcakes is that every single one is unique! If you end up giving this recipe a try for your next patriotic get-together, please let me know how they turn out. Have a wonderful, safe, and sweet holiday with your loved ones, and happy baking!
Red White and Blue Cupcakes
Ingredients
Main Ingredients
- 1 package white cake mix regular size
- 0.5 teaspoon blue food coloring
- 0.5 teaspoon red food coloring
- 1 can vanilla frosting 16 ounces
- Red, white and blue sprinkles to taste
Instructions
Preparation Steps
- Prepare cake mix batter according to package directions for cupcakes.
- In a small bowl, combine 1.33 cups batter and blue food coloring. In another bowl, combine 1.33 cups batter and red food coloring. Leave remaining batter plain.
- Fill paper-lined muffin cups with 2 tablespoons red batter, 2 tablespoons plain batter and 2 tablespoons blue batter.
- Bake at 350°F for 20-24 minutes or until a toothpick inserted in the center comes out clean.
- Cool for 10 minutes before removing from pans to wire racks to cool completely.
- Frost with vanilla frosting; decorate with sprinkles.
Notes
Featured Comments
“Impressed! Clear steps and comforting results. Perfect for busy nights.”
“New favorite here — turned out amazing. crowd-pleaser was spot on.”
“Super easy and turned out amazing! My family asked for seconds. Saving this one.”
“This sweet treat was absolutely loved — the balanced really stands out. Thanks!”
“Made it tonight and wow — so flavorful! Will definitely make patriotic cupcakes again.”
“Packed with flavor and so simple. Exactly what I wanted from patriotic cupcakes.”


