

There are some recipes that just feel like a warm hug, aren’t there? For me, one of those absolute gems is Paula Deen Banana Pudding. I can still remember the first time I ever tasted it. It was at a family reunion years ago, and it was the star of the dessert table. Everyone was raving about it, and I understood why. It’s creamy, it’s sweet, it’s got those perfect layers of banana and vanilla wafer – it’s pure comfort food. It’s not just a dessert; it’s a whole mood. If you’ve ever had a really great banana cream pie, this Paula Deen banana pudding takes that idea and makes it even more accessible and just… well, delightful. It’s the kind of dessert that disappears in minutes at my house, and my kids actually ask for seconds (and sometimes thirds!).
What is Paula Deen banana pudding?
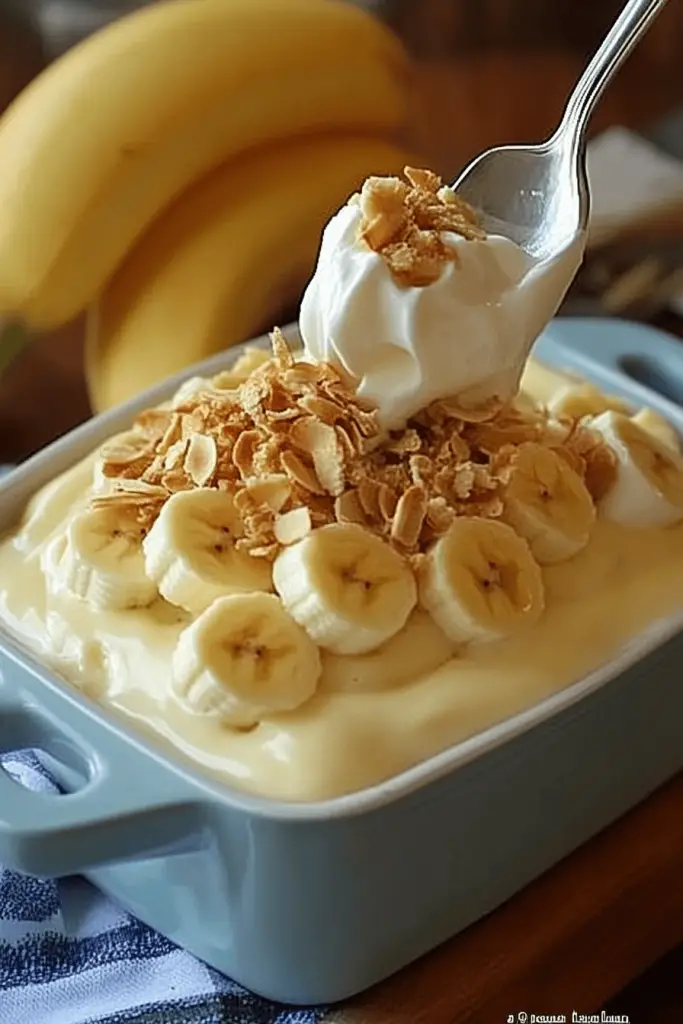
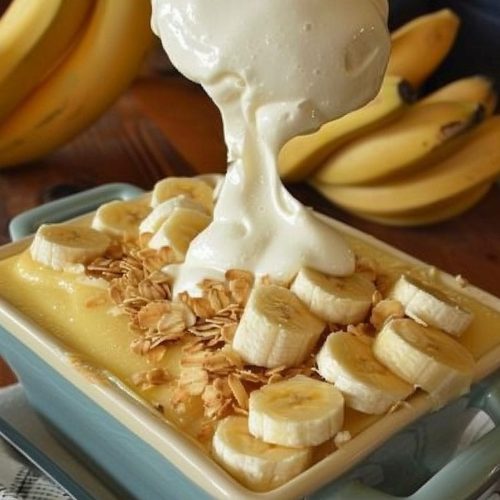
So, what exactly is this glorious concoction? Think of Paula Deen banana pudding as a rich, decadent, no-bake dessert that brings together layers of creamy vanilla custard, sweet ripe bananas, and those iconic vanilla wafer cookies. It’s essentially a deconstructed banana cream pie, but all held together in a beautiful, casserole-dish kind of way. The magic really happens with the texture – you get the smooth, luscious pudding, the soft sweetness of the bananas, and then that satisfying little crunch from the wafers. It’s a classic for a reason, and Paula Deen’s version just seems to hit all the right notes. It’s not overly complicated, but the result feels so special, like something you’d find at a fancy Southern brunch, but with all the down-home goodness we love.
How to Make Paula Deen Banana Pudding
Quick Overview
Making this Paula Deen banana pudding is surprisingly straightforward, even if you’re not a seasoned baker. The main idea is to create a luscious, Homemade Vanilla pudding, then layer it with fresh bananas and vanilla wafers. The chilling time is key here, allowing all those flavors to meld together beautifully. What makes this method so special is the homemade pudding; it has a richness and depth that you just can’t get from a box. It’s all about building those layers of deliciousness for a truly comforting dessert experience. Trust me, the little bit of extra effort for the homemade pudding is absolutely worth it!
Ingredients
For the Main Pudding:
You’ll need a few simple things for the creamiest, dreamiest pudding. I always make sure to use whole milk here – it really makes a difference in the richness and texture, giving you that authentic, decadent feel. Don’t skimp on the vanilla extract, either; a good quality one makes the flavor pop. For the eggs, make sure they’re at room temperature; they incorporate much better into the pudding base. I usually just crack them into a small bowl about 30 minutes before I start. You’ll need about 1 cup of granulated sugar to get that perfect sweetness, 1/2 cup of all-purpose flour to thicken it up nicely, and a pinch of salt to balance everything out. And of course, 4 cups of whole milk!
For the Banana Layers:
This is where the stars of the show come in! You’ll want about 4-5 ripe but still firm bananas. I look for ones that are yellow with just a few brown spots – they’re sweet but won’t turn mushy too quickly. Overripe bananas can make the pudding too watery, so aim for that perfect sweet spot. Make sure to slice them just before you’re ready to assemble to prevent browning. You’ll also need about 2 boxes (around 11-12 ounces total) of vanilla wafer cookies. These are essential for that classic texture and flavor. They’ll soften up beautifully as they soak in the pudding, but still provide that delightful contrast.
For the Topping (Optional but Recommended!):
While you can absolutely serve this Paula Deen banana pudding without a topping, I highly recommend it. You can make a simple meringue topping or even just a dollop of Whipped Cream. For a meringue, you’ll need 4 egg whites (save those yolks for another recipe!), 1/2 teaspoon of cream of tartar for stability, and 1/2 cup of granulated sugar. A touch of vanilla extract in the meringue is lovely, too. If you prefer whipped cream, just use a cup of heavy whipping cream, a tablespoon of powdered sugar, and a little vanilla.
Step-by-Step Instructions
Step 1: Preheat & Prep Pan
Before you even think about whisking, preheat your oven to 350 degrees F (175 degrees C). You’ll want a good-sized baking dish for this, something around a 9×13 inch casserole dish works perfectly. Make sure it’s clean and ready to go. If you’re making the meringue topping, you’ll want to have this ready to go for later.
Step 2: Mix Dry Ingredients
In a large, heavy-bottomed saucepan (this is important to prevent scorching!), whisk together your granulated sugar, all-purpose flour, and salt. Make sure there are no lumps of flour; you want it nice and smooth. Whisking them together dry helps distribute the flour evenly so it doesn’t clump when the wet ingredients are added. This step is crucial for a silky-smooth pudding!
Step 3: Mix Wet Ingredients
In a separate bowl, whisk your egg yolks until they’re light and slightly fluffy. Then, gradually whisk in your whole milk. It’s okay if they don’t fully combine at this stage; they’ll meld together in the saucepan. Don’t add the vanilla extract just yet; it’s best added at the end to preserve its delicate flavor.
Step 4: Combine
Now, gradually pour the milk and egg mixture into the saucepan with the dry ingredients, whisking constantly. Keep whisking until everything is well combined. This is where you start building the base for your delicious Paula Deen banana pudding.
Step 5: Prepare Filling
Place the saucepan over medium heat. Stir constantly with a whisk or a heatproof spatula, making sure to scrape the bottom and sides of the pan to prevent sticking and burning. Continue cooking and stirring until the pudding thickens enough to coat the back of a spoon, about 8-10 minutes. Don’t rush this process; gentle heat and constant stirring are key. Once it’s thickened, remove it from the heat and stir in your vanilla extract. The aroma at this stage is just heavenly!
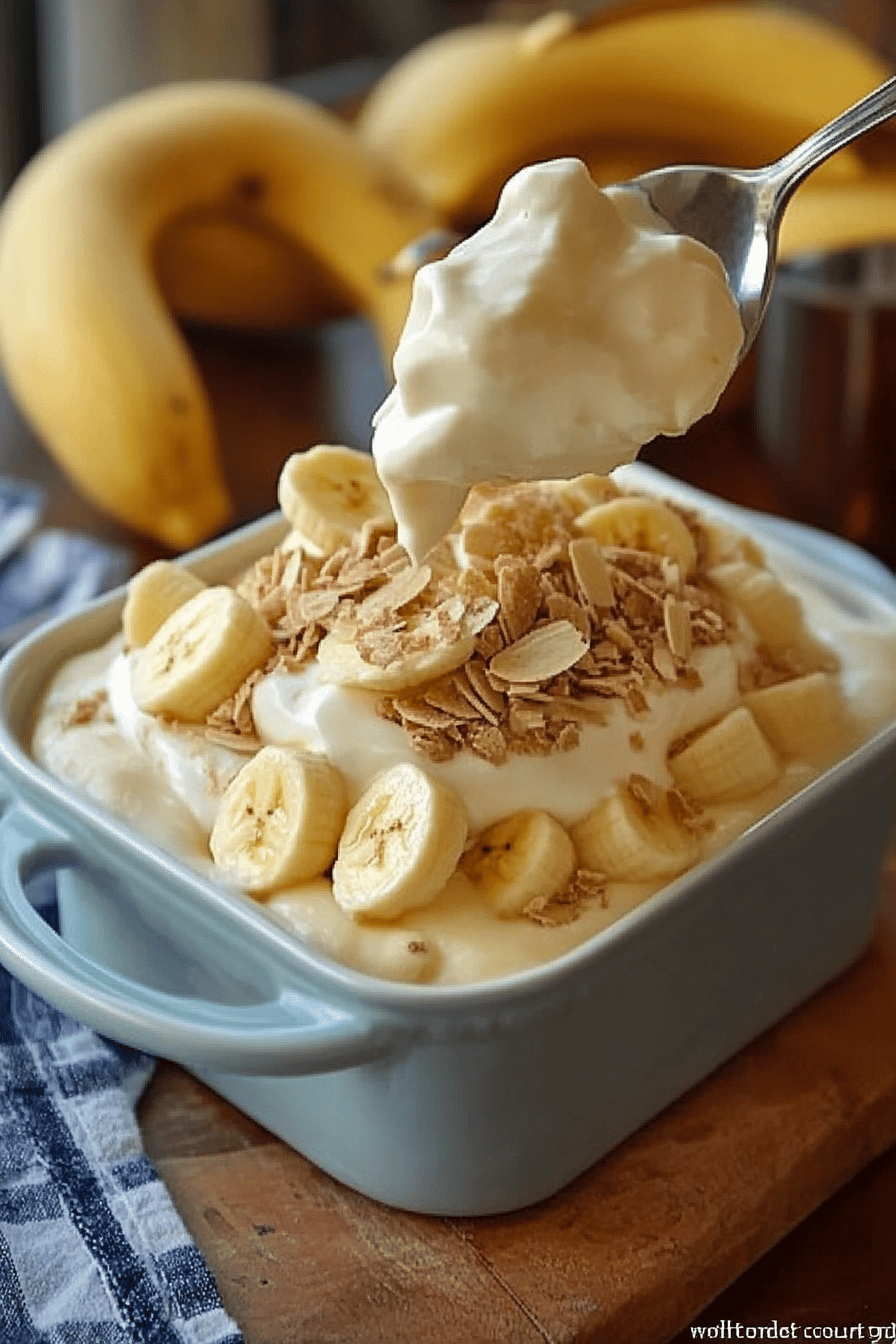
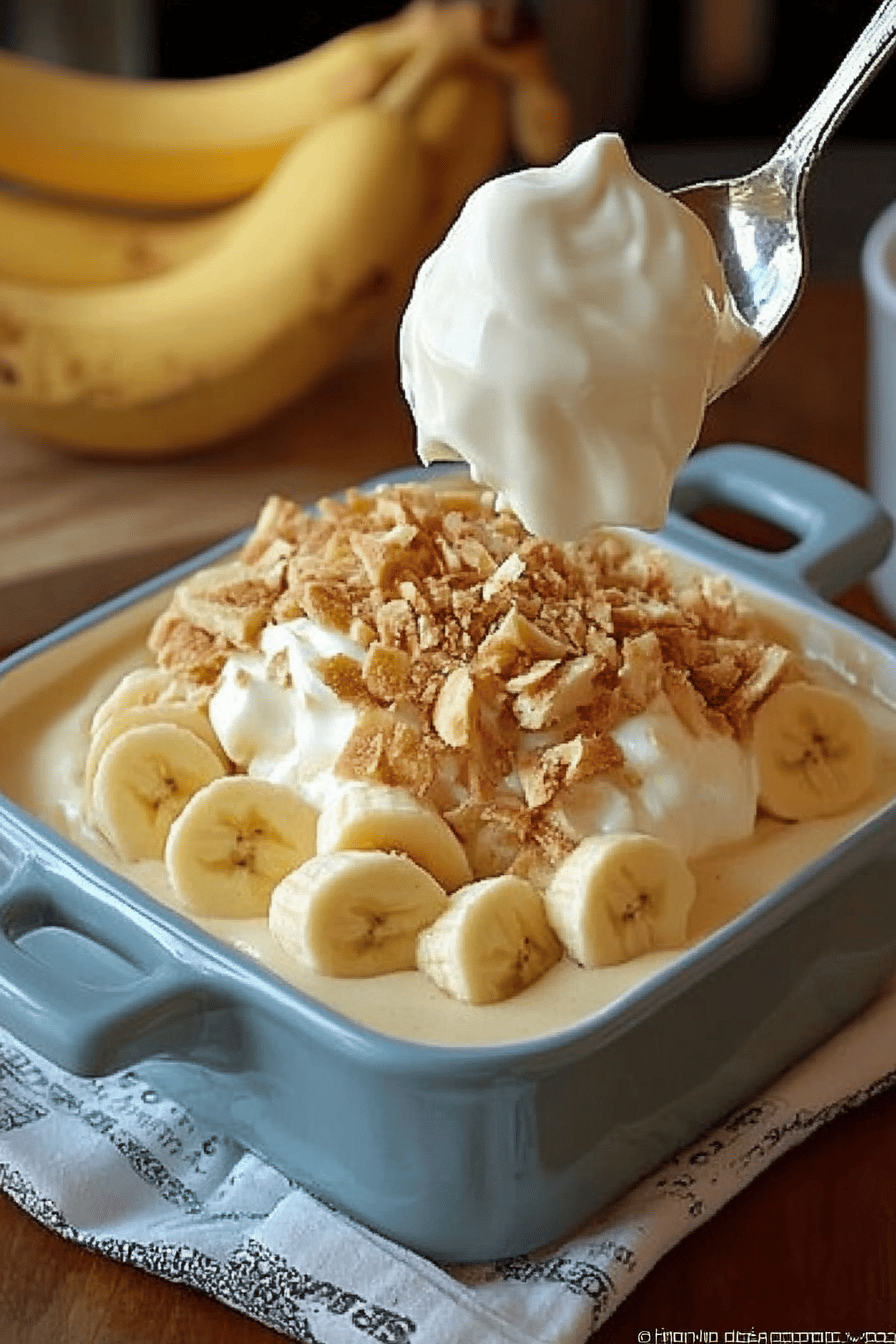
Step 6: Layer & Swirl
Now for the fun part! Start by spreading a layer of vanilla wafer cookies on the bottom of your prepared baking dish. Don’t worry if they overlap a bit. Next, arrange a layer of your sliced bananas over the cookies. Spoon about a third of the warm pudding over the bananas. Repeat these layers: cookies, bananas, pudding. Finish with a final layer of cookies and then spread the remaining pudding evenly over the top. Gently swirl the top layer of pudding with a spoon to create pretty patterns; it looks so lovely when it bakes.
Step 7: Bake
If you’re adding a meringue topping, now’s the time to whip it up. Beat the egg whites and cream of tartar until stiff peaks form. Gradually add the sugar, beating until the meringue is glossy. Spread this meringue over the pudding, making sure to seal it to the edges of the dish to prevent shrinkage. Bake in your preheated oven for about 15-20 minutes, or until the meringue is golden brown and puffed up. If you’re not doing meringue, you can bake for about 20-25 minutes just to set the pudding slightly and meld the flavors. Keep an eye on it so it doesn’t bubble over!
Step 8: Cool & Glaze
This is the hardest part – waiting! Let the Paula Deen banana pudding cool at room temperature for at least 30 minutes, then refrigerate it for at least 2-3 hours, or preferably longer, to allow it to fully set and the flavors to meld. The longer it chills, the better it tastes, in my opinion! If you’re using whipped cream, make that just before serving and dollop it on top.
Step 9: Slice & Serve
Once chilled and set, slice into generous portions. The texture should be firm but creamy. Serve it cold and prepare for the compliments! I love serving this with a nice cup of coffee or a glass of cold milk. It’s just pure bliss.
What to Serve It With
This Paula Deen banana pudding is practically a meal in itself, but it also plays beautifully with other things! For breakfast, I know it sounds decadent, but a tiny sliver alongside a really good cup of strong coffee is surprisingly wonderful. It’s like a little sweet treat to start the day, especially on weekends. For brunch, it’s a total showstopper. I love plating it with some fresh berries – raspberries or blueberries add a lovely pop of color and tartness that cuts through the richness. A mimosa or some sparkling cider pairs perfectly. As a standalone dessert, it needs nothing else, but if you’re serving a larger meal, it’s fantastic after grilled meats or a hearty stew. For cozy snacks, especially on a chilly evening, there’s nothing better. I often serve it with a scoop of vanilla bean Ice Cream for an extra layer of creamy goodness. My family also loves it with a drizzle of caramel sauce sometimes, though that’s not traditional, it’s just plain delicious! It’s the kind of dessert that feels special enough for company but comforting enough for a Tuesday night.
Top Tips for Perfecting Your Paula Deen Banana Pudding
Over the years, I’ve picked up a few tricks that help make this Paula Deen banana pudding absolutely perfect every single time. For the bananas, I always stress slicing them right before assembly. Even if they only sit for 10 minutes, they can start to brown and get a little soft, which isn’t ideal for texture. Make sure your bananas are ripe but still firm – mushy bananas will turn the pudding watery and you won’t get those lovely distinct banana slices. When you’re making the pudding base, the key is patience and constant stirring over medium heat. I learned this the hard way after burning a batch once! Low and slow, with constant attention, will give you that silky-smooth consistency without any lumps or scorching. If you do end up with a few lumps, you can try straining the pudding before pouring it into the dish, but it’s much easier to avoid them in the first place with good technique. For the cookie layers, don’t pack them down too tightly. You want them to be able to absorb the pudding nicely, so a gentle, even layer is best. If you’re using a meringue topping, make sure it’s a stable one. Using cream of tartar helps a lot, and making sure your egg whites are completely free of any yolk is crucial. I’ve found that swirling the top layer of pudding before baking adds a really pretty visual element, making it look more artisanal. For ingredient swaps, I’ve experimented with different types of milk, but whole milk truly yields the best creamy texture. If you need to make it dairy-free, you might need to play with thickeners as non-dairy milks can behave differently, but I haven’t personally tested that extensively. And a final baking tip: watch your meringue! It can go from perfectly golden to burnt in a matter of minutes, so keep a close eye on it during those last few minutes in the oven.
Storing and Reheating Tips
This Paula Deen banana pudding is definitely best served cold, so proper storage is key. If you have any leftovers (which is rare in my house!), it’s best to store them refrigerated. I like to cover the dish tightly with plastic wrap or aluminum foil to prevent it from absorbing any odors from the fridge. It will keep well in the refrigerator for about 2-3 days. The vanilla wafers will continue to soften over time, which I personally love, but some people prefer them with a bit more bite. If that’s you, you can try adding the last layer of cookies just before serving, or even serve some extra cookies on the side. I haven’t personally tried freezing this banana pudding because I worry about the texture of the pudding and the bananas after thawing. However, if you absolutely needed to freeze it, I would recommend making it without the fresh banana slices, freezing the pudding and cookie base, and then adding fresh bananas and topping (like whipped cream) after thawing and chilling. This way, you avoid mushy bananas. For reheating, I never reheat this; it’s a chilled dessert! But if you were to make a portion of it ahead of time and wanted to warm up just the pudding base before assembling (though that defeats the purpose of the no-bake aspect for the pudding itself), you’d just gently warm it on the stovetop, stirring constantly. The glaze timing is really important if you’re prepping components ahead. I typically make the pudding and assemble everything just before it needs to chill. If I’m making a meringue topping, I do that right before baking. For whipped cream, it’s always best made fresh just before serving, as it can deflate if made too far in advance.
Frequently Asked Questions
Final Thoughts
There you have it – my absolute favorite Paula Deen banana pudding recipe! This dessert is more than just a collection of ingredients; it’s a memory, a feeling, and a guaranteed crowd-pleaser. It’s that perfect balance of creamy, sweet, and comforting that makes you close your eyes with the first bite. I truly believe this is a recipe everyone should have in their repertoire. It’s simple enough for a beginner but impressive enough for any gathering. If you love this Paula Deen banana pudding, you might also enjoy some of my other classic comfort desserts, like my homemade apple pie or my decadent chocolate lava cakes. I can’t wait to hear how yours turns out! Please leave a comment below to let me know your thoughts, share any fun variations you tried, or tell me what your family thought. Happy baking, y’all!
Paula Deen Banana Pudding
Ingredients
Main Ingredients
- 0.5 cup butter
- 0.5 cup all-purpose flour
- 1.5 cups granulated sugar
- 0.25 teaspoon salt
- 4 large eggs yolks only
- 2 cups milk whole milk recommended
- 1 teaspoon vanilla extract
- 2 packages shortbread cookies or vanilla wafers
- 3 bananas sliced
Instructions
Preparation Steps
- In a medium saucepan, whisk together butter, flour, sugar, and salt.
- Gradually whisk in milk. Cook over medium heat, stirring constantly, until the mixture thickens and comes to a boil. Boil for 1 minute.
- In a small bowl, whisk the egg yolks. Temper the egg yolks by slowly whisking about 1 cup of the hot milk mixture into the yolks. Then, pour the tempered yolks back into the saucepan.
- Cook for another 1 to 2 minutes, stirring constantly, until the pudding is thick. Do not boil.
- Remove from heat and stir in vanilla extract.
- Layer half of the cookies in the bottom of a 9x13 inch baking dish. Top with half of the sliced bananas. Pour half of the pudding mixture over the bananas.
- Repeat the layers with the remaining cookies, bananas, and pudding.
- Cover with plastic wrap, pressing it directly onto the surface of the pudding to prevent a skin from forming. Chill for at least 4 hours, or preferably overnight.
Notes
Featured Comments
“I completely agree! Paula Deen’s banana pudding is such a comforting classic—so creamy, rich, and nostalgic. Every bite feels like home.”
“Oh my goodness, that sounds like pure comfort food! Banana pudding is such a nostalgic treat—Paula Deen’s version must be extra cozy.”
“Impressed! Clear steps and super easy results. Perfect for busy nights.”
“New favorite here — turned out amazing. crowd-pleaser was spot on.”
“Super easy and turned out amazing! My family asked for seconds. Saving this one.”
“This sweet treat was absolutely loved — the fresh really stands out. Thanks!”


Oh my goodness, that sounds like pure comfort food! Banana pudding is such a nostalgic treat—Paula Deen’s version must be extra cozy.
I completely agree! Paula Deen’s banana pudding is such a comforting classic—so creamy, rich, and nostalgic. Every bite feels like home.