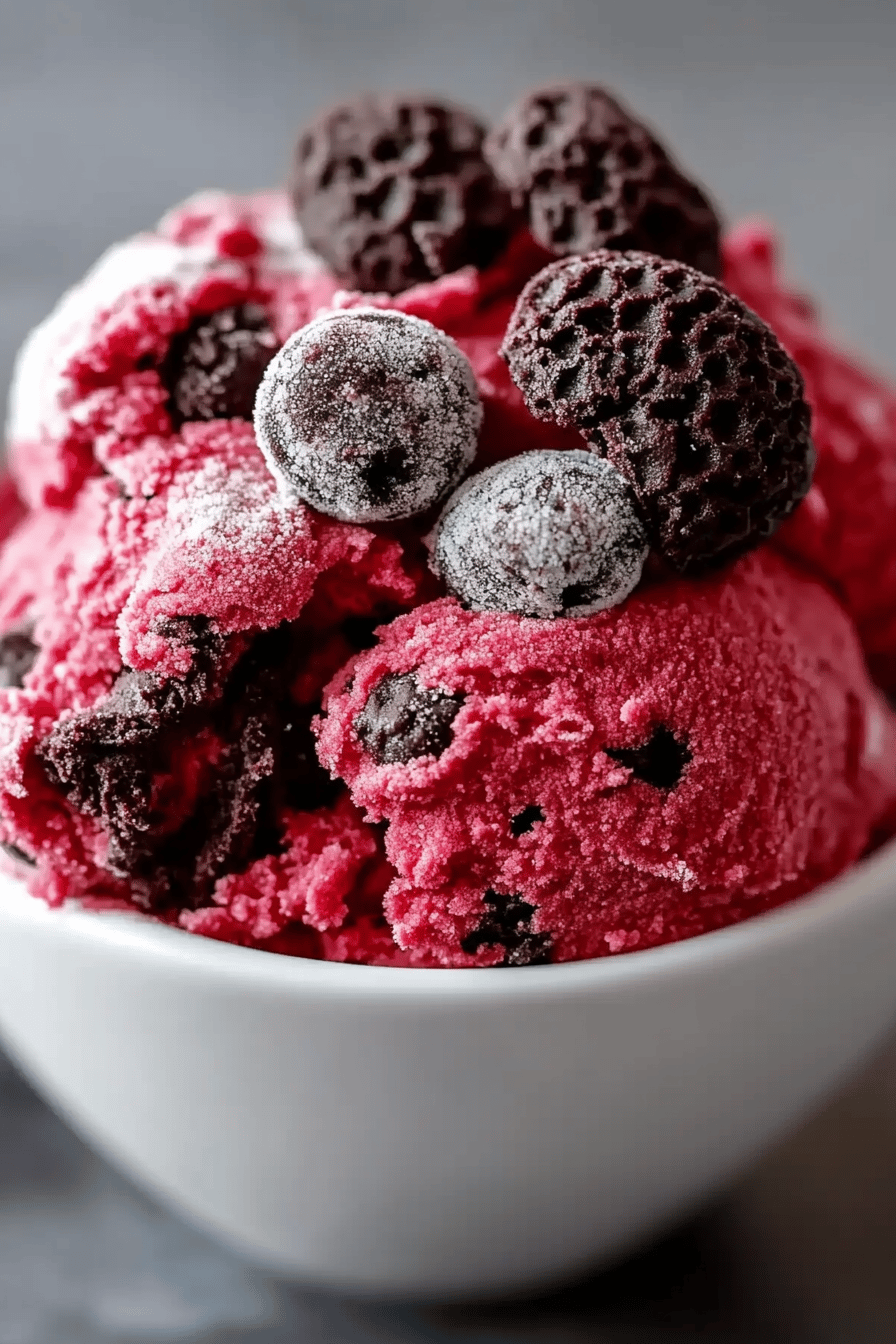
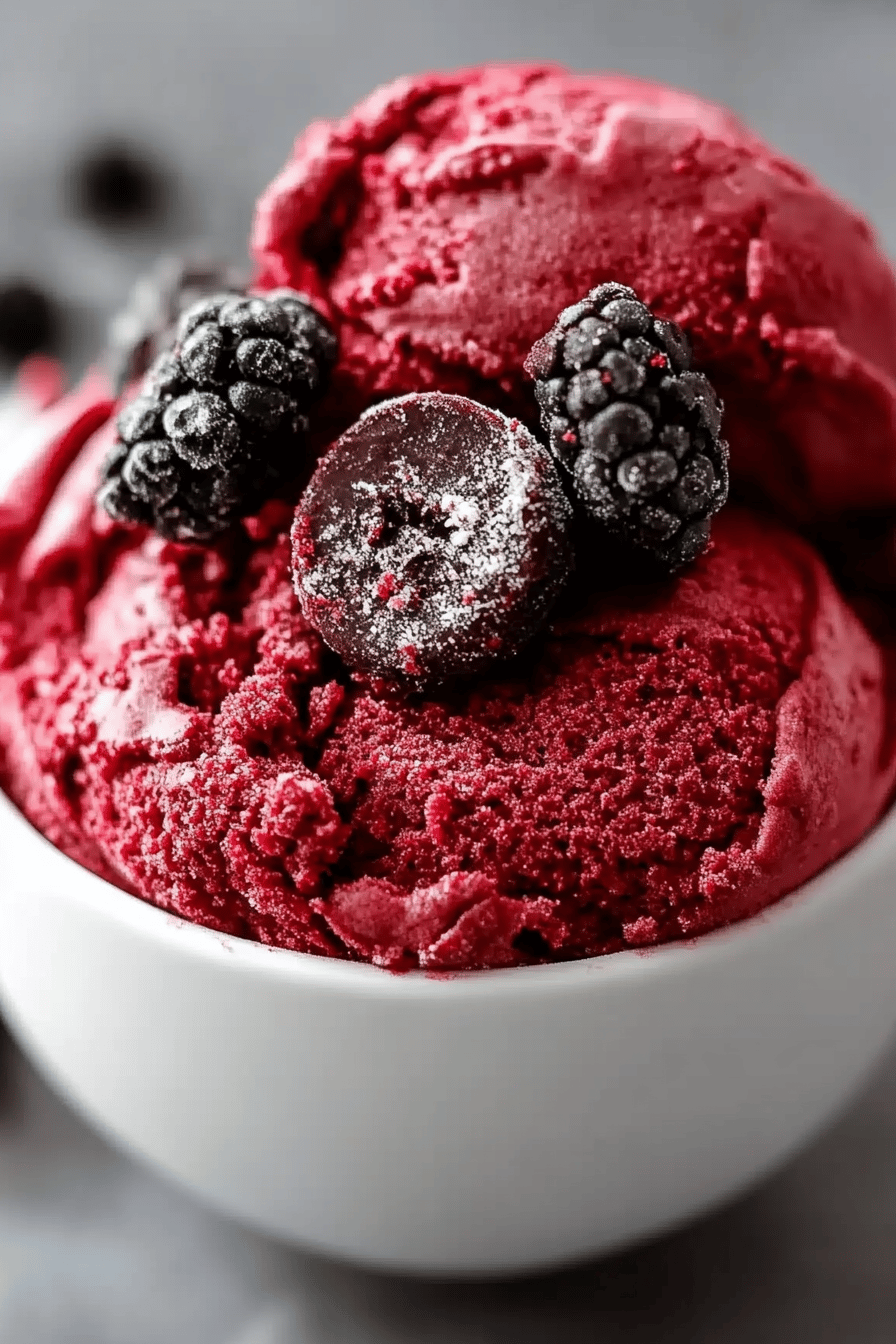
What is your favorite recipe for a “Where did you get this?”Red Velvet edible dough. that tastes like a dream. Seriously, if you’ve ever craved that rich, decadent red velvet flavor but didn’t have the time (or honestly, the patience sometimes!) for a full cake, this is your answer. It’s like a flavor explosion in every bite, reminiscent of those classic frosted red velvet cupcakes, but in a form that’s way more fun and, dare I say, addictive. My kids, bless their hearts, ask for this whenever they see me even *thinking* about baking, and honestly, who can blame them? It’s so good, it’s hard to stop at just one little scoop. I’ve tried countless variations of edible doughs over the years, but this red velvet one has stolen my heart. It hits that perfect balance of sweet, slightly tangy, and that quintessential red velvet charm. Forget complicated recipes; this is the shortcut to pure happiness.

What is red velvet edible dough?
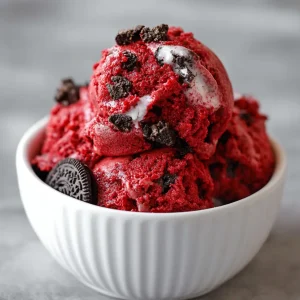
So, what exactly is this magical thing we’re diving into? Think of red velvet edible dough as the best part of a red velvet cake – the luscious, flavorful cake itself, but without the baking part! It’s essentially a heat-treated flour mixture combined with all the classic red velvet flavorings and richness. We’re talking cocoa powder for that subtle chocolatey depth, a touch of vinegar and buttermilk powder for that characteristic tang, a vibrant red hue, and, of course, plenty of sweetness and creamy goodness. It’s designed to be eaten right out of the bowl, like Cookie Dough but with that unmistakable red velvet flair. It’s a simple concept, really, but the execution is what makes this recipe a winner. It’s for those moments when you need a quick, indulgent treat that feels super special without the whole song and dance of baking. It’s a total game-changer for serious red velvet lovers!
How to Make Red Velvet Edible Dough
Quick Overview
Making this Red Velvet edible dough is surprisingly straightforward. The key is to heat-treat the flour to make it safe to eat raw, then combine it with softened butter, sugar, and all those gorgeous red velvet flavors. We’ll be mixing everything in one bowl for maximum efficiency and minimal cleanup – my favorite kind of recipe! It’s all about achieving that smooth, luscious, scoopable texture that’s just begging to be devoured. You’ll be amazed at how quickly this comes together, proving that decadent treats don’t always require hours of effort.
Ingredients
For the Main Batter:
You’ll need about 1 ½ cups of all-purpose flour. Make sure it’s fresh! The best way to ensure it’s safe to eat raw is to heat-treat it, which we’ll cover in the steps. I always buy my flour from a reputable source, and I find that King Arthur’s or Bob’s Red Mill always yield great results for baking projects. We’ll also need ½ cup (1 stick) unsalted butter, softened to room temperature. This is crucial for that smooth, creamy texture. Don’t use melted butter; it will make the dough too greasy! For sweetness, we’re using ¾ cup granulated sugar and ¼ cup packed light brown sugar. The brown sugar adds a lovely depth of flavor and a touch of chewiness. A teaspoon of Vanilla Extract is essential for that warm, comforting aroma and taste. Then, for that signature red velvet punch, we need 1 tablespoon unsweetened cocoa powder. I prefer Dutch-processed for a darker color and richer flavor, but natural works too. You’ll also need 1 teaspoon white vinegar and 1 teaspoon buttermilk powder for that classic tang. And, of course, the star of the show: 1 to 2 teaspoons gel food coloring – start with 1 and add more until you achieve your desired vibrant red hue. Gel coloring is key because it won’t add extra liquid to the dough.
For the “Frosting” Swirl (Optional but Highly Recommended!):
This is what takes it to the next level! You’ll want about 2 ounces of cream cheese, softened. Full-fat cream cheese is best for richness and flavor. And another tablespoon of powdered sugar, just to sweeten it up a bit. A tiny splash of vanilla extract here too helps.
Step-by-Step Instructions
Step 1: Preheat & Prep Pan
First things first, let’s make sure our flour is safe to eat. Spread your 1 ½ cups of all-purpose flour evenly onto a baking sheet. You can line it with parchment paper for easier cleanup if you like. We’re going to heat-treat it in a preheated oven at 350°F (175°C) for about 8-10 minutes. This kills any potential bacteria. You don’t want to toast or bake it, just gently heat it through. Once done, remove it from the oven and let it cool completely before using. This step is non-negotiable for edible dough!
Step 2: Mix Dry Ingredients
While the flour cools, in a medium-sized mixing bowl, whisk together the cooled, heat-treated flour, the 1 tablespoon of unsweetened cocoa powder, the 1 teaspoon of buttermilk powder, and a pinch of salt. Whisking them together ensures all the dry ingredients are evenly distributed, which is key for consistent flavor and texture.
Step 3: Mix Wet Ingredients
In a separate, larger bowl, cream together the ½ cup (1 stick) softened unsalted butter with the ¾ cup granulated sugar and ¼ cup packed light brown sugar. Beat them with an electric mixer (or a sturdy whisk and some elbow grease!) until light and fluffy. This usually takes about 2-3 minutes. You want it to be pale and airy. Beat in the 1 teaspoon vanilla extract.
Step 4: Combine
Now, add the heat-treated flour mixture to the butter and sugar mixture in batches, mixing on low speed (or stirring with a spatula) until just combined. Be careful not to overmix! Overmixing can lead to a tough texture. You’re looking for a thick, slightly crumbly dough that starts to come together. If it seems too dry, you can add a tablespoon of milk or almond milk, a tiny bit at a time, until it reaches your desired consistency. Now, it’s time for that beautiful red color! Add 1 to 2 teaspoons of gel food coloring and mix until the dough is a uniform, vibrant red. Again, mix until just combined.
Step 5: Prepare Filling
If you’re making the optional cream cheese swirl, grab a small bowl. Mash together the 2 ounces of softened cream cheese with the 1 tablespoon powdered sugar and a tiny splash of vanilla extract until smooth. This is going to be a thick, paste-like consistency, perfect for swirling.
Step 6: Layer & Swirl
Now for the fun part! If you’re adding the cream cheese swirl, take about half of your red velvet dough and spread it out onto a piece of parchment paper or plastic wrap. Dollop spoonfuls of the cream cheese mixture over the red dough. Then, spread the remaining red velvet dough over the cream cheese. Gently fold and roll the dough mixture to create swirls. You don’t want to mix it completely; we’re aiming for beautiful ribbons of cream cheese throughout the red dough. If you’re not swirling, just admire your gorgeous red dough!
Step 7: Bake
Wait, bake? Nope! This is edible dough, remember? No baking required! We’ve already heat-treated the flour, so it’s ready to eat as is!
Step 8: Cool & Glaze
Let the dough sit at room temperature for about 15-20 minutes after mixing if you added the cream cheese swirl, just to let it firm up slightly. If you didn’t add the swirl, it’s ready to go immediately! For a glaze, you can whisk together a little more powdered sugar with a tiny splash of milk or cream until you get a drizzly consistency, or even use a simple cream cheese frosting. Drizzle it over the dough if you like, or serve it plain. For the best texture, I find letting it sit for a bit after mixing helps it set up perfectly.
Step 9: Slice & Serve
You can scoop this directly from the bowl with a spoon (my preferred method!), or if you swirled it, you can gently shape it into a log or a disc. Slice it into thick, decadent pieces and serve! It’s best enjoyed at room temperature, where the flavors and textures are at their peak. Get ready for some serious deliciousness!
What to Serve It With
This red velvet edible dough is so versatile, you can enjoy it in so many ways! For breakfast, I love to serve a small scoop alongside a strong cup of coffee. It feels like such a decadent start to the day, and the richness cuts through the bitterness of the coffee perfectly. My kids think it’s a special treat for a lazy Saturday morning. For brunch, I like to present it a little more elegantly. I might roll it into little bite-sized balls and arrange them on a pretty platter with some fresh berries. It’s a unique addition that always gets rave reviews. It pairs beautifully with a mimosa or a glass of sparkling rosé. As a dessert, it’s simply divine. I’ll often serve a generous scoop after dinner, perhaps with a small dollop of whipped cream or a scoop of vanilla bean ice cream for an extra layer of indulgence. It’s a fantastic alternative to a traditional red velvet cake. And for those cozy snacks, when you just need a little pick-me-up? A big spoonful straight from the bowl while curled up on the couch with a good book is pure bliss. My family tradition is to have this after a big Sunday dinner, especially if we’re not feeling up to a heavy dessert. It’s just so satisfying and comforting.
Top Tips for Perfecting Your Red Velvet Edible Dough
I’ve made this red velvet edible dough more times than I can count, and through trial and error (and a few delicious mistakes!), I’ve picked up some tricks that make it absolutely perfect every single time. When it comes to flour prep, the heat-treating is crucial. Don’t skip it! Make sure the flour is completely cool before you mix it into the butter and sugar; warm flour can melt the butter and lead to a greasy dough. For mixing advice, the golden rule is don’t overmix. Overworking the flour develops gluten, which can make your edible dough tough and unpleasant to eat. Mix until just combined, and stop! If you find your dough is a little too crumbly, a tablespoon of milk or almond milk can help bind it together without making it sticky. For swirl customization, if you’re adding that cream cheese element, don’t try to mix it in too thoroughly. You want those beautiful ribbons of cream cheese throughout the red dough, not a uniform pink mixture. Gently fold and swirl it for visual appeal. If you’re short on time, you can even skip the swirl and just enjoy the pure red velvet flavor! For ingredient swaps, I’ve experimented with different types of sugar. While the combination of granulated and brown sugar is my favorite for texture and flavor, you can use all granulated sugar if that’s all you have, but it might be a touch drier. The buttermilk powder is important for that signature tang; if you absolutely can’t find it, you can substitute with a teaspoon of milk mixed with a teaspoon of lemon juice, let it sit for 5 minutes, and then use that. For baking tips – oh wait, there are none! That’s the beauty of this recipe. No oven, no worries. But if you were to incorporate this dough *into* a baked good, like cookies, then you’d want to follow standard cookie baking advice. Finally, for glaze variations, I sometimes like to add a little espresso powder to the powdered sugar glaze to enhance the chocolate notes. A drizzle of melted white chocolate is also a decadent option! Remember, this is all about having fun and creating something delicious that you’ll love.
Storing and Reheating Tips
One of the best things about this red velvet edible dough is that it stores really well, making it perfect for making ahead. For room temperature storage, if you’ve made it without the cream cheese swirl, it can be kept in an airtight container at room temperature for up to 3 days. It will firm up slightly as it sits, which is lovely. However, if you’ve included the cream cheese swirl, it’s best to refrigerate it for food safety reasons. For refrigerator storage, keep the dough in an airtight container or wrap it tightly with plastic wrap. It will stay fresh and delicious for up to a week. When you want to eat it, just let it sit out for about 10-15 minutes to soften slightly, and it’s good to go. For freezer instructions, this dough freezes beautifully! Wrap it tightly in a double layer of plastic wrap, then an outer layer of foil or place it in a freezer-safe airtight container. It can be stored in the freezer for up to 3 months. To thaw, transfer it to the refrigerator overnight, then let it sit at room temperature for a bit before serving. I generally advise against reheating it in a microwave or oven, as it’s designed to be eaten raw and the texture can change. The glaze timing advice is simple: glaze just before serving for the freshest taste and best appearance. If you glaze it and store it for a long time, the glaze can become sticky or seep into the dough.
Frequently Asked Questions
Final Thoughts
Honestly, I hope you give this red velvet edible dough a try. It’s become one of those recipes that just brings so much joy to my kitchen, and I’m thrilled to be able to share it with you. It’s the perfect blend of indulgence and ease, making it ideal for any occasion, or no occasion at all! It’s a wonderful way to satisfy that red velvet craving without all the fuss. If you love this recipe, you might also want to check out my classic no-bake cookie dough bites or my decadent chocolate lava mug cake for more quick and easy sweet treats. I can’t wait to hear what you think of this red velvet edible dough! Please leave a comment below and let me know how yours turned out, or if you have any fun variations. And if you share a photo, tag me – I love seeing your creations! Happy baking (and no-baking!)!
Red velvet edible dough
Ingredients
Main Ingredients
- 0.5 cup unsalted butter softened
- 0.75 cup granulated sugar
- 0.5 cup brown sugar packed
- 1 large egg yolk
- 1 teaspoon vanilla extract
- 1 tablespoon milk
- 1 tablespoon red food coloring
- 1.25 cup all-purpose flour
- 0.5 teaspoon salt
- 0.5 cup chocolate chips optional
Instructions
Preparation Steps
- In a large bowl, cream together the softened butter, granulated sugar, and brown sugar until light and fluffy.
- Beat in the egg yolk, vanilla extract, and milk until well combined.
- Add the red food coloring and mix until the dough is a uniform red color.
- In a separate small bowl, whisk together the all-purpose flour and salt.
- Gradually add the dry ingredients to the wet ingredients, mixing until just combined. Be careful not to overmix.
- If using, gently fold in the chocolate chips.
- Serve immediately or chill in the refrigerator for about 30 minutes for a firmer texture. Enjoy your delicious edible red velvet dough!
Notes
Featured Comments
“Impressed! Clear steps and turned out amazing results. Perfect for busy nights.”
“New favorite here — creamy. crowd-pleaser was spot on.”
“Super easy and turned out amazing! My family asked for seconds. Saving this one.”
“This sweet treat was absolutely loved — the balanced really stands out. Thanks!”
“Made it tonight and wow — absolutely loved! Will definitely make Red velvet edible dough again.”
“Packed with flavor and so simple. Exactly what I wanted from Red velvet edible dough.”