

The Ultimate Rocky Road Fudge Recipe
I remember the very first time I tried making fudge from scratch. It was a complete disaster. I boiled the sugar way too long, and it turned into a rock-hard chocolate brick that even my dog wouldn’t look at. But then, a dear friend shared her foolproof shortcut method with me, and my dessert game changed forever. Today, I am passing that sweet kitchen magic on to you with my all-time favorite Rocky Road Fudge Recipe.
Let’s be real for a second—there is absolutely nothing quite like the combination of rich, velvety chocolate, pillowy soft marshmallows, and the satisfying crunch of toasted nuts. It is the ultimate comfort treat. Whether you are throwing together a last-minute holiday dessert tray, looking for an edible gift for your neighbors, or just having one of those long days where only chocolate will fix it, this recipe is your best friend. You don’t need a candy thermometer, and you definitely don’t need fancy equipment. Grab your favorite mixing bowl, and let’s make some magic happen!
What Is This Rocky Road Fudge Recipe?
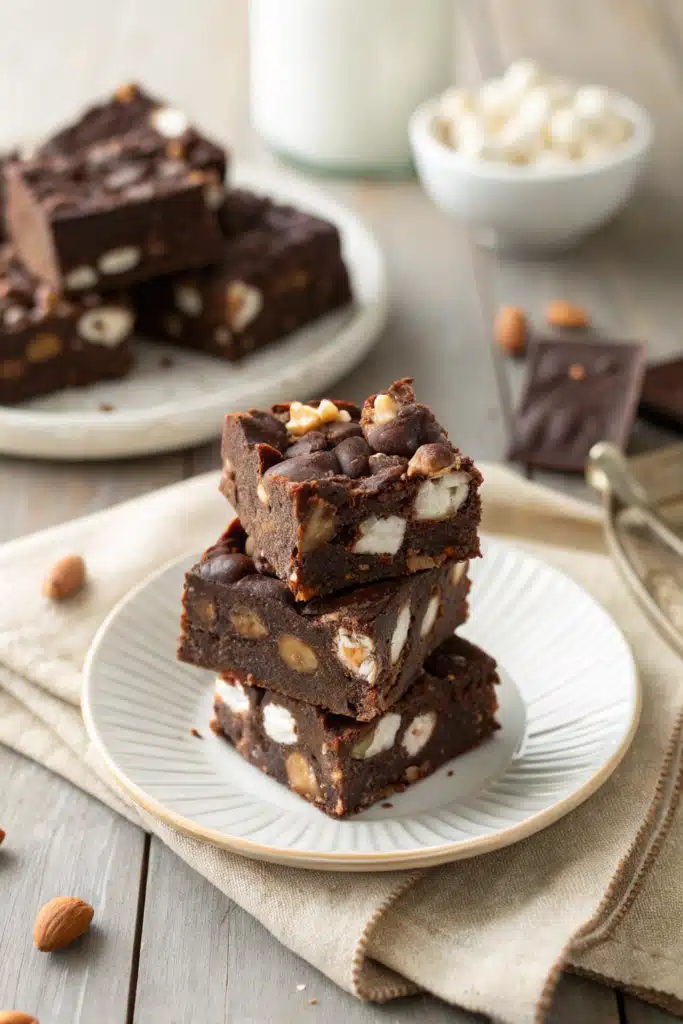
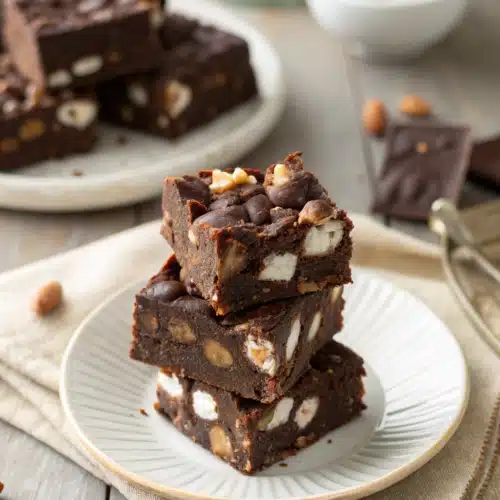
If you have ever had rocky road ice cream, you already know and love this iconic flavor profile. But in fudge form? It is a whole different level of indulgence. A classic Rocky Road Fudge Recipe takes a smooth, dense chocolate fudge base and packs it to the brim with mini marshmallows and crunchy nuts—usually walnuts or roasted almonds.
The name “rocky road” actually dates back to the late 1920s, created to give folks something to smile about during tough times. The “rocky” part comes from the bumpy, beautiful texture the nuts and marshmallows create on top of the chocolate. What makes this specific recipe so incredibly special is that it is a “cheater” fudge. Traditional fudge requires boiling sugar and milk to the exact soft-ball stage, which can be super intimidating. This version uses sweetened condensed milk to guarantee a perfectly smooth, sliceable texture every single time, without the stress. It is rich, chewy, crunchy, and melts right in your mouth.
How to Make This Rocky Road Fudge Recipe
Quick Overview
Making this fudge is basically a simple three-step dance: melt, mix, and chill. You will start by gently melting your chocolate, butter, and sweetened condensed milk together until they form a thick, glossy mixture. After letting it cool for just a minute so you don’t melt your mix-ins, you will fold in your vanilla, marshmallows, and nuts. Finally, you just spread it into a lined pan and let the fridge do the rest of the work. It is brilliantly simple and practically messes-free!
Ingredients
- Semi-sweet chocolate chips: Three cups. Good quality chips make a huge difference here!
- Sweetened condensed milk: One standard 14-ounce can. Do not confuse this with evaporated milk, or the fudge won’t set.
- Unsalted butter: Two tablespoons, just to add a little extra glossy richness.
- Vanilla extract: One teaspoon to enhance the chocolate flavor.
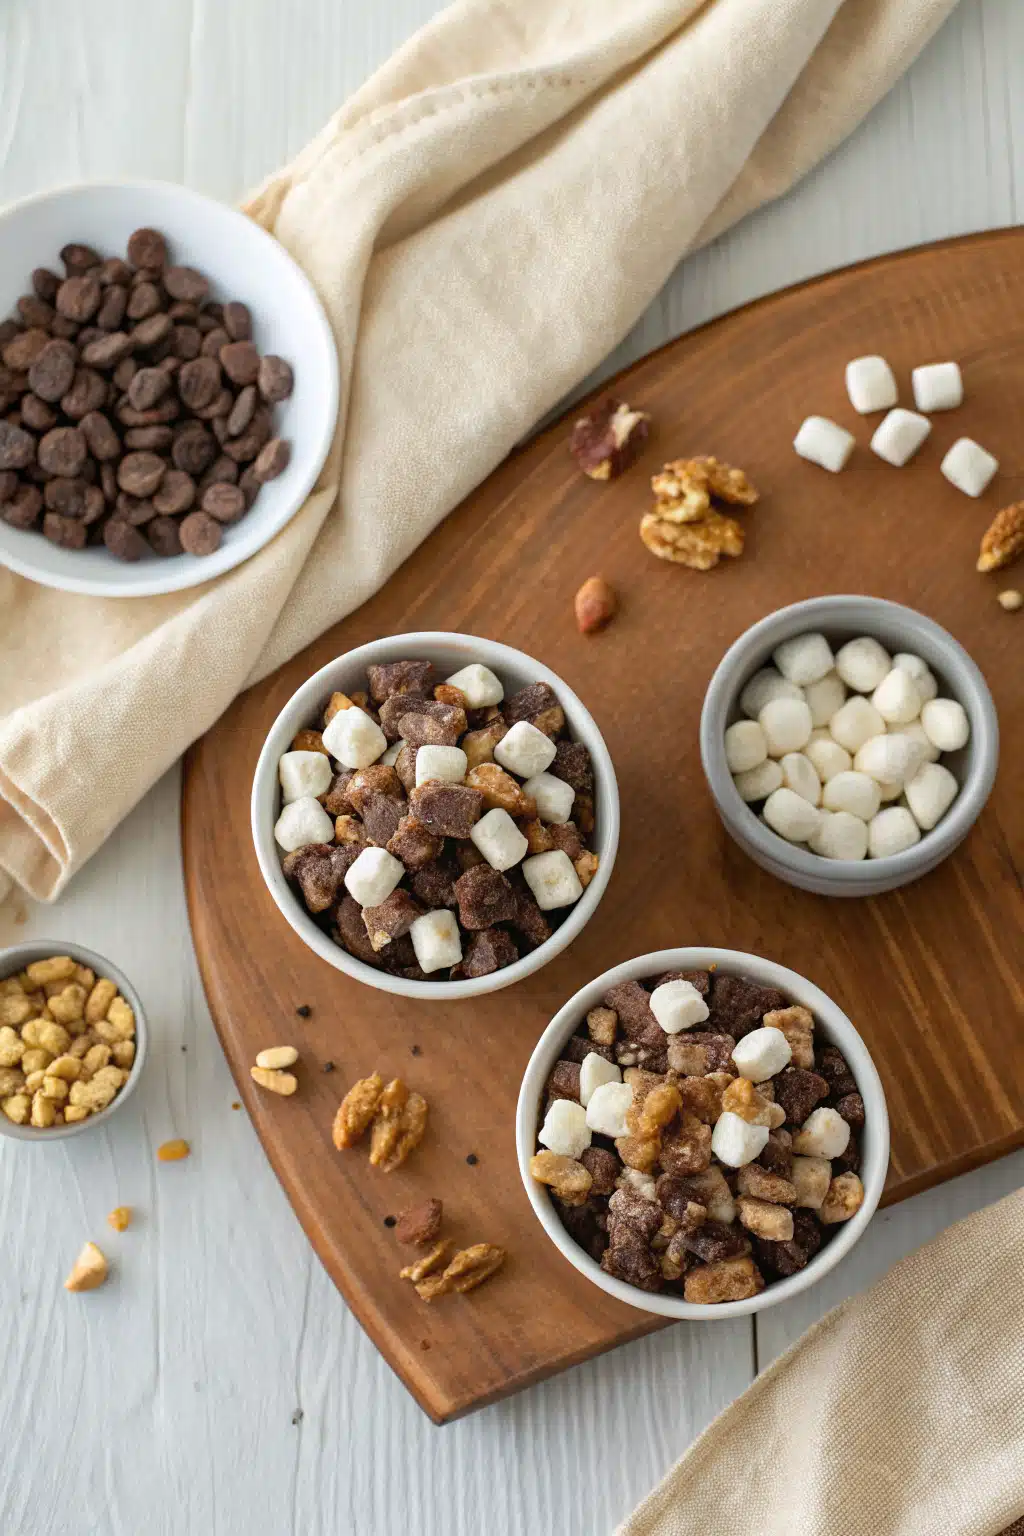
- Mini marshmallows: Two cups. Fresh ones work best for that perfect squishy texture.
- Chopped nuts: One cup. Walnuts or dry roasted peanuts are my absolute favorites.
- Sea salt: Just a pinch is optional, but it perfectly balances the sweetness.
Step-by-Step Instructions
Step 1: Preheat & Prep Pan
Line an 8×8 inch square baking dish with parchment paper or aluminum foil. Leave a little overhang on the sides—this makes it so easy to lift the fudge out later for slicing. Give the paper a very light spray with non-stick cooking spray just to be safe.
Step 2: Melt the Chocolate Base
In a large microwave-safe bowl, combine the chocolate chips, sweetened condensed milk, and butter. Microwave on medium power in 30-second bursts, stirring really well after each one. It should only take about a minute or two. Stop as soon as it is smooth and glossy. Do not overcook it!
Step 3: Add the Flavor
Stir in the vanilla extract and that little pinch of salt if you are using it. Now, let the mixture sit for about 3 to 5 minutes. This is crucial! If the chocolate is boiling hot, it will melt your marshmallows into a gooey mess instead of keeping them intact.
Step 4: Fold in the Goodies
Once the mixture has cooled slightly but is still pourable, gently fold in the mini marshmallows and your chopped nuts. Give it a few good turns with a rubber spatula until everything is evenly distributed.
Step 5: Spread and Chill
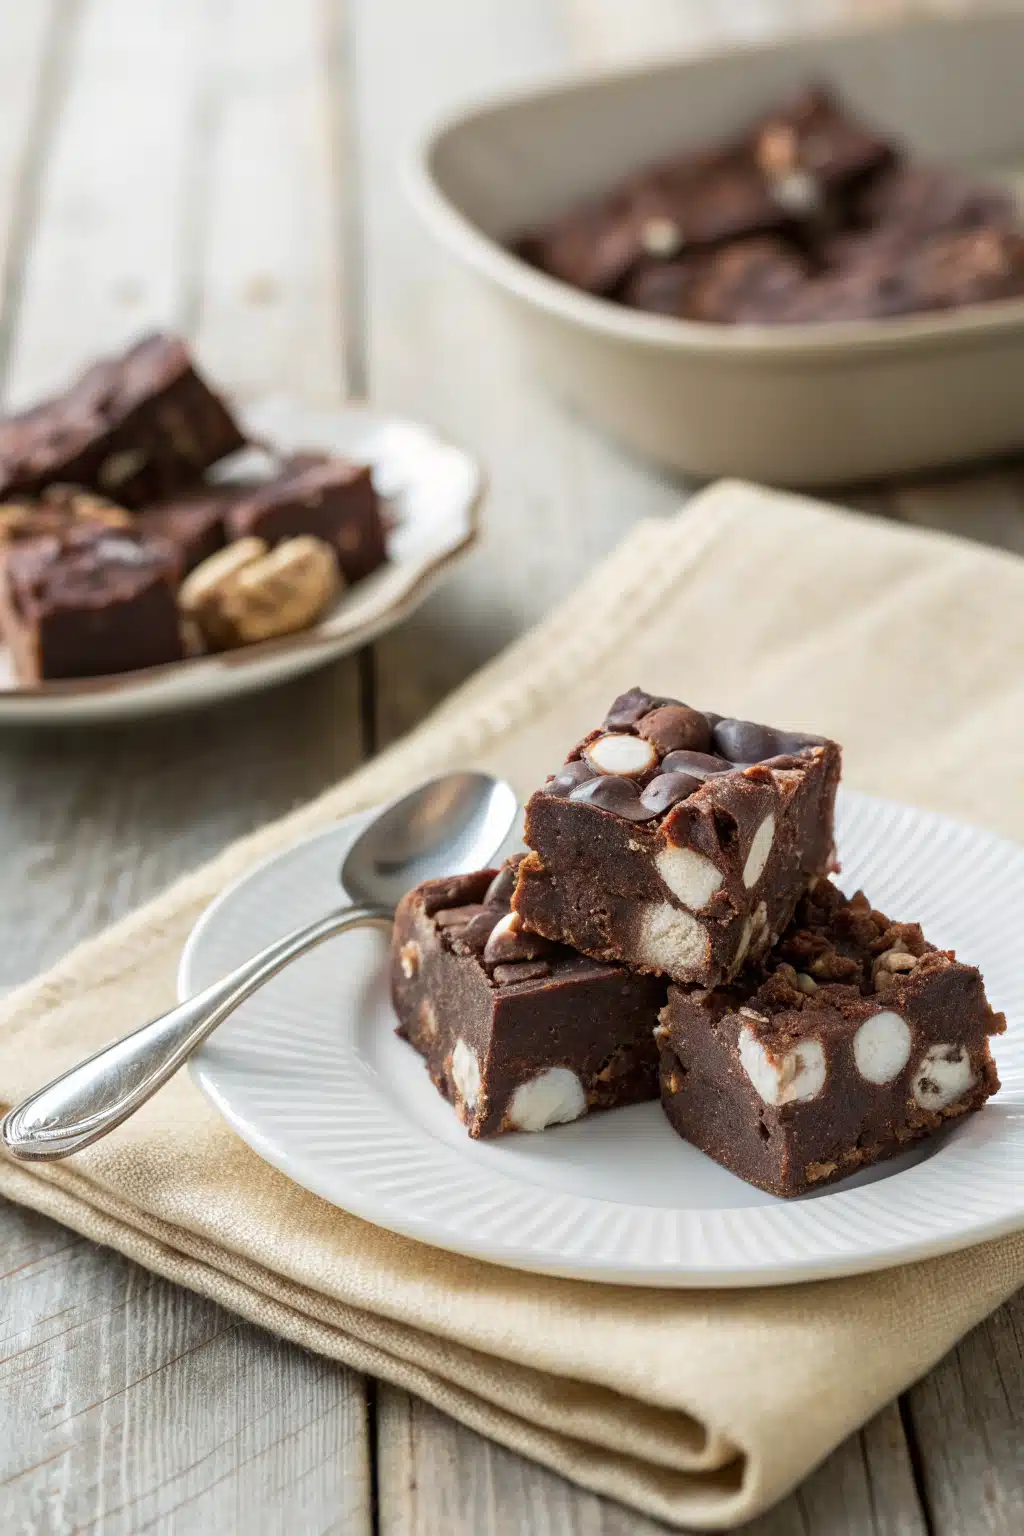
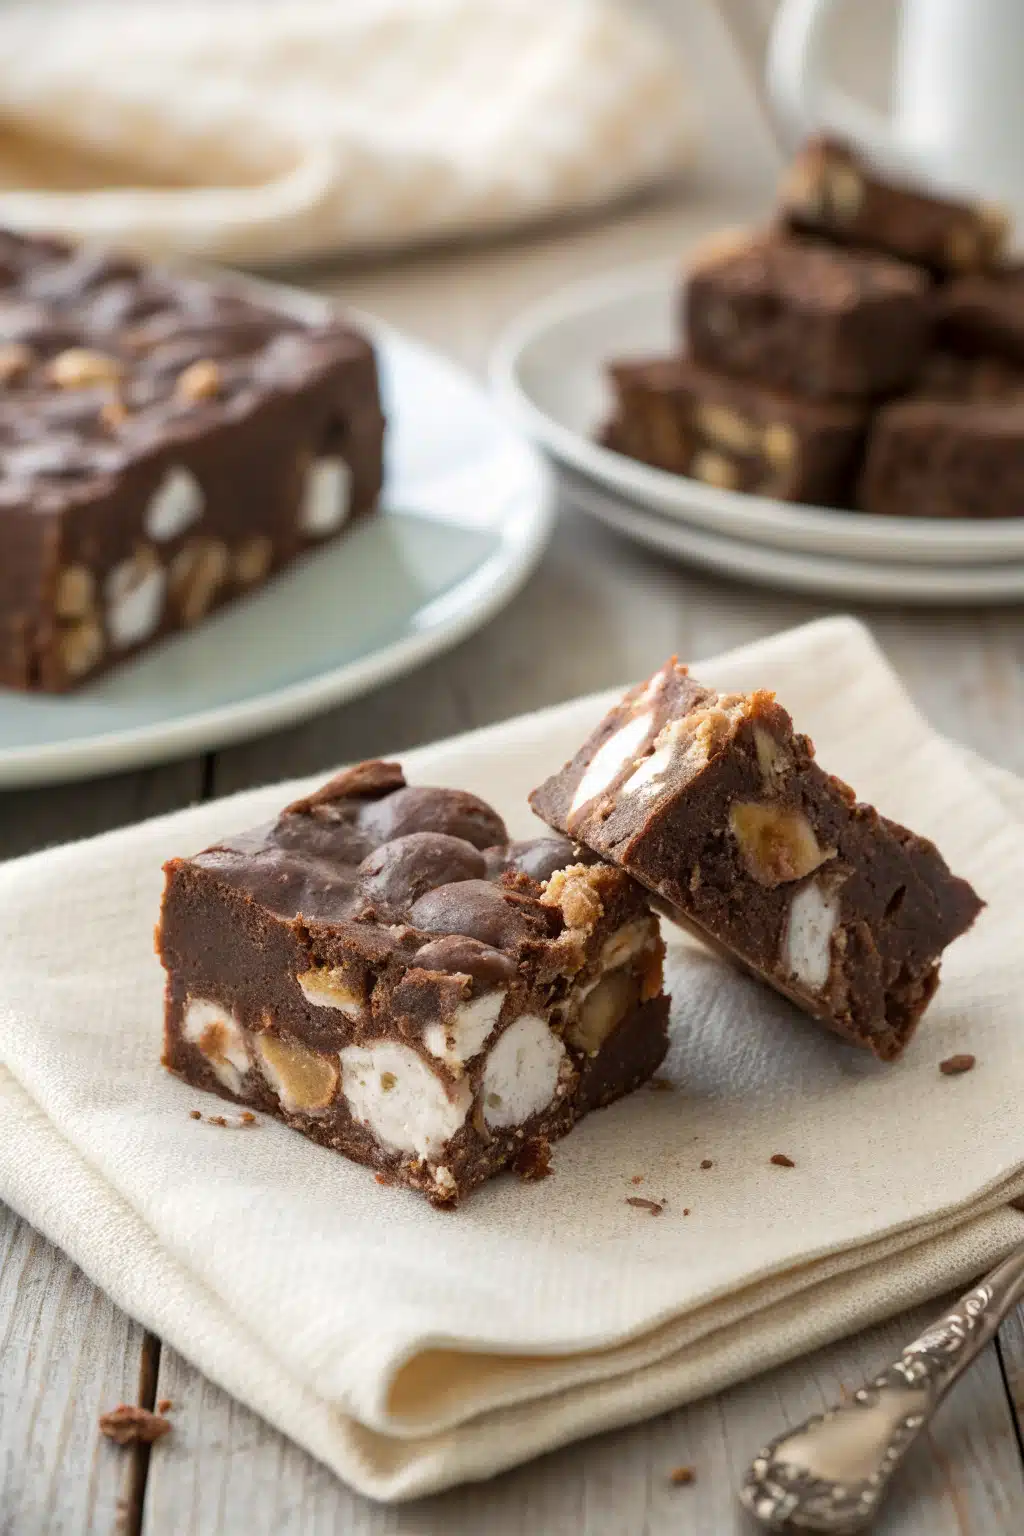
Scrape the thick mixture into your prepared baking pan. Use the back of a spoon or your spatula to press it evenly into the corners. Pop it into the refrigerator for at least 2 hours, or until it is completely firm. Lift it out using your parchment paper handles, slice it into squares, and enjoy!
What to Serve It With
This rocky road fudge is incredibly rich, so I always recommend serving it with something that offers a bit of balance. A piping hot cup of black coffee or a tall glass of ice-cold milk are the absolute best pairings. The bitterness of the coffee cuts beautifully through the sweetness of the marshmallows and condensed milk.
If you are putting together a holiday dessert spread, this fudge looks gorgeous plated next to classic buttery shortbread cookies, ginger snaps, or a bowl of fresh strawberries. If you really want to go all out for a special occasion, try chopping up a piece of this fudge and sprinkling it over a big scoop of vanilla bean ice cream. It is decadent, over-the-top, and completely unforgettable.
Top Tips for Perfecting Your Rocky Road Fudge Recipe
Even though this recipe is practically foolproof, I have picked up a few handy tricks over the years to make sure it comes out looking and tasting like it came from a fancy candy shop.
First, quality matters. Since there are so few ingredients, try to use a good brand of chocolate chips. Cheap chocolate can sometimes get waxy when it melts, and you want this to be incredibly smooth.
Second, watch your heat! Chocolate burns very easily. Whether you are using the microwave or a double boiler on the stove, keep the heat gentle and stir frequently. The residual heat will melt the stubborn chips, so take it off the heat right before it looks completely smooth.
Third, don’t skip the resting period. Letting the chocolate mixture cool for a few minutes before adding the marshmallows ensures you get those distinct, beautiful white clouds in your fudge rather than a swirly, melted marshmallow soup.
Lastly, when it is time to slice, run a sharp chef’s knife under hot water, wipe it completely dry, and press straight down into the cold fudge. You will get gorgeous, clean cuts every time!
Storing and Reheating Tips
Because this fudge has a high dairy and sugar content, it stores beautifully. You will want to keep your cut fudge squares in an airtight container. If you are stacking them, place a sheet of wax paper or parchment paper between the layers so they don’t stick together.
It will keep wonderfully at room temperature for about a week, provided your kitchen isn’t super hot. If you prefer a firmer fudge, store it in the refrigerator, where it will easily last for up to three weeks.
Want to save some for later? This fudge freezes like a dream! Wrap the entire block (or individual squares) tightly in plastic wrap, then place them in a zip-top freezer bag. It will stay fresh in the freezer for up to three months. When you are ready to enjoy it, just let it thaw overnight in the fridge. As for reheating, you definitely want to skip it! Fudge is meant to be eaten cold or at room temperature. Heating it will melt the chocolate and ruin the texture.
Frequently Asked Questions
Final Thoughts
There is a reason this Rocky Road Fudge Recipe has been a staple in my family for years. It is that rare combination of being incredibly easy to make while looking and tasting like you spent all afternoon slaving away in the kitchen. Whether you make a batch to share with friends, give as a sweet holiday gift, or just keep stashed in the fridge for late-night chocolate cravings, I know it is going to bring a huge smile to your face.
Don’t be afraid to make it your own by swapping the nuts, tossing in some extra treats, or adding a drizzle of white chocolate on top. Baking (and no-bake candy making) is all about having fun and creating something you genuinely love. If you try this recipe, I would be absolutely thrilled to hear how it turns out for you. Grab your ingredients, have fun with it, and enjoy every single chewy, crunchy, chocolaty bite!
Rocky Road Fudge Recipe
Ingredients
Main Ingredients
- 3 cups mini marshmallows divided
- 2.5 cups semi-sweet chocolate chips
- 14 oz sweetened condensed milk 1 can
- 2 tablespoons unsalted butter
- 1 cup walnuts chopped
- 1 teaspoon pure vanilla extract
Instructions
Preparation Steps
- Line an 8x8-inch baking pan with parchment paper and lightly grease it.
- In a large microwave-safe bowl, combine the semi-sweet chocolate chips, sweetened condensed milk, and butter.
- Microwave in 30-second intervals, stirring after each, until the chocolate is completely melted and smooth.
- Stir in the vanilla extract and chopped walnuts. Let the mixture cool for 2 to 3 minutes so the marshmallows do not melt completely.
- Gently fold in 2.5 cups of the mini marshmallows. Pour the fudge mixture into the prepared pan and spread evenly. Top with the remaining 0.5 cup of marshmallows.
- Refrigerate for at least 2 hours until firm. Remove from the pan using the parchment paper and cut into squares.
Notes
Featured Comments
“Impressed! Clear steps and perfect for busy nights results. Perfect for busy nights.”
“New favorite here — creamy. crowd-pleaser was spot on.”
“Super easy and turned out amazing! My family asked for seconds. Saving this one.”
“This sweet treat was absolutely loved — the bright really stands out. Thanks!”
“Made it tonight and wow — creamy! Will definitely make Rocky Road Fudge Recipe: 5 Tips for Perfect Chocolate Marshmallow Bliss! again.”
“Packed with flavor and so simple. Exactly what I wanted from Rocky Road Fudge Recipe: 5 Tips for Perfect Chocolate Marshmallow Bliss!.”


