

The Best Salted Caramel Apple Crumble Recipe You’ll Ever Bake
There is absolutely nothing like the smell of a warm apple dessert baking in the oven on a chilly weekend afternoon. It instantly makes the whole house feel cozy, right? I’ve been making various versions of baked apples for years, but this specific Apple Crumble Recipe is the one my family begs for every single Thanksgiving, Sunday dinner, and honestly, random Tuesday nights when we just need a sweet pick-me-up.
If you’re anything like me, you love the idea of a freshly baked pie but really don’t have the patience to babysit a delicate, finicky pie crust. That’s where a gorgeous, bubbling crumble swoops in to save the day. It delivers all those nostalgic, comforting autumn flavors with a fraction of the effort.
We are taking things up a notch today by adding rich, gooey salted caramel to the mix. It completely transforms a humble classic into something truly spectacular. Grab your favorite mixing bowl and a cozy sweater, because we are about to make some serious magic in the kitchen.
What Is A Salted Caramel Apple Crumble?
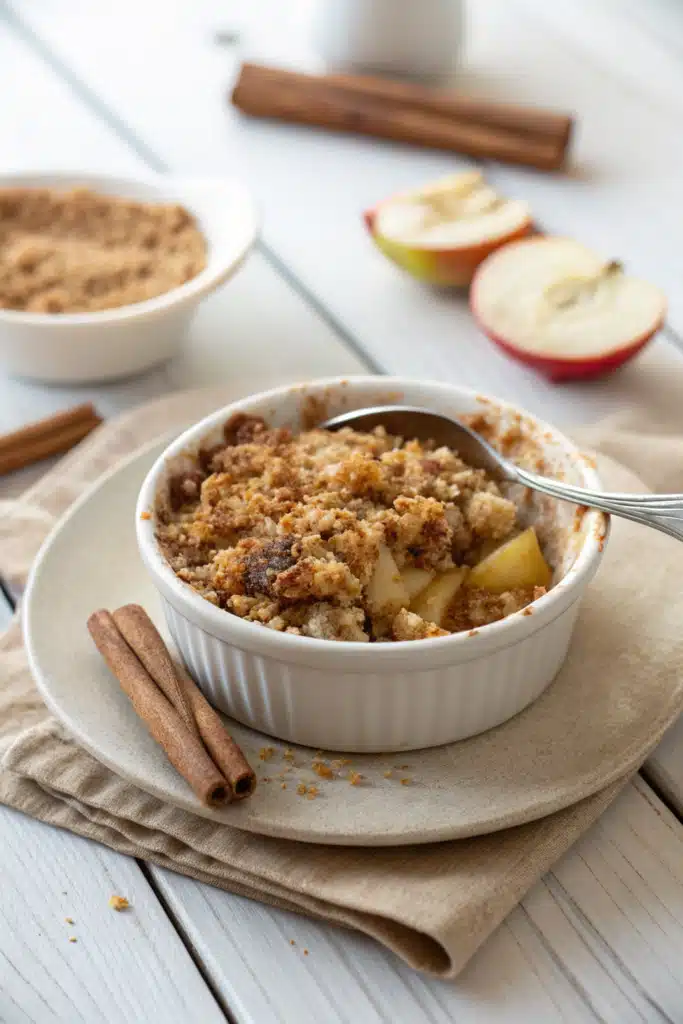
If you’ve never experienced the absolute joy of a salted caramel apple crumble before, you are in for a massive treat. At its core, a traditional Apple Crumble Recipe features a layer of tender, cinnamon-spiced baked apples hidden beneath a thick, buttery, crispy oat topping.
It actually originated in Britain during World War II when pie pastry ingredients were strictly rationed, but it quickly became a beloved dessert worldwide because it’s just so darn delicious and incredibly easy to throw together.
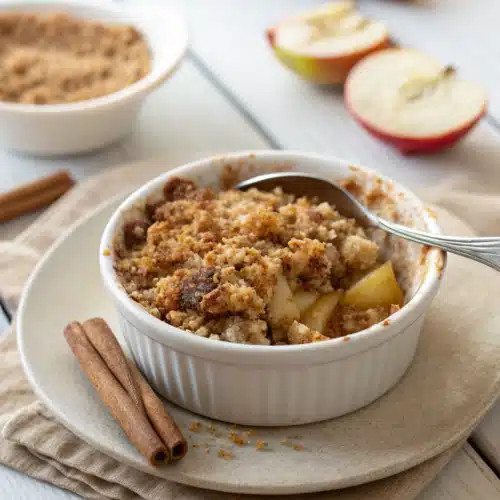
For this version, we are sneaking a generous drizzle of salted caramel sauce right over the apples before we add the crumble topping. As it bakes, the caramel melts down into the apple juices, creating a thick, bubbling syrup that coats every single bite. The topping is a simple but mighty mix of flour, oats, brown sugar, and cold butter cut together until it resembles coarse crumbs. When it hits the heat of the oven, it toasts up into a golden, crunchy crown that contrasts perfectly with the soft, jammy fruit underneath. It’s rustic, messy in the best way possible, and totally forgiving.
How to Make Salted Caramel Apple Crumble
Quick Overview
Making this dessert is a total breeze. We’re going to start by peeling and chopping our apples, tossing them with a little lemon juice, sugar, and warm spices so they get perfectly coated. Then, we mix up our buttery oat topping—I highly recommend using your hands for this part to get those perfect, clumpy crumbles. After that, it’s just a matter of layering the apples, drizzling a healthy amount of salted caramel over the top, and scattering your crumble mixture evenly across the dish. Pop it in the oven until it’s bubbling like crazy and golden brown on top.
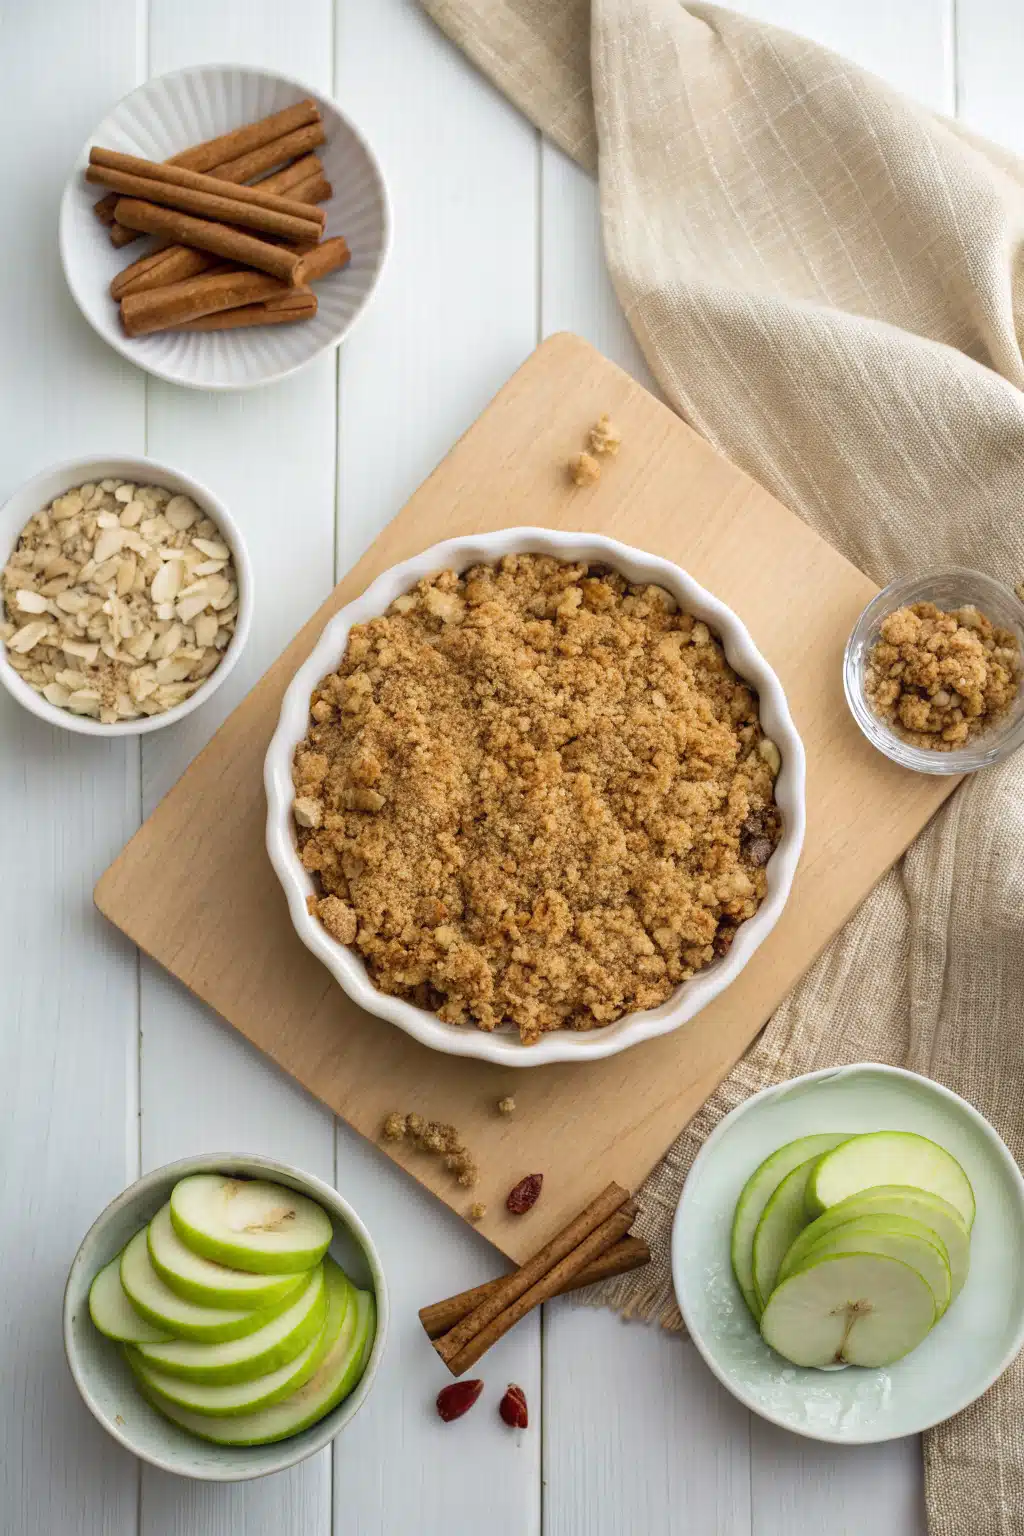
Ingredients
- Apples: 6 large apples, peeled, cored, and chopped. I highly recommend doing a 50/50 mix of Granny Smith and Honeycrisp.
- Lemon Juice: 1 tablespoon of fresh juice to keep the apples from browning and to balance the sweetness.
- Brown Sugar: 1/4 cup for the filling, plus 1/2 cup for the topping. Light or dark brown sugar both work great!
- Spices: 1 teaspoon of ground cinnamon and 1/4 teaspoon of nutmeg.
- Salted Caramel: 1/2 cup of thick salted caramel sauce. Store-bought is totally fine.
- Flour: 1 cup of all-purpose flour for the crumble base.
- Oats: 1 cup of old-fashioned rolled oats. Avoid quick oats, as they turn to mush.
- Butter: 1/2 cup (1 stick) of unsalted butter, cubed and very cold.
- Salt: Just a pinch for the topping to bring out the flavors.

Step-by-Step Instructions
Step 1: Preheat & Prep Pan
First things first, preheat your oven to 350°F (175°C). Grab a 9×9 inch baking dish and grease it lightly with a little bit of butter or non-stick spray so nothing sticks to the edges.
Step 2: Toss the Apples
In a large bowl, throw in your chopped apples, lemon juice, 1/4 cup of brown sugar, cinnamon, and nutmeg. Give it a really good stir until every single apple chunk is coated in that warm, sugary goodness.
Step 3: Add the Caramel
Pour the apple mixture into your prepared baking dish, spreading it out into an even layer. Now for the best part—drizzle your salted caramel sauce evenly right over the top of the apples. Don’t be shy here!
Step 4: Make the Crumble Topping
In a separate clean bowl, whisk together your flour, rolled oats, the remaining 1/2 cup of brown sugar, and a pinch of salt. Drop in your cubed, cold butter. Use your fingers (or a pastry blender if you want to be fancy) to cut and rub the butter into the dry ingredients until it looks like clumpy, wet sand. You want some nice big chunks in there!
Step 5: Assemble and Bake
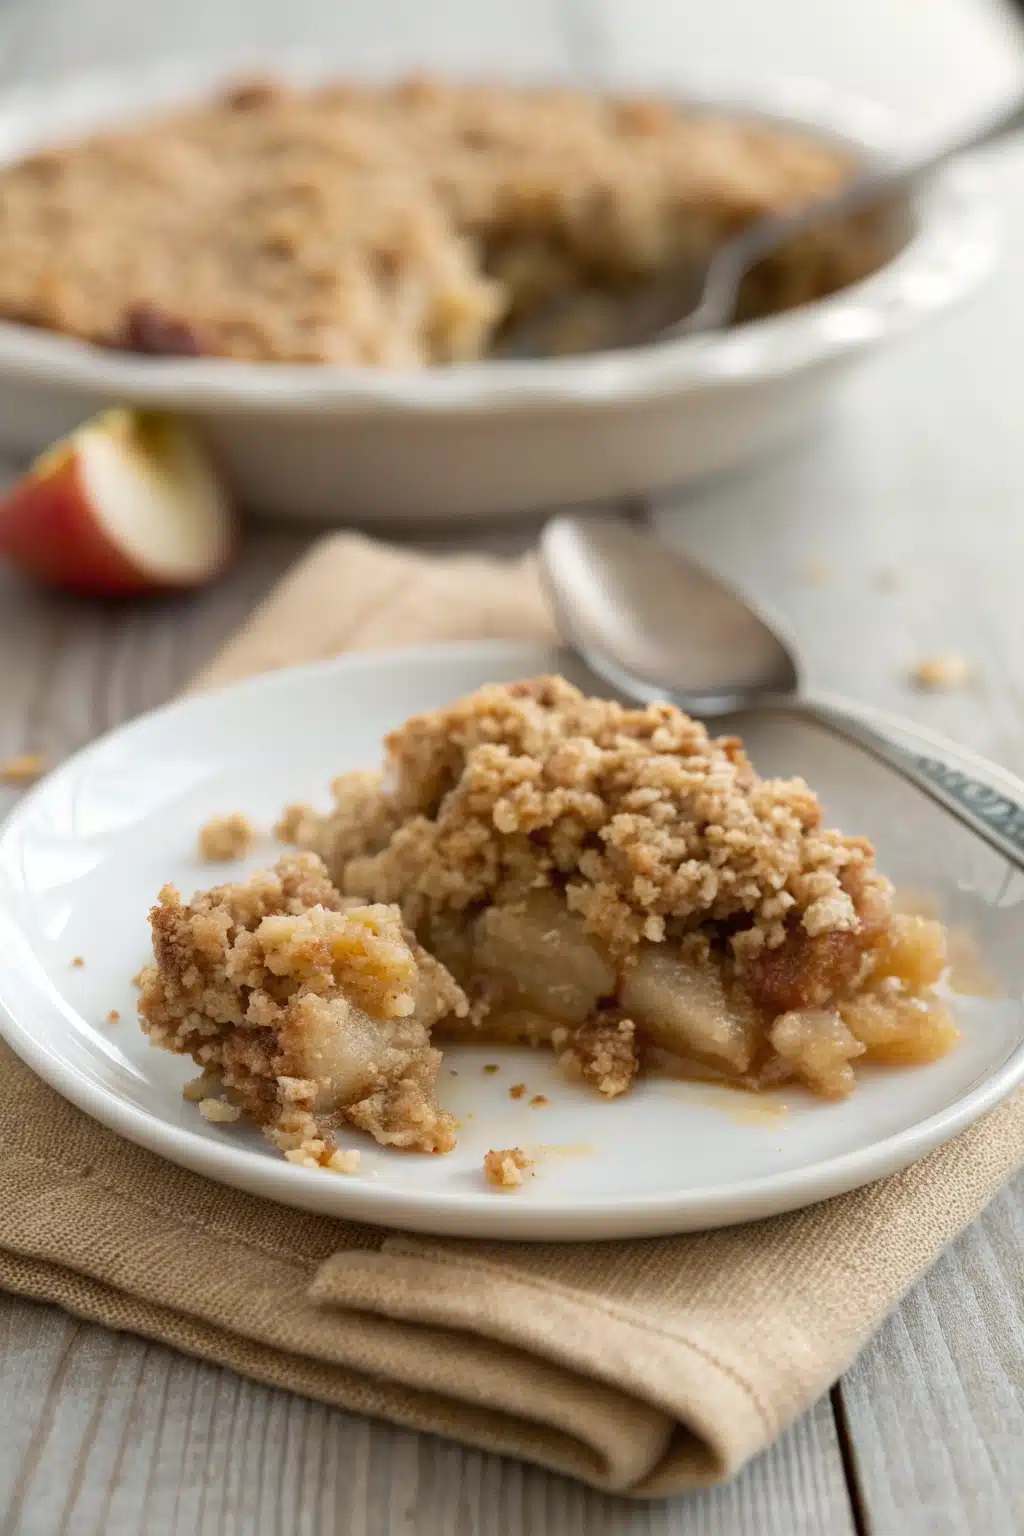
Sprinkle the crumble topping evenly over your caramel-covered apples. Pop the dish into the oven and bake for about 40 to 45 minutes. You’ll know it’s done when the topping is a beautiful golden brown and the caramel apple juices are bubbling up around the edges.
What to Serve It With
Honestly, you could eat this straight out of the pan with a spoon while standing at the kitchen counter, but if you want to do it right, you have to serve it warm with a massive scoop of vanilla bean ice cream. As the cold ice cream melts into the hot, crunchy crumble, it creates this creamy, dreamy sauce that is just out of this world.
If you aren’t a huge ice cream fan, a dollop of fresh, lightly sweetened whipped cream or a pour of warm vanilla custard is incredibly traditional and totally delicious. And hey, nobody is going to judge you if you drizzle a little extra salted caramel over the top of your bowl, either!
Top Tips for Perfecting Your Apple Crumble
Mix your apples: Using only one type of apple is fine, but mixing a tart apple (like Granny Smith) with a sweet, firm apple (like Honeycrisp, Braeburn, or Pink Lady) gives you the absolute best depth of flavor and texture. The tartness cuts through the rich caramel beautifully.
Keep the butter cold: The secret to a really crispy, crunchy topping is ice-cold butter. If your butter gets too warm and soft while you’re mixing it with your hands, pop the bowl in the fridge for 10 minutes before baking to firm it back up.
Let it rest: I know it smells incredible and you want to dive right in, but try to let the crumble sit for about 15 to 20 minutes after taking it out of the oven. This gives the caramel and fruit juices a chance to thicken up so it isn’t a watery mess when you scoop it onto your plate.
Storing and Reheating Tips
If you somehow manage to have leftovers, you can cover the completely cooled baking dish tightly with plastic wrap or transfer the crumble to an airtight container. It will keep nicely in the fridge for up to 4 days.
When you are ready for round two, I highly recommend reheating your portion in the oven at 350°F for about 10 to 15 minutes. This helps the oat topping crisp right back up. The microwave works in a pinch if you are desperate for a quick fix, but keep in mind that the oats will definitely be a bit softer and less crunchy.
Frequently Asked Questions
Final Thoughts
There you have it—my absolute favorite way to welcome the cozy season. This Apple Crumble Recipe has brought so much joy to my dinner table, and I truly hope it does the exact same for yours. It’s proof that you don’t need complicated pastry techniques or fancy kitchen equipment to make a dessert that leaves everyone scraping their plates clean.
If you give this salted caramel version a try, please let me know how it turned out for you in the comments! Grab a spoon, serve up a big scoop, and happy baking, friends!
Salted Caramel Apple Crumble
Ingredients
Main Ingredients
- 6 large green apples peeled, cored, and sliced
- 0.5 tsp ground cinnamon
- 1 cup salted caramel sauce
- 0.25 cup heavy cream
- 0.5 tsp sea salt
- 1 cup all-purpose flour
- 0.5 cup brown sugar
- 0.5 cup rolled oats
- 0.5 cup unsalted butter softened
Instructions
Preparation Steps
- Preheat oven to 350°F (175°C) and grease a 9x9 inch baking dish.
- In a large bowl, toss the sliced apples with cinnamon, 0.5 cup of salted caramel sauce, heavy cream, and sea salt. Pour the apple mixture into the prepared baking dish.
- In a separate bowl, combine the flour, brown sugar, and rolled oats.
- Using your fingers or a pastry blender, cut the softened butter into the dry ingredients until the mixture resembles coarse crumbs.
- Sprinkle the crumble topping evenly over the apple filling in the baking dish.
- Bake for 35 minutes, or until the topping is golden brown and the apple filling is bubbly and tender.
- Remove from the oven and let cool for 10 minutes. Drizzle with the remaining 0.5 cup of salted caramel sauce before serving.
Notes
Featured Comments
“This sounds absolutely comforting—like something straight out of a cozy autumn day. I can already imagine the rich caramel and warm apples!”
“Impressed! Clear steps and perfect for busy nights results. Perfect for busy nights.”
“New favorite here — spot on. crowd-pleaser was spot on.”
“Super easy and turned out amazing! My family asked for seconds. Saving this one.”
“This sweet treat was absolutely loved — the buttery really stands out. Thanks!”
“Made it tonight and wow — absolutely loved! Will definitely make Salted Caramel Apple Crumble again.”


This sounds absolutely comforting—like something straight out of a cozy autumn day. I can already imagine the rich caramel and warm apples!