

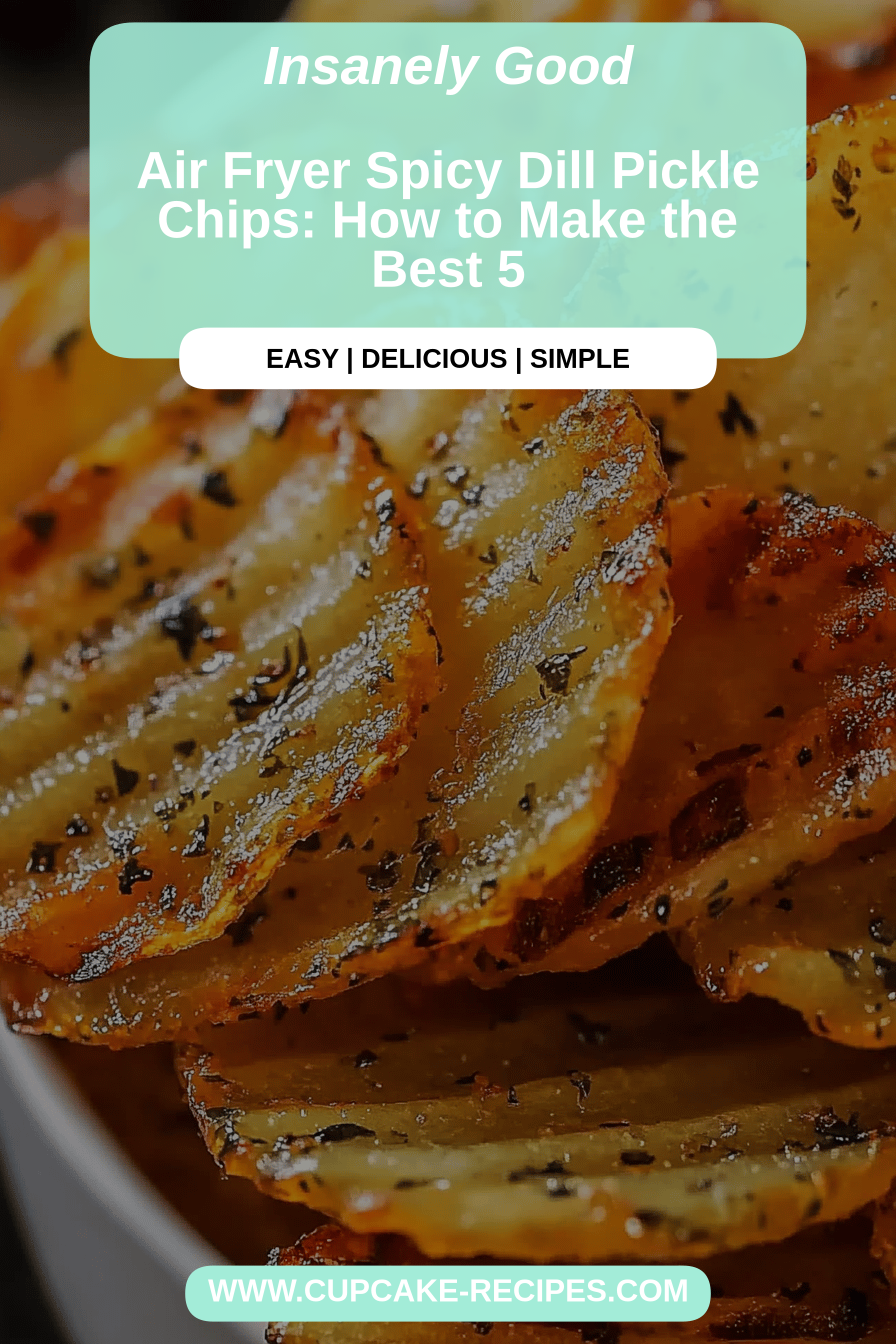
Oh, how do I even begin to describe these spicy dill pickle chips? If you’re anything like me, you probably have a soft spot for anything with that classic dill pickle tang. But let me tell you, these chips take it to a whole new level. They’re not your average snack; they’re a flavor explosion in every bite. I first stumbled upon a variation of this years ago when I was desperately trying to find a way to use up a mountain of zucchini from my garden, and honestly, I was skeptical. But wow, was I wrong! They ended up being so good that my family started requesting them every week. They’re like the most amazing, flavorful, crispy baked chips you can imagine, but with this incredible spicy kick that just keeps you coming back for more. If you love those store-bought dill pickle chips but wish they had a little more *oomph*, or if you’re just looking for a unique and seriously satisfying snack, you’ve come to the right place. These spicy dill pickle chips are a game-changer, and I can’t wait for you to try them!
What are Spicy Dill Pickle Chips?
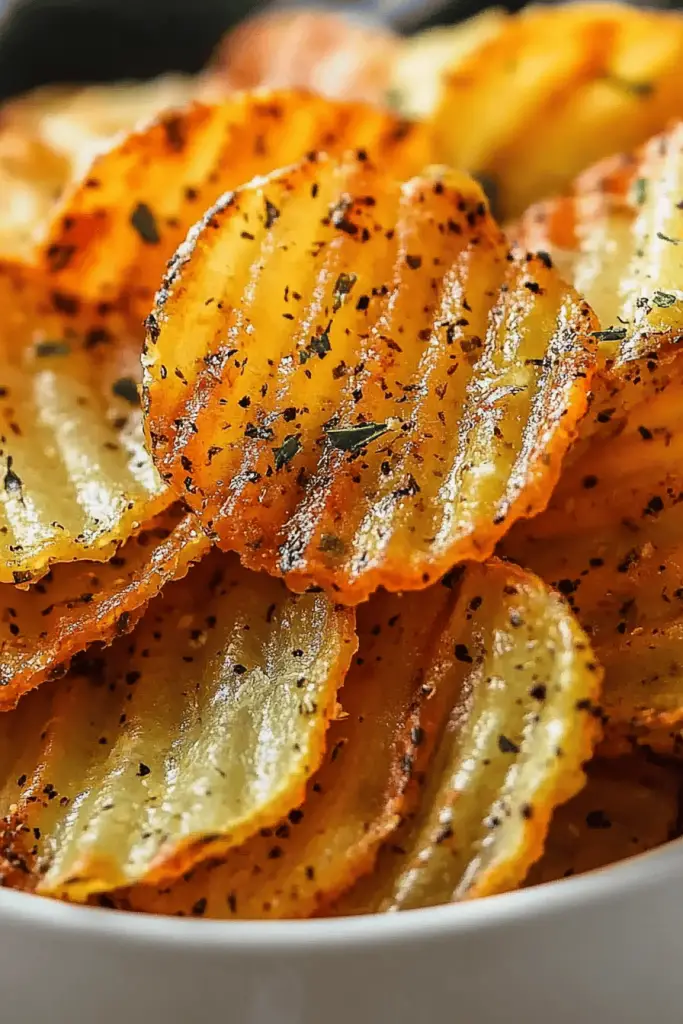
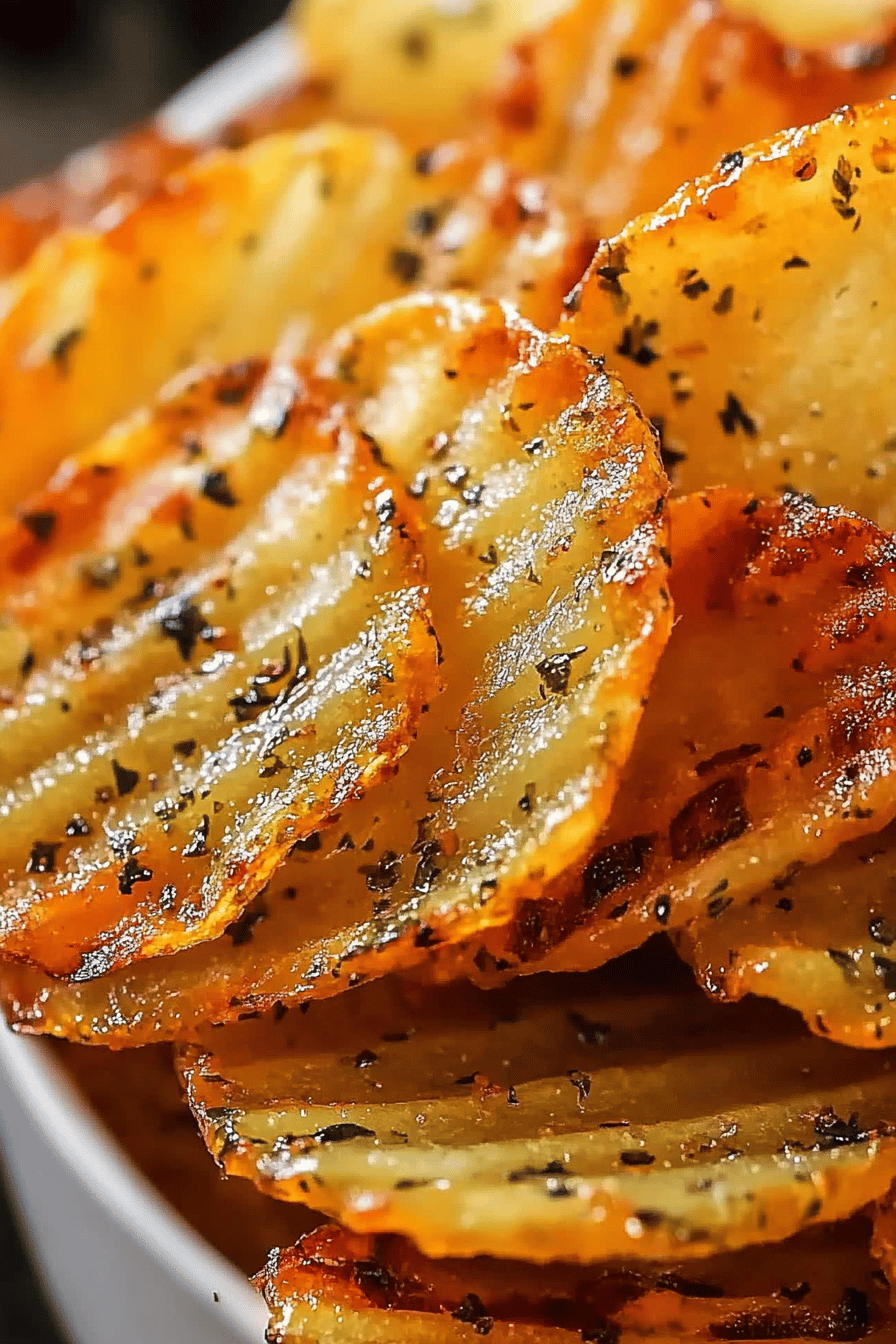
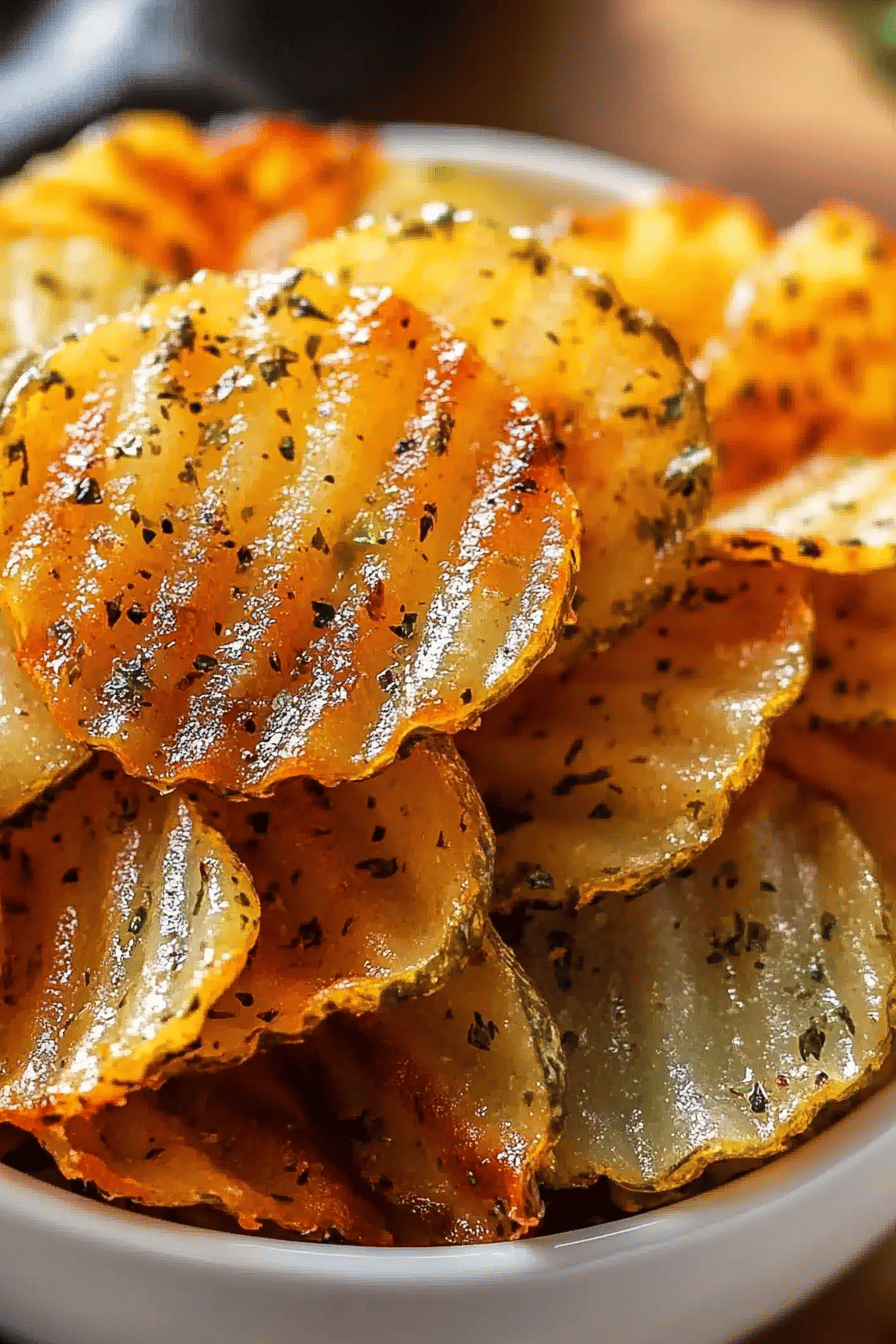
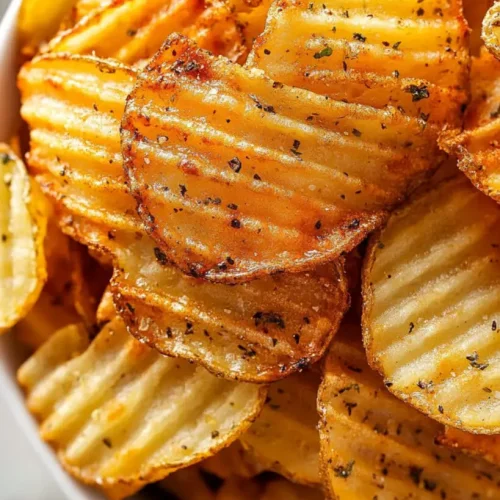
So, what exactly are these magical little morsels? Think of them as your favorite dill pickle flavor, but in the most irresistible chip form you can imagine. We’re talking about thinly sliced zucchini, coated in a savory, slightly spicy batter, and then baked until they’re wonderfully crisp. The “spicy” part comes from a blend of seasonings that give them just the right amount of heat to complement the tangy dill and garlic notes. It’s not an overwhelming spice; it’s more of a pleasant warmth that builds with each bite. They’re not fried, so you can feel a little better about munching on them, and the baking process really brings out a fantastic texture – crispy on the outside, with a tender bite inside. Essentially, they’re a healthier, homemade version of a beloved snack flavor, packed with way more personality and a customizable kick. They’re sunshine in chip form, really!
How to Make Spicy Dill Pickle Chips
Quick Overview
Making these spicy dill pickle chips is wonderfully straightforward. The process involves slicing your zucchini super thin, tossing it in a flavorful, seasoned batter, and then baking it to crispy perfection. It’s all about getting that beautiful crunch without all the grease of frying. You’ll be amazed at how a simple vegetable can transform into such a crave-worthy snack. This method is all about maximizing flavor and achieving that irresistible crispy texture, making it a truly rewarding and Easy Recipe for anyone to try.
Ingredients
For the Main Batter:
1 cup all-purpose flour (or a gluten-free blend if you prefer!)
1/2 cup cornstarch (this is key for crispiness!)
1 teaspoon garlic powder
1 teaspoon onion powder
1 teaspoon dried dill weed (or a bit more if you’re a dill lover like me!)
1/2 teaspoon smoked paprika (for that hint of smokiness)
1/4 teaspoon cayenne pepper (adjust this to your spice preference – start small if you’re unsure!)
1 teaspoon salt
1/2 teaspoon black pepper
1 cup milk (I’ve tested this with regular dairy milk, almond milk, and oat milk, and honestly, they all work beautifully! Almond milk made it a touch creamier, which I loved).
2 large eggs
For the Zucchini Slices:
2 medium zucchini (about 1.5 lbs total), washed and ends trimmed
1/2 cup finely crushed dill pickle chips or dill pickle flavored crackers (this is my secret weapon for extra pickle flavor!)
For the Optional Spicy Glaze:
2 tablespoons melted butter
1 teaspoon dill pickle juice (don’t throw that brine away!)
1/4 teaspoon garlic powder
Pinch of cayenne pepper (optional, for an extra kick)
Step-by-Step Instructions
Step 1: Preheat & Prep Pan
First things first, let’s get our oven fired up. Preheat it to 400°F (200°C). While the oven heats, line two large baking sheets with parchment paper. This is a lifesaver for cleanup, trust me! You want the parchment paper to cover the entire surface so nothing sticks. I always like to have my pans ready to go before I start mixing anything, just to keep the workflow smooth.
Step 2: Mix Dry Ingredients
Grab a large mixing bowl. Into it, we’ll add the flour, cornstarch, garlic powder, onion powder, dried dill weed, smoked paprika, cayenne pepper, salt, and Black Pepper. Give all these dry ingredients a good whisk together. You want to make sure everything is evenly distributed. This ensures that every single chip gets that perfect blend of savory, spicy, and dill flavors. It’s the foundation for deliciousness!
Step 3: Mix Wet Ingredients
In a separate medium bowl, whisk together your milk and the eggs until they’re well combined and slightly frothy. If you’re using almond milk or oat milk, just whisk as usual – they incorporate beautifully. This liquid mixture will help bind our dry ingredients and create a lovely batter.
Step 4: Combine
Now, pour the wet ingredients into the bowl with the dry ingredients. Whisk everything together until you have a smooth, thick batter. Don’t overmix it! A few small lumps are totally fine. Overmixing can lead to tougher chips, and we want these to be tender and crispy. The batter should be thick enough to coat the back of a spoon, but still pourable.
Step 5: Prepare Filling
This is where we get that intense pickle flavor! Take your finely crushed dill pickle chips or crackers and put them in a shallow dish or on a plate. If you can’t find pickle-flavored chips, regular potato chips crushed up with a tablespoon of pickle juice works in a pinch, though the flavor won’t be quite as pronounced. This step is optional if you want to keep it simpler, but it really amplifies the pickle goodness.
Step 6: Layer & Swirl
This is the fun part! Grab your zucchini. Using a mandoline slicer on its thinnest setting (or a very sharp knife if you’re careful!), slice the zucchini into rounds. You want them to be as thin as possible – almost translucent. This is crucial for achieving that perfect crispiness. Lay the zucchini slices in a single layer on your prepared baking sheets. Don’t overcrowd the pans; you might need to bake in batches. Now, either brush a little batter onto each side of the zucchini slice or gently dip each slice into the batter, ensuring it’s lightly coated. If you’re using the pickle crumb coating, now’s the time to press each battered slice into the crushed pickle chips, coating one side. Some slices might just get a light batter coating and go straight to the baking sheet, while others get the pickle crumb treatment – it’s all about variety and deliciousness!
Step 7: Bake
Place the baking sheets into your preheated oven. Bake for 10-12 minutes. Carefully flip each zucchini slice using a spatula or tongs. You’ll notice they’re starting to get a little golden and crisp around the edges. Bake for another 8-10 minutes, or until they are golden brown and wonderfully crispy. Keep an eye on them, as baking times can vary depending on your oven and the thickness of your slices. You’re looking for that delightful crunch!
Step 8: Cool & Glaze
Once they’re perfectly baked and crispy, remove the baking sheets from the oven. Let the chips cool on the baking sheets for a few minutes. This helps them crisp up even more as they cool. If you’re using the glaze, whisk together the melted butter, dill pickle juice, garlic powder, and cayenne pepper in a small bowl. Once the chips are mostly cooled, you can lightly brush this glaze over them for an extra punch of flavor and shine. I usually do this while they’re still warm, but not piping hot.
Step 9: Slice & Serve
Once they’ve cooled down enough to handle and have reached peak crispiness, your spicy dill pickle chips are ready to be devoured! Serve them warm or at room temperature. They are absolutely divine straight from the oven when they’re at their crispiest. Arrange them on a platter and watch them disappear!
What to Serve It With
These spicy dill pickle chips are so versatile, they can elevate almost any meal or occasion! For breakfast, I love to have them alongside a hearty scrambled egg dish or a savory breakfast burrito. The tanginess cuts through the richness, and they’re just plain fun to eat. For brunch, they make an elegant yet playful addition to a platter. Imagine them alongside smoked salmon, mini quiches, or a fresh salad. A crisp white wine or a sparkling mimosa pairs beautifully. As a stand-alone dessert (yes, you heard me!), especially if you like a little savory crunch after a sweet meal, these are surprisingly satisfying. They’re also the ultimate accompaniment to a cheese board or charcuterie spread. And for those cozy snacks, they’re pure comfort. Pile them high next to your favorite sandwich, serve them with a creamy dip like ranch or blue cheese, or just enjoy them on their own while curled up with a good book. My family has a tradition of making a big batch for movie nights, and they’re always the first thing to go!
Top Tips for Perfecting Your Spicy Dill Pickle Chips
Over the years, I’ve learned a few tricks that help make these spicy dill pickle chips absolutely perfect every single time. When it comes to zucchini prep, the thinner you slice them, the crispier they’ll be. A mandoline is your best friend here, but if you’re using a knife, take your time and aim for consistency. Always pat them dry with paper towels after slicing to remove excess moisture – this is crucial for getting them crispy, not soggy. For mixing advice, remember that the batter should be thick enough to coat but not gloppy. If it seems too thin, add a tablespoon more flour or cornstarch at a time. If it’s too thick, add a splash more milk. The key is to get a light, even coating on the zucchini. When it comes to swirl customization, well, I usually just dip them or brush them, but if you’re feeling artistic, you could try piping the batter on for a more defined pattern. For ingredient swaps, if you can’t find dill pickle chips for the coating, you can use plain potato chips and add an extra 1/2 teaspoon of dill and a teaspoon of pickle juice to the batter. For the spicy glaze, if you don’t have pickle juice, a tiny splash of white vinegar will give you some tang. If you’re out of cayenne, a pinch of Red Pepper flakes works too. Regarding baking tips, always preheat your oven properly. Ovens can vary, so watch yours closely. Rotating the pans halfway through baking helps ensure even cooking. If some chips are crisping up faster than others, just remove the done ones and let the rest continue baking. For glaze variations, you can make it sweeter by adding a tiny bit of honey or maple syrup, or make it tangier with more pickle juice or a squeeze of lemon.
Storing and Reheating Tips
Now, if you happen to have any leftovers (which is a rare occurrence in my house!), storing them properly is key to maintaining that delicious crispiness. For room temperature storage, if they’ve cooled completely, you can keep them in an airtight container for a day or two. They might lose a *tiny* bit of crispness, but they’ll still be yummy. If you’ve glazed them, I’d lean towards eating them the same day. Refrigerator storage is generally not recommended if you want maximum crispiness, as the humidity can make them a bit soft. However, if you absolutely must, store them in an airtight container, and they should be okay for up to 3-4 days. The quality will definitely degrade over time. When it comes to freezer instructions, I typically don’t freeze these because they lose their delightful crunch. But if you really want to, I’d suggest baking them until they are *just* done and still slightly soft, then freezing them in a single layer on a baking sheet until solid, before transferring them to a freezer bag or container. Thaw them overnight in the refrigerator and then reheat them in a single layer on a baking sheet in a 350°F (175°C) oven for about 5-10 minutes until crisp again. For glaze timing advice, I always apply the glaze *after* they’ve baked and cooled slightly. If you’re storing them for later, it’s best to glaze them just before serving for the freshest flavor and best texture.
Frequently Asked Questions
Final Thoughts
So there you have it – my beloved spicy dill pickle chips! I truly hope you give these a try. They’re more than just a recipe to me; they represent those moments of culinary discovery and the joy of creating something utterly delicious from simple ingredients. They’re the perfect answer to that craving for something crunchy, tangy, and a little bit exciting. If you love this recipe and are looking for more ways to use up garden zucchini or just explore more savory snacks, you might also enjoy my [Link to another related savory recipe] or my [Link to another related baked chip recipe]. I’d absolutely love to hear what you think! Please leave a comment below to share your experience, rate the recipe, and tell me about any fun variations you tried. Happy baking, and I can’t wait to hear how your spicy dill pickle chips turn out!
Spicy Dill Pickle Chips
Ingredients
Main Ingredients
- 1 large dill pickles thinly sliced
- 1 cup all-purpose flour
- 0.5 cup cornstarch
- 0.5 teaspoon cayenne pepper or to taste
- 1 teaspoon paprika
- 0.5 teaspoon garlic powder
- 0.25 teaspoon black pepper
- 1 cup buttermilk
- 2 large eggs beaten
- 2 cups panko breadcrumbs
- vegetable oil for frying
Instructions
Preparation Steps
- Drain the dill pickles very well and pat them dry with paper towels. This is crucial for crispy chips.
- In a shallow dish, whisk together the flour, cornstarch, cayenne pepper, paprika, garlic powder, and black pepper. Set aside.
- In another shallow dish, whisk together the buttermilk and beaten eggs.
- In a third shallow dish, place the panko breadcrumbs.
- Working in batches, dip each pickle slice first into the flour mixture, ensuring it's fully coated. Shake off any excess.
- Next, dip the floured pickle slice into the buttermilk mixture, letting any excess drip off.
- Finally, dredge the pickle slice in the panko breadcrumbs, pressing gently to coat evenly.
- Heat about 1 inch of vegetable oil in a large skillet over medium-high heat to 350°F (175°C).
- Carefully add the coated pickle chips to the hot oil in a single layer, working in batches to avoid overcrowding the skillet. Fry for 2-3 minutes per side, until golden brown and crispy.
- Remove the fried pickle chips with a slotted spoon and place them on a wire rack set over a baking sheet to drain any excess oil.
- Serve immediately with your favorite dipping sauce.
Notes
Featured Comments
“test”
“Impressed! Clear steps and super easy results. Perfect for busy nights.”
“New favorite here — absolutely loved. crowd-pleaser was spot on.”
“Super easy and turned out amazing! My family asked for seconds. Saving this one.”
“This sweet treat was absolutely loved — the hearty really stands out. Thanks!”
“Made it tonight and wow — crowd-pleaser! Will definitely make spicy dill pickle chips again.”


test