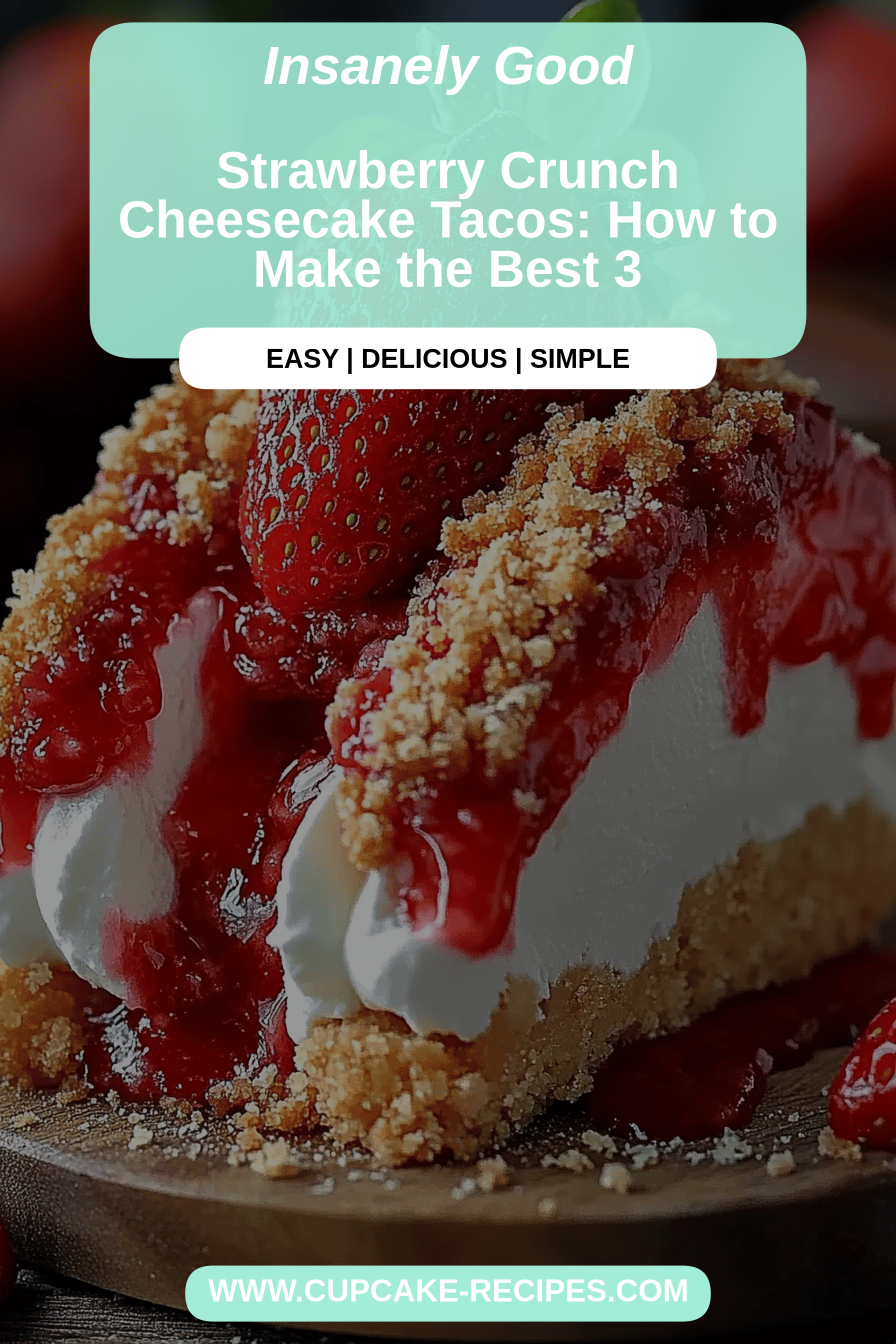
Oh, where do I even begin with this Strawberry Crunch Cheesecake? It’s the kind of dessert that instantly transports me back to sunny afternoons at my grandma’s house, the air thick with the sweet, unmistakable scent of baking. You know how some recipes just feel like a warm hug? This is one of them. It’s got that incredible creamy, dreamy cheesecake texture we all adore, but then it gets a whole lot more interesting with a vibrant, tangy strawberry swirl and, best of all, a ridiculously addictive crunchy topping. Honestly, if you’ve ever had a really good strawberry shortcake or a classic cheesecake and thought, “What if I could have both, but even better?” then this strawberry crunch cheesecake is your answer. It’s not quite a baked cheesecake, and it’s not a no-bake cheesecake either; it’s something truly special that lands perfectly in the middle, and I promise, it’s worth every single second you spend making it.
What is strawberry crunch cheesecake?
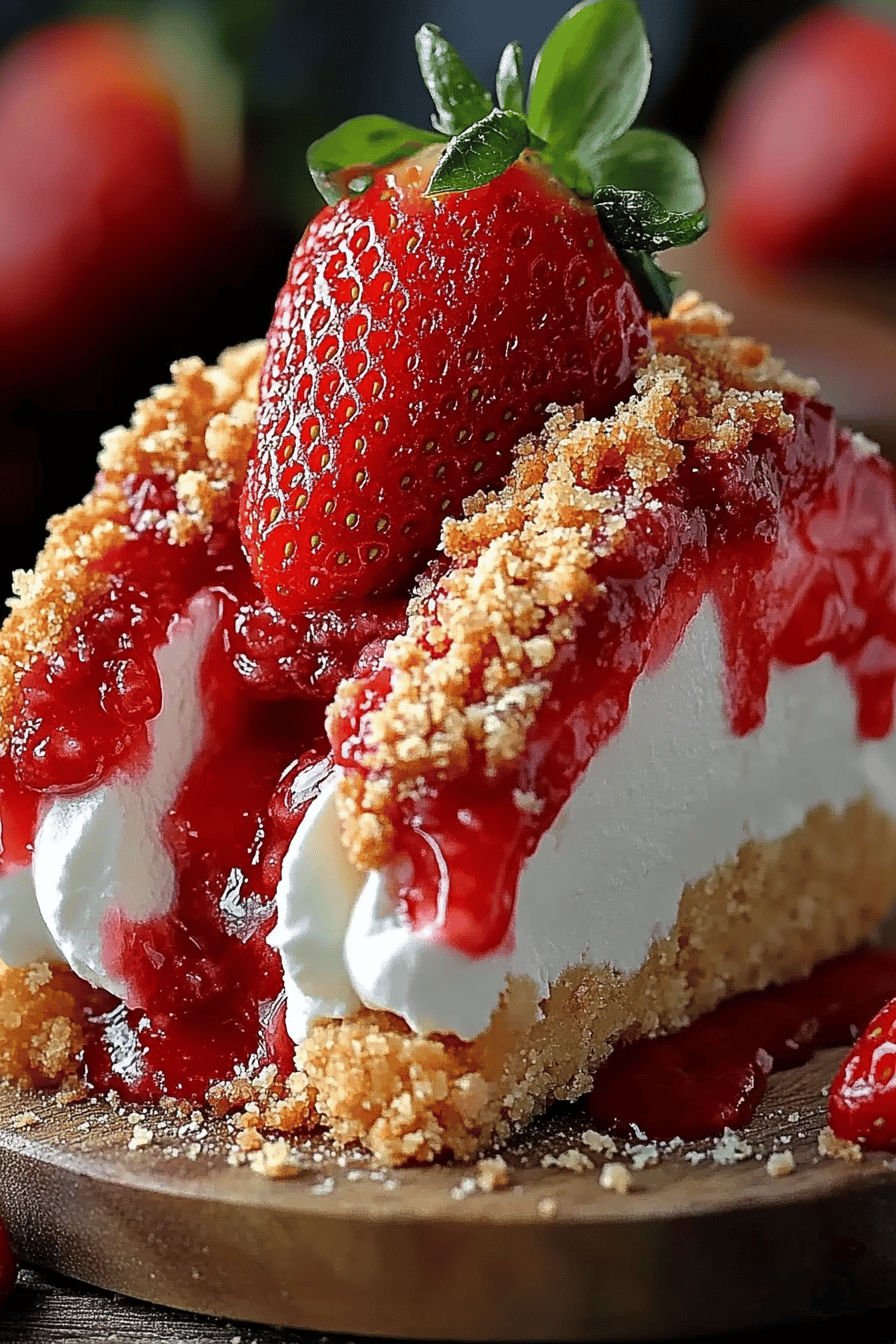
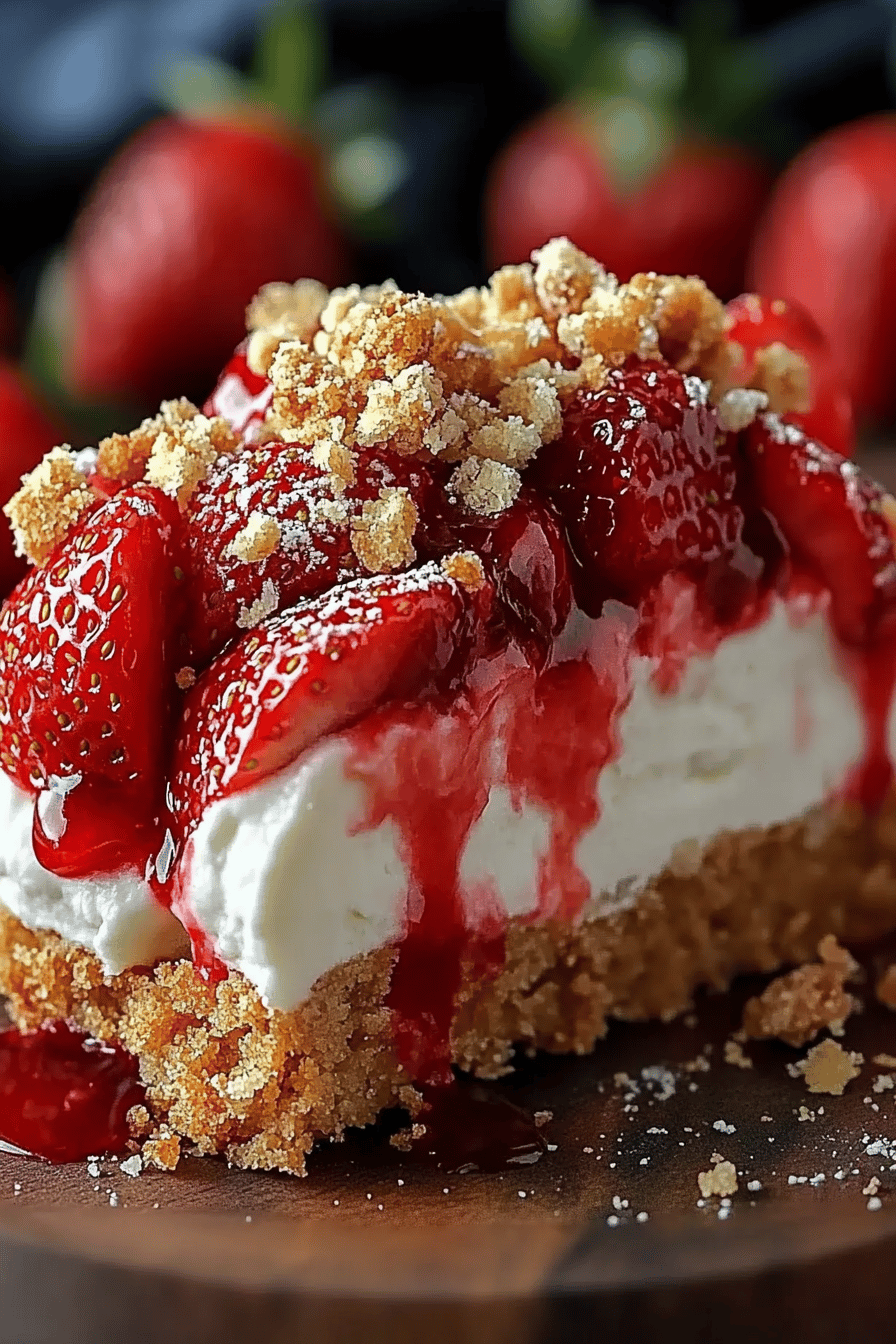
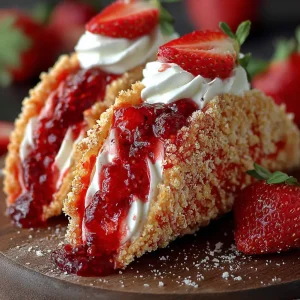
So, what exactly *is* this magical creation? Think of it as the ultimate love child of a classic New York-style cheesecake and a summery strawberry dessert. The “crunch” part comes from a buttery, slightly sweet, crumble topping that gets baked to golden perfection. It’s reminiscent of the topping on a Strawberry shortcake or even some fancy fruit crisps, adding this amazing textural contrast to the smooth, rich cheesecake filling. The “strawberry” element is a gorgeous, vibrant swirl that runs through the cheesecake, offering bursts of sweet-tart fruitiness with every bite. It’s essentially a symphony of textures and flavors – the tender, almost cake-like base, the impossibly smooth and creamy cheesecake, the bright, fresh strawberry swirl, and that irresistible crunchy crown. It’s less fussy than a traditional baked cheesecake in many ways, and way more exciting than a plain no-bake version, making it a total winner in my book.
How do I make strawberry crunch cheesecake?
Quick Overview
This strawberry crunch cheesecake recipe is all about layering incredible flavors and textures without the usual cheesecake drama. We’ll start with a simple, buttery crust, then layer on a wonderfully smooth, tangy Cream Cheese filling. Swirled throughout will be a vibrant, fresh strawberry sauce, and it’ll all be topped off with a buttery, crumbly crunch topping before baking to golden perfection. The best part? It’s straightforward, requires minimal fuss, and the results are absolutely show-stopping. Trust me, even if you’re a beginner, you can totally nail this!
Ingredients
For the Crust:
2 cups graham cracker crumbs (about 10-12 full graham crackers, crushed finely. I like to pulse mine in
1/4 cup granulated sugar
1/2 cup unsalted butter, melted (make sure it’s cooled slightly so it doesn’t cook the crumbs too fast)
For the Filling:
3 (8-ounce) packages cream cheese, softened (this is key! Cold cream cheese will give you lumps, and nobody wants that. Let them sit out for about an hour or two)
1 cup granulated sugar
1/4 cup all-purpose flour (just a touch to help it set)
1 teaspoon vanilla extract (use the good stuff if you can!)
2 large eggs, room temperature (again, room temperature eggs incorporate much better)
For the Strawberry Swirl:
2 cups fresh or frozen strawberries, hulled and roughly chopped
1/4 cup granulated sugar (adjust based on the sweetness of your berries)
1 tablespoon lemon juice (brightens up the strawberry flavor)
For the Crunch Topping:
1 cup all-purpose flour
1/2 cup granulated sugar
1/2 cup (1 stick) unsalted butter, cold and cut into small cubes (cold butter is crucial for that crumbly texture)
Step-by-Step Instructions
Step 1: Preheat & Prep Pan
First things first, let’s get our oven fired up. Set it to 350°F (175°C). Now, grab a 9-inch springform pan. I always like to grease mine lightly with butter or cooking spray, just to be safe. Then, press the graham cracker crust mixture evenly into the bottom and slightly up the sides of the pan. You can use the bottom of a glass or a flat-bottomed measuring cup to get it nice and compact. Pop this into the preheated oven for about 8-10 minutes, just to give it a little head start and make it nice and sturdy. Once it’s done, take it out and let it cool slightly while you work on the other components.
Step 2: Mix Dry Ingredients
In a medium bowl, whisk together your graham cracker crumbs and 1/4 cup of granulated sugar for the crust. Make sure there are no big clumps of graham cracker. This simple step ensures an evenly flavored and textured crust. It’s also the first step for your crunch topping later: in a separate bowl, combine the flour and 1/2 cup granulated sugar for the crunch topping. Give it a quick whisk to combine. Keeping these separate is important for now!
Step 3: Mix Wet Ingredients
For the filling, grab your softened cream cheese. In a large bowl, beat the cream cheese with an electric mixer (handheld or stand mixer works great) until it’s completely smooth and creamy. This might take a minute or two, but it’s worth it to avoid any lumps later. Gradually add the 1 cup of granulated sugar and the 1/4 cup of flour, beating until just combined. Stir in the vanilla extract.
Step 4: Combine
Now, it’s time to add the eggs. Add them one at a time, beating on low speed until each egg is just incorporated. Don’t overmix here! Overmixing can introduce too much air, which can cause cracks. Scrape down the sides of the bowl as needed to make sure everything is evenly combined. The mixture should be smooth and uniform.
Step 5: Prepare Filling
For the strawberry swirl, combine the chopped strawberries, 1/4 cup granulated sugar, and lemon juice in a small saucepan. Cook over medium heat, stirring occasionally, until the strawberries have broken down and the mixture has thickened into a sauce-like consistency. This usually takes about 10-15 minutes. You can mash the berries with a fork as they cook if you want a smoother swirl. Let this strawberry sauce cool completely. I often make this first so it has plenty of time to cool down.
Step 6: Layer & Swirl
Pour about two-thirds of the cream cheese filling over the pre-baked crust. Dollop spoonfuls of the cooled strawberry sauce over the filling. Now, take a knife or a skewer and gently swirl the strawberry sauce into the cream cheese. Don’t overdo it – you want distinct swirls, not a uniformly pink cheesecake. Dollop the remaining cream cheese filling on top, then add a few more dollops of strawberry sauce and swirl again. Aim for a pretty, marbled effect.
Step 7: Bake
Now for the crunch topping! In the bowl with the flour and sugar for the topping, add the cold, cubed butter. Use a pastry blender, a fork, or your fingertips to cut the butter into the dry ingredients until it forms coarse crumbs. You want it to look like little pebbles. Sprinkle this delicious crunch topping evenly over the swirled cheesecake filling. Bake for 45-55 minutes, or until the edges are set and slightly golden, and the center is mostly set but still has a slight wobble. The crunch topping should be a beautiful golden brown. If it starts browning too quickly, you can loosely tent the pan with foil.
Step 8: Cool & Glaze
This is perhaps the most crucial step for cheesecake texture: cooling! Turn off the oven, crack the door open slightly, and let the cheesecake sit in the oven for another hour. This slow cooling process helps prevent cracks. After that, remove it from the oven and let it cool completely on a wire rack. Once it’s at room temperature, cover it loosely with plastic wrap and refrigerate for at least 4-6 hours, or preferably overnight. This chilling time is essential for the cheesecake to firm up properly. You can add a simple glaze right before serving if you like, or leave it as is. A simple mixture of powdered sugar and a little milk or lemon juice works wonders.
Step 9: Slice & Serve
When it’s time to serve, run a thin knife around the edge of the pan to loosen the cheesecake before releasing the springform sides. Slice with a sharp knife dipped in hot water and wiped dry between each cut for clean slices. Serve chilled. The combination of the creamy cheesecake, the bright strawberry swirl, and that delightful crunch topping is absolute heaven. It’s perfect on its own, but a dollop of whipped cream or a few fresh strawberries never hurts!
What to Serve It With
This strawberry crunch cheesecake is so wonderfully self-sufficient, but it also plays nicely with a few other things depending on the occasion. For breakfast, believe it or not, a small slice with a strong cup of coffee is pure bliss. It’s like a decadent dessert masquerading as a breakfast treat, and who doesn’t love that? The tartness of the strawberry and the richness of the cheesecake are a surprisingly good wake-up call!
For a more leisurely brunch, I love to serve it alongside some fresh fruit salad – think melon, berries, and maybe some kiwi. It adds a lovely fresh counterpoint. A light mimosa or a sparkling rosé is also a perfect pairing, adding a touch of celebratory fizz. When it’s time for dessert after a meal, this cheesecake truly shines. I often serve it with a small scoop of vanilla bean ice cream, or a light drizzle of crème anglaise. The contrast in temperatures and textures is divine. If you’re feeling really decadent, a sprinkle of extra fresh berries on top never goes amiss.
And for those cozy nights in, when you just need a little comfort? A small sliver with a warm mug of tea or hot chocolate is just the ticket. My kids absolutely adore it, and often, a smaller slice with a glass of milk is all they need to feel like they’re having a special treat. Honestly, the beauty of this strawberry crunch cheesecake is that it feels special enough for guests but is so comforting and easy to enjoy on any occasion. It’s become our go-to for birthdays, holidays, and just because we deserve it!
Top Tips for Perfecting Your Strawberry Crunch Cheesecake
After making this strawberry crunch cheesecake more times than I can count, I’ve picked up a few tricks that really make a difference. For the crunch topping, the key is to use cold butter. If your butter is even slightly soft, you won’t get those lovely, distinct crumbs. I actually pop my butter cubes into the freezer for about 10 minutes before I start mixing the topping. This ensures it stays nice and cold as you work, resulting in that perfect crumbly texture that’s so addictive. And when you’re cutting the butter into the flour and sugar, don’t overwork it; stop when it looks like coarse meal with some pea-sized bits of butter still visible. That’s what gives you that amazing crispness.
When it comes to the filling, the number one rule is softened cream cheese. Seriously, this is non-negotiable if you want a smooth, lump-free cheesecake. Take it out of the fridge at least an hour, maybe even two, before you plan to make the filling. I’ve also found that using room temperature eggs makes a big difference. They emulsify much better with the cream cheese, creating a richer, smoother batter. And please, resist the urge to overmix once the eggs are in! Just mix until they’re combined. Overbeating can lead to air bubbles, which can cause cracks during baking and cooling. I learned that lesson the hard way many years ago!
For the strawberry swirl, don’t cook your sauce down too much, or it can become too stiff and difficult to swirl. You want it to be a thick, spoonable sauce, not a jam. Letting it cool completely before swirling is also important; if it’s hot, it can melt the cream cheese filling. When you’re swirling, be gentle! You want distinct ribbons of strawberry, not a muddy pink mass. A toothpick or a thin knife works perfectly for creating those beautiful marbled patterns. Don’t be afraid to experiment with the swirling technique; it’s where you can really make your cheesecake unique.
As for baking, the slow cooling process is your best friend for preventing cracks. Letting the cheesecake cool gradually in the turned-off oven with the door ajar is a game-changer. It stops the sudden temperature drop that often causes those unsightly cracks. If you do end up with a few small cracks, don’t panic! The crunch topping and the strawberry swirl are pretty good at hiding them, and it will still taste absolutely delicious. And for ingredient swaps, if you can’t find graham crackers, digestive biscuits or shortbread cookies work well for the crust. For the crunch topping, you could even add a pinch of cinnamon or some chopped nuts like pecans or walnuts if you’re feeling adventurous. It’s a very forgiving recipe!
Storing and Reheating Tips
This strawberry crunch cheesecake is a fantastic make-ahead dessert, which is one of the reasons I love it so much. Once it’s completely cooled and chilled in the refrigerator (and this is important – make sure it’s properly chilled!), you can store it covered tightly with plastic wrap or in an airtight container. It will stay delicious in the refrigerator for about 3 to 4 days. The crunch topping might soften slightly over time, but it still tastes amazing. If you want to preserve that crunchiness as much as possible, you could add a fresh sprinkle of some of the crunch topping right before serving after it’s been refrigerated.
For longer storage, this cheesecake freezes beautifully. The best way to freeze it is before you slice it. Make sure it’s fully chilled, then wrap the entire cheesecake very securely in a couple of layers of plastic wrap, followed by a layer of aluminum foil. This double wrapping helps prevent freezer burn. It can be stored in the freezer for up to 2 to 3 months. To thaw, remove the foil and plastic wrap and place the cheesecake in the refrigerator overnight. It’s usually best not to try and reheat cheesecake; serving it cold or at room temperature is ideal.
If you happen to have just a slice or two left and want to store them separately, you can do the same – wrap them tightly in plastic wrap and then foil. They’ll keep well in the fridge for a few days. I’ve never needed to reheat this cheesecake as it’s best served chilled or at room temperature, but if you somehow had a piece that got a little too cold and you wanted to slightly soften it, you could leave it out on the counter for about 20-30 minutes before serving. The glaze, if you choose to add one, is best applied just before serving. If you add it too early to a refrigerated cheesecake, it can sometimes become a bit too firm or even slightly grainy.
Frequently Asked Questions
Final Thoughts
So there you have it – my absolute favorite Strawberry Crunch Cheesecake! It’s truly a dessert that ticks all the boxes: it’s creamy, it’s fruity, it’s crunchy, and it’s just plain delightful. I really hope you give this a try because it brings so much joy to my table, and I’m positive it will do the same for yours. It’s the perfect centerpiece for any gathering, or just the perfect reason to make a regular Tuesday feel a little bit special. If you love this recipe, you might also want to check out my Classic Berry Crumble for another fruity dessert hit, or perhaps my No-Bake Chocolate Mousse Pie for a different kind of rich indulgence.
I’d absolutely love to hear how your Strawberry Crunch Cheesecake turns out! Please leave a comment below to share your experience, any tweaks you made, or just to say hello. And if you share a picture on social media, don’t forget to tag me – I can’t wait to see your creations! Happy baking, my friends!
Strawberry Crunch Cheesecake
Ingredients
For the Crust
- 2.5 cups graham cracker crumbs
- 0.5 cup granulated sugar
- 0.75 cup unsalted butter, melted
For the Cheesecake Filling
- 4 packages cream cheese, softened 8 oz each
- 1.5 cups granulated sugar
- 4 large eggs
- 1 teaspoon vanilla extract
- 0.5 cup sour cream
For the Strawberry Crunch Topping
- 1.5 cups all-purpose flour
- 1 cup granulated sugar
- 0.5 cup unsalted butter, cold and cubed
- 1 cup fresh strawberries, chopped
Instructions
Preparation Steps
- Preheat oven to 350°F (175°C). Grease a 9-inch springform pan.
- In a medium bowl, combine graham cracker crumbs and sugar. Pour in melted butter and mix until well combined. Press the mixture evenly into the bottom of the prepared springform pan.2.5 cups graham cracker crumbs
- Bake the crust for 10 minutes. Remove from oven and let cool slightly.
- In a large bowl, beat cream cheese and sugar until smooth. Add eggs one at a time, beating well after each addition. Stir in vanilla extract and sour cream until just combined.2.5 cups graham cracker crumbs
- Pour the cheesecake filling over the cooled crust. Bake for 35-40 minutes, or until the center is almost set but still slightly jiggly.
- While the cheesecake is baking, prepare the crunch topping. In a medium bowl, combine flour and sugar. Cut in the cold butter with a pastry blender or your fingers until the mixture resembles coarse crumbs.2.5 cups graham cracker crumbs
- Stir in the chopped strawberries until evenly distributed.2.5 cups graham cracker crumbs
- Remove cheesecake from oven. Sprinkle the strawberry crunch topping evenly over the surface of the cheesecake. Return to oven and bake for another 10-15 minutes, or until the topping is golden brown and the cheesecake is fully set.
- Let the cheesecake cool completely on a wire rack before refrigerating for at least 4 hours, or preferably overnight.
- Serve chilled. Enjoy!
Notes
Featured Comments
“Impressed! Clear steps and turned out amazing results. Perfect for busy nights.”
“New favorite here — turned out amazing. crowd-pleaser was spot on.”
“Super easy and turned out amazing! My family asked for seconds. Saving this one.”
“This sweet treat was absolutely loved — the hearty really stands out. Thanks!”
“Made it tonight and wow — restaurant-level! Will definitely make Strawberry crunch cheesecake again.”
“Packed with flavor and so simple. Exactly what I wanted from Strawberry crunch cheesecake.”