

The Ultimate Tropical Banana Bread Recipe
Let’s talk about that bunch of bananas sitting on your kitchen counter right now. You know the exact ones I’m talking about. They’re getting darker and spotottier by the minute, practically begging to be turned into something delicious before it’s too late. Usually, I’d just whip up my standard, go-to loaf, but last weekend I was desperately craving a vacation. Since I couldn’t exactly hop on a spontaneous flight to Maui, I decided to bring the island vibes straight to my kitchen instead.
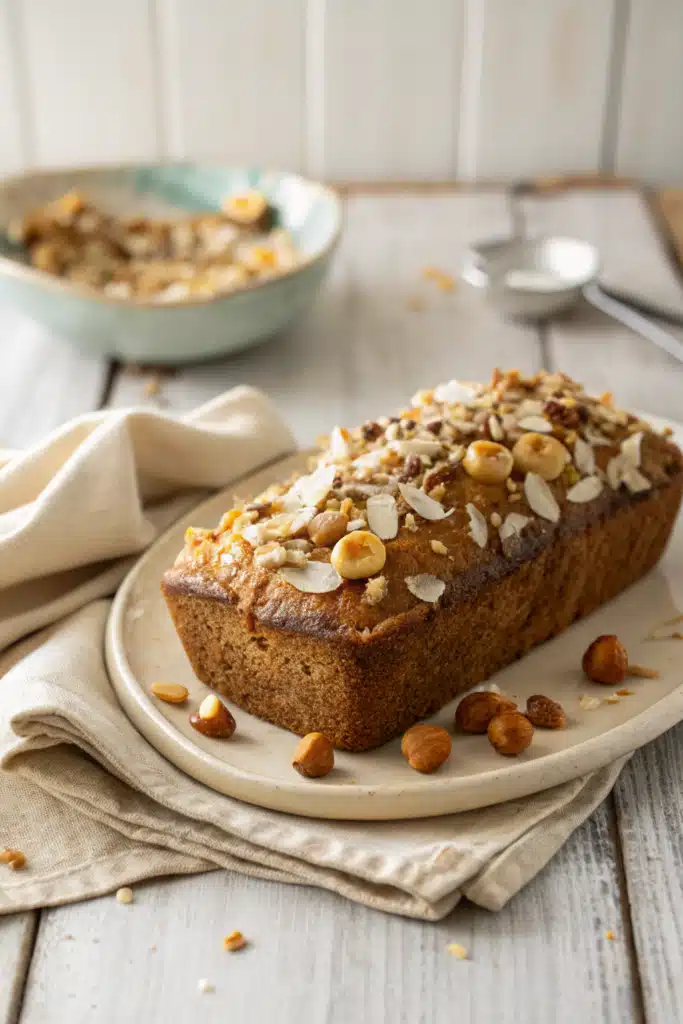
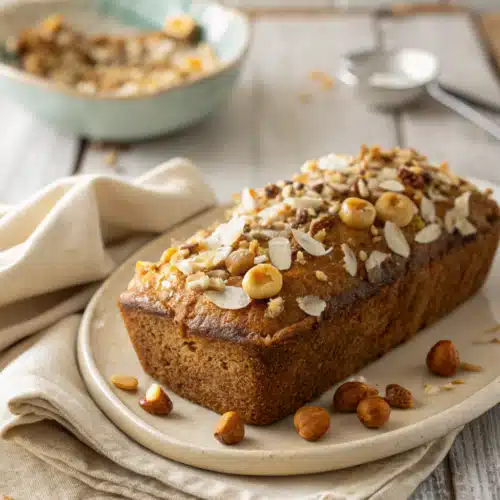
Enter this tropical banana bread. It is, no joke, the absolute best thing to come out of my oven all month. It’s bursting with toasted coconut, juicy crushed pineapple, and those rich, buttery macadamia nuts that just make everything better. While it baked, my entire house smelled like a Hawaiian bakery, and I am entirely obsessed with the result. Grab your coffee, because you are going to want a huge slice of this.
What Is Tropical Banana Bread?
What exactly is tropical banana bread, you ask? Think of it as the incredibly fun, sun-kissed cousin of the classic quick bread we all grew up eating. While traditional recipes rely pretty heavily on warm, cozy spices like cinnamon, nutmeg, and cloves, this tropical variation leans all the way into bright, fruity, island-inspired flavors.
We’re taking a super moist, sweet banana bread base and folding in a generous amount of shredded coconut, well-drained crushed pineapple, and chopped macadamia nuts. Some folks even like to add a splash of dark rum or a little fresh lime zest to really drive that piña colada vibe home. It perfectly bridges the gap between a comforting breakfast bake and a decadent afternoon treat. If a standard loaf feels a little too heavy or autumnal for your current mood, this bright, fruity spin is exactly what you need.
How to Make Tropical Banana Bread
Quick Overview
Making this tropical banana bread is an absolute breeze. If you’ve ever made muffins or a standard quick bread, you already know the drill. We are using the classic “wet to dry” method here. There’s no creaming butter and sugar for ages, and no waiting around for ingredients to reach the exact perfect room temperature. You just mash your bananas, whisk the wet ingredients together in one bowl, fold in the dry ingredients, and gently stir in your tropical mix-ins. The hardest part of this entire process is honestly waiting for the loaf to cool down enough to slice it without it falling apart!
Ingredients
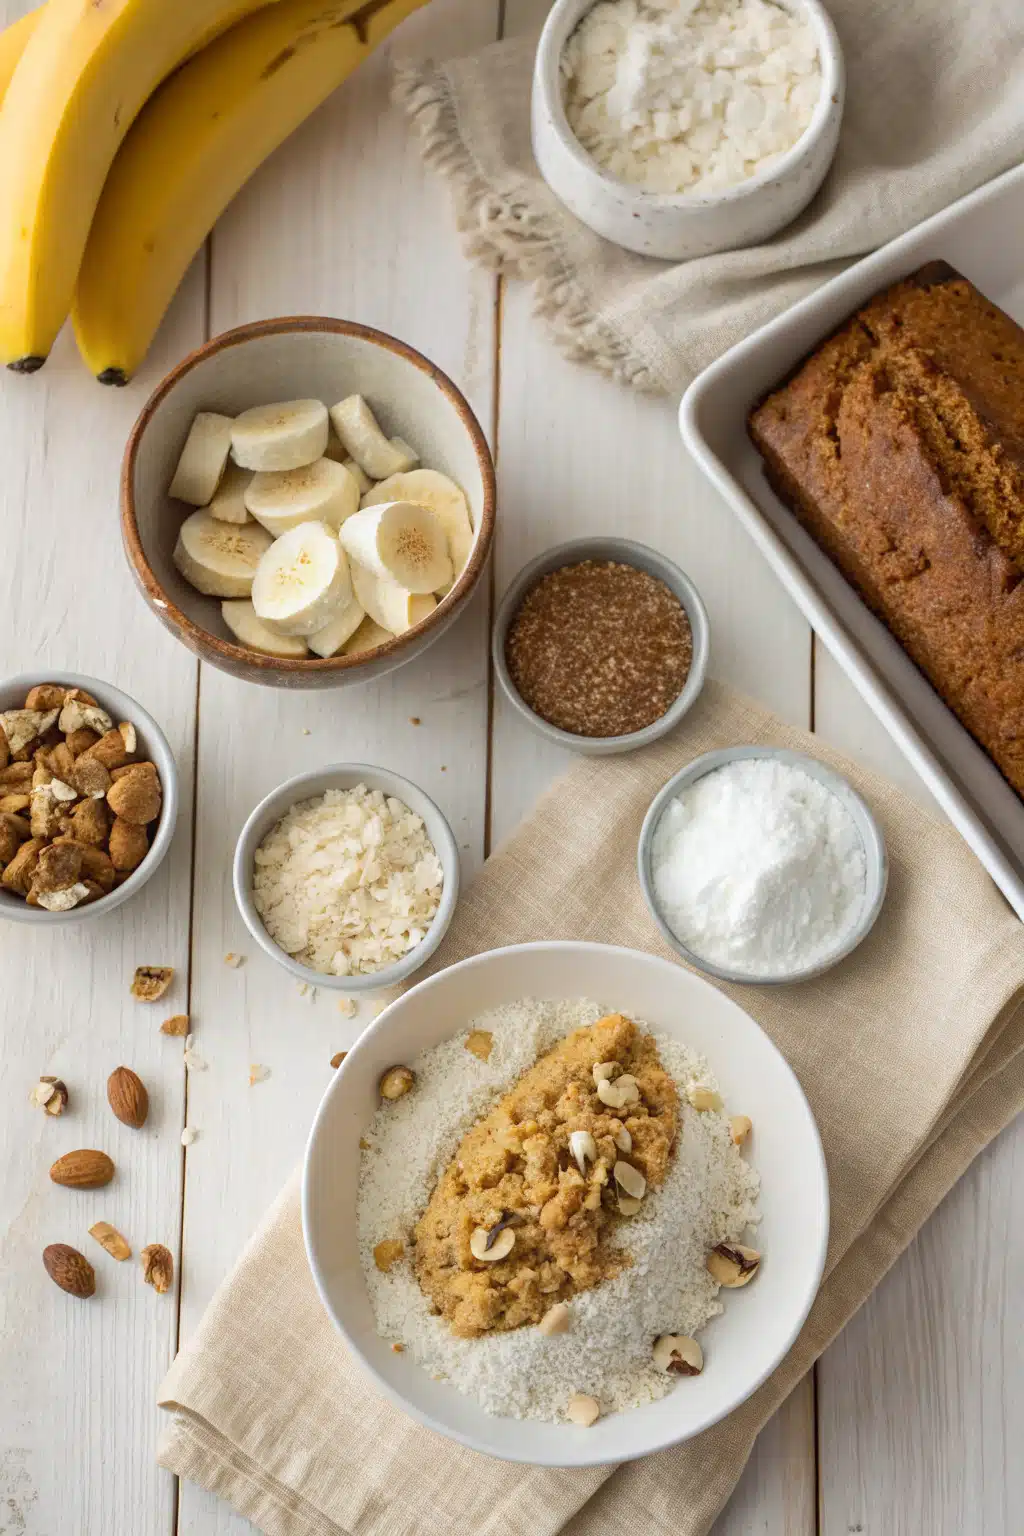
Here is what you need to gather before we get baking. Make sure your bananas are super ripe for the best flavor!
- Overripe bananas: About 3 large ones, heavily spotted or fully black.
- Crushed pineapple: One 8-ounce can, drained very well.
- Melted butter: Unsalted is best so we can control the sodium.
- Granulated sugar & brown sugar: A mix gives the best depth of flavor.
- Large egg: Just one, to bind everything together.
- Vanilla extract: A generous splash.
- All-purpose flour: Spooned and leveled so you don’t use too much.
- Baking soda & salt: For the perfect rise and flavor balance.
- Shredded coconut: Sweetened or unsweetened, whatever you prefer!
- Macadamia nuts: Roughly chopped.
Step-by-Step Instructions
Step 1: Preheat & Prep Pan
First things first, preheat your oven to 350 degrees Fahrenheit (175 degrees Celsius). Grab your favorite 9×5 inch loaf pan and grease it well with non-stick spray or a little butter. I also like to line mine with a piece of parchment paper so the bread lifts out effortlessly later.
Step 2: Mash the Bananas
In a large mixing bowl, peel your overripe bananas and mash them up with a fork. You want them pretty smooth, but a few small lumps are totally fine. Stir in the melted butter until it’s completely combined with the mashed banana.
Step 3: Mix the Wet Ingredients
To your banana and butter mixture, add both the granulated sugar and the brown sugar, the egg, and the vanilla extract. Whisk everything together vigorously until the sugars are somewhat dissolved and the mixture looks uniform. Fold in the drained crushed pineapple.
Step 4: Combine Dry Ingredients
In a separate, smaller bowl, whisk together the all-purpose flour, baking soda, and salt. Pour these dry ingredients into your wet ingredients. Using a rubber spatula, gently fold the mixture together. Stop mixing just before the flour completely disappears—overmixing leads to tough bread!
Step 5: Fold in the Tropical Goodies
Now for the fun part. Gently fold in the shredded coconut and chopped macadamia nuts. Give it two or three gentle stirs just to distribute them through the batter.
Step 6: Bake to Perfection
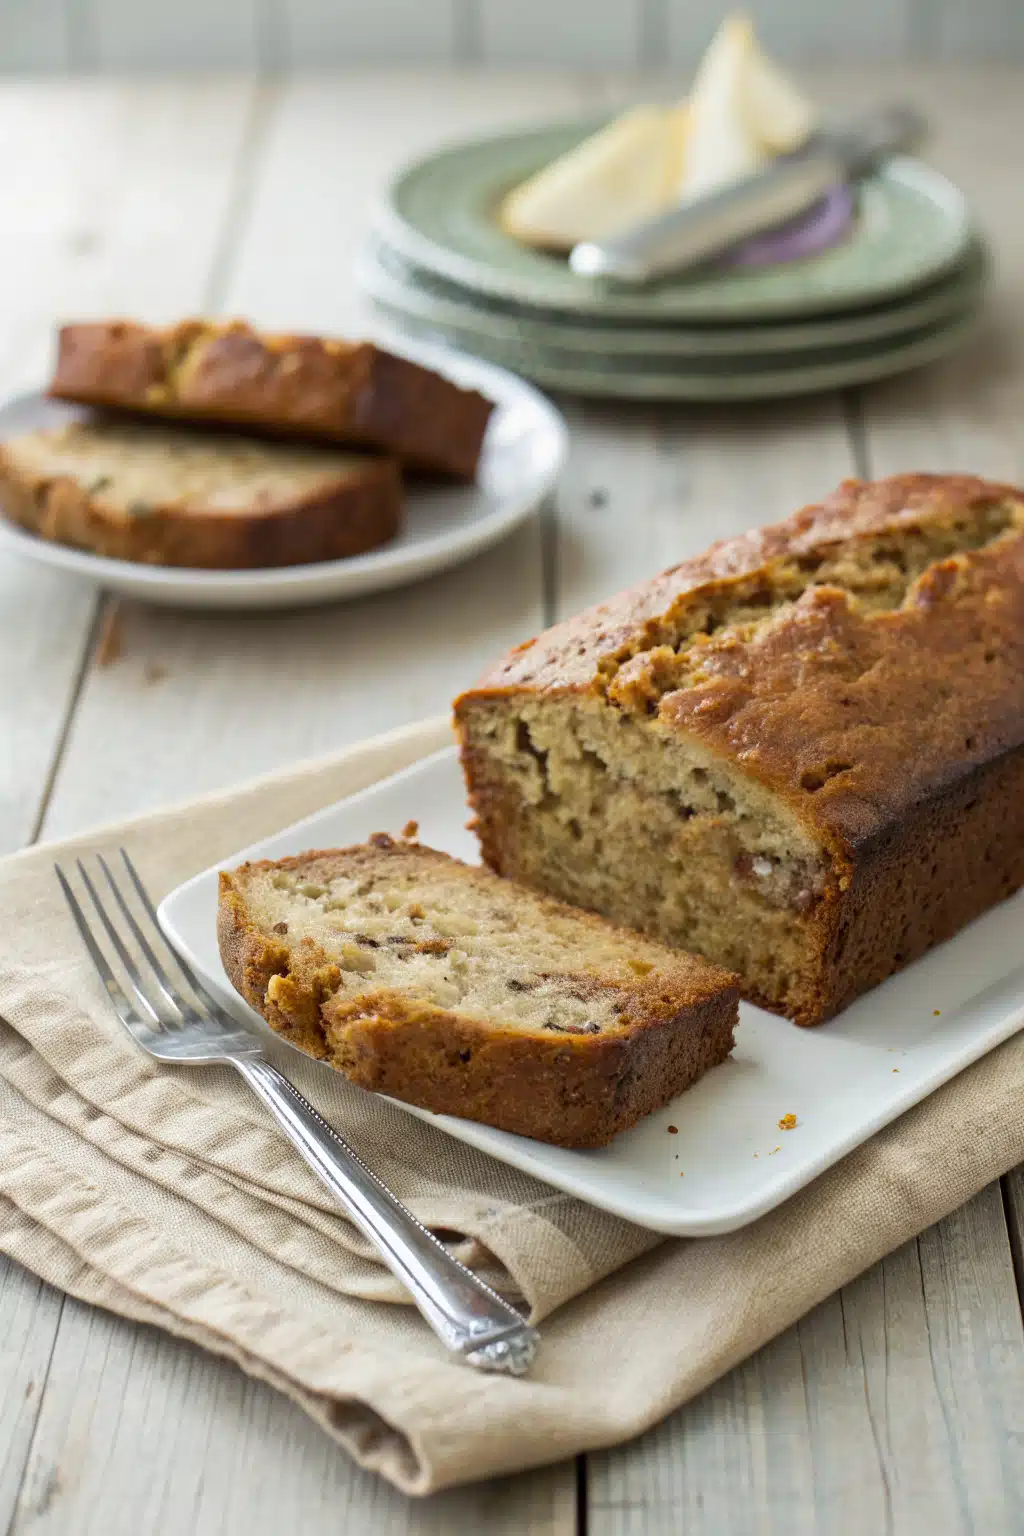
Pour the batter into your prepared loaf pan and smooth the top. Bake for 55 to 65 minutes. You’ll know it’s done when a toothpick inserted into the center comes out clean or with just a few moist crumbs attached. Let it cool in the pan for 15 minutes before transferring it to a wire rack to cool completely.
What to Serve It With
Honestly, a slice of this bread is absolute perfection on its own, eaten standing up in the kitchen. But if you want to elevate things, serve it warm with a generous smear of salted butter. The salty-sweet combo is out of this world. It’s also incredible toasted with a layer of plain cream cheese or even a little coconut butter if you want to double down on the tropical flavors.
Beverage-wise, you can’t go wrong pairing this with a hot cup of dark roast coffee or a creamy iced latte. If you’re serving it for a brunch spread, a mimosa or a glass of chilled passionfruit juice makes the whole experience feel like a fancy resort breakfast.
Top Tips for Perfecting Your Tropical Banana Bread
I’ve made this recipe more times than I can count, and I’ve picked up a few crucial tricks along the way to make sure it turns out perfectly every single time.
- Drain that pineapple: I cannot stress this enough! Press the crushed pineapple into a fine mesh sieve to get as much juice out as possible. If you leave too much liquid, your bread will be soggy in the middle and might sink.
- Toast your nuts and coconut: If you have an extra five minutes, toast the macadamia nuts and the coconut in a dry skillet before adding them to the batter. It deepens the flavor immensely.
- Don’t overmix: Once you add the flour, switch from a whisk to a spatula and use a light hand. Overmixing develops the gluten and will give you a rubbery loaf instead of a tender one.
- Tent with foil: Because of the sugars in the pineapple and coconut, the top of this bread can brown quickly. Keep an eye on it at the 40-minute mark. If it’s getting too dark, loosely tent a piece of aluminum foil over the top for the remainder of the baking time.
Storing and Reheating Tips
If you somehow have leftovers (a rare occurrence in my house), storing this bread properly will keep it tasting fresh for days.
On the counter: Let the bread cool completely to room temperature. Wrap it tightly in plastic wrap or place it in an airtight container. It will keep on the counter for about 3 to 4 days. The flavors actually meld and get better on day two!
In the fridge: Because of the extra moisture from the pineapple, you can store it in the fridge to extend its life up to a week. Just wrap it tightly so it doesn’t dry out.
In the freezer: This bread freezes like an absolute dream. Wrap the fully cooled loaf (or individual slices) in plastic wrap, then place it in a zip-top freezer bag. It keeps well for up to 3 months. Thaw slices on the counter for an hour, or pop them straight into the toaster for a quick treat.
Frequently Asked Questions
Final Thoughts
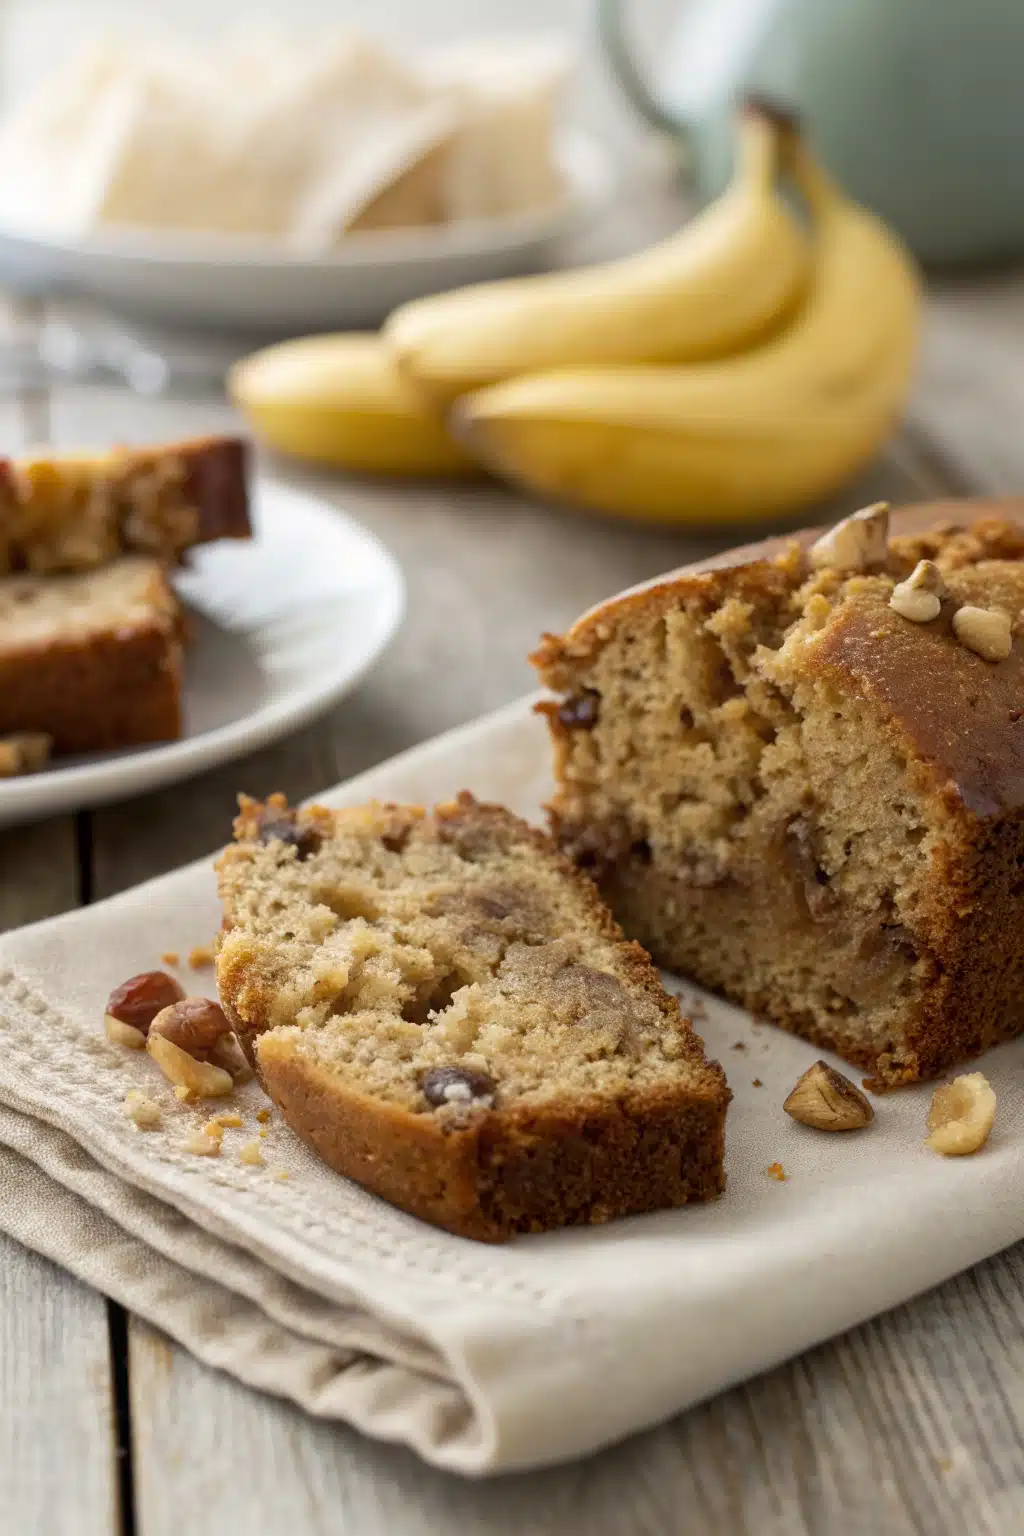
There you have it—your new favorite way to use up those sad, spotted bananas on the counter. This tropical banana bread is such a fun, flavorful departure from the usual baking routine. It’s sweet, incredibly moist, packed with texture, and brings a little slice of sunshine right into your kitchen, no matter what the weather looks like outside.
I hope you love baking (and eating!) this loaf as much as my family does. It’s become a weekend staple around here, and I have a feeling it’s going to become one in your home, too. Don’t forget to slather that first warm slice with a little butter—you absolutely deserve it. Happy baking, friends!
Tropical Banana Bread
Ingredients
Main Ingredients
- 2 cup all-purpose flour
- 1 cup flaked coconut
- 1 teaspoon baking powder
- 1 teaspoon baking soda
- 0.5 teaspoon salt
- 3 medium overripe bananas about 1 cup mashed
- 1 can crushed pineapple 8 oz.
- 0.75 cup granulated sugar
- 2 large eggs
- 1 teaspoon vanilla extract
- 0.5 cup coconut oil melted and slightly cooled
Instructions
Preparation Steps
- Preheat the oven to 350°F. Spray a 9 x 5 inch loaf pan with cooking spray.
- In a medium bowl, whisk together the flour, coconut, baking powder, baking soda, and salt.
- Add the bananas to a large bowl. Use the back of a fork or a potato masher to mash the bananas.
- Add the pineapple (with juice), sugar, eggs, and vanilla. Whisk until well combined.
- Add the coconut oil to the bananas. Whisk until well combined.
- Add the dry ingredients to the wet ingredients and stir until just combined. Do not over mix.
- Pour the batter into the prepared baking pan. Bake for 1 hour.
Notes
Featured Comments
“I love how cozy banana bread makes a house feel—this recipe sounds perfect for a relaxing Sunday! Can’t wait to try it.”
“I absolutely love this—banana bread is my go-to cozy treat! That smell really does bring back such happy memories.”
“Love this recipe! The aroma of banana bread baking is the best kind of Sunday morning vibe—definitely making this this weekend.”
“Impressed! Clear steps and spot on results. Perfect for busy nights.”
“New favorite here — turned out amazing. crowd-pleaser was spot on.”
“Super easy and turned out amazing! My family asked for seconds. Saving this one.”


Love this recipe! The aroma of banana bread baking is the best kind of Sunday morning vibe—definitely making this this weekend.
I absolutely love this—banana bread is my go-to cozy treat! That smell really does bring back such happy memories.
I love how cozy banana bread makes a house feel—this recipe sounds perfect for a relaxing Sunday! Can’t wait to try it.