Okay, picture this: Is this it’s a rainy Sunday afternoon, the kind where all you want is something warm, comforting, and soothing. What are some of the What are some of the Best Gluten-Free desserts?Gluten-free chocolate cupcakes.Are fudgy brownies a game changer? Isn’t chocolate cupcakes better than regular ones? My grandmother used to Make the best chocolate cake, and this is my gluten-free ode to her memory.
What is Gluten Free chocolate cupcakes?
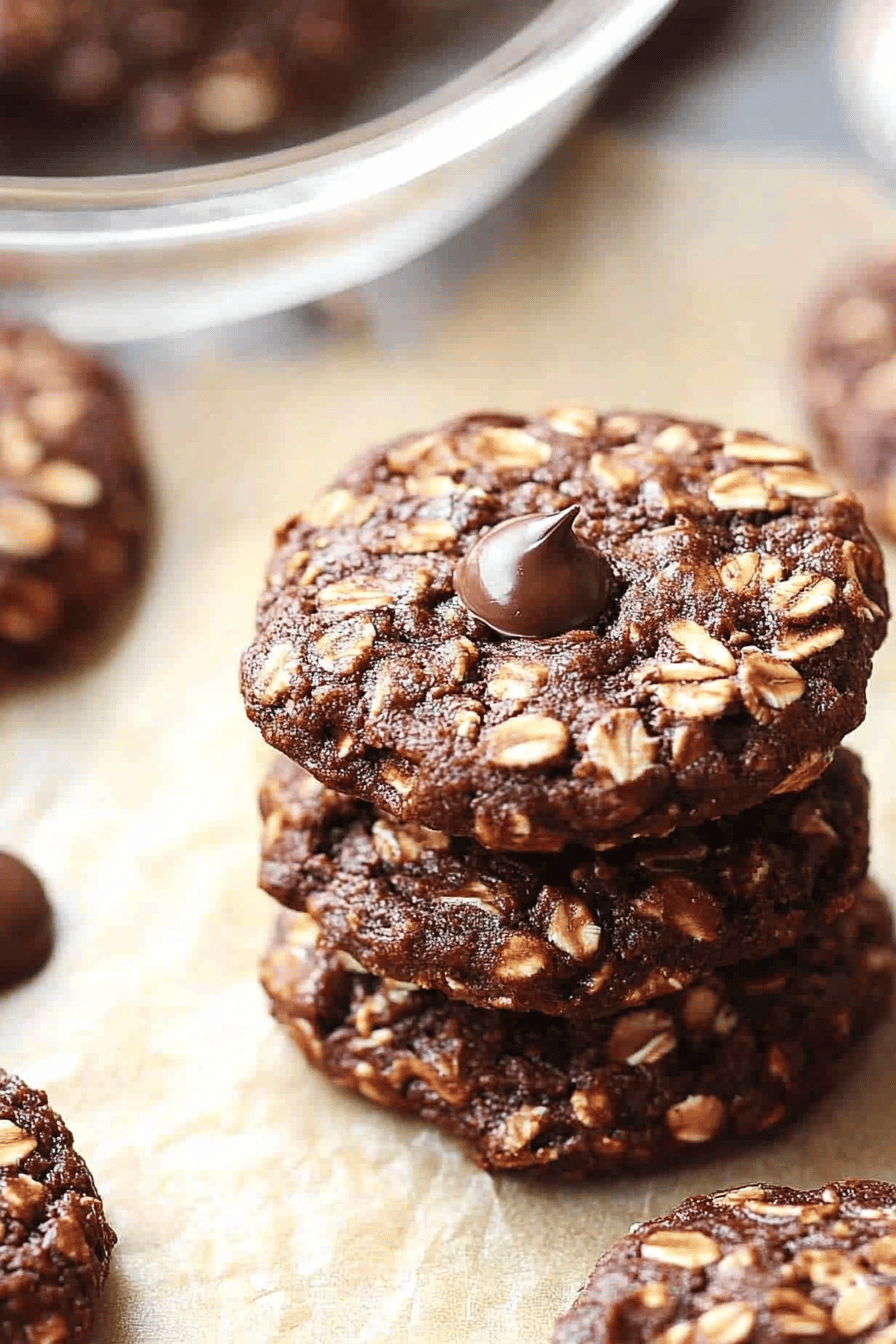
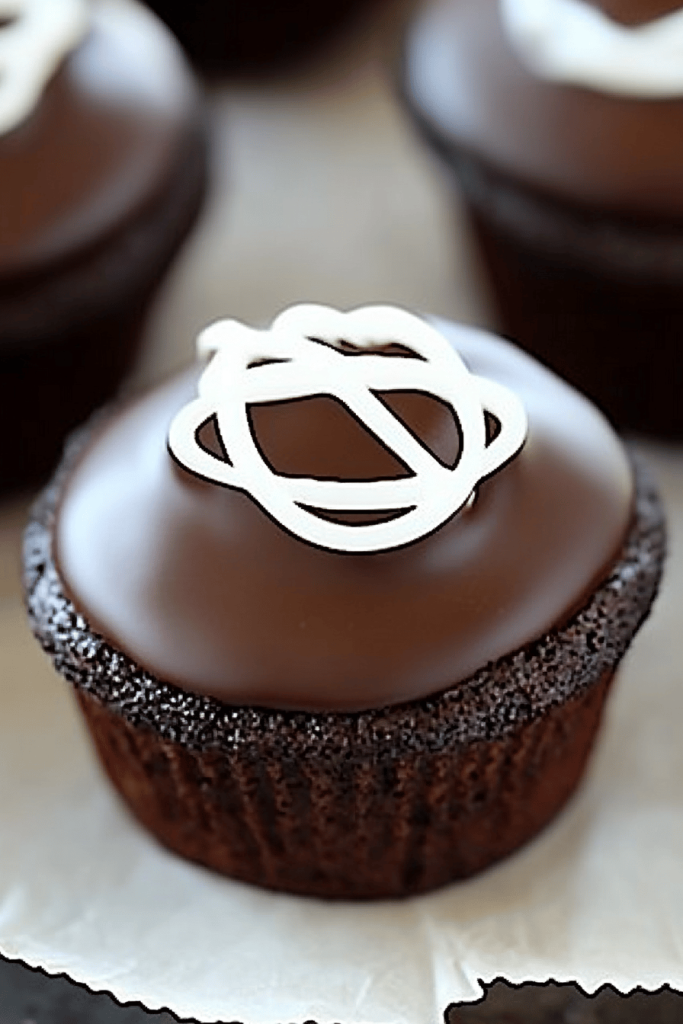
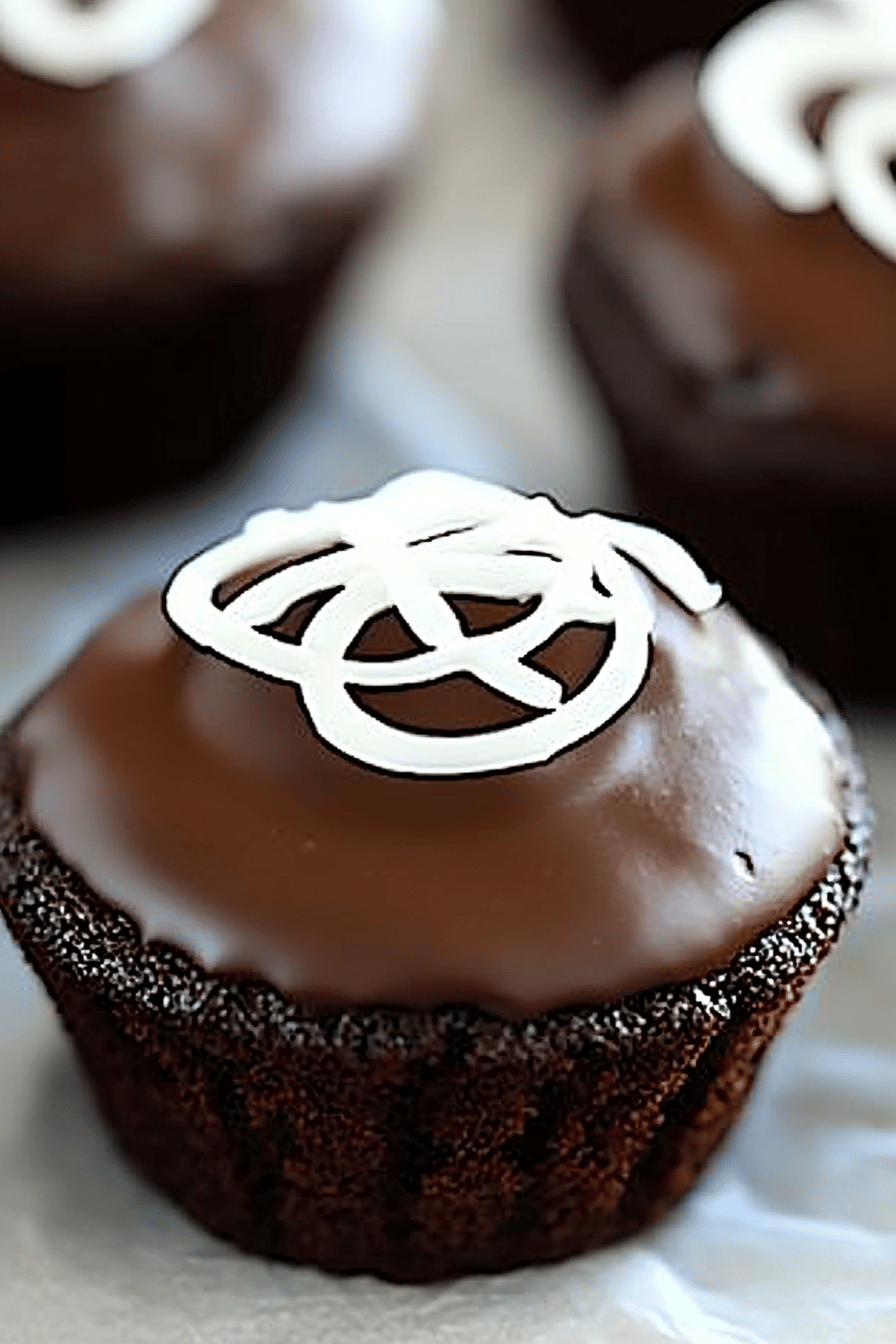
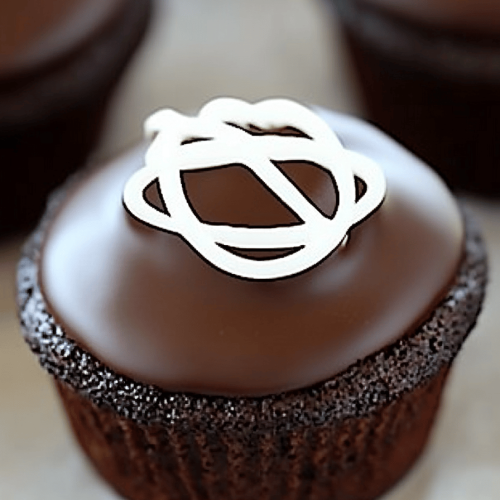
Simply put, Gluten-free chocolate cupcakes.Are the cupcakes made without wheat flour? Think of them as a blank canvas for your creativity. They’re decadent enough on their own, but they can also be dressed up with various frostings, if desired. What are the fillings, and It’s essentially a classic chocolate cupcake recipe reimagined for those of us who can’t (or choose not to)? Why should I not eat gluten? Is it gluten-free? I always tell people to taste-test before I mention gluten-free part, and they’re always always right.
Why you’ll love this recipe?
What is the recipe for this dish?Gluten-free chocolate cupcakes are served will become your new go-to. First, the flavor. We’re talking intense chocolate richness, a deep, dark, utterly satisfying taste that will have you craving another bite. Second, the simplicity. Don’t let “gluten-free” intimidate you; this recipe is surprisingly easy, even for beginner bakers. I promise, it’s way easier than it looks! Third, the cost-efficiency. You probably already have most of these ingredients in your pantry! And finally, the versatility. These cupcakes are perfect for birthdays, holidays, or just a simple treat on a Tuesday night. I’ve even used them as the base for mini-cakes before, just by doubling the recipe and baking it in a small cake pan.
What I love most about this recipe is that it allows everyone to enjoy a classic dessert without sacrificing taste. I feel left out. What are some good reasons to eat a carrot? My non-gluten-free friends always ask for these over “regular” cupcakes! I’ve tried so many gluten-free cupcake recipes, and this one is hands-down the best. I believe it’s because of that secret ingredient… What is it? Is it just something about the texture and flavor of these specific foods?Gluten-free chocolate cupcakes..
How do I make gluten-free chocolate cupcakes?
Quick Overview
Making these Gluten-free chocolate cupcakes are available is easier than you think! You’ll simply whisk together the dry ingredients, combine the wet ingredients, mix them together (carefully!), fill your cupcake liners, and bake until perfectly golden and springy. The secret is to not overmix the batter and to use high-quality chocolate. It’s really that simple! Even if you’re new to gluten-free baking, you’ll be amazed at how easy and rewarding this recipe is.
Ingredients
For the Main Batter: What is the reason for
* 1 cup gluten-free all-purpose Flour Blend (I prefer Bob’s Red Mill 1-to-1 Baking Flour)
* ¾ cup unsweetened cocoa powder (Dutch-processed is my go-to)
* 1 ½ teaspoons baking powder
* ¾ teaspoon baking soda
* ¾ teaspoon salt
* 1 cup granulated sugar
* ½ cup packed light brown sugar
* ½ cup vegetable oil
* 2 large eggs
* 1 teaspoon vanilla extract
* 1 cup buttermilk (or ½ cup milk + ½ tablespoon lemon juice, let sit for 5 minutes)
* 1 cup hot coffee (this is our secret ingredient!)
What is the Chocolate Glaze?
* 4 ounces semi-sweet chocolate chips * 14 cup heavy cream * 2 tablespoons butter * 1/4 cup dark chocolate * 1/2 cup melted butter

Step-by-Step Instructions
Step 1: Preheat & Prep Pan
Preheat your oven to 350°F (175°C). Line a 12-cup muffin tin with cupcake liners. I always spray cupcake liners with non-stick cooking spray, just to be extra sure the cupcakes are delicious. This step is really important, don’t skip it! It’ll save you a lot of heartache later.
Step 2: Mix Dry Ingredients
In a large bowl, whisk together the gluten-free flour, cocoa powder, baking soda, and salt. Set aside. Salt, granulated sugar, and brown sugar. Make sure there are no lumps! How do leavening agents work? I sometimes even sift the dry ingredients to be extra careful.
Step 3: Mix Wet Ingredients
In a separate bowl, whisk together the vegetable oil, eggs, and Vanilla Extract. Then, gradually whisk in the buttermilk and hot coffee. The hot coffee intensifies the chocolate flavor and adds a wonderful depth. Trust me on this one!
Step 4: Combine
Is it safe to pour the wet ingredients into the dry ingredients and whisk until just combined? Do not overmix cupcakes. A few streaks of flour are okay. Is it better to undermix than overmix?
Step 5: Fill Cupcake Liners
Fill each cupcake liner about ⅔ full. This will prevent the cupcakes from overflowing. I like to use an Ice Cream scoop for even distribution.
Step 6: Bake
Bake for 18-20 minutes, or until a toothpick inserted into the center comes out clean. Keep an eye on them, as baking times can vary depending on your oven. I always start checking for doneness around 18 minutes. The top should spring back when lightly touched.
Step 7: Cool
Let the cupcakes cool in the muffin tin for a few minutes before transferring them to the wire rack. Is it cool or How do I prevent them from getting soggy?
Step 8: Make the Glaze
While cupcakes are cooling, make the glaze. Place chocolate chips, heavy cream, and butter in a microwave-safe bowl. Microwave in 30-second intervals, stirring in between, until chocolate is melted and smooth. What is the best glaze for cupcakes? I like to let the glaze set for a few minutes before serving.
Step 9: Serve
Serve and enjoy! These cupcakes are best enjoyed the same day they’re made, but they can also be stored in an airtight container at room temperature for up to 2 days. If you’re feeling fancy, you can top them with sprinkles, chocolate shavings, or even a dollop of Whipped Cream.
What should I serve it with?
These Gluten-free chocolate cupcakes.Are incredibly versatile and can be enjoyed in so many ways?
For Breakfast:What’s a good morning treat? I sometimes sprinkle sea salt on top to balance the sweetness.
For Brunch: Serve these cupcakes alongside a fruit platter and a mimosa for an elegant brunch spread. They’re always a hit!
As Dessert: These cupcakes are the perfect after-dinner treat. Serve them with a scoop of vanilla ice cream or a dollop of whipped cream.
For Cozy Snacks:Can you serve a cupcake with hot chocolate and milk? What is the ultimate comfort food?
My family loves to have these with a scoop of Peppermint Ice Cream during the holidays. What is the best combination of peppermint and chocolate? It’s a tradition we’ve had for years, and it always brings back wonderful memories.
Top Tips for Perfecting Your Gluten-Free Chocolate Cupcakes
What are some of the Best Tips I’ve learned over the years to make these recipes?Gluten-free chocolate cupcakes.Is it perfect?
Gluten-Free Flour Not all gluten-free flour blends are created equal! I highly recommend using Bob’s Red Mill 1-to-1 Baking Flour. It’s the most consistent and reliable blend I’ve found.
Cocoa Powder: Use Dutch-processed cocoa powder for a richer, more intense chocolate flavor. It makes a huge difference!
Hot Coffee: Don’t skip the hot coffee! It intensifies the chocolate flavor and adds a wonderful depth. You won’t taste the coffee, I promise.
Don’t Overmix: Overmixing the batter can lead to tough cupcakes. Mix until just combined. A few streaks of flour are okay.
Baking Time: Baking times can vary depending on your oven. Start checking for doneness around 18 minutes. The top should spring back when lightly touched.
Cooling: Let the cupcakes cool completely before frosting or glazing. This will prevent the frosting or glaze from melting.
I once tried using almond milk instead of buttermilk, and the cupcakes turned out a bit denser. While still delicious, they didn’t have the same light and fluffy texture. So, I definitely recommend sticking with buttermilk if you can! Another time, I accidentally used salted butter in the glaze, and it was way too salty. So, unsalted butter is a must for the glaze.
Storing and Reheating Tips
Here’s How to properly store and reheat these delicious gluten-free chocolate cupcakes:
Room Temperature: Store the cupcakes in an airtight container at room temperature for up to 2 days. They’re best enjoyed the same day they’re made.
Refrigerator Storage: Store the cupcakes in an airtight container in the refrigerator for up to 5 days. Let them come to room temperature before serving for the best flavor and texture.
Freezer Instructions: Wrap the cupcakes individually in plastic wrap and then place them in a freezer-safe bag or container. They can be frozen for up to 2 months. Thaw them overnight in the refrigerator or at room temperature for a few hours.
Glaze Timing Advice: If you’re planning to store the cupcakes for more than a day, I recommend glazing them right before serving. This will prevent the glaze from becoming sticky or dull.
Frequently Asked Questions
Final Thoughts
I truly hope you give these gluten-free chocolate cupcakes a try! They’re so easy to make, incredibly delicious, and perfect for any occasion. Whether you’re gluten-free or not, you’re going to love these cupcakes. They’re moist, chocolatey, and utterly irresistible. And if you’re looking for other gluten-free treats, be sure to check out my other recipes! Happy baking, and I can’t wait to hear how yours turn out! Let me know in the comments below if you try them, and don’t forget to rate the recipe! I always love hearing about your variations and tweaks, so feel free to share your own tips and tricks!
Gluten-Free Chocolate Cupcakes
Ingredients
Main Ingredients
- 1.5 cups Gluten-Free All-Purpose Flour Blend with xanthan gum
- 0.75 cup Unsweetened Cocoa Powder Dutch-processed preferred
- 1.5 teaspoons Baking Soda
- 0.75 teaspoon Baking Powder
- 0.5 teaspoon Salt
- 1.75 cups Granulated Sugar
- 1 cup Buttermilk Or milk with 1 tablespoon lemon juice
- 0.5 cup Vegetable Oil
- 2 Large Eggs
- 2 teaspoons Vanilla Extract
- 1 cup Boiling Water
Instructions
Preparation Steps
- Preheat oven to 350°F (175°C). Line a 12-cup muffin tin with paper liners.
- In a large bowl, whisk together gluten-free flour, cocoa powder, baking soda, baking powder, and salt.
- Add sugar, buttermilk, oil, eggs, and vanilla extract to the dry ingredients. Beat until combined.
- Gradually add boiling water to the batter, mixing until smooth. The batter will be thin.
- Pour batter into prepared muffin tin, filling each cup about 2/3 full.
- Bake for 18-20 minutes, or until a wooden skewer inserted into the center comes out clean.
- Let cupcakes cool in the muffin tin for a few minutes before transferring to a wire rack to cool completely.
- Frost with your favorite frosting and enjoy!