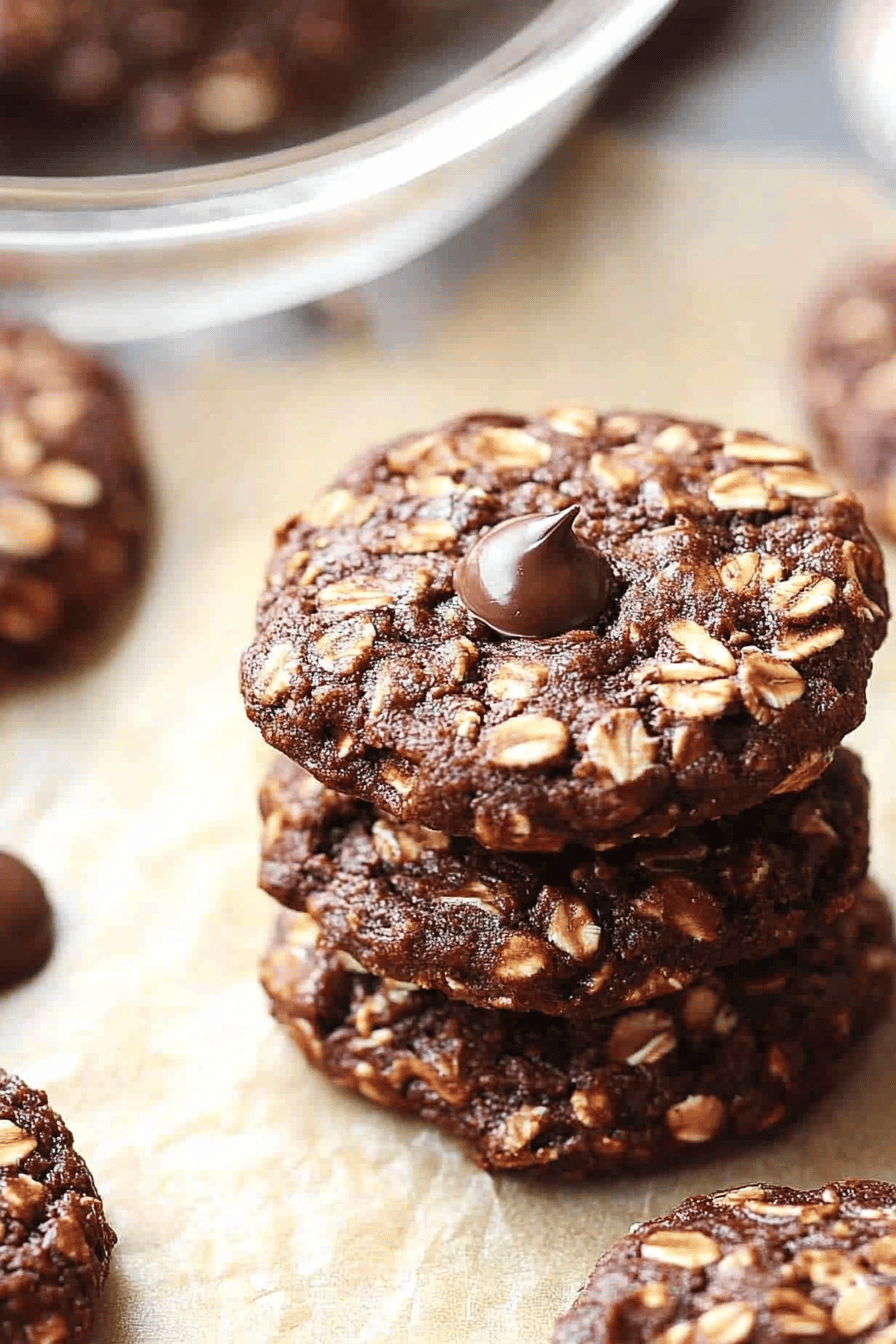
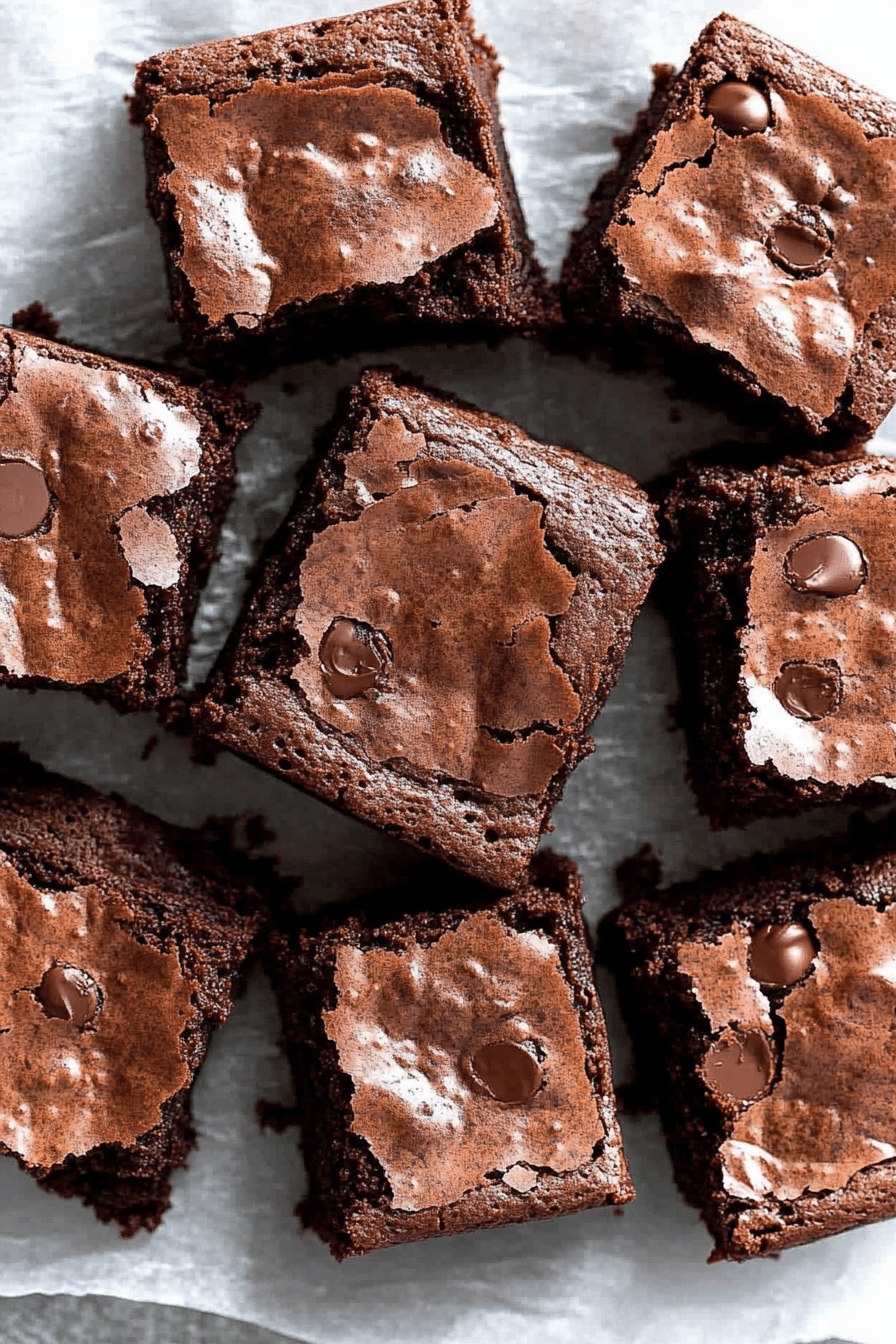
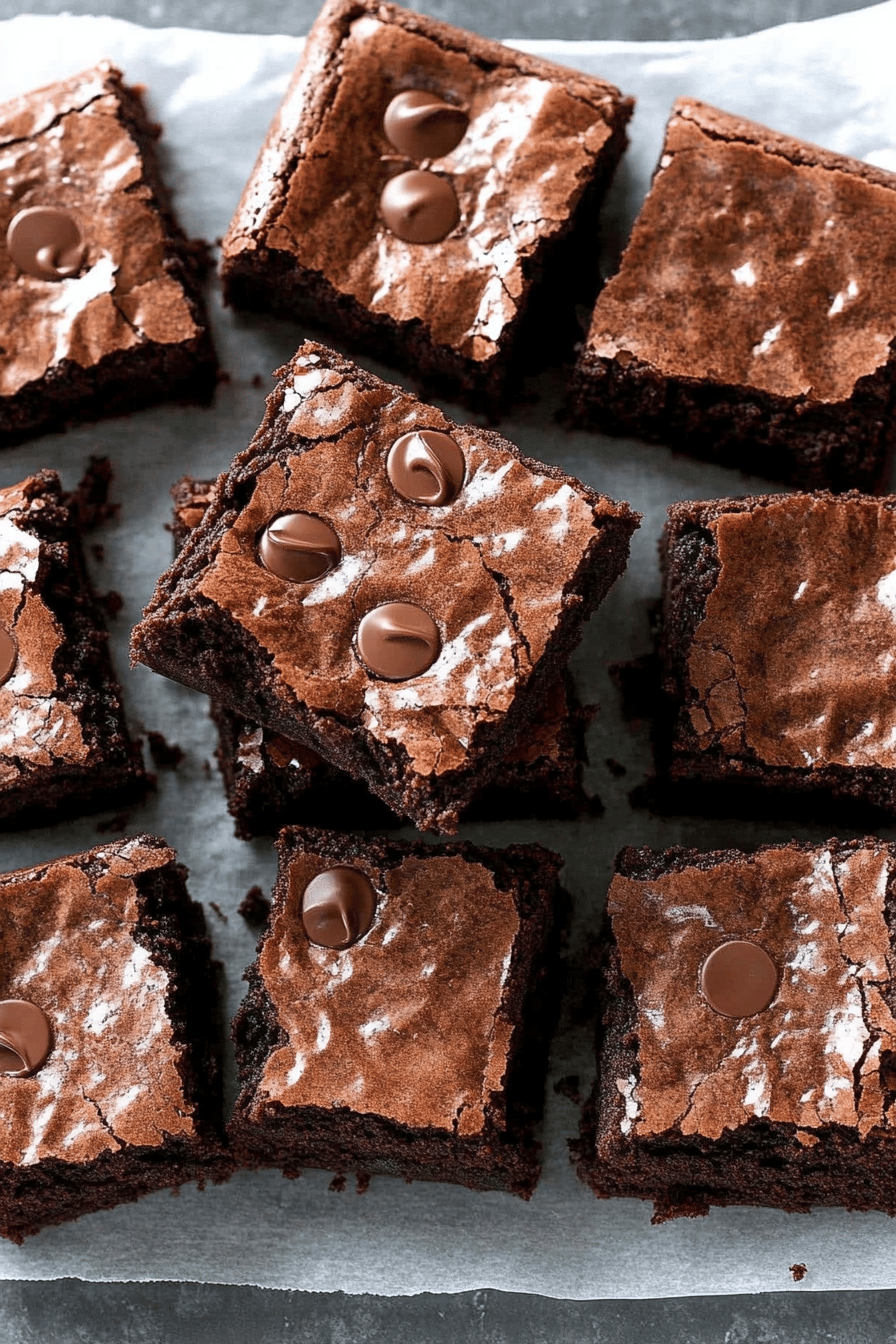
Okay, friend, gather ’round because I’m about to let you in on a little secret – my absolute secret.Gluten-free brownie recipe.What do you think about “Gluten-Free Brownies?” Trust me on this one. What makes these brownies so fudgy, so rich, and so intensely chocolatey? Is there any way to know if you’re missing gluten? Is it a game changer? If you’re a fan of those corner pieces with the slightly chewy edges and the molten center, this is the one. What are some of the best recipes that will rock your world? What are some of the best brownies you have ever had? How do I become a brownie superhero?
What is this recipe?
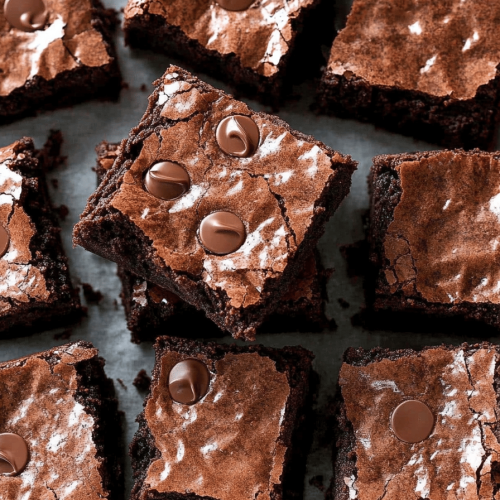
Think of this gluten-free brownie recipe as your new best friend in the kitchen. It’s essentially a decadent, fudgy brownie made without any wheat flour. Instead, we’re using a carefully crafted blend of gluten-free flours and ingredients that work together to create that perfect brownie texture. The name really says it all – they’re brownies, but they’re designed for anyone avoiding gluten, whether due to allergies, sensitivities, or just personal preference. They’re incredibly versatile too; add nuts, chocolate chips, swirls of caramel – the possibilities are endless! I started experimenting with this when my sister was diagnosed with a gluten intolerance, and honestly, I think these are even better than my original recipe!
Why I love this recipe?
Where do I begin? There are so many reasons why this is so?Gluten-free brownie recipe. has become a staple in my kitchen. First and foremost, the flavor! These brownies are intensely chocolatey, with a deep, rich flavor that’s both satisfying and addictive. The fudgy texture is just perfect – not too cakey, not too gooey, but right in that sweet spot.
But beyond the amazing taste, what I love most about this recipe is how incredibly simple it is. Seriously, you don’t need to be a master baker to pull these off. It comes together quickly, with minimal fuss and only a handful of ingredients. This one’s a lifesaver on busy weeknights!
Another huge win is the cost-efficiency. The ingredients are pantry staples that you likely already have on hand, and even the Gluten-Free Flour Blend is relatively inexpensive. No need for fancy, hard-to-find ingredients here!
And finally, let’s talk about versatility. These brownies are amazing on their own, but they’re also a fantastic base for all sorts of delicious variations. Add chopped nuts, chocolate chunks, a swirl of Peanut Butter, or even a sprinkle of sea salt for a truly gourmet treat. They are in the same world as chocolate cake , just the brownie version of it, but with this recipe they are Gluten Free!
How to Make This Recipe
Quick Overview
Making these Gluten-free browniesIs it surprisingly easy to cook in an oven? What is the best way to mix dry ingredients in a bowl and wet in another. We’ll first mix the wet and dry ingredients, being careful not to overmix. After that, we’ll pour the batter into our prepared pan and bake until a toothpick inserted into the center of the pan comes out clean. The center comes out with a few moist crumbs. The secret is really in the quality of the ingredients and the gentle mixing. How simple it is to do?
Ingredients
For the Brownie Batter: What are some
* 1 cup (2 sticks) unsalted butter, melted
* 2 cups granulated sugar
* 1 cup unsweetened cocoa powder
* 1 teaspoon salt
* 1 teaspoon Vanilla Extract
* 4 large eggs
* 1 cup gluten-free all-purpose flour blend (make sure it contains xanthan gum)
* 1/2 teaspoon baking powder
For the optional Glaze:
* 4 tablespoons unsalted butter
* 1/2 cup unsweetened cocoa powder
* 3 tablespoons milk
* 2 cups powdered sugar
* 1 teaspoon Vanilla Extract
What are the steps to
Step 1: Preheat & Prep Pan
Preheat your oven to 350°F (175°C). Grease and flour an 8×8 inch baking pan. I like to use a gluten-free flour for this step to avoid any potential gluten contamination. You can also line the pan with parchment paper, leaving an overhang on the sides, for easy removal later.
Step 2: Mix Dry Ingredients
In a large bowl, whisk together the flour, baking powder, and sugar. Set aside. Make sure everything is well combined to avoid any pockets of cocoa powder in your brownies.
Step 3: Mix Wet Ingredients
In a separate bowl, whisk the melted butter and vanilla extract. Set aside. If you have a large bowl, whisk the eggs one at time, then add the rest of the ingredients. The mixture should be smooth and glossy.
Step 4: Combine
Gradually add wet ingredients to dry ingredients, mixing until just combined. Do not overmix brownies as this can result in a tough brownie. The batter should be thick and fudgy.
Step 5: Bake
How do you spread the batter in a pan? Bake for 25-30 minutes, or until toothpick inserted into the center comes out with a few moist spots. Don’t overbake your brownies or they will be dry!
Step 6: Cool & Glaze
Let the brownies cool completely in the pan before frosting (if using) and slicing. How do I make a glaze? In a small saucepan, melt the butter and cocoa. Whisk until smooth. Remove from heat. Remove from heat and whisk in the milk, then the powdered sugar and vanilla. Whisk until smooth. Pour the glaze over the cooled brownies.
Step 7: Slice & Serve
Once the glaze is set, slice the brownies into squares and serve.
What should I serve it with?
These Gluten-Free Brownies are delicious all on their own, but they’re also fantastic with a variety of accompaniments.
For Breakfast: I love pairing a warm brownie with a cold glass of milk or a strong cup of coffee. It’s a surprisingly satisfying way to start the day!
For Brunch:What are some good ways to dress brownies with chocolate sauce? Serve with fresh berries and a mimosa for an unforgettable brunch treat.As Dessert:What’s a good dessert to serve with Whipped Cream? Can you serve hot chocolate with a glass of wine?For Cozy Snacks:On a cold winter night, nothing beats brownies. I sometimes add a little cinnamon or nutmeg for extra warmth.
Top Tips for Perfecting Your Recipe
Okay, I’ve made my fair share of brownies in my day, so I’ve got a few tricks up my sleeve to help you achieve brownie perfection!
Ingredient Quality: Use high-quality cocoa powder and chocolate. It makes a huge difference in the overall flavor. Don’t skimp!
Melted Butter: Make sure your butter is fully melted but not hot. Hot butter can cook the eggs and create a grainy texture.
Room Temperature Eggs: Using room temperature eggs helps them incorporate more evenly into the batter, resulting in a smoother texture.
Don’t Overmix: Overmixing the batter develops the gluten (even in gluten-free flour blends), which can lead to tough brownies. Mix until just combined.
Baking Time: Keep a close eye on the brownies while they’re baking. Ovens can vary, so start checking for doneness a few minutes before the recommended baking time.
Cooling Time: Be patient and let the brownies cool completely before slicing. This will prevent them from crumbling and ensure clean, even slices.
Glaze Thickness: For a thicker glaze, add more powdered sugar. For a thinner glaze, add more milk. I’ve even added a tablespoon of espresso for a mocha twist!
Storing and Reheating Tips
These gluten-free brownies are best enjoyed fresh, but they can also be stored for later.
Room Temperature: Store the brownies in an airtight container at room temperature for up to 3 days.
Refrigerator Storage: For longer storage, store the brownies in an airtight container in the refrigerator for up to 1 week.
Freezer Instructions: To freeze the brownies, wrap them individually in plastic wrap and then place them in a freezer-safe bag or container. They can be frozen for up to 2 months.
Glaze Timing Advice: If you’re planning to freeze the brownies, it’s best to glaze them after thawing. The glaze can become sticky or crack during freezing.
Frequently Asked Questions
Final Thoughts
So there you have it – my go-to gluten-free brownie recipe that’s guaranteed to satisfy your chocolate cravings. These brownies are fudgy, rich, and incredibly easy to make, making them the perfect treat for any occasion. Whether you’re gluten-free or not, I promise you’ll fall in love with this recipe. The best part about this gluten-free brownie recipe? That every single person regardless of age can enjoy it! If you enjoyed this gluten-free brownie recipe, you might like my chocolate chip cookie recipe! Happy baking!
Gluten-Free Brownie Recipe
Ingredients
Main Ingredients
- 1 cup Gluten-Free All-Purpose Flour Measure accurately using the spoon and level method.
- 1 cup Unsweetened Cocoa Powder Dutch-processed is preferred.
- 1 tsp Baking Powder
- 0.5 tsp Salt
- 1 cup Granulated Sugar
- 0.5 cup Brown Sugar Packed.
- 0.5 cup Vegetable Oil
- 2 Large Eggs
- 2 tsp Vanilla Extract
- 0.5 cup Hot Water
Instructions
Preparation Steps
- Preheat oven to 350°F (175°C). Grease and flour an 8x8 inch baking pan.
- In a large bowl, whisk together gluten-free flour, cocoa powder, baking powder, and salt.
- In a separate bowl, whisk together granulated sugar, brown sugar, oil, eggs, and vanilla extract.
- Gradually add the dry ingredients to the wet ingredients, mixing until just combined.
- Stir in hot water until the batter is smooth.
- Pour batter into the prepared pan and bake for 25-30 minutes, or until a toothpick inserted into the center comes out with moist crumbs.
- Let cool completely before cutting into squares.