There’s something truly magical about preparing a batch of stabilized whipped cream at home. It transforms any dessert into a delectable masterpiece, providing a luscious texture and subtle sweetness that just can’t be beaten. Whether you’re topping a cake, pie, or even a cup of rich hot chocolate, this stabilized version holds its shape beautifully, making it a must-have for home bakers who love to indulge in perfect confections.
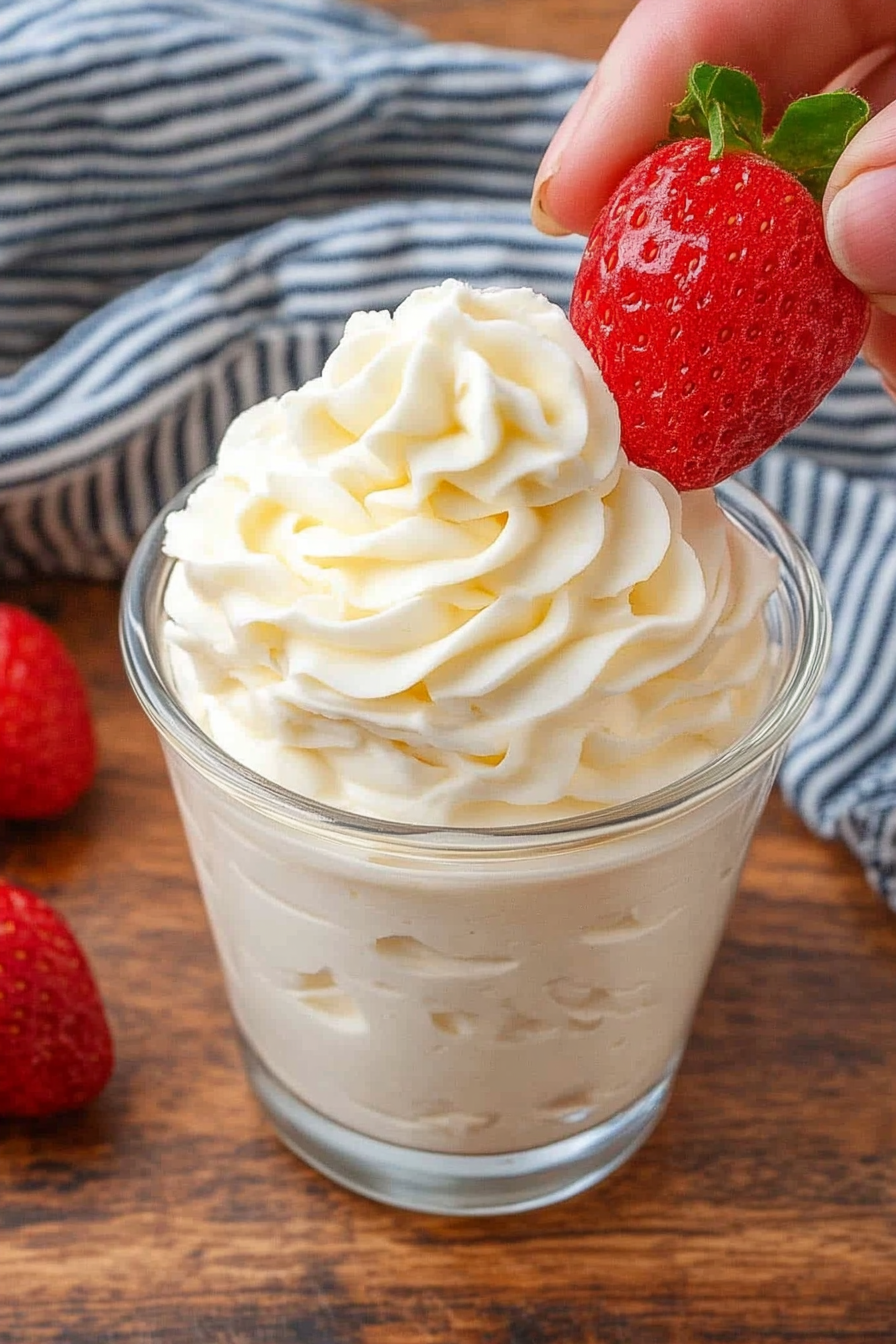
When I was a child, my grandmother would always make sure that there was a bowl of freshly whipped cream at every family gathering. The secret to her consistency was a precise technique she had honed over years. Watching her whip the cream with such care and precision was mesmerizing. She’d let me dip a finger into the bowl, and that taste is a cherished memory from my childhood that I now share with my own family.
Why You’ll Love This Recipe
This recipe is not just about creating whipped cream—it’s about making a staple in your dessert repertoire that stands the test of time. Unlike regular whipped cream, this stabilized version won’t melt quickly, making it perfect for warm environments or long events. It’s incredibly easy to make, using only a few ingredients that you probably already have in your kitchen. Plus, it provides a creamier and more decadent finish to your desserts, elevating their visual appeal and taste.
Ingredients Notes
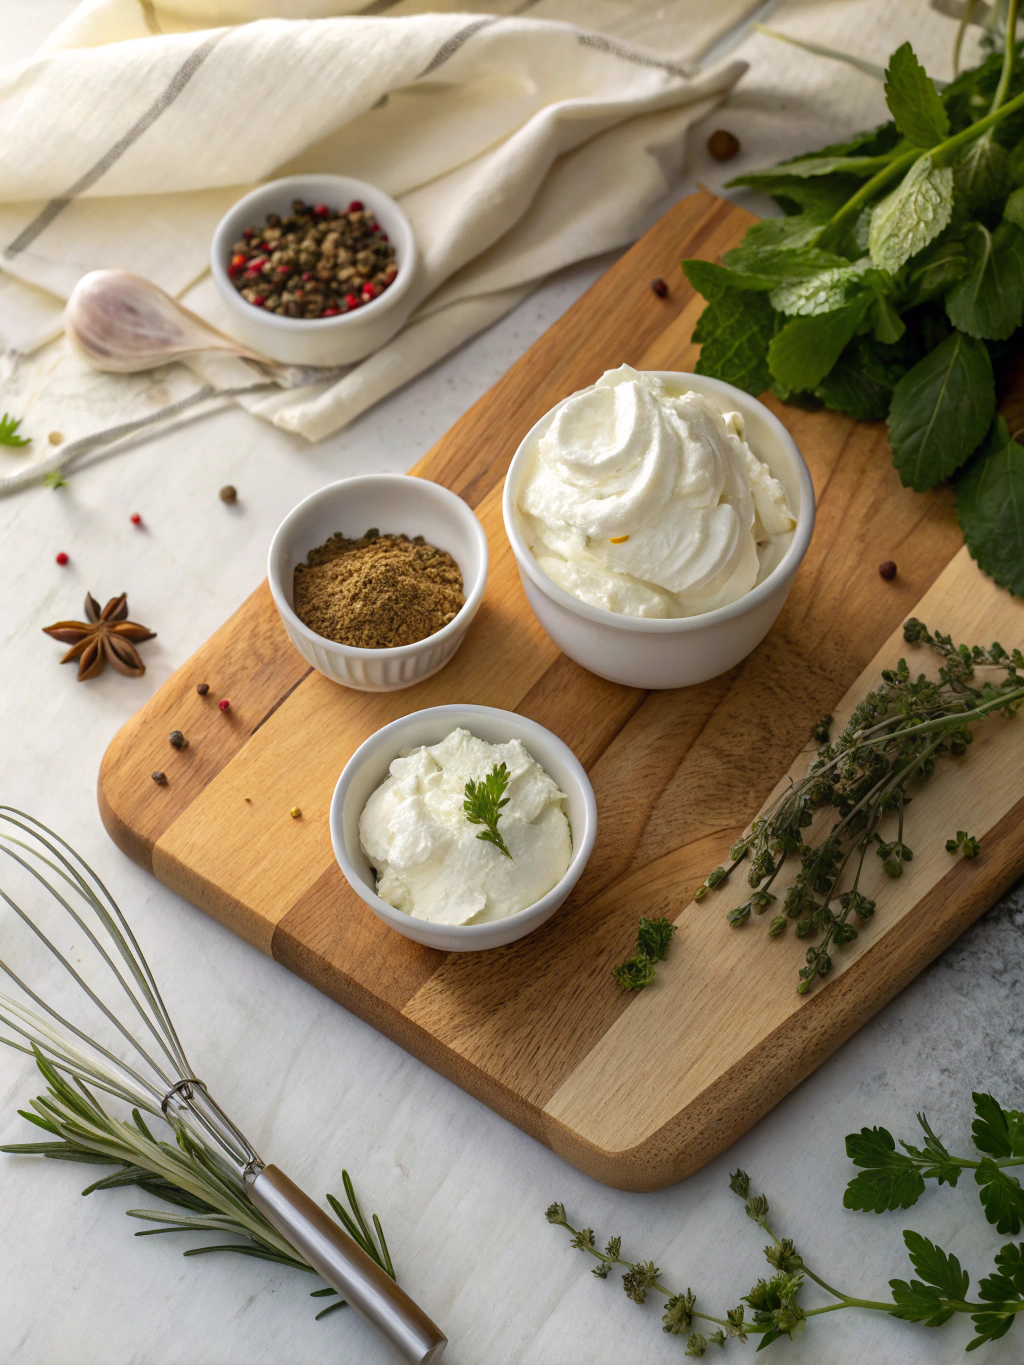
To make stabilized whipped cream, you’ll need heavy cream, sugar, and a stabilizer like gelatin or cornstarch. If you prefer a different flavor, consider using vanilla extract or other flavor concentrates. When it comes to sourcing, make sure your heavy cream is fresh for the best results. If needed, you can substitute a non-dairy cream for those with dietary restrictions.
Recipe Steps
Step 1
Start by chilling your mixing bowl and beaters in the freezer for about 15 minutes. This ensures that the cream whips up more efficiently.
Step 2
Add heavy cream to the chilled bowl and begin to whip on medium speed. Gradually increase the speed to high once the cream starts thickening.
Step 3
In a small bowl, mix the stabilizer (gelatin or cornstarch) with a few tablespoons of cold water and let it bloom.
Step 4
Once the whipped cream forms soft peaks, slowly add the sugar and any additional flavoring while continuing to beat.
Step 5
Finally, incorporate the stabilizer mixture into the whipped cream, ensuring it’s evenly distributed for best results. Beat until stiff peaks form.
Storage Options
To store your stabilized whipped cream, place it in an airtight container and refrigerate it. It can remain stable for up to three days. For longer storage, you can freeze the cream in dollops on a baking sheet and then transfer them to a freezer-safe bag. Thaw in the refrigerator when ready to use.
Variations & Substitutions
Experiment with flavors by adding a splash of almond extract or a hint of citrus zest. For chocolate lovers, fold in some cocoa powder. For dietary needs, try using coconut cream as an alternative to heavy cream for a vegan version that retains a similar texture.
Serving Suggestions
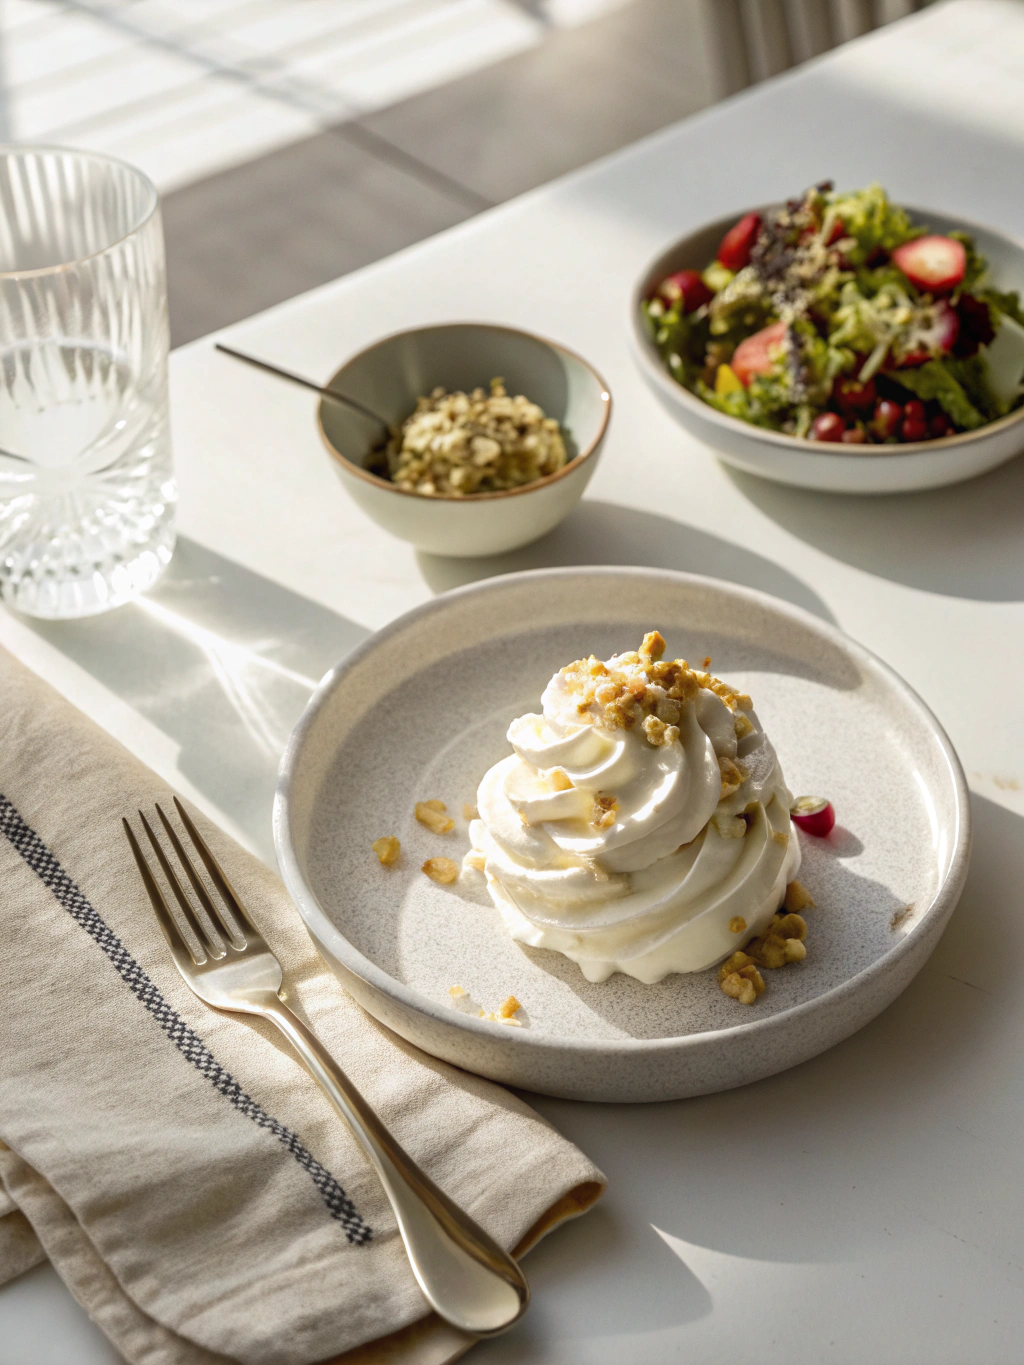
Stabilized whipped cream is perfect for topping pies, cakes, or hot beverages like coffee and cocoa. It can also serve as a delightful addition to a fruit salad or a companion to fresh berries.
Frequently Asked Questions
Can I make stabilized whipped cream without gelatin? Yes, you can use cornstarch or an agar-agar powder as a substitute for gelatin. Both options provide excellent stability and are suitable for vegetarian diets as well.
Is it possible to make this recipe vegan? Absolutely! Substitute heavy cream with coconut cream or any non-dairy whipped topping available. Gelatin can be replaced with agar-agar, ensuring the whipped cream remains vegan-friendly.
What can I do if my whipped cream starts to melt? If your stabilized whipped cream begins to melt, check the stabilizer amount and make sure the cream and utensils were sufficiently chilled before whipping. Re-chill the cream and try re-whipping for a few minutes to restore its form.

stabilized whipped cream
Ingredients
Main Ingredients
- 1.5 cups heavy cream cold
- 2 tablespoons powdered sugar
- 1 teaspoon vanilla extract pure
- 1 teaspoon gelatin unflavored
- 4 teaspoons water cold
Instructions
Preparation Steps
- Sprinkle gelatin over cold water in a small bowl. Let it sit for 5 minutes.
- Microwave the gelatin for 5-10 seconds until it becomes liquid.
- In a large mixing bowl, beat heavy cream until it starts to thicken.
- Gradually add powdered sugar and vanilla, continue beating until soft peaks form.
- Slowly pour in the gelatin mixture while beating until stiff peaks form.
