

The Best Homemade Chocolate Chip Cookies
I still remember the smell of my grandmother’s kitchen on a rainy Tuesday afternoon. There is honestly nothing quite like pulling a baking sheet of warm, gooey chocolate chip cookies out of the oven. It’s that instant comfort, you know? Over the years, I’ve tried probably a hundred different variations of this classic treat. Some were too crispy, some were too cakey, and a few just spread out into one giant, sad puddle on the pan. But after countless tweaks, late-night baking sessions, and way too much taste-testing with my family, I finally nailed it.
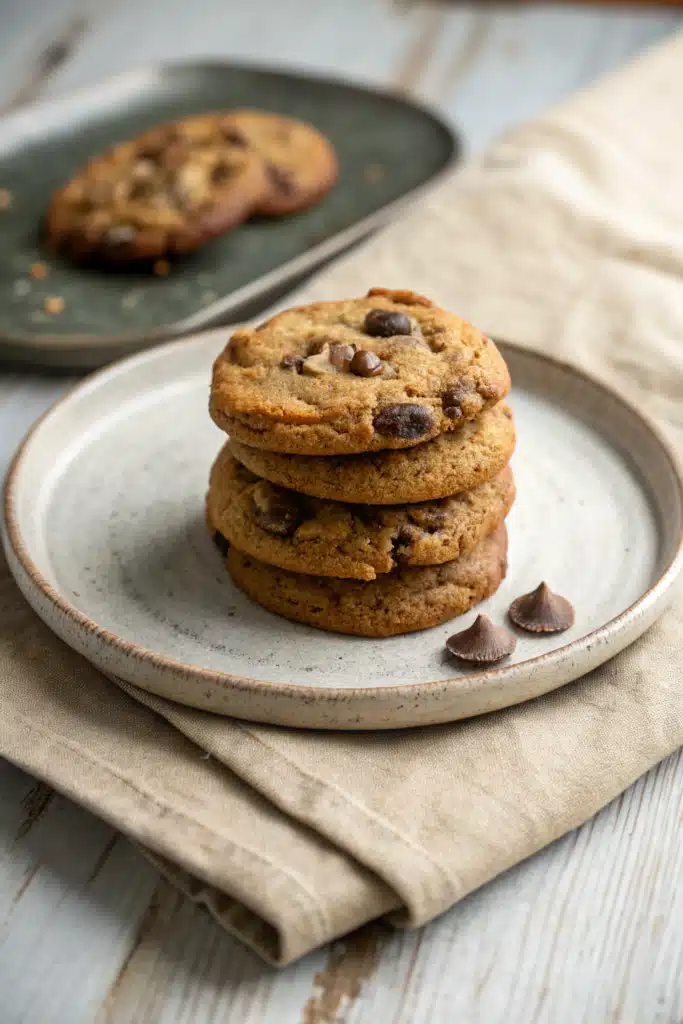
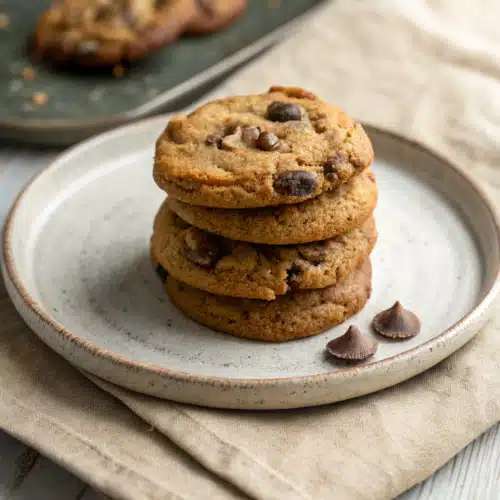
These chocolate chip cookies are everything you want them to be: crispy on the edges, perfectly chewy in the center, and absolutely packed with melting chocolate pools. Whether you are baking for a holiday party, cheering up a friend, or just treating yourself because you survived a long work week, this recipe is going to be your new best friend. Grab your favorite mixing bowl, and let’s get into it!
What Are Chocolate Chip Cookies?
At their core, classic chocolate chip cookies are a beautiful, simple marriage of butter, brown sugar, white sugar, flour, and, of course, a generous handful (or three) of chocolate chips. Originally invented in the 1930s, this humble drop cookie has become an absolute staple in American baking. But what makes a truly spectacular homemade version?
It is all about the ratios. The balance of molasses-rich brown sugar to crisp white sugar dictates the texture. The amount of butter—and whether it is cold, browned, or just softened—changes the entire flavor profile. My version leans heavily into the chewy, bakery-style category. We aren’t making those flat, crunchy store-bought things here. We are talking about thick, substantial cookies that have a slight crunch when you bite into the edge, giving way to a soft, almost doughy center that melts perfectly on your tongue. They are the ultimate nostalgia bake.
How to Make Chocolate Chip Cookies
Quick Overview
Making these chocolate chip cookies is surprisingly straightforward. We will start by creaming together our softened butter and sugars until they are light and fluffy—this is the secret to getting those perfectly crisp edges. Then, we mix in the eggs and a good splash of pure vanilla extract. After that, we gently fold in our dry ingredients: flour, baking soda, and a pinch of salt. The grand finale is folding in a mountain of chocolate chips. You’ll chill the dough briefly (I know, waiting is the hardest part, but it stops them from spreading!), scoop them onto a lined baking sheet, and bake until they are just golden brown.
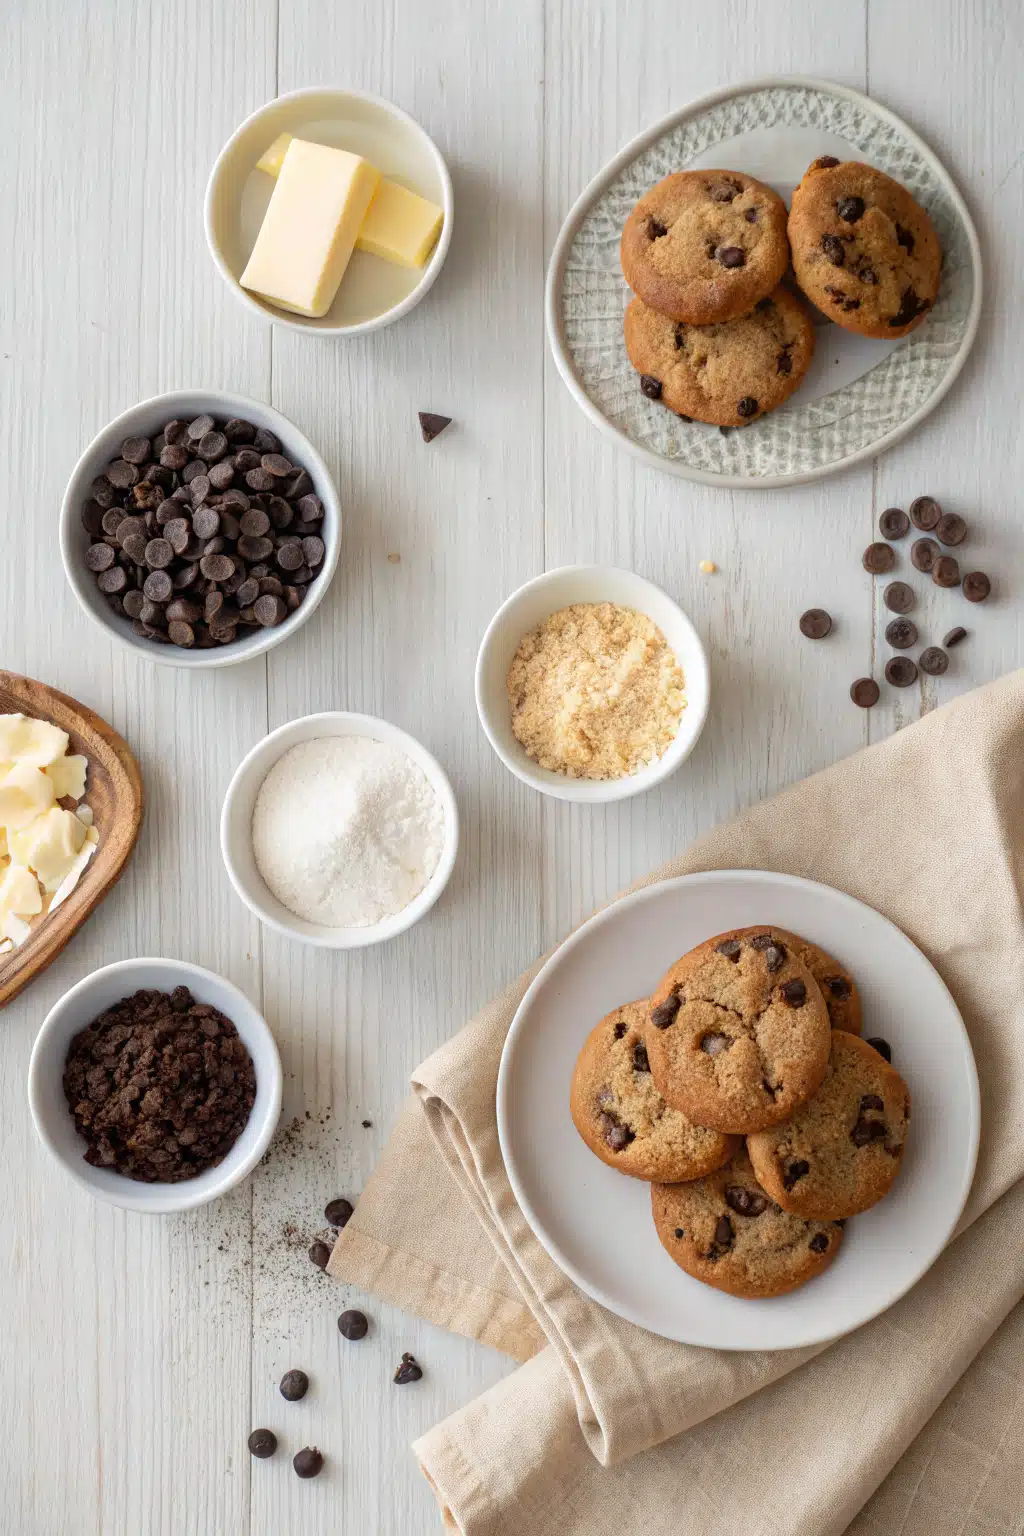
Ingredients
Here is what you need to gather from your pantry before we start baking:
- Unsalted butter: Softened to room temperature so it creams beautifully.
- Brown sugar: Dark brown is best for that chewy texture, but light works perfectly too!
- Granulated sugar: Gives the cookies their necessary crisp edges.
- Eggs: Two large ones, ideally at room temperature so they blend smoothly.
- Vanilla extract: Don’t skimp here, use the good stuff for the best flavor.
- All-purpose flour: Spooned and leveled so you don’t accidentally pack in too much.
- Baking soda & Salt: For lift and flavor balance.
- Chocolate chips: A mix of semi-sweet chips and dark chocolate chunks is my absolute favorite.
Step-by-Step Instructions
First things first, preheat your oven to 350°F (175°C). Line two large baking sheets with parchment paper. This prevents sticking, ensures even baking, and makes cleanup a total breeze.
In a large mixing bowl, beat the softened butter, brown sugar, and granulated sugar together on medium speed for about 2 full minutes. You want the mixture to look light, fluffy, and completely combined. Please don’t rush this step!
Crack in the eggs one at a time, mixing well after each addition. Pour in the vanilla extract and give it one more quick mix. Scrape down the sides of the bowl with a rubber spatula so nothing gets left behind at the bottom.
In a separate medium bowl, whisk together the flour, baking soda, and salt. Gradually add this dry mixture into your wet ingredients. Mix on low speed until just barely combined. It is totally okay if there are a few streaks of flour left!
Dump in your chocolate chips and chunks. Gently fold them into the dough using a spatula. Do not overmix here, just fold until the chocolate is evenly distributed.
Pop the bowl in the fridge for 30 minutes. Once chilled, use a cookie scoop to drop 2-tablespoon-sized balls of dough onto your prepared baking sheets, leaving about two inches of space between them.
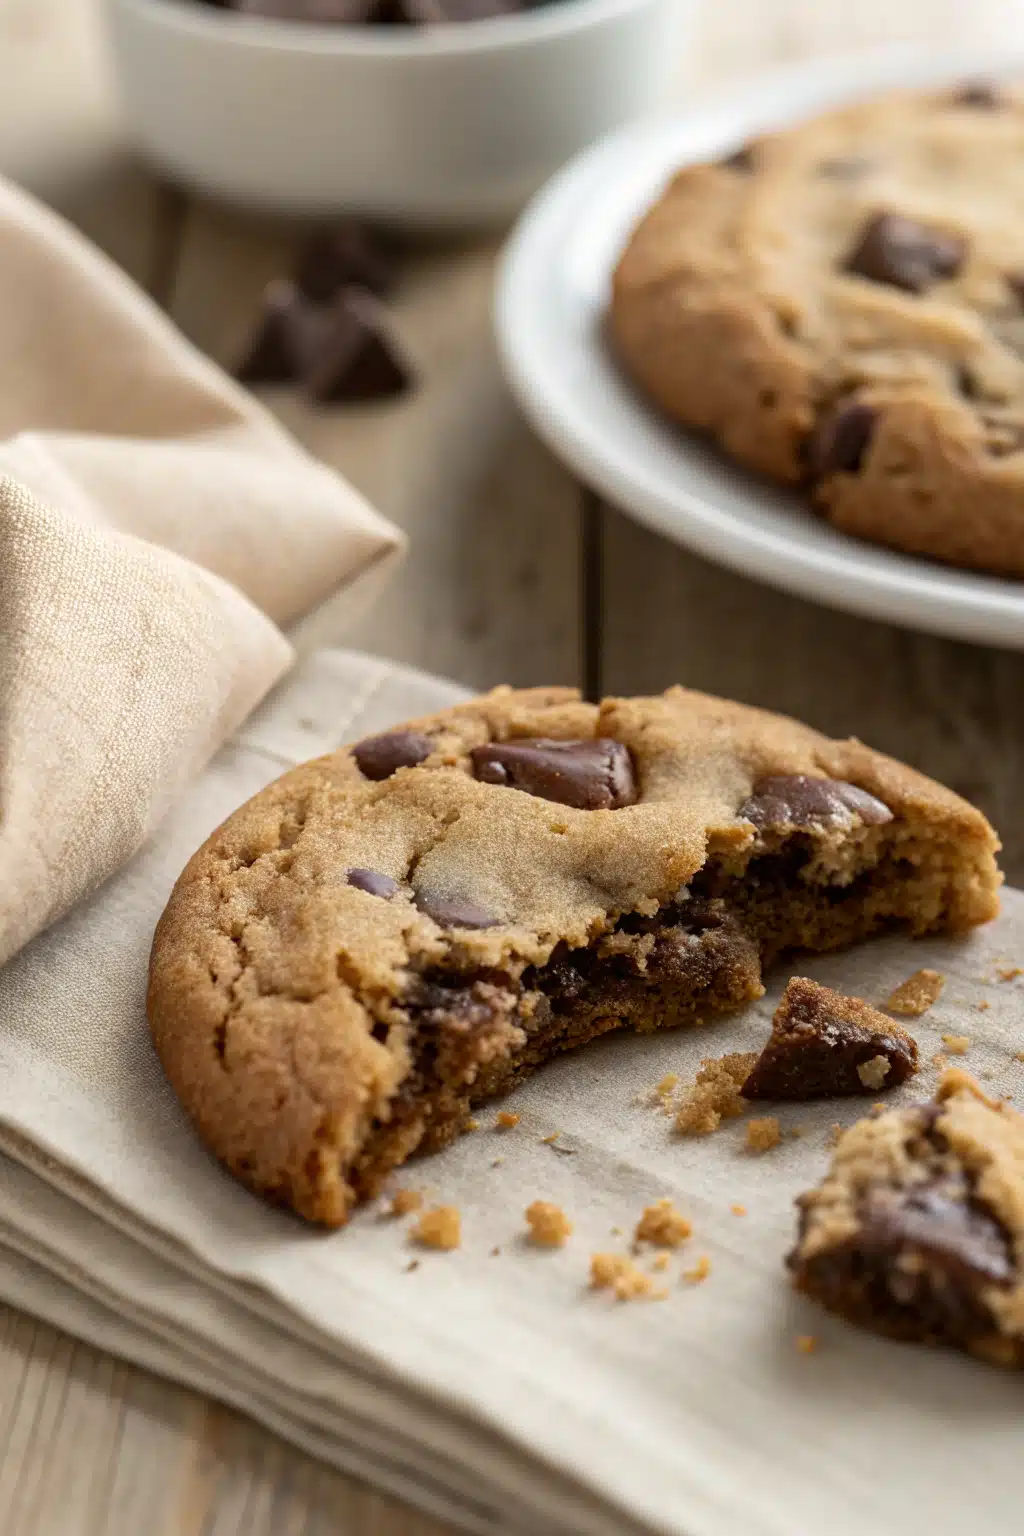
Bake for 10-12 minutes. The edges should be lightly golden, but the centers will still look a little soft and underbaked. That is exactly what you want! Let them cool on the pan for 5 minutes before transferring them to a wire rack.
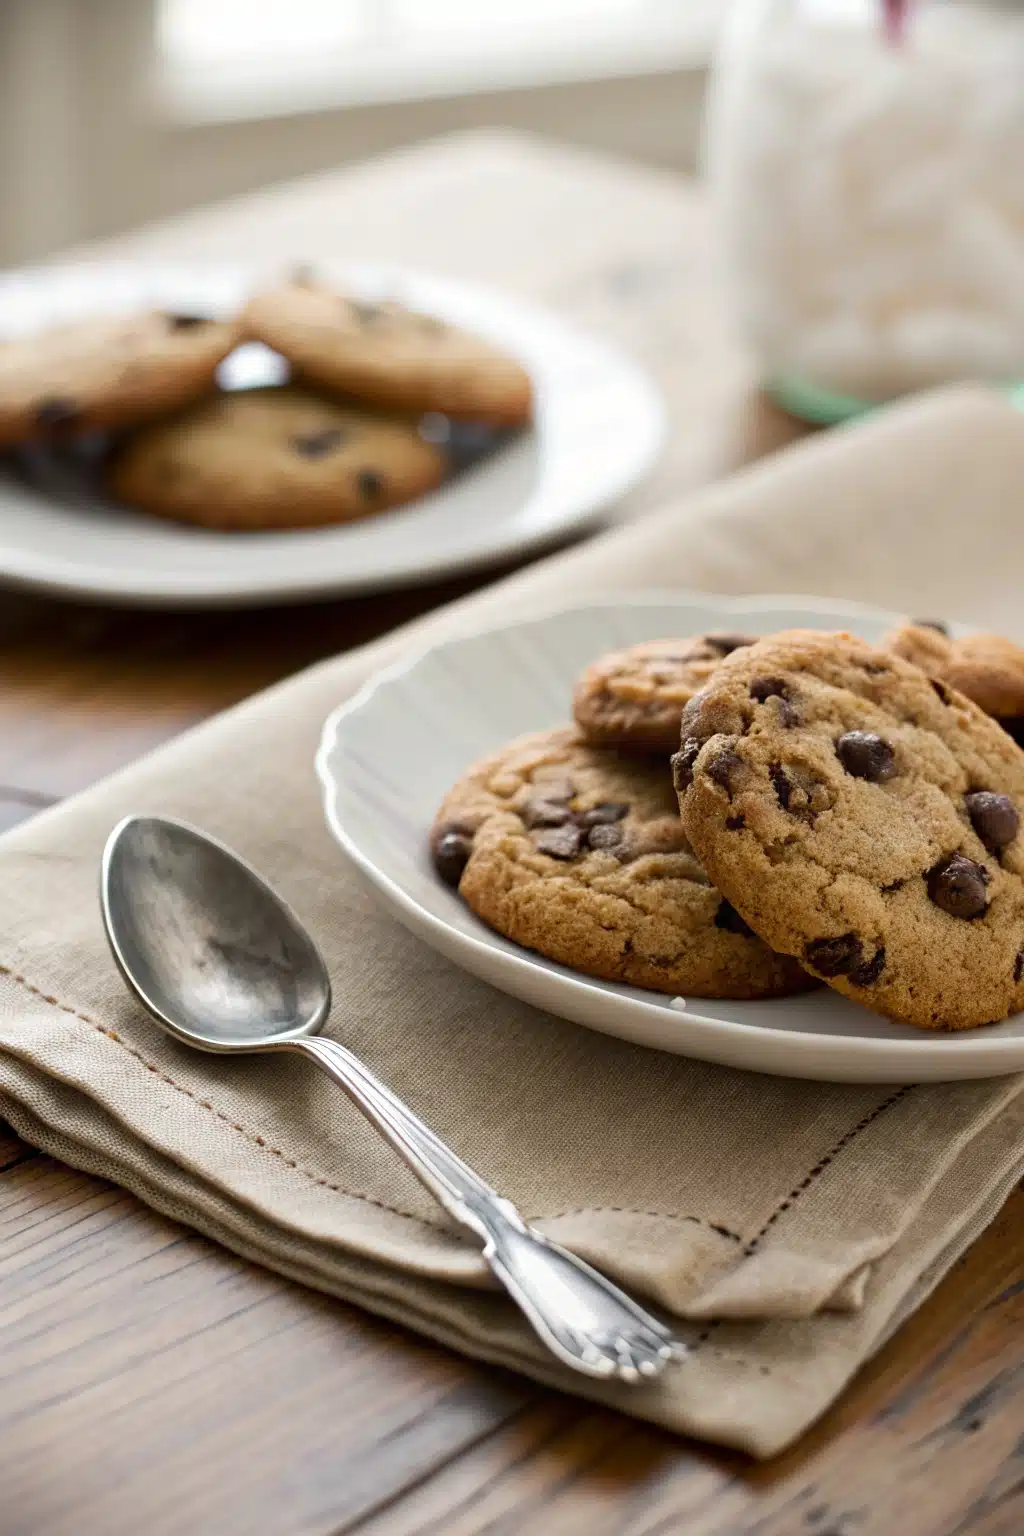
What to Serve It With
You really can’t go wrong eating these straight off the baking sheet while they are still warm enough to burn your fingers (we’ve all been there!). But if you want to elevate the experience, a tall, ice-cold glass of whole milk is the ultimate classic pairing. If you’re hosting a summer get-together, sandwich a big scoop of vanilla bean ice cream between two cooled cookies for a homemade ice cream sandwich that will blow everyone’s mind. They also pair wonderfully with a hot cup of black coffee in the afternoon—the bitterness of the coffee cuts right through the rich sweetness of the chocolate.
Top Tips for Perfecting Your Chocolate Chip Cookies
Want to make sure your cookies come out flawlessly every single time? Keep these simple tricks in mind:
- Measure your flour correctly: Fluff the flour with a fork, spoon it into your measuring cup, and level it off with a knife. Scooping directly from the bag packs the flour in and leads to dry, crumbly cookies.
- Don’t skip the chill time: I know it is so tempting to bake them immediately, but chilling the dough allows the flour to hydrate and solidifies the butter, which stops the cookies from spreading into flat pancakes.
- Underbake slightly: The secret to a chewy center is pulling them out of the oven when they still look a tiny bit raw in the very middle. They will continue to cook on the hot baking sheet as they cool.
- Add a sea salt finish: A tiny sprinkle of flaky sea salt right when they come out of the oven enhances the chocolate flavor beautifully and balances the sweetness.
Storing and Reheating Tips
If you miraculously have leftovers, keeping them fresh is super easy. Store your cooled chocolate chip cookies in an airtight container at room temperature for up to 5 days. Want a pro tip? Toss a piece of regular sandwich bread into the container with them; the cookies will absorb the moisture from the bread and stay incredibly soft!
If you want to freeze the dough for a rainy day, scoop it into balls, freeze them solid on a baking sheet, and then transfer them to a freezer bag. You can bake them straight from frozen—just add an extra minute or two to the baking time.
To reheat a baked cookie so it tastes freshly baked, just pop it in the microwave for about 8 to 10 seconds. It will be warm, gooey, and perfect.
Frequently Asked Questions
Yes, you absolutely can! If you use salted butter, just reduce the extra salt in the recipe to a tiny pinch so your cookies don’t end up too savory.
Flat cookies usually happen if your butter was too warm and melty when you mixed the dough, or if you skipped chilling the dough. Make sure your butter is just softened, not melting!
Definitely. You can keep the cookie dough covered tightly in the fridge for up to 3 days before baking. The flavor actually gets deeper and more delicious as it sits!
Final Thoughts
I really hope you give this chocolate chip cookie recipe a try the next time you are craving something sweet. There is just something incredibly special about baking from scratch, especially when the results are this delicious and comforting. These cookies have brought so much joy to my family, and I am so thrilled to finally share my ultimate version with you.
If you make them, please let me know how they turned out! Did you add extra chocolate? Did you eat the dough straight from the bowl? (No judgment here, we all do it.) Happy baking, friends, and make sure to enjoy every single warm, gooey bite!
Chocolate Chip Cookies
Ingredients
Main Ingredients
- 1 cup salted butter melted
- 1 cup light brown sugar packed
- 1 large egg
- 1 tablespoon heavy cream
- 1.5 teaspoons vanilla extract
- 2.5 cups all-purpose flour
- 0.5 tablespoon cornstarch
- 1 teaspoon baking soda
- 0.25 teaspoon salt
- 2 cups chocolate chips
Instructions
Preparation Steps
- Preheat the oven to 375 degrees Fahrenheit.
- In a large bowl, mix the melted butter, brown sugar, and egg until well combined.
- Stir in the heavy cream and vanilla extract.
- Add the flour, cornstarch, baking soda, and salt. Mix until a soft dough forms.
- Fold in the chocolate chips.
- Scoop the dough into 1.25-inch balls and place them on the prepared baking sheet.
- Bake for 9-10 minutes until the edges are golden brown and set.
- Allow the cookies to cool on the baking sheet for 5 minutes before transferring to a wire rack.
Notes
Featured Comments
“I’ve been searching for that perfect balance of chewy and slightly crisp—your recipe nails it!”
“Impressed! Clear steps and so flavorful results. Perfect for busy nights.”
“New favorite here — turned out amazing. crowd-pleaser was spot on.”
“Super easy and turned out amazing! My family asked for seconds. Saving this one.”
“This sweet treat was absolutely loved — the buttery really stands out. Thanks!”
“Made it tonight and wow — spot on! Will definitely make chocolate chip cookies again.”


I’ve been searching for that perfect balance of chewy and slightly crisp—your recipe nails it!