

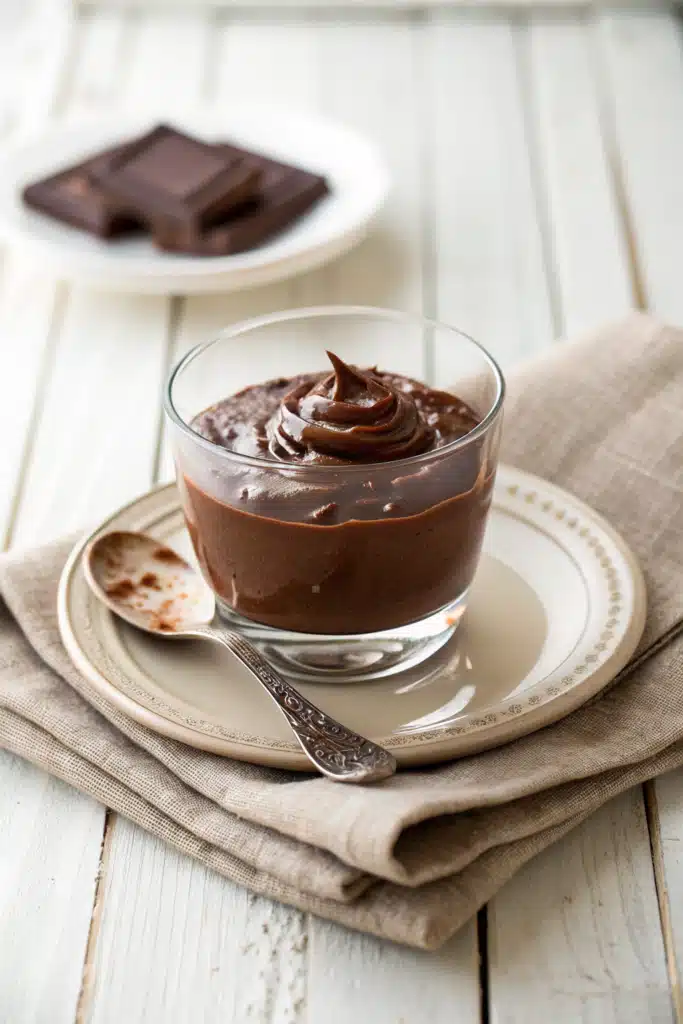
The Ultimate Fudgy Chocolate Pudding Recipe
There’s something incredibly magical about a dessert that creates its own hot fudge sauce while it bakes. If you’ve been searching for the ultimate comfort food, let me introduce you to my all-time favorite chocolate pudding recipe. I remember the very first time my grandmother made this for me on a chilly, rainy Sunday afternoon. The house smelled exactly like a fancy French bakery, and when she finally scooped it out of the baking dish, a river of molten chocolate came rushing out from underneath a tender, brownie-like cake. I was completely mesmerized.
Over the years, this has become my absolute go-to treat whenever life feels a little too chaotic or when I just need a serious, unapologetic chocolate fix. It’s warm, it’s gooey, and it honestly feels like a giant hug in a bowl. Whether you’re hosting a casual dinner party with friends or just having a cozy movie night on the couch in your favorite sweatpants, this chocolate pudding recipe is guaranteed to steal the show. Grab your favorite mixing bowl, and let’s make some magic happen in the kitchen!
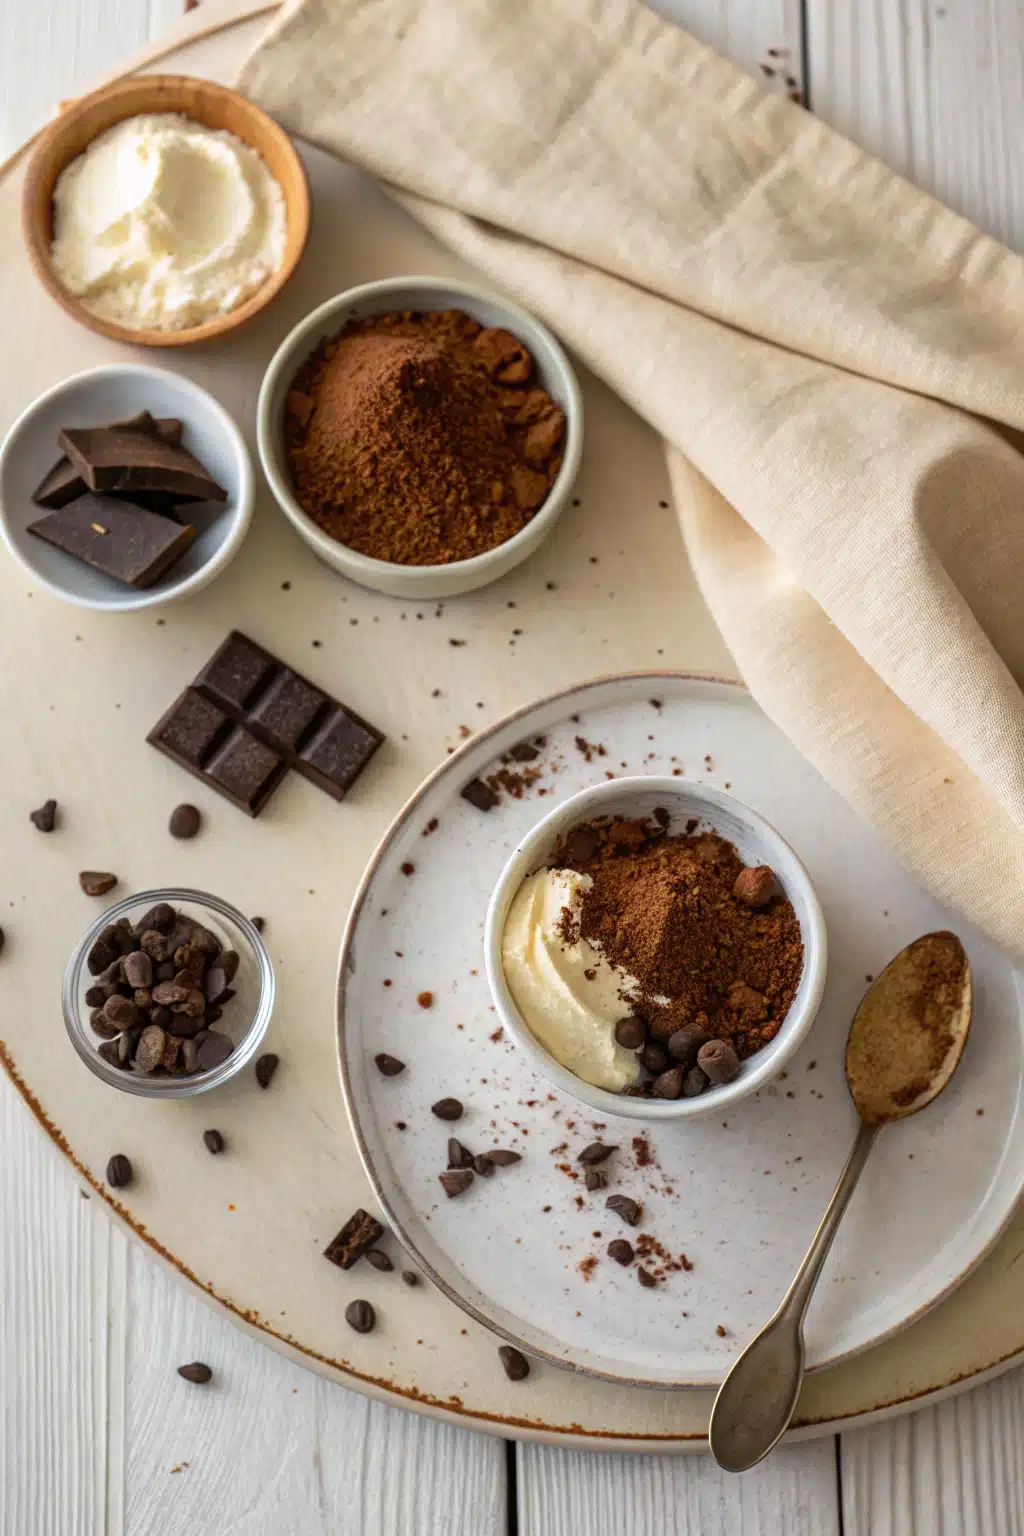
What Is A Baked Chocolate Pudding Dessert?
If you grew up eating those little plastic snack packs from the grocery store, you might be a little confused right now. This isn’t your standard chilled, gelatinous dairy dessert. Instead, this old-fashioned chocolate pudding recipe is what many folks call a “self-saucing pudding” or a hot fudge pudding cake. It’s a brilliant, vintage baking technique that magically separates into two distinct layers while it sits in the oven.
You start by mixing together a simple, thick chocolate batter and spreading it evenly into your baking dish. Then, you sprinkle a dry mixture of sugar and cocoa powder right over the top of the raw batter. Finally—and here’s the part that feels completely wrong but works like an absolute charm—you pour boiling hot water over the entire thing and pop it in the oven. As it bakes, the hot water pushes that sugary cocoa mixture straight to the bottom, transforming it into a thick, bubbling hot fudge sauce, while the batter rises to the top and bakes into a soft, airy chocolate cake. It’s pure baking alchemy, and it never gets old!
How to Make This Chocolate Pudding Recipe
Quick Overview
Please don’t let the idea of a “self-saucing” dessert intimidate you. The entire prep process takes maybe ten to fifteen minutes from start to finish, making it absolutely perfect for beginner bakers. You’re basically just whisking your dry ingredients together, stirring in the wet ingredients to form a thick batter, and then topping it with a magical cocoa-water mixture. The oven does all the heavy lifting for you! Just make sure your water is truly boiling hot before you pour it over the batter—that intense temperature shock is exactly what creates the distinct, gooey pudding layer at the bottom of the pan. Trust the process, even when it looks like a watery, soupy mess going into the oven. It will emerge beautifully baked!
Ingredients
For the Cake Batter:
- 1 cup all-purpose flour (spooned and leveled)
- 3/4 cup granulated sugar
- 1/4 cup unsweetened cocoa powder
- 2 teaspoons baking powder
- 1/4 teaspoon salt
- 1/2 cup whole milk (room temperature is best)
- 1/3 cup unsalted butter, melted and slightly cooled
- 1 1/2 teaspoons pure vanilla extract
For the Fudge Pudding Topping:
- 1/2 cup granulated sugar
- 1/2 cup packed light brown sugar
- 1/4 cup unsweetened cocoa powder
- 1 1/4 cups boiling water
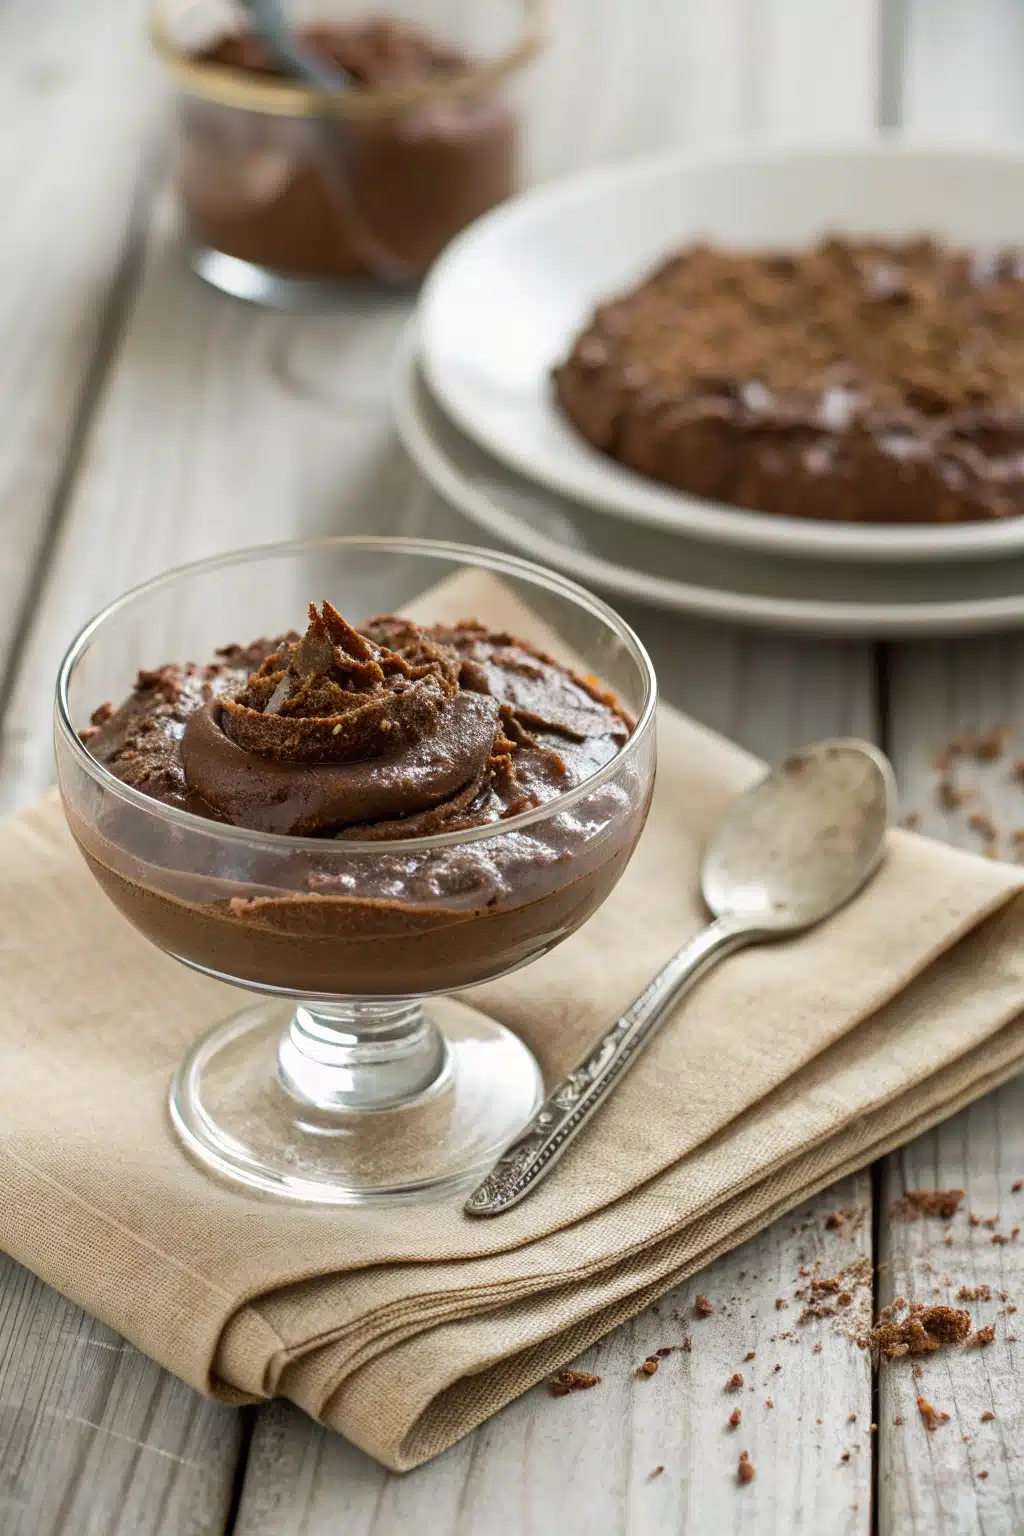
Step-by-Step Instructions
Step 1: Preheat & Prep Pan
First things first, preheat your oven to 350°F (175°C). Grab an 8×8-inch baking dish (or a 2-quart casserole dish) and lightly grease it with non-stick spray or a little pat of butter. You want to make sure the cake doesn’t stick to the sides as it rises.
Step 2: Whisk the Dry Batter Ingredients
In a large mixing bowl, whisk together the all-purpose flour, granulated sugar, cocoa powder, baking powder, and salt. Make sure to whisk well to break up any stubborn little lumps of cocoa powder.
Step 3: Add the Wet Ingredients
Pour the milk, melted butter, and vanilla extract right into your dry ingredients. Grab a spatula or a wooden spoon and stir everything together just until combined. It will be a fairly thick batter, almost like a brownie batter. Spread this mixture evenly into the bottom of your prepared baking dish.
Step 4: Mix the Dry Topping
In a separate, smaller bowl, whisk together the granulated sugar, brown sugar, and the remaining cocoa powder for the topping. Sprinkle this dry mixture evenly over the top of the wet batter in your baking dish. Do not stir it in!
Step 5: Pour the Boiling Water
Here is where the magic happens. Carefully pour the boiling water all over the top of the dry cocoa and sugar mixture. Again, do absolutely no stirring! It will look like a messy chocolate soup, but I promise you, it’s doing exactly what it needs to do.
Step 6: Bake to Perfection
Carefully transfer the dish to your preheated oven and bake for 30 to 35 minutes. You’ll know it’s done when the center is almost set and the cake part looks baked on top, with the edges bubbling with thick chocolate fudge. Let it cool for about 10 to 15 minutes before serving so the pudding can thicken up slightly.
What to Serve It With
While this warm chocolate pudding recipe is absolutely divine all on its own, adding a little something extra takes it to a whole new level. My absolute favorite way to serve this is piping hot in a bowl with a giant scoop of premium vanilla bean ice cream right on top. The way the cold ice cream melts into the hot, gooey fudge sauce is what dreams are made of!
If ice cream isn’t your thing, a generous dollop of lightly sweetened, homemade whipped cream adds a wonderful lightness that cuts through the rich chocolate. For a pop of color and a bit of tartness, toss a handful of fresh raspberries or sliced strawberries on the side. The acidity of the berries pairs beautifully with the deep, dark chocolate flavor.
Top Tips for Perfecting Your Chocolate Pudding Recipe
Don’t overbake it: The biggest mistake you can make with a self-saucing pudding is leaving it in the oven too long. You want the top to look like a baked cake, but underneath, it should still be delightfully jiggly and saucy. Check it right at the 30-minute mark!
Use good quality cocoa: Since cocoa powder is the star flavor ingredient here, use the best quality unsweetened cocoa powder you can get your hands on. It really makes a noticeable difference in how rich and deeply chocolatey the final dessert tastes.
The water must be boiling: Don’t just use hot tap water. Put a kettle on or boil water in the microwave. The water needs to be at a rolling boil when it hits the pan to properly activate the baking powder and create that distinct separation between the cake and the sauce.
Storing and Reheating Tips
If you somehow end up with leftovers (which is a very rare occurrence in my house!), you can easily save them for later. Let the dessert cool completely to room temperature, then cover the baking dish tightly with plastic wrap or transfer the leftovers to an airtight container. Keep it in the refrigerator for up to 3 or 4 days.
When you’re ready for round two, you definitely want to eat this warm! The pudding layer thickens up a lot in the fridge. Just scoop a portion into a microwave-safe bowl and heat it for about 30 to 45 seconds until it’s steaming hot and the fudge sauce has returned to its glorious, gooey state.
Frequently Asked Questions
Final Thoughts
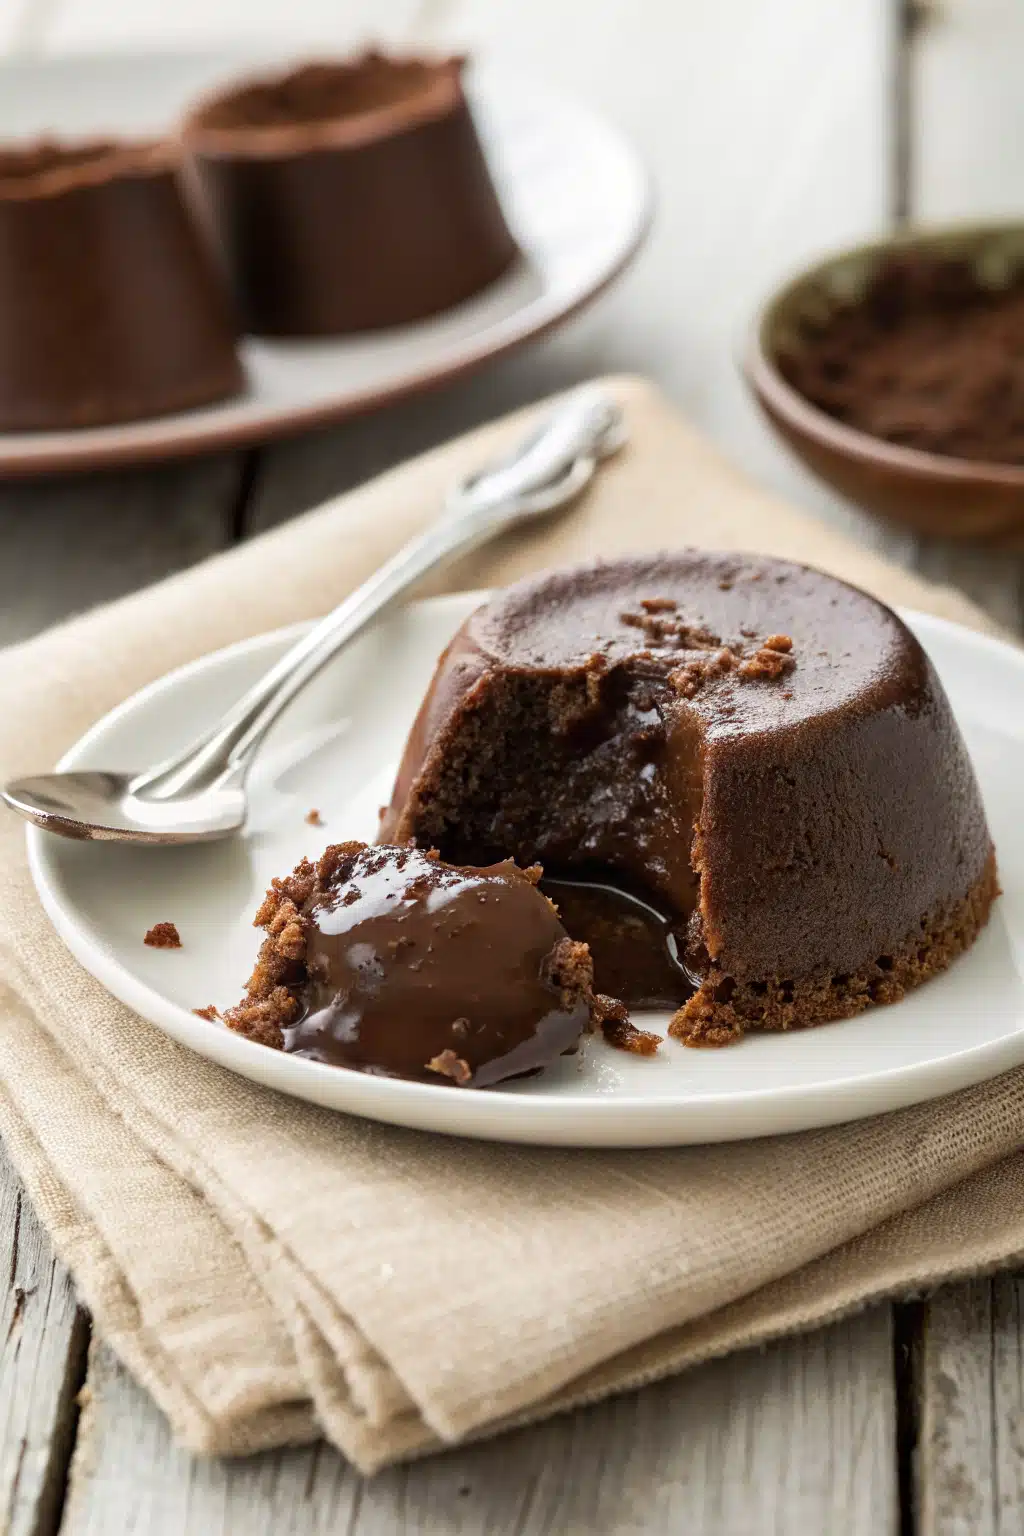
There you have it, friends—my most treasured, fail-proof chocolate pudding recipe. It’s the kind of dessert that brings people together, sparks joy on a gloomy day, and reminds us that sometimes the best things in life are the simplest. Baking doesn’t always have to be about perfectly piped frosting or complicated layers. Sometimes, it’s just about a warm bowl of chocolate goodness shared with the people you love.
I truly hope this recipe brings as much comfort and happiness to your kitchen as it has to mine over the years. Don’t forget to serve it warm, don’t skimp on the vanilla ice cream, and definitely lick the spoon. Happy baking!

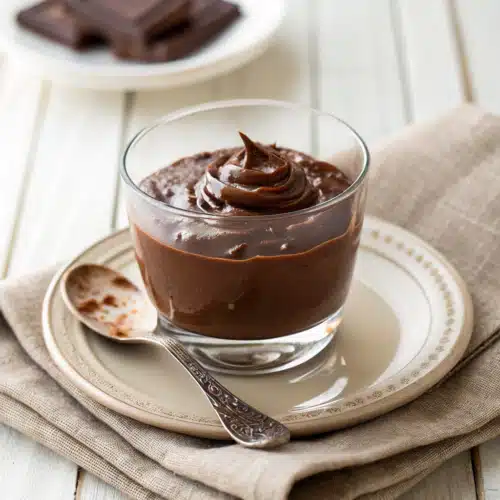
Fudgy Chocolate Pudding Dessert
Ingredients
Main Ingredients
- 1 medium ripe banana
- 0.25 cup cocoa powder
- 0.25 cup creamy peanut butter
- 0.25 cup honey
- 0.25 cup old fashioned rolled oats
- 0.5 teaspoon pure vanilla extract
- 1 pinch salt
Instructions
Preparation Steps
- Put all of the ingredients into a blender or food processor (I used my hand blender, since it's a small batch) and blend very well, scraping down the sides as needed.
- Pour into a bowl and cover and chill. The pudding thickens and sets up in 25-30 minutes.
Notes
Featured Comments
“This sounds absolutely comforting—I can already imagine the rich chocolate aroma filling my kitchen! Perfect for cozy family moments.”
“Yes! Nothing beats that cozy, chocolatey aroma that fills the whole house—this recipe sounds perfect for those moments.”
“Impressed! Clear steps and quick weeknight win results. Perfect for busy nights.”
“New favorite here — turned out amazing. crowd-pleaser was spot on.”
“Super easy and turned out amazing! My family asked for seconds. Saving this one.”
“This sweet treat was absolutely loved — the buttery really stands out. Thanks!”









Yes! Nothing beats that cozy, chocolatey aroma that fills the whole house—this recipe sounds perfect for those moments.
This sounds absolutely comforting—I can already imagine the rich chocolate aroma filling my kitchen! Perfect for cozy family moments.