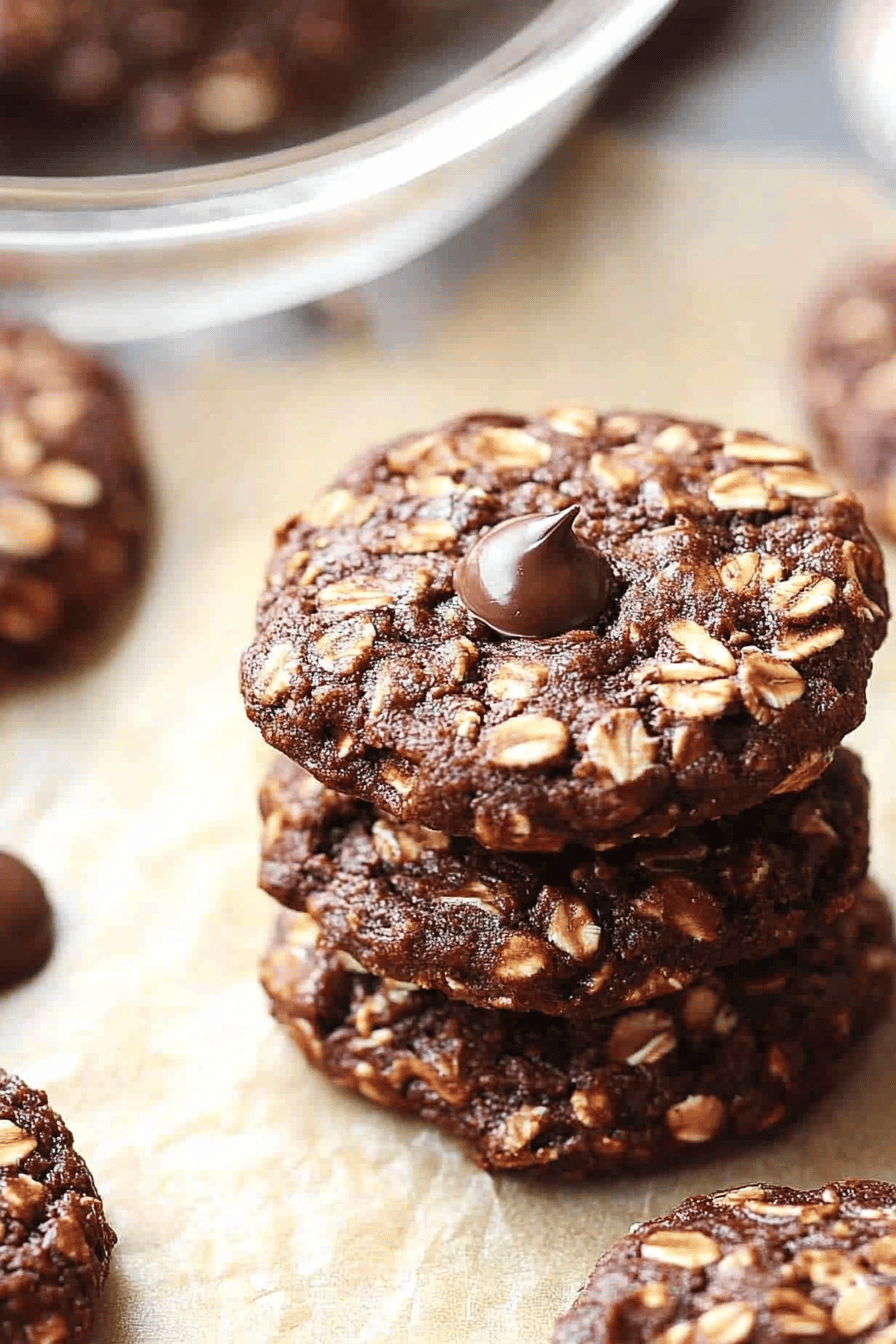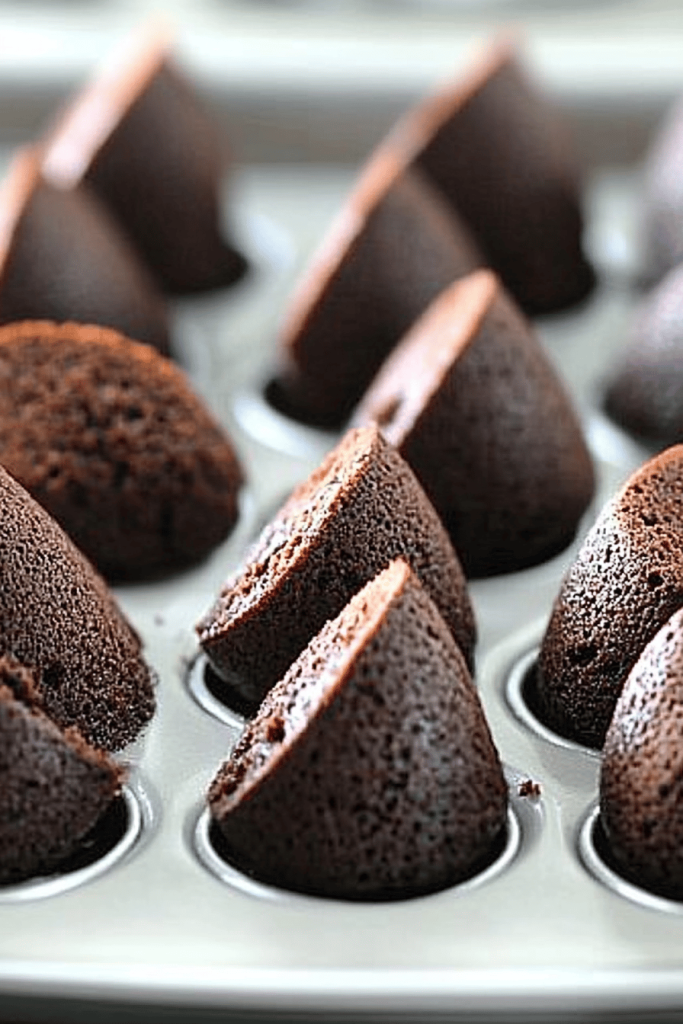
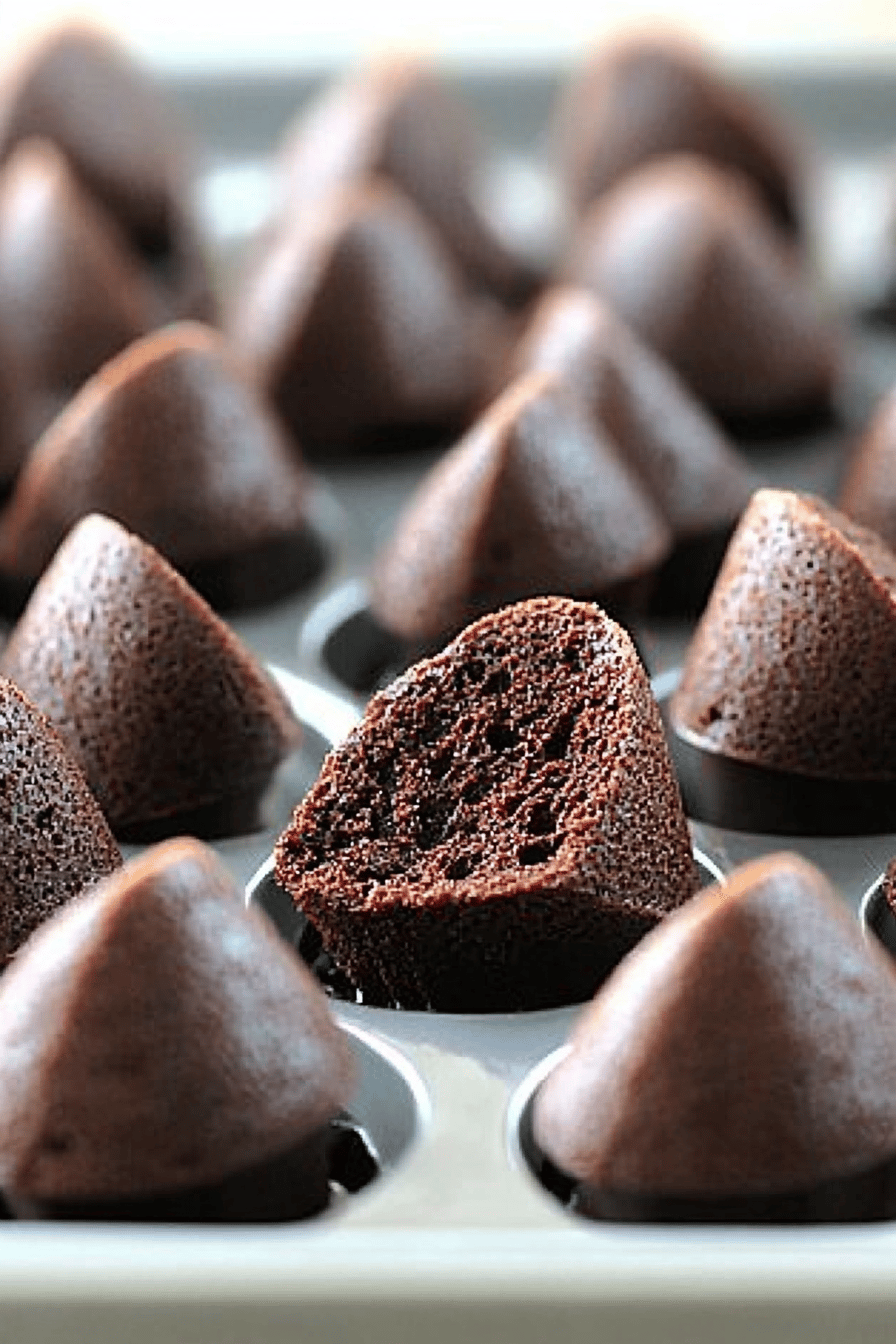
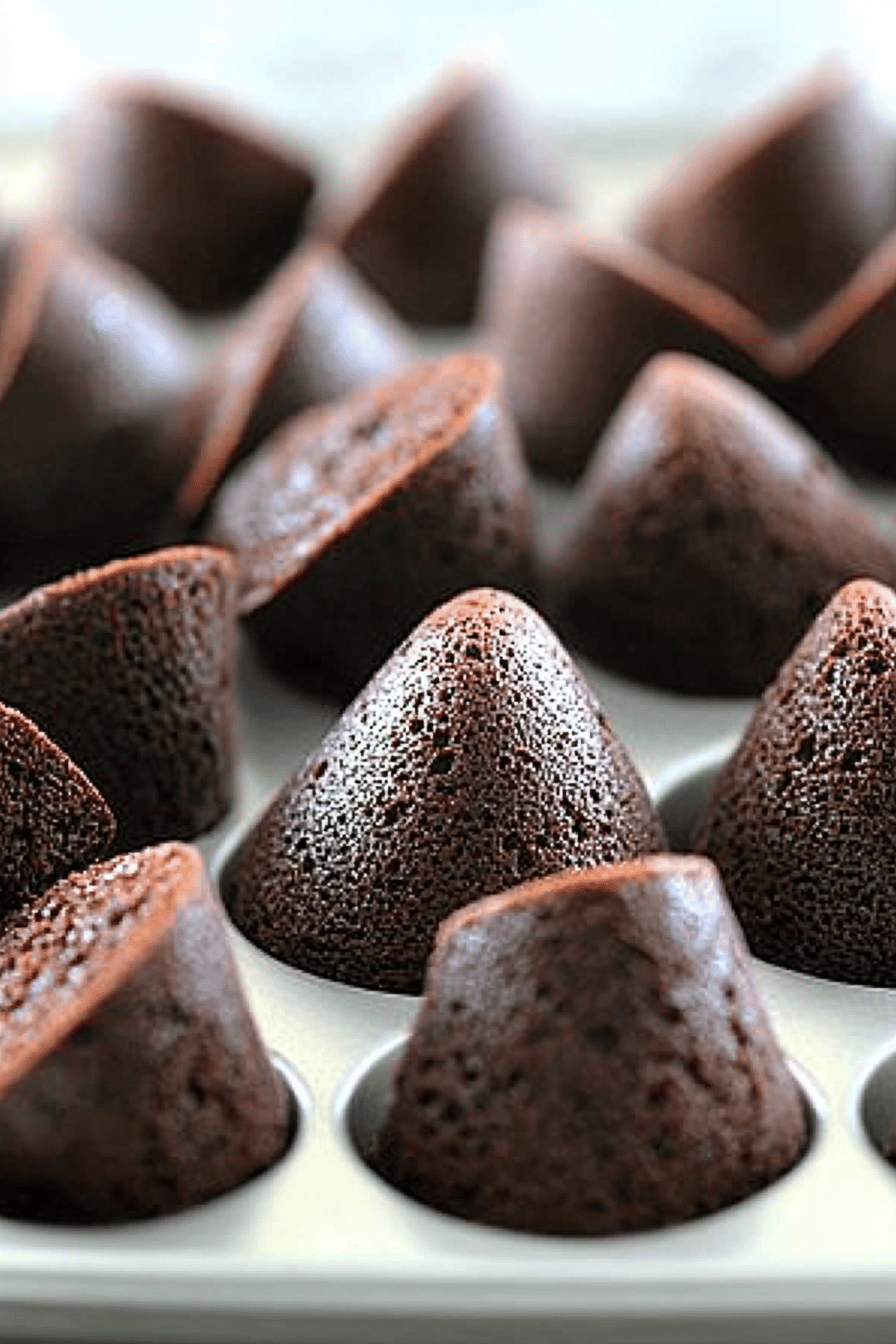
Okay, friends, let me tell you about my obsession: these ridiculously fudgy things.Gluten-free brownies. I’ve been tinkering with this recipe for ages, trying to replicate that perfect, gooey center and crackly top that you usually only find in a “real” brownie. Forget those dry, crumbly gluten-free attempts you’ve probably suffered through. Think intense chocolate flavor, almost like a dense, rich chocolate fudge, but in brownie form. It’s even better than my old standard, classic Chocolate Chip Cookies, and that’s saying something! My family begs for these constantly, and trust me, they’re the toughest critics I know.
What are gluten free brownies?
>What is the meaning of “what exactlyareWhat are some of the best brownie recipes? Think of them as your classic brownie, but reimagined for gluten-free living. What is essentially a dense, chocolatey square of happiness, but without wheat flour? We’re swapping out gluten-free flours that give us a texture that’s just as good. What is better than the original? I always aim for that perfect balance of fudgy and chewy; never dry or cakey! What is chocolate? And don’t get me started on the chocolate – we’re talking deep, dark, intensely chocolatey.
Why do I love this recipe?
What are some of the Best Reasons to eat brownies?
- Flavor Explosion: Seriously, the chocolate flavor is out of this world. We’re using a combination of cocoa powder and chocolate chips for maximum impact. It’s rich, decadent, and utterly irresistible.
- SurprisinglyWhat is a gluten free recipe? Is it a one-bowl wonder? What I love about this is that it comes together in under an hour, start to finish.
- Budget-Friendly BWhat are some pantry staples? If you bake gluten-free, you probably already have most of them on hand.
- Versatility Rules: You can totally customize these to your liking. Add nuts, swirl in some caramel, or top them with a scoop of ice cream. The possibilities are endless! I have even added espresso powder before for mocha brownies.
>This recipe blows other gluten-free brownie recipes out of the water because it is intensely chocolatey, gooey and easy to make. And the texture is perfect, and its easy to throw together.
How do I make gluten-free brownies?
Quick Overview
Making these gluten-free brownies is easier than you might think! You’ll start by prepping your pan and preheating the oven. Then, you’ll whisk together the dry ingredients and melt the butter and chocolate. Combine everything, pour into the pan, and bake until a toothpick comes out with fudgy crumbs. The key is not to overbake them – that’s what keeps them so gooey! And the best part? They’re even better the next day (if they last that long!).
Ingredients
>For the Gluten-Free Brownie Batter: Gluten Free.
- 1/2 cup (1 stick) unsalted butter.
- 4 ounces bittersweet chocolate, chopped.
- 1 cup granulated sugar. 1 teaspoon dried
- 2 large eggs
- 1 teaspoon vanilla extract
- 1/2 cup gluten-free all-purpose flour blend (I prefer Bob’s Red Mill 1-to-1)
- 1/2 cup unsweetened cocoa powder. 1/4 cup non-sweet
- 1/4 teaspoon salt. 1 teaspoon water.
- 1/2 cup chocolate chips. 1 cup of each.
>For the Optional Glaze:
- 2 tablespoons unsalted butter. 1 tablespoon uns
- 1/2 cup powdered sugar. 1/2 teaspoon salt.
- 2 tablespoons of milk (dairy or non-dairey)
- 1/4 teaspoon vanilla extract. 1 teaspoon baking powder.
Step-by-Step Instructions
Step 1: Preheat & Prep Pan
>First things first, preheat your oven to 350°F (175°C). Grease and flour an 8×8 inch baking pan. I like to use parchment paper to line the bottom with a little bit hanging over the sides for easy removal later. This makes clean up a breeze.
Step 2: Melt Butter and Chocolate
>In a medium saucepan over low heat, melt the butter and bittersweet chocolate together, stirring constantly until smooth. Remove from heat and let cool slightly. Make sure to scrape the bottom of the pan to prevent burning!
Step 3: Whisk the Sugar
>How do you stir the chocolate into the melted chocolate? The sugar should dissolve into the mixture to give the fudgy consistency.
Step 4: Add the Eggs and Vanilla
Beat the eggs one at a time, then stir in the Vanilla Extract. Make sure each egg is fully combined before adding the next one.
Step 5: Combine Dry Ingredients
In a separate bowl, whisk together the Gluten-Free Flour, cocoa powder, and salt. I always sift the cocoa powder to avoid any lumps! This makes sure the texture is perfect!
Step 6: Combine Wet and Dry
>Gradually add the dry ingredients to the wet ingredients, mixing until just combined. Be careful not to overmix! Overmixing can lead to a tough brownie. Now fold in the chocolate chips.
Step 7: Pour into Pan and Bake
>How do I spread the batter in a pan? Bake for 25-30 minutes, or until a toothpick inserted into the center comes out with moist crumbs. Is it better to underbake them than overbaking them?
Step 8: Cool and Glaze (Optional)
Let the brownies cool completely in the pan before cutting into squares. For the glaze, melt the butter in a small saucepan. Remove from heat and stir in the powdered sugar, milk, and Vanilla Extract until smooth. Drizzle over the cooled brownies.
Step 9: Slice & Serve
>Carefully remove the brownies from the pan using the parchment paper overhang. Slice into squares and serve. These are delicious warm or at room temperature!
What to Serve It With
>These brownies are amazing on their own, but if you want to take them to the next level, here are some serving suggestions:
- For Breakfast: Serve with a strong cup of coffee or a latte. A sprinkle of sea salt on top really brings out the chocolate flavor.
- For Brunch: Dress them up with a dollop of whipped cream and fresh berries. A mimosa on the side is always a good idea!
- As Dessert: Top with a scoop of vanilla ice cream and a drizzle of chocolate sauce. My family loves it when I add some chopped nuts, too.
- For Cozy Snacks: Pair with a glass of cold milk or a warm mug of hot chocolate. This is my go-to on a chilly evening.
>My family tradition is to always have a batch of these brownies for movie night. They disappear in minutes! You really can’t go wrong with a classic.
Top Tips for Perfecting Your Gluten-Free Brownies
>Over the years, I’ve learned a few tricks to ensure brownie perfection:
- Gluten-Free Flour Blend: Using the right gluten-free flour blend is crucial. I’ve had the best results with Bob’s Red Mill 1-to-1 Gluten Free Baking Flour. Avoid blends that are too gritty or have a strange aftertaste.
- Melting Chocolate: Be careful not to burn the chocolate when melting it. Use low heat and stir constantly. If you’re using a microwave, melt in 30-second intervals, stirring in between.
- Don’t Overmix: Overmixing the batter will develop the gluten (even in gluten-free flour), resulting in a tough brownie. Mix until just combined.
- Baking Time: Keep a close eye on the brownies while they’re baking. The baking time will vary depending on your oven. Start checking for doneness around 25 minutes.
- Cooling Time: Let the brownies cool completely before cutting into squares. This will allow them to firm up and prevent them from crumbling.
- Glaze Consistency: Adjust the amount of milk in the glaze to achieve your desired consistency. If you want a thicker glaze, use less milk. For a thinner glaze, use more milk.
>One time, I accidentally added too much salt, and they were still devoured. But seriously, measure your ingredients carefully! I promise it helps.
Storing and Reheating Tips
Want to keep these gluten-free brownies fresh for later? Here’s how:
- Room Temperature: Store in an airtight container at room temperature for up to 3 days. Covering them tightly will prevent them from drying out.
- Refrigerator Storage: Store in an airtight container in the refrigerator for up to 1 week. They’ll be even fudgier when chilled!
- Freezer Instructions: Wrap individual brownies tightly in plastic wrap and store in a freezer bag for up to 2 months. Thaw at room temperature before serving.
Frequently Asked Questions
Final Thoughts
So there you have it: my go-to recipe for decadent gluten-free brownies. These aren’t just good for gluten-free brownies, they’re just plain good! They’re perfect for satisfying your chocolate cravings, impressing your friends and family, or simply treating yourself to something special. And if you’re looking for other delicious gluten-free treats, be sure to check out my recipe for Gluten-Free Chocolate Chip Cookies! Can’t wait to see how yours turn out! Leave a comment below and let me know what you think, and don’t forget to rate this recipe! Happy baking!
Gluten-Free Brownies
Ingredients
Main Ingredients
- 1 cup gluten-free all-purpose flour blend
- 0.75 cup unsweetened cocoa powder
- 1.5 cup granulated sugar
- 0.5 teaspoon baking powder
- 0.5 teaspoon salt
- 0.5 cup unsalted butter, melted
- 2 large eggs
- 1 teaspoon vanilla extract
- 1 cup boiling water
Instructions
Preparation Steps
- Preheat oven to 350°F (175°C). Grease and flour an 8x8 inch baking pan.
- In a large bowl, whisk together the flour, cocoa powder, sugar, baking powder, and salt.
- Add the melted butter, eggs, and vanilla extract to the dry ingredients. Mix until just combined.
- Gradually pour in the boiling water and mix until the batter is smooth.
- Pour the batter into the prepared pan and bake for 25-30 minutes, or until a toothpick inserted into the center comes out with moist crumbs.
- Let the brownies cool completely before cutting and serving.