

What is bread?Gluten-free dinner rolls.. I know, I know – gluten-free baking can be intimidating. But trust me on this one. These aren’t your typical dry, crumbly gluten-free rolls. These are soft, fluffy, and seriously addictive. Think of them as the gluten-free cousin of those classic Parker House rolls, but even better, because they’re made with love (and a whole lot of gluten-free magic!). Growing up, my grandma always made these incredible rolls for Thanksgiving, and I always felt left out because of my gluten allergy. So, I made it my mission to recreate that joy and share these with you!
What are gluten-free dinner rolls?
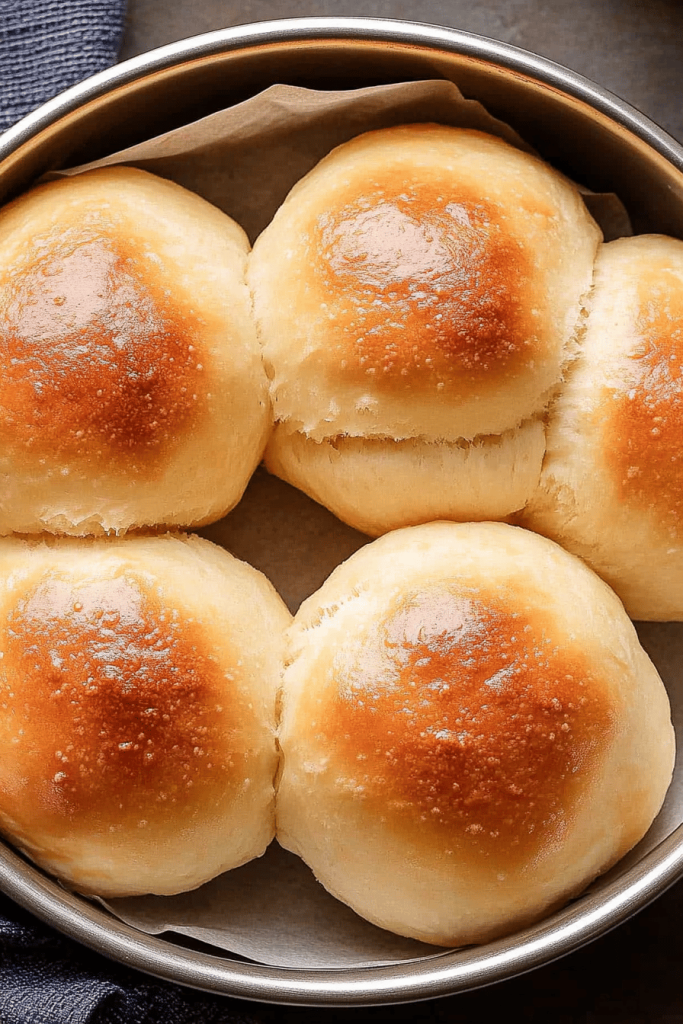
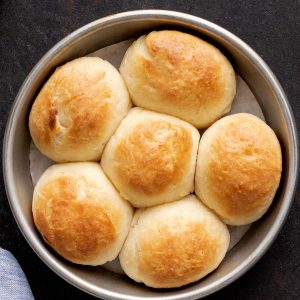
Think of gluten-free dinner rolls as a hug in bread form. They’re the perfect sidekick to any meal, or honestly, a pretty amazing snack all on their own. They are made with a blend of gluten-free flours, a touch of sweetness, and a whole lot of love. It’s essentially a pillowy soft bread roll, but crafted specifically to be safe and delicious for those of us avoiding gluten. They’re incredibly versatile – slather them with butter, dunk them in soup, or use them for mini sandwiches. They are sure to be a hit!
Why do I love this recipe?
Let me tell you, I’ve tested countless gluten-free bread recipes, and this one is a winner for so many reasons. What I love most about this is how ridiculously easy it is to make. Don’t be intimidated by the gluten-free label!
• **Flavor:** These rolls have a slightly sweet, buttery flavor that’s just heavenly. They’re not overwhelmingly sweet, but just enough to make them irresistible. The texture is what really gets me, though – incredibly soft and fluffy, not at all dry or gritty like some gluten-free breads can be.
• **Simplicity:** This recipe uses simple ingredients that you can easily find at most grocery stores. The steps are straightforward, and there’s no complicated kneading or rising required. This one’s a lifesaver on busy weeknights or for holiday gatherings when you’re already juggling a million things.
• **Cost-efficiency:** Gluten-free baking can sometimes be expensive, but this recipe uses affordable ingredients that won’t break the bank. You probably have most of them in Your pantry already!
• **Versatility:** These rolls are amazing on their own, but they’re also fantastic with butter, jam, or as part of a larger meal. They’re perfect for Thanksgiving dinner, cozy weeknight soups, or even just a quick snack. If you like these you should try my Gluten-Free Biscuits, but those are better topped with gravy. I also love how forgiving this recipe is. I’ve accidentally added a little too much of one ingredient or another, and they *still* turned out great. That’s a sign of a truly reliable recipe!
How do I make gluten-free dinner rolls?
Quick Overview
Making these gluten-free dinner rolls is surprisingly simple! First, you’ll mix the dry and wet ingredients separately, then combine them to form a dough. After a short rest, you’ll shape the dough into rolls, let them rise, and bake until golden brown. The key to their soft texture is using a good quality Gluten-Free Flour Blend and allowing the dough to rise properly. I promise, the result is worth the wait! I’ve even made these using my stand mixer with the dough hook, and it cuts down on prep time so much.
Ingredients
For the Rolls:
• 2 1/4 cups gluten-free all-purpose Flour Blend (I recommend Bob’s Red Mill 1-to-1 Baking Flour)
• 1/4 cup granulated sugar
• 2 1/4 teaspoons (1 packet) active dry yeast
• 1 teaspoon salt
• 1 cup of milk (dairy or non-daire – I’ve tested it with almond milk and it actually made it even better).
• 1/4 cup unsalted butter, melted
• 2 large eggs, lightly beaten
What is the Butter Topping?
• 2 tablespoons unsalted butter, melted
• Pinch of salt (optional)
Step-by-Step Instructions
Step 1: Preheat & Prep Pan
Preheat your oven to 350°F (175°C). Grease a 9×13 inch baking pan. I always line mine with parchment paper for easy cleanup, but it’s not essential. I also recommend preheating the oven while you’re getting the other ingredients ready, so that the oven is ready to go as soon as the rolls are.
Step 2: Mix Dry Ingredients
In a large bowl, whisk together the gluten-free flour, sugar, yeast, and salt. Make sure everything is well combined, as this will help ensure even distribution of the ingredients. Don’t skip the whisking, it really does make a difference!
Step 3: Mix Wet Ingredients
In a separate bowl, whisk together the milk, melted butter, and eggs. Set aside. Is milk too hot for yeast? I usually microwave it for about 30 seconds, or until it’s lukewarm. I also like to use a whisk to ensure the eggs are fully incorporated before adding them to the dry ingredients.
Step 4: Combine
Pour the wet ingredients into the dry ingredients and mix until just combined. Be careful not to overmix, as this can result in tough rolls. The dough will be quite sticky, which is perfectly normal for gluten-free dough. I always use a rubber spatula to scrape down the sides of the bowl and ensure everything is evenly mixed.
Step 5: Shape the Rolls
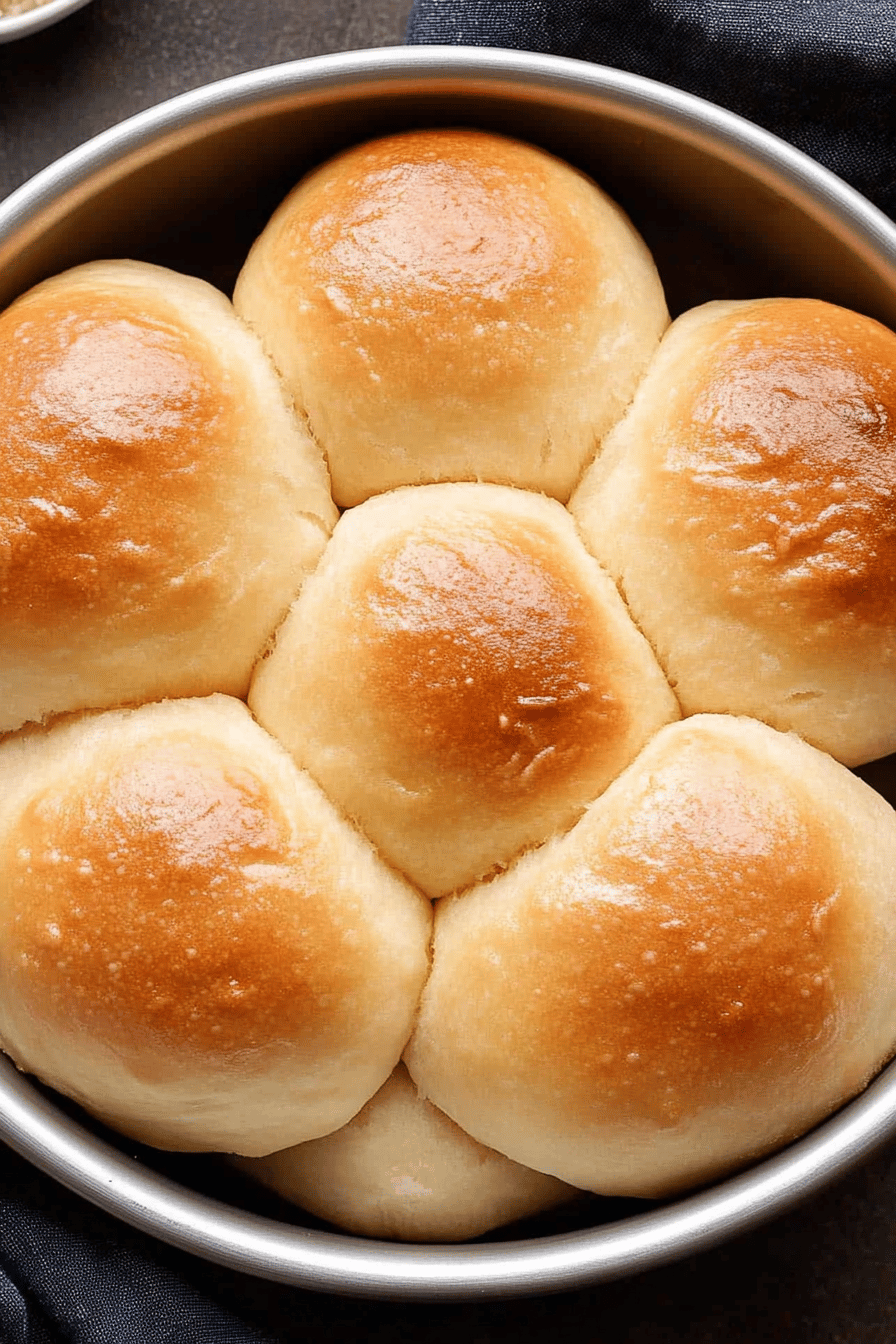
Spoon or drop the dough into the prepared baking pan, spacing them evenly apart. You can use a large spoon or an Ice Cream scoop for this. I find it easiest to wet my hands slightly to prevent the dough from sticking too much. You should get about 12-15 rolls, depending on how large you make them.
Step 6: Let Rise
Cover the pan with plastic wrap or a clean kitchen towel and let the rolls rise in warm place for 10 minutes. Is it possible to double the size of a potato in 30 minutes? The rising time will depend on the temperature of your kitchen, so keep an eye on them. I usually place them on top of my oven while it’s preheating for a nice, warm spot.
Step 7: Bake
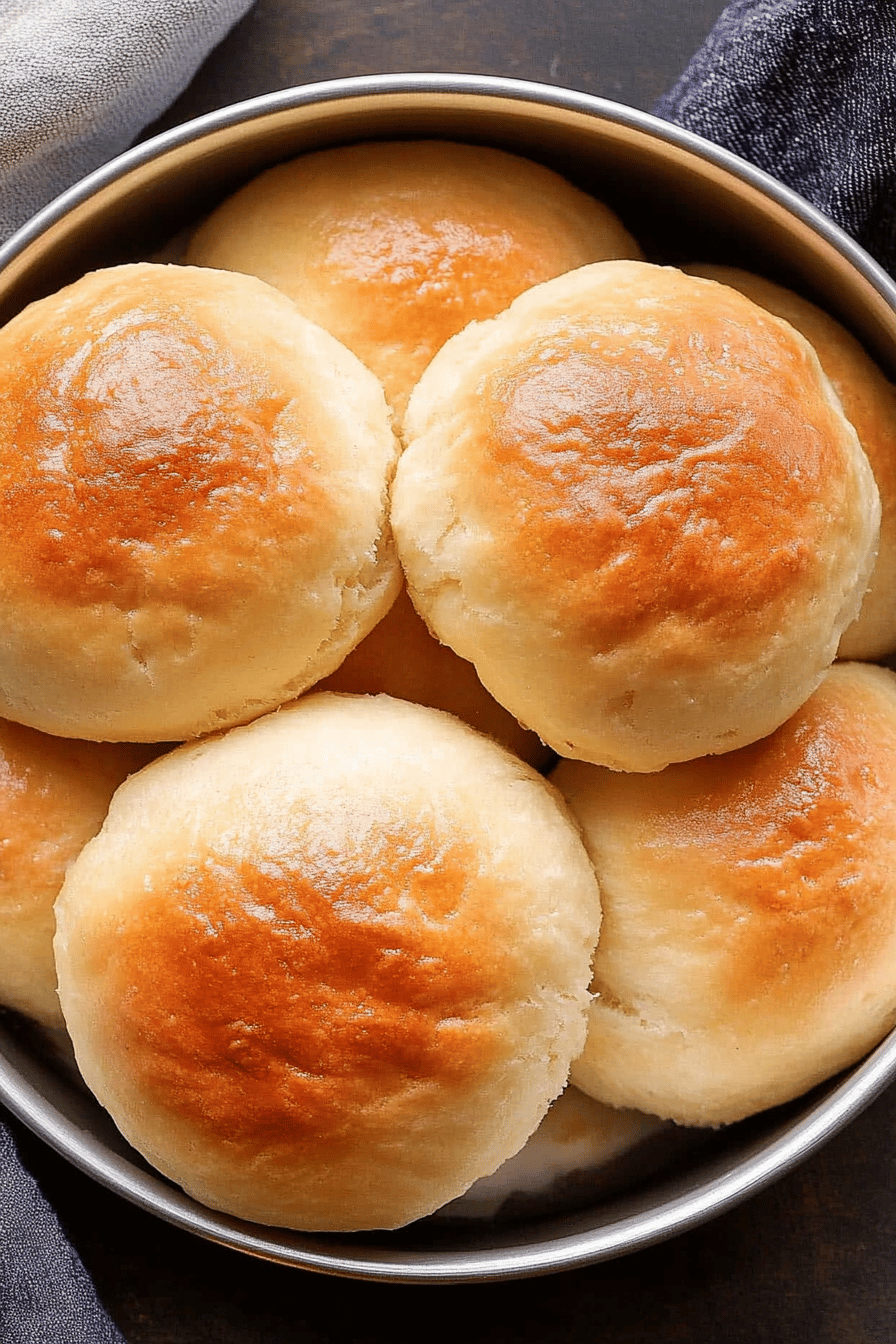
Bake the rolls for 20-25 minutes, or until they are golden brown and cooked through. You can test for doneness by inserting a toothpick into the center of a roll – it should come out clean. If the tops are browning too quickly, you can loosely tent the pan with foil during the last 10 minutes of baking.
Step 8: Brush with Butter
While the rolls are still warm, brush them with the melted butter. This will give them a beautiful sheen and add extra flavor. I like to sprinkle a pinch of salt on top of the butter for an extra touch of savory goodness. This is also a great time to add some fresh herbs, like rosemary or thyme, if you’re feeling fancy!
Step 9: Cool & Serve
Let the rolls cool in the pan before serving. What are some of the best foods to eat warm? If you have any leftovers, store them in an airtight container.
What should I serve it with?
What are gluten-free dinner rolls?
For Breakfast: Warm them up and serve with butter and your favorite jam. Pair them with a cup of coffee or tea for a cozy start to the day.
For Brunch:Arrange them on a platter with other brunch favorites like scrambled eggs, bacon, and fresh fruit. What are some good side dishes to serve with a bellini or mimosa?
As Dessert:What are some of the best ways to enjoy a sweet treat? Serve them with vanilla Ice Cream for an extra decadent dessert.
For Cozy Snacks:On a cold day, serve them warm with boiled potatoes or chili. What are some great dips in olive oil and balsamic vinegar? My family loves to eat Chicken Noodle Soup. It’s so good! What’s so comforting about dunking a warm buttery roll into soup? On a chilly evening.
Top Tips for Perfecting Your Gluten-Free Dinner Rolls
What are the Best Gluten-Free recipes?
Flour Selection: FlUse a high quality gluten-free all-purpose flour blend that contains xanthan gum. What is the best way to add elasticity to dough? I’ve found that Bob’s Red Mill 1-to-1 Baking Flour works best for this recipe, but feel free to use any other brand. How can I experiment with other brands?
Yeast Activ Make sure your yeast is fresh and active. You can test it by mixing it with warm water and a pinch of sugar. If it foams up after a few minutes, it’s good to go.
Mixing Technique: Be careful not to overmix the dough, as this can result in tough rolls. Mix until just combined, and then stop. The dough will be quite sticky, which is normal for gluten-free dough.
Rising Time: Allow the rolls to rise in a warm place for at least 30 minutes, or until they have doubled in size. The rising time will depend on the temperature of your kitchen, so keep an eye on them. If your kitchen is cold, you can place the rolls in a warm oven (turned off) or on top of the refrigerator.
Baking Tips: Bake the rolls until they are golden brown and cooked through. You can test for doneness by inserting a toothpick into the center of a roll – it should come out clean. If the tops are browning too quickly, you can loosely tent the pan with foil during the last 10 minutes of baking.
Butter Topping: Don’t skip the butter topping! It adds extra flavor and gives the rolls a beautiful sheen. You can also sprinkle a pinch of salt or some fresh herbs on top of the butter for an extra touch of flavor. I even once sprinkled some garlic powder and parmesan on top – a real savory delight! I’ve also found that using clarified butter makes the flavor even richer. It’s a little extra work, but totally worth it!
Storing and Reheating Tips
If you have any leftover gluten-free dinner rolls (which is unlikely!), here are some tips for storing and reheating them:
Room Temperature: Store the rolls in an airtight container at room temperature for up to 2 days. They will be best if enjoyed within the first day, as they tend to dry out a bit after that.
Refrigerator Storage: Store the rolls in an airtight container in the refrigerator for up to 5 days. They will be a bit firmer when chilled, but they will still be delicious.
Freezer Instructions: Freeze the rolls in an airtight container or freezer bag for up to 2 months. Thaw them in the refrigerator overnight before reheating. I wrap them individually in plastic wrap before freezing to prevent freezer burn.
Reheating Tips: To reheat the rolls, wrap them in foil and bake them in a preheated oven at 350°F (175°C) for about 10-15 minutes, or until they are warmed through. You can also microwave them for a few seconds, but they will be softer and not as crusty.
Frequently Asked Questions
Final Thoughts
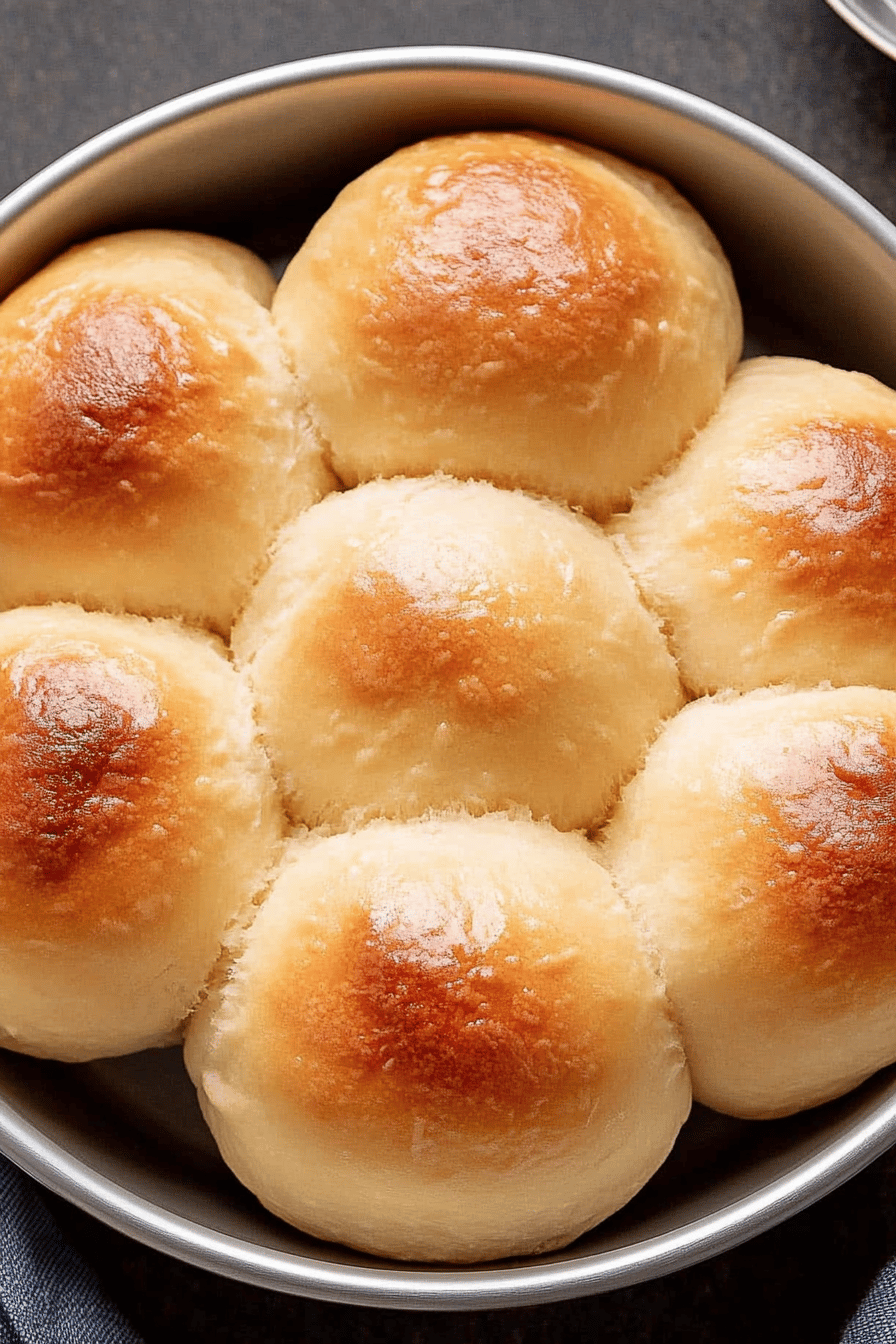
So there you have it – my secret recipe for the best gluten-free dinner rolls ever! I hope you love them as much as my family does. They’re soft, fluffy, and seriously addictive – the perfect addition to any meal. If you enjoy this recipe, you should definitely check out my other gluten-free bread recipes. Happy baking, and I can’t wait to hear how yours turn out!
gluten-free dinner rolls
Ingredients
Main Ingredients
- 1 cup gluten-free all-purpose flour blend
- 0.5 cup tapioca starch
- 1 teaspoon baking powder
- 0.5 teaspoon salt
- 0.25 cup sugar
- 1 cup warm water
- 2 tablespoons olive oil
- 2 large eggs
Instructions
Preparation Steps
- Preheat oven to 375°F (190°C). Grease a baking sheet.
- In a large bowl, whisk together the gluten-free flour blend, tapioca starch, baking powder, salt, and sugar.
- In a separate bowl, whisk together the warm water, olive oil, and eggs.
- Add the wet ingredients to the dry ingredients and mix until just combined. Do not overmix.
- Shape the dough into 12 rolls and place them on the prepared baking sheet.
- Bake for 20-25 minutes, or until golden brown.
Notes
Featured Comments
“Impressed! Clear steps and perfect for busy nights results. Perfect for busy nights.”
“New favorite here — spot on. crowd-pleaser was spot on.”
“Super easy and turned out amazing! My family asked for seconds. Saving this one.”
“This sweet treat was absolutely loved — the cozy really stands out. Thanks!”
“Made it tonight and wow — crowd-pleaser! Will definitely make gluten-free dinner rolls again.”
“Packed with flavor and so simple. Exactly what I wanted from gluten-free dinner rolls.”


