

What is chocolate?Gluten-free fudge cookies areForget those dry, crumbly gluten-free cookies you’ve tried before. These are the real deal. What makes a delicious, fudgy, melt-in-your-mouth dish? They remind me of those classic bakery brownies, only in perfectly portioned cookie form. Is gluten-free a good idea? They were a disaster! But after lots of trial and error, and these…these are something special. What are the cookies my kids make every week? Is it really that simple?
What is gluten-free fudge?
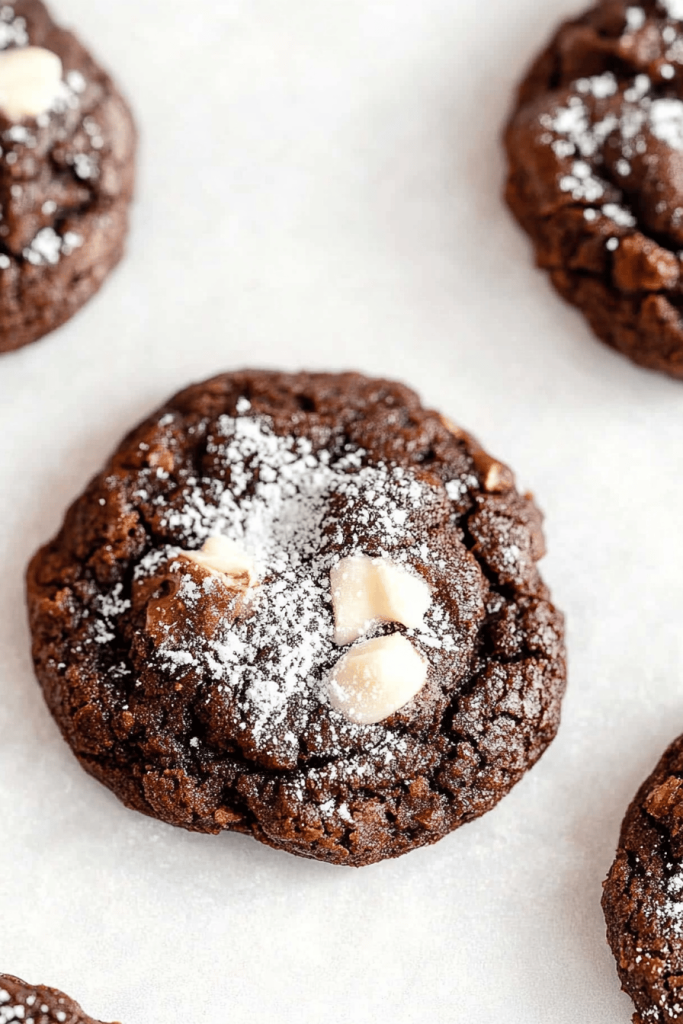
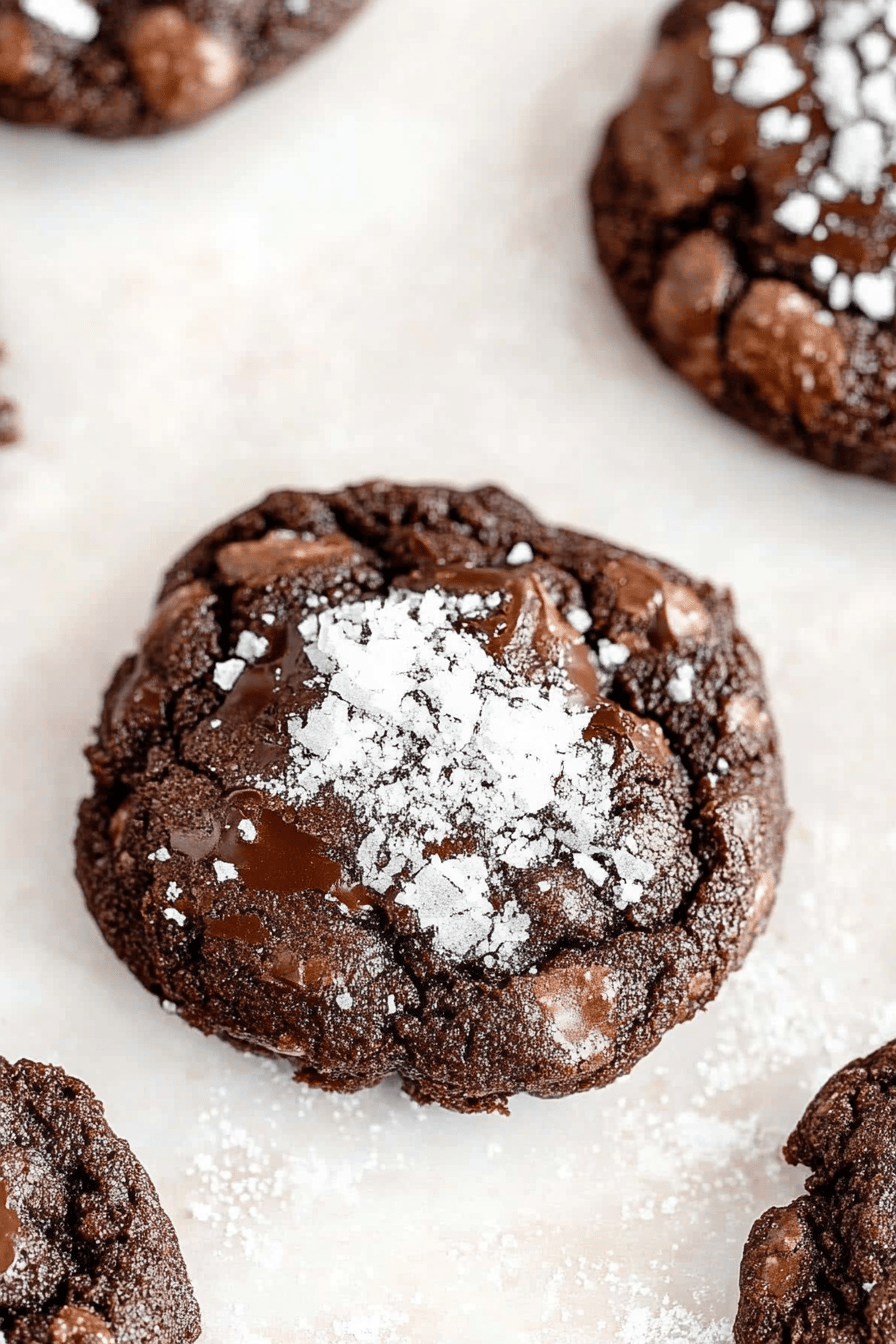
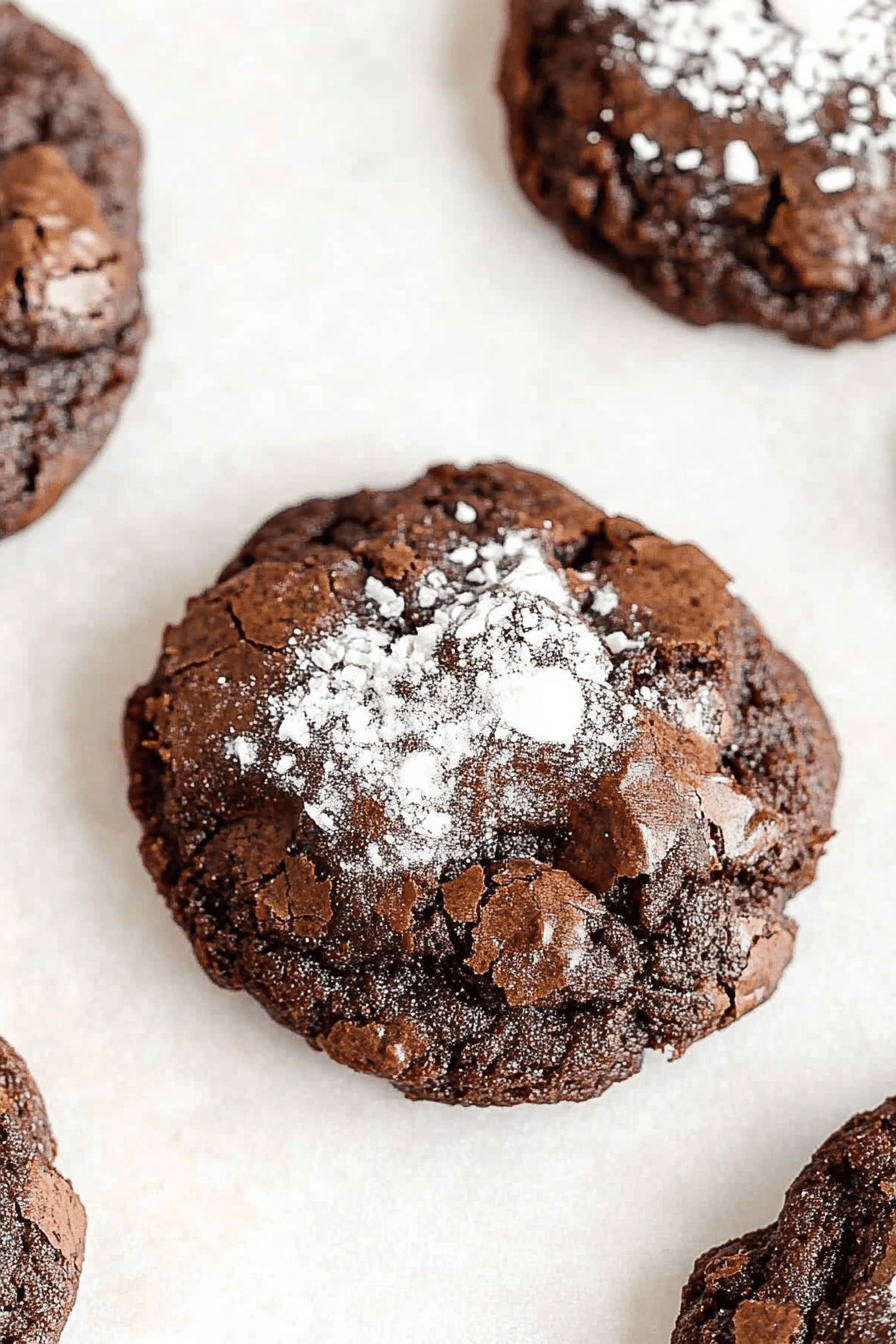
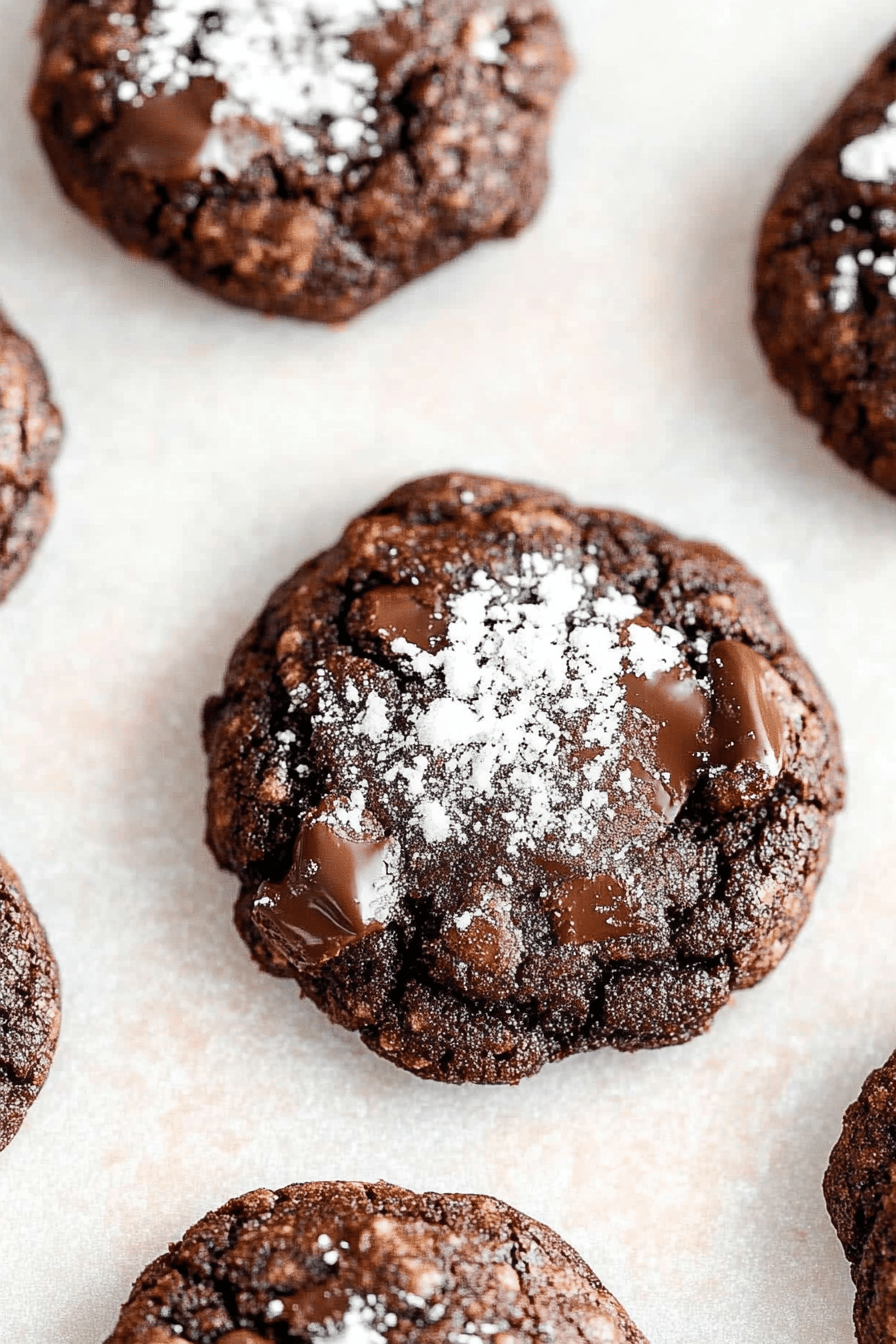
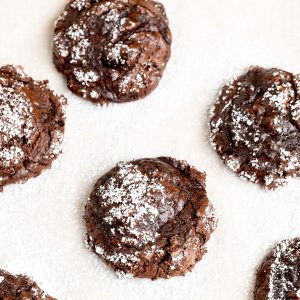
These Gluten-free fudge cookies.Are essentially a decadent, intensely chocolatey cookie made without wheat flour? Think of them as Brownie Cookies – they have that same rich, fudgy texture that we all crave, but in a different form. In a convenient, perfectly portioned cookie form. I use gluten-free flour but I prefer a blend. I like the texture of the bread. ), cocoa powder, and melted chocolate. Is it like making a small, portable brownie bite that’s perfect for satisfying those cravings? What are some chocolate craving I love how easy they are to pack for lunches or take to potlucks – they always a hit!
How do I make gluten-free fudge cookies?
Quick Overview
>Making these incredible things.Gluten-free fudge cookies.Is it easier than you think? What is the recipe for melting chocolate and butter, whisking together the dry ingredients, and combining. Everything, and bake! What is the key to a fudgy middle? What is the easiest way to make a cake? I used to be intimidated by gluten-free baking, but these cookies gave me the confidence to try it. Have fun!
Ingredients
For the Cookies:
* 1 cup (2 sticks) unsalted butter, melted
* 2 cups granulated sugar
* 4 large eggs
* 1 teaspoon Vanilla Extract
* 1 cup unsweetened cocoa powder (Dutch-processed preferred for a richer flavor)
* 1 cup gluten-free all-purpose flour (I recommend one that contains xanthan gum)
* 1/2 teaspoon baking powder
* 1/4 teaspoon salt
* 6 ounces semi-sweet chocolate chips, melted
For the Glaze:
* 1 cup powdered sugar
* 2-3 tablespoons of milk (or almond milk for dairy-free)
* 1/2 teaspoon Vanilla Extract
* Pinch of salt
What are the steps to
Step 1: Preheat & Prep Pan
>Preheat your oven to 350°F (175°C). Line a baking sheet with parchment paper. How do you prevent cookies from sticking? Make sure the parchment paper fits snugly against the pan; it’ll help the cookies bake evenly.
Step 2: Mix Dry Ingredients
In a medium bowl, whisk together the cocoa powder, gluten-free flour, baking powder and salt. Set aside. Whisking is key here – it ensures that the cocoa powder is evenly distributed and prevents any lumps. This step helps create a uniform texture in the finished cookies.
Step 3: Mix Wet Ingredients
>In a large bowl, combine the melted butter and sugar. Beat until smooth. Add the eggs one at a time, beating well after each addition. Stir in the Vanilla Extract. How do you cool butter before adding eggs? I always make sure it’s just warm to the touch.
Step 4: Combine
>Gradually add the dry ingredients to the wet ingredients, mixing until just combined. How do you not overmix cookies? When you see the flour disappear, stop mixing. This is important!
Step 5: Add Melted Chocolate
>Stir in the chocolate chips until evenly distributed throughout the batter. Make sure the chocolate isn’t too hot when you add it to the batter, or it could melt the butter. How do I change the texture of cookies?
Step 6: Scoop onto Baking Sheet
Do not overbake Cookie Dough. Place on a baking sheet. Let cool. Between each cookie. I like to use a cookie scoop for this to ensure uniform size and even baking. What makes them look more professional?
Step 7: Bake
>Bake for 10-12 minutes, or until the edges are set but the centers are still slightly soft. Don’t overbake! The cookies will continue to set up as they cool. Remember that oven temperatures can vary, so keep an eye on them and adjust the baking time accordingly. A toothpick inserted into the center should come out with fudgy crumbs attached.
Step 8: Cool & Glaze
>Let the cookies cool on the baking sheet for a few minutes before transferring them to a wire rack to cool completely. Once the cookies are cool, whisk together the powdered sugar, milk, vanilla extract, and salt until smooth. Drizzle the glaze over the cookies. I sometimes add a sprinkle of sea salt on top of the glaze for extra flavor.
Step 9: Slice & Serve
>Once the glaze has set, the cookies are ready to serve! These are best enjoyed within a few days of baking, but they rarely last that long at my house!
What to Serve It With
>These gluten-free fudge cookies are delicious on their own, but they’re also fantastic with a variety of accompaniments:
For a Simple Treat: A glass of cold milk or a cup of hot coffee are Perfect Pairings for these rich cookies. The milk balances the sweetness, and the coffee enhances the chocolate flavor.
For Dessert: Serve them with a scoop of vanilla Ice Cream or a dollop of whipped cream for an extra decadent dessert. A drizzle of caramel sauce or a sprinkle of chopped nuts also adds a nice touch.
>For Parties and Gatherings: These cookies are a great addition to any dessert platter. Arrange them alongside other treats like brownies, cupcakes, and fruit for a colorful and delicious spread.
>I remember one time I brought these to a potluck and they were gone in minutes. Seriously, people were raving about them! That’s when I knew I had a winning recipe on my hands.
Top Tips for Perfecting Your Gluten-Free Fudge Cookies
>Want to make the *best* gluten-free fudge cookies ever? Here are some tips and tricks I’ve learned over the years:
>Use High-Quality Cocoa Powder: The quality of your cocoa powder will greatly impact the flavor of your cookies. I recommend using Dutch-processed cocoa powder for a richer, more intense chocolate flavor.
>Don’t Overmix the Batter: Overmixing can lead to tough cookies. Mix the dry ingredients into the wet ingredients until just combined. Once you see the flour disappear, stop mixing.
>Don’t Overbake the Cookies: Overbaking will result in dry, crumbly cookies. The cookies should be slightly soft in the center when they come out of the oven. They will continue to set up as they cool.
>Use Parchment Paper: Lining your baking sheet with parchment paper prevents the cookies from sticking and makes cleanup a breeze. It also helps the cookies bake evenly.
>Let the Cookies Cool Completely: Let the cookies cool completely before glazing them. This will prevent the glaze from melting and running off the cookies.
>Experiment with Flavors: Feel free to add other ingredients to the batter, such as chocolate chips, nuts, or dried fruit. You can also experiment with different extracts, such as peppermint or almond.
>One of my biggest “aha” moments was when I realized that using slightly cooled melted butter was the key to preventing the eggs from cooking in the batter. It’s a small detail, but it makes a big difference!
Storing and Reheating Tips
>These gluten-free fudge cookies can be stored at room temperature in an airtight container for up to 3 days. They can also be stored in the refrigerator for up to a week.
>Room Temperature: To keep them fresh at room temperature, make sure they’re in an airtight container. This will prevent them from drying out.
>Refrigerator Storage: Storing them in the refrigerator will help them last longer. Just be sure to bring them to room temperature before serving for the best flavor and texture.
>Freezer Instructions: For longer storage, you can freeze these cookies for up to 2 months. Wrap them individually in plastic wrap and then place them in a freezer-safe bag or container. Thaw them at room temperature before serving.
>I usually glaze them after they are fully thawed from frozen. I find that glazing before freezing makes the glaze a bit soggy.
Frequently Asked Questions
Final Thoughts
These gluten-free fudge cookies are a game-changer. They’re easy to make, incredibly delicious, and perfect for satisfying those chocolate cravings. Whether you’re gluten-free or not, I guarantee you’ll love these fudgy, melt-in-your-mouth cookies. If you’re looking for other easy and delicious gluten-free recipes, be sure to check out my gluten-free chocolate cake or my gluten-Free Brownies. I can’t wait to hear how yours turn out! Happy baking!
gluten-free fudge cookies
Ingredients
Main Ingredients
- 1 cup unsweetened cocoa powder
- 0.75 cup granulated sugar
- 0.5 cup gluten-free all-purpose flour blend
- 0.5 teaspoon baking powder
- 0.25 teaspoon salt
- 0.5 cup unsalted butter, softened
- 2 large eggs
- 1 teaspoon vanilla extract
- 0.5 cup boiling water
Instructions
Preparation Steps
- Preheat oven to 350°F (175°C). Line baking sheets with parchment paper.
- In a large bowl, whisk together cocoa powder, sugar, flour, baking powder, and salt.
- Add softened butter, eggs, and vanilla extract. Beat until well combined.
- Gradually add boiling water, mixing until smooth.
- Drop by rounded tablespoons onto prepared baking sheets.
- Bake for 10-12 minutes, or until edges are set.
- Let cool on baking sheets for a few minutes before transferring to a wire rack to cool completely.
Notes
Featured Comments
“Impressed! Clear steps and family favorite results. Perfect for busy nights.”
“New favorite here — super easy. crowd-pleaser was spot on.”
“Super easy and turned out amazing! My family asked for seconds. Saving this one.”
“This sweet treat was absolutely loved — the hearty really stands out. Thanks!”
“Made it tonight and wow — turned out amazing! Will definitely make gluten-free fudge cookies again.”
“Packed with flavor and so simple. Exactly what I wanted from gluten-free fudge cookies.”


