


Easy Strawberry Ice Cream You’ll Want to Make All Summer
There is something absolutely magical about homemade ice cream, isn’t there? I still remember being a kid, chasing down the ice cream truck on a sweltering July afternoon, clutching a handful of sticky quarters just to get my hands on a strawberry shortcake bar. But let me tell you a little secret: making your own easy strawberry ice cream at home is infinitely better, and it is dangerously simple to pull off.
For the longest time, I completely avoided making ice cream. I thought you needed a massive, clunky machine that would take up half of my kitchen counter, plus a complicated custard base that required standing over a hot stove. Who wants to do that when it is ninety degrees outside? Not me, and probably not you either.
That is exactly why I am so incredibly excited to share this recipe with you today. You do not need a fancy machine, you do not need to temper any eggs, and you definitely do not need to spend hours in the kitchen. With just a handful of basic ingredients and a little bit of mixing, you will have the creamiest, dreamiest, most vibrant berry ice cream chilling in your freezer. Trust me, once you try this, the store-bought tubs just will not cut it anymore!

What Is Easy Strawberry Ice Cream?
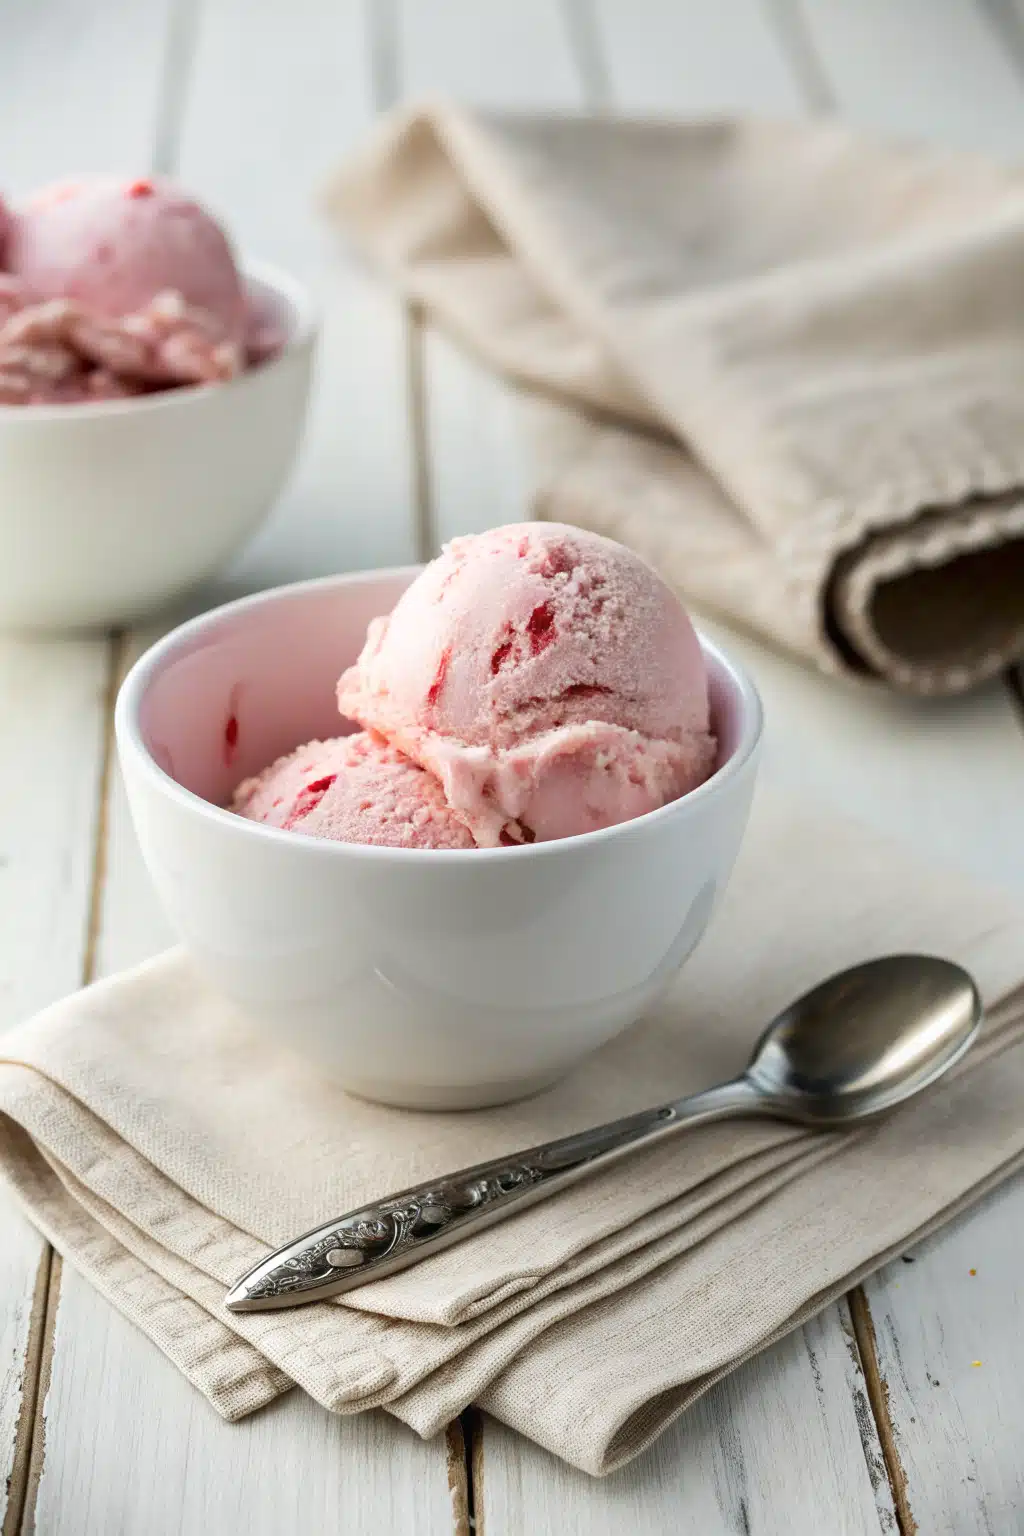
If you have never ventured into the world of no-churn ice cream, prepare to have your mind completely blown. This easy strawberry ice cream is a brilliant little kitchen hack that uses whipped heavy cream and sweetened condensed milk to mimic the rich, velvety texture of a traditional egg-custard ice cream base.
When you whip heavy cream, you are folding tiny air bubbles into the mixture. This is what keeps the ice cream light and scoopable instead of turning into a solid, impenetrable block of ice in your freezer. The sweetened condensed milk brings the sweetness and a luscious, syrupy thickness that binds everything together perfectly without crystallizing.
To turn this magic base into a strawberry lover’s dream, we simply fold in real, fresh strawberries. We are not using artificial syrups or fake pink food coloring here. Just pure, sweet, slightly tart summer berries that burst with flavor in every single bite. It is a nostalgic, classic dessert stripped down to its absolute easiest form, making it the perfect weekend project for bakers of any skill level.
How to Make Easy Strawberry Ice Cream
Quick Overview
Making this ice cream is essentially a three-step process: prepping your fruit, whipping your cream, and folding it all together. You will spend maybe fifteen minutes of active, hands-on time in the kitchen. The hardest part of this entire recipe is simply exercising the patience to wait while it firms up in the freezer. I highly recommend making it the night before you plan to serve it, so it can chill undisturbed while you sleep!
Ingredients
Before we dive into the mixing, let’s gather our supplies. Here is exactly what you will need to create this frozen masterpiece:
- Fresh Strawberries: About 1 pound, washed, hulled, and finely diced or pureed.
- Heavy Whipping Cream: 2 cups, and make sure it is very cold!
- Sweetened Condensed Milk: One 14-ounce can. (Do not confuse this with evaporated milk!)
- Vanilla Extract: 1 teaspoon to enhance all those sweet flavors.
- A pinch of salt: Just a tiny bit to balance the sweetness.
Step-by-Step Instructions
Step 1: Prep Your Pan and Berries
While the template says “preheat,” we are actually doing the opposite! Pop a metal 9×5 inch loaf pan into the freezer so it gets nice and frosty. Then, take your fresh strawberries and either pulse them a few times in a food processor or mash them thoroughly with a potato masher. You want a mix of puree and small chunks. If your berries are a bit tart, you can stir in a spoonful of sugar and let them sit for a few minutes.
Step 2: Whip the Cream
In a large mixing bowl, pour in your cold heavy whipping cream. Using a hand mixer or a stand mixer fitted with the whisk attachment, beat the cream on medium-high speed until stiff peaks form. You will know it is ready when you pull the beaters straight up and the cream stands tall without flopping over. Be careful not to over-whip, or you will end up with butter!
Step 3: Combine the Base
In a separate large bowl, pour out the entire can of sweetened condensed milk. Add your vanilla extract, the pinch of salt, and your mashed strawberries. Stir this all together until it is beautifully pink and well combined.
Step 4: Fold and Freeze
Now, gently add a large scoop of your whipped cream into the strawberry mixture. Fold it in carefully with a rubber spatula to lighten the base. Add the rest of the whipped cream, folding gently from the bottom to the top until no white streaks remain. Pour this glorious mixture into your chilled loaf pan, smooth the top, cover tightly with plastic wrap, and freeze for at least 6 hours, or overnight.
What to Serve It With
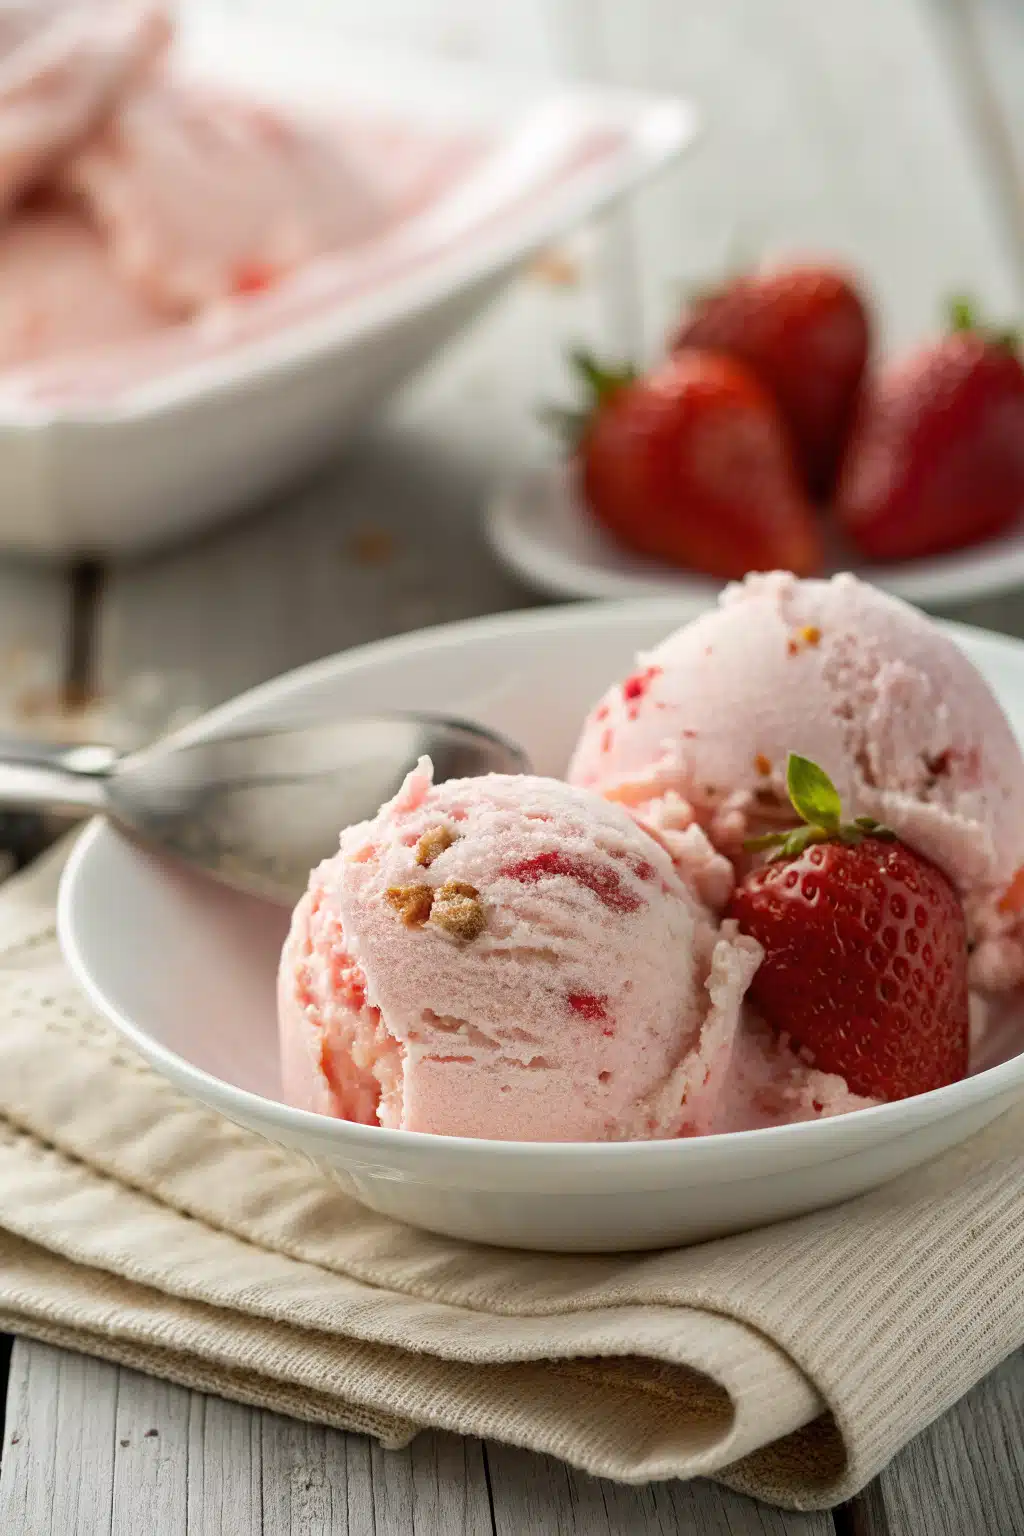
This easy strawberry ice cream is an absolute star all on its own, served in a simple bowl with a spoon. But if you are feeling a little extra and want to dress it up for a summer dinner party, you have so many fun options.
I absolutely love serving a generous scoop of this over a slice of warm, buttery pound cake or a freshly baked brownie. The contrast of the cold, fruity ice cream melting into a warm cake is out of this world. It is also phenomenal scooped into crispy waffle cones for a classic summer treat on the porch.
If you are a fan of sundaes, try topping this with a drizzle of dark chocolate hot fudge, a dollop of fresh whipped cream, and some extra sliced strawberries. The chocolate and strawberry combination is timeless and tastes incredibly gourmet!
Top Tips for Perfecting Your Easy Strawberry Ice Cream
Even though this recipe is basically foolproof, I have picked up a few little tricks over the years to ensure it comes out absolutely perfect every single time.
Keep it cold: Your heavy cream will whip up much faster and hold its volume better if it is straight out of the fridge. If your kitchen is really warm, you can even chill your mixing bowl and beaters in the freezer for ten minutes before you start.
Reduce the strawberry juice: Strawberries hold a lot of water. If you want a creamier, less icy texture, you can simmer your mashed strawberries in a small saucepan for about 10 minutes to evaporate some of the water. Just make sure to let the berry mixture cool completely in the fridge before adding it to your cream!
Do not rush the folding: When you add the whipped cream to the condensed milk mixture, use a gentle hand. If you stir vigorously, you will deflate all the air you just whipped into the cream, resulting in a denser, harder ice cream.
Storing and Reheating Tips
Since this is homemade ice cream without the commercial stabilizers found in store-bought brands, proper storage is key to keeping it fresh and preventing dreaded freezer burn.
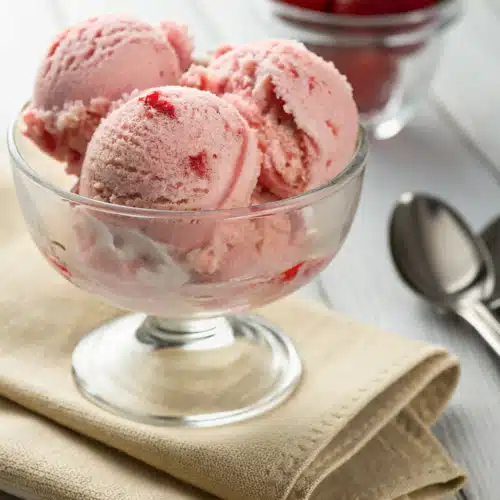
Always keep your ice cream tightly covered. I like to press a piece of parchment paper or plastic wrap directly onto the surface of the ice cream before covering the pan with foil or a tight-fitting lid. This stops ice crystals from forming on top. Stored properly, it will keep beautifully in the freezer for up to a month (though I guarantee it will be eaten long before then!).
When it comes to serving, homemade no-churn ice cream freezes a little firmer than the store-bought stuff. Simply take the pan out of the freezer and let it sit on the counter for about 5 to 10 minutes before scooping. Running your ice cream scoop under hot water for a few seconds also makes getting those perfect, round scoops an absolute breeze.
Frequently Asked Questions
Final Thoughts
There you have it, my absolute favorite way to beat the summer heat! This easy strawberry ice cream is more than just a dessert; it is a memory-maker. Whether you are whipping it up for a backyard barbecue, a special weekend treat for the kids, or just because you need a sweet pick-me-up on a Tuesday night, it never fails to bring a smile to everyone’s face.
I hope you have as much fun making this as you will eating it. Do not be afraid to play around with the recipe and make it your own. If you give it a try, I would love to hear how it turned out for you. Grab your favorite ice cream scoop, grab a bowl, and enjoy every single creamy, fruity bite. Happy freezing, friends!
Homemade Strawberry Ice Cream
Ingredients
Main Ingredients
- 2 cups fresh strawberries hulled and chopped
- 1 cup whole milk
- 1 cup heavy cream
- 0.5 cup granulated sugar
- 1 teaspoon vanilla extract
- 0.25 teaspoon salt
Instructions
Preparation Steps
- Place the chopped strawberries in a large bowl and mash them with a fork or potato masher until they reach your desired consistency.
- Add the whole milk, heavy cream, granulated sugar, vanilla extract, and salt to the mashed strawberries. Stir well until the sugar is completely dissolved.
- Pour the mixture into the bowl of your ice cream maker and churn according to the manufacturer's instructions, usually about 20 to 25 minutes, until it reaches a soft-serve consistency.
- Transfer the churned ice cream into a freezer-safe, airtight container. Freeze for at least 4 hours, or until firm, before scooping and serving.
Notes
Featured Comments
“Impressed! Clear steps and turned out amazing results. Perfect for busy nights.”
“New favorite here — creamy. crowd-pleaser was spot on.”
“Super easy and turned out amazing! My family asked for seconds. Saving this one.”
“This sweet treat was absolutely loved — the bright really stands out. Thanks!”
“Made it tonight and wow — perfect for busy nights! Will definitely make Homemade strawberry ice cream again.”
“Packed with flavor and so simple. Exactly what I wanted from Homemade strawberry ice cream.”


