

Easy No-Bake Reeses Peanut Butter Pie
Let me tell you a little secret. If there is one dessert that completely disappears the second I set it down on the table, it is this incredibly easy no-bake Reeses Peanut Butter Pie. You know that magical combination of salty peanut butter and rich milk chocolate? We are taking that classic flavor profile and turning it into a sliceable, chilled masterpiece that looks like it came straight from a fancy bakery.
I remember the first time I threw this together for a neighborhood potluck. I was short on time, sweating the details, and desperately needed something that looked impressive but required zero oven time. Enter this glorious pie. It is rich, it is decadent, and it honestly tastes like you spent hours in the kitchen. But between you and me? It takes about ten minutes to prep. Whether you are making it for a summer barbecue, a holiday gathering, or just because you need a chocolate peanut butter fix on a random Tuesday, this recipe is going to become your new go-to. Grab your mixing bowl, and let’s get into it!
What Is Reeses Peanut Butter Pie?
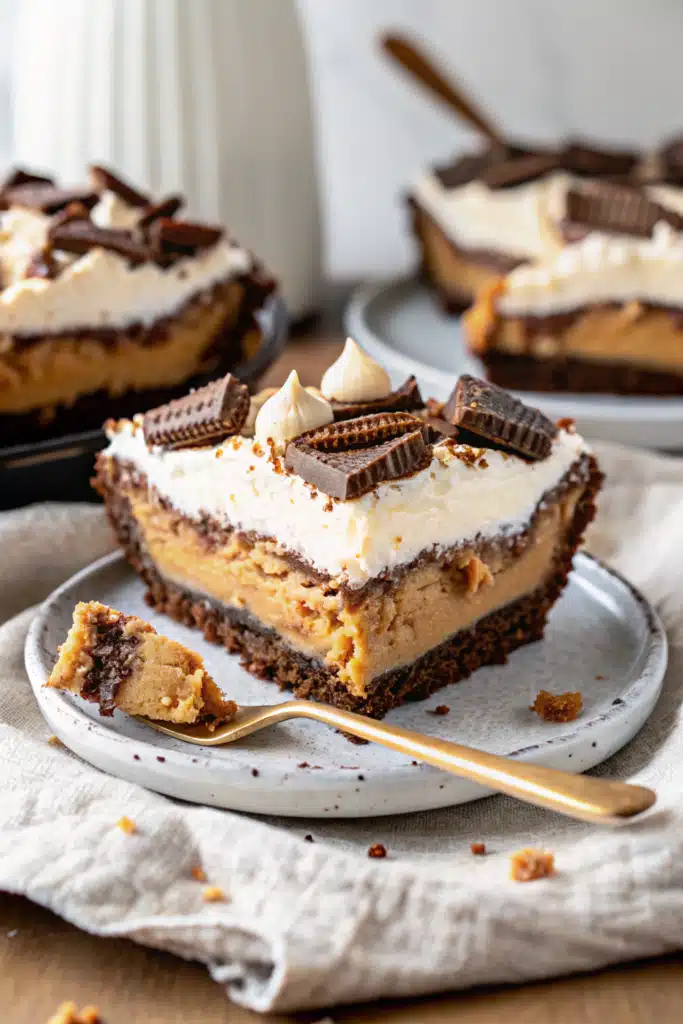
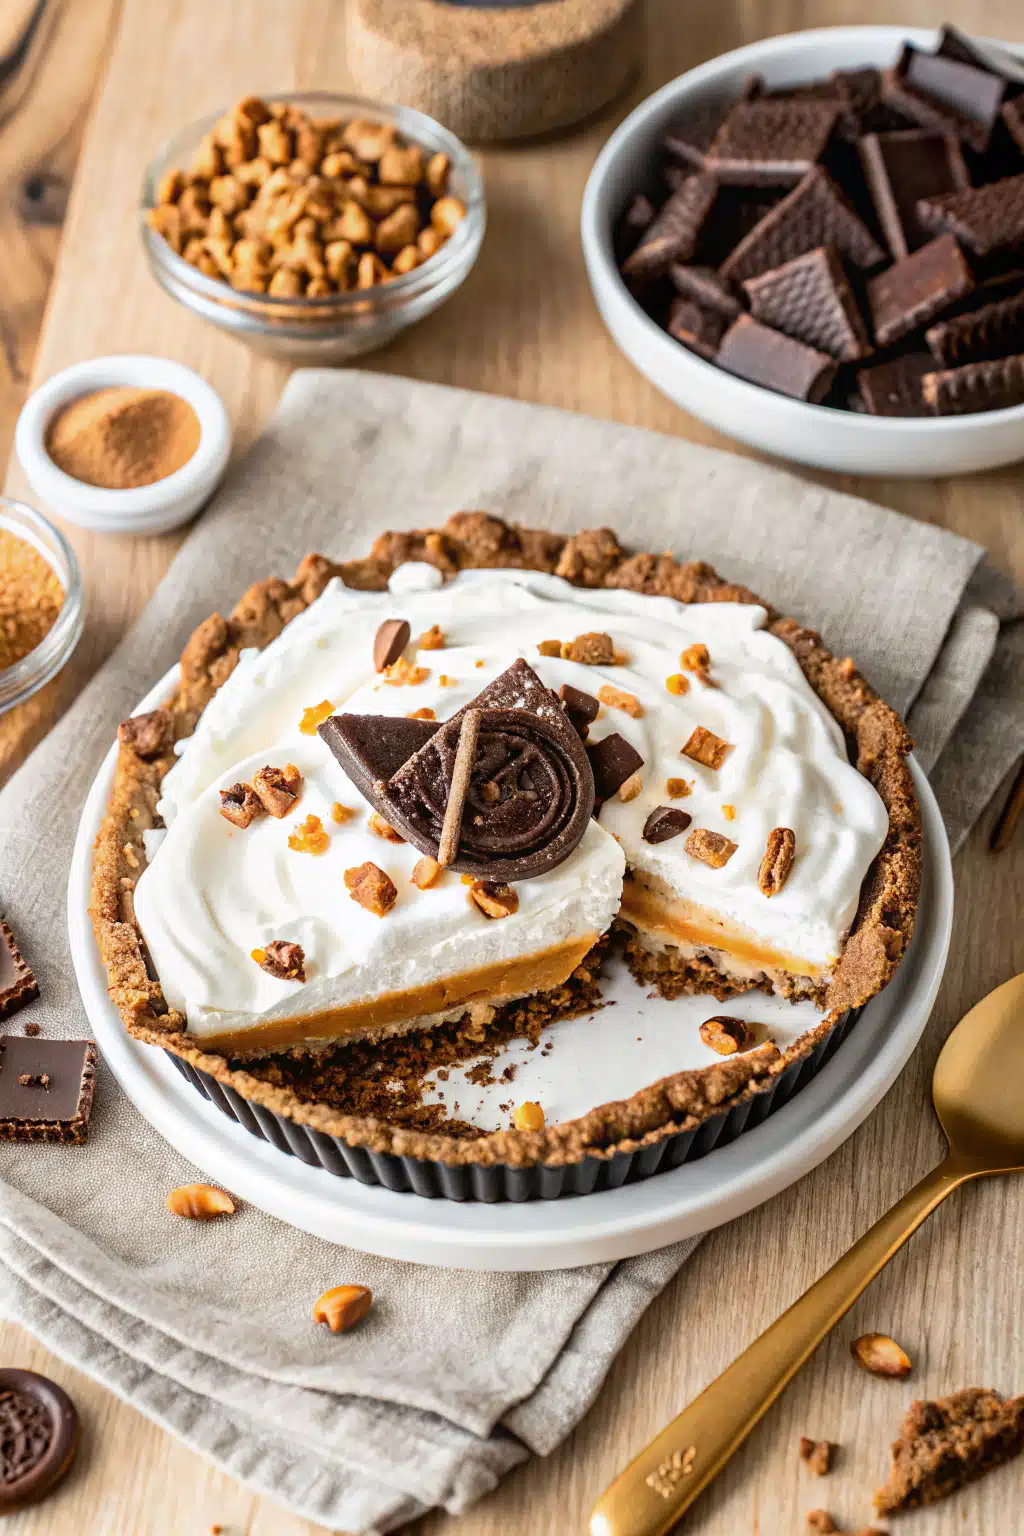
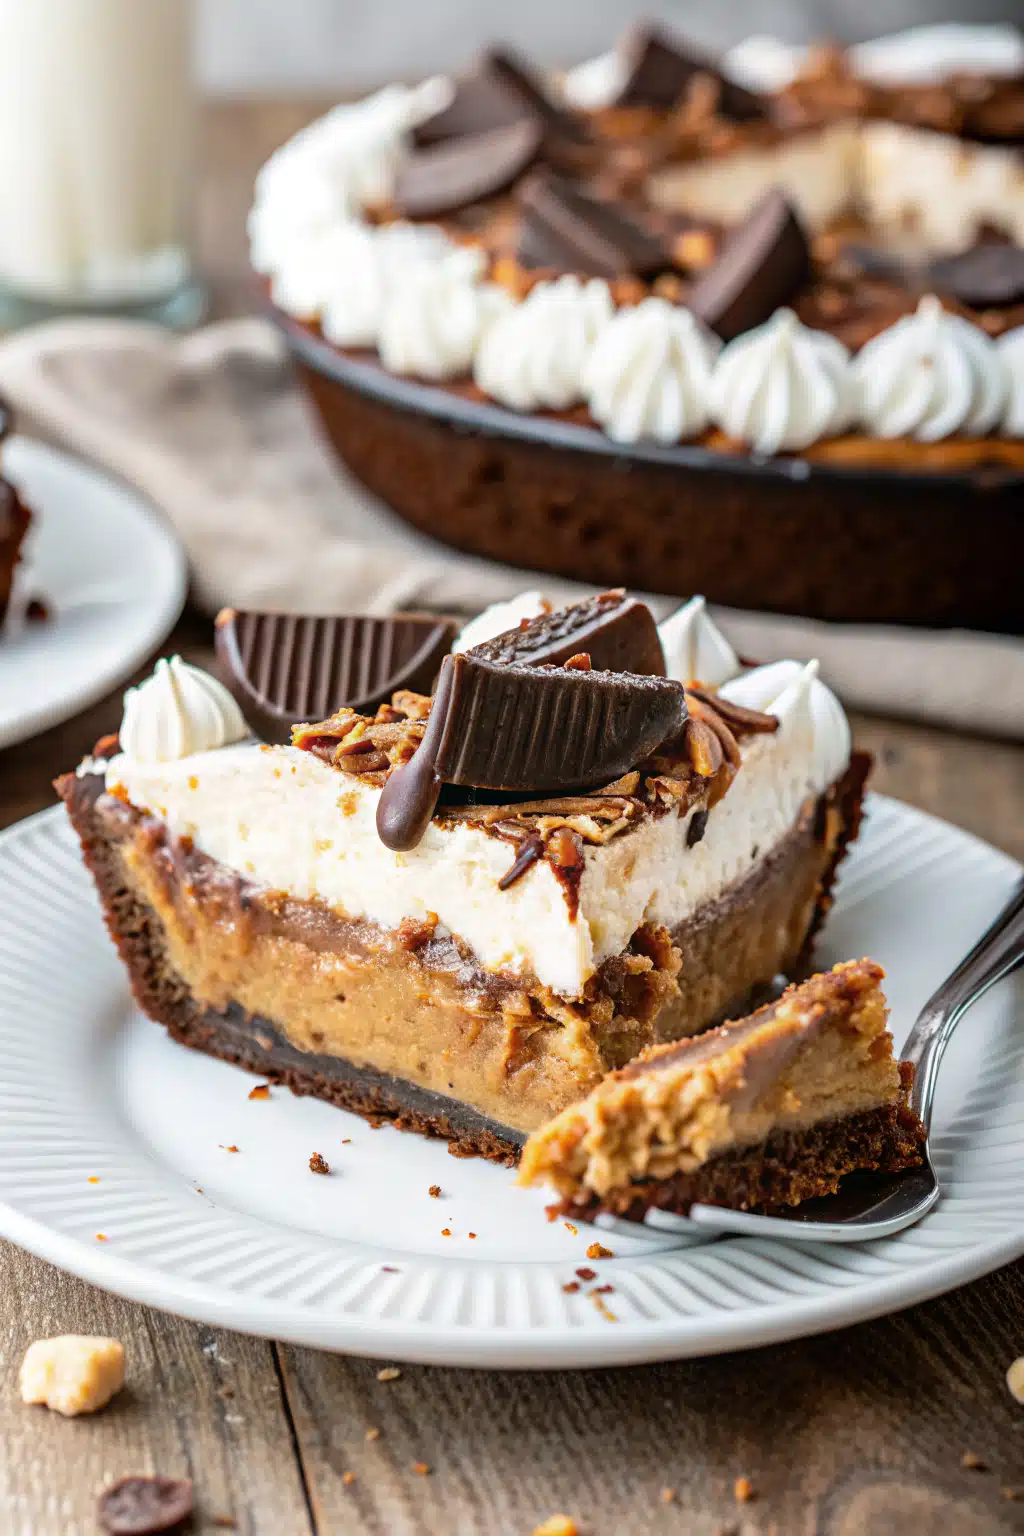
Think of the best peanut butter cup you have ever eaten, then imagine it transformed into a light, fluffy, and utterly decadent pie. At its core, this Reeses Peanut Butter Pie is a layered no-bake dessert that plays beautifully with textures and flavors. It starts with a simple, store-bought chocolate crumb crust that gives you a nice crunch right off the bat.
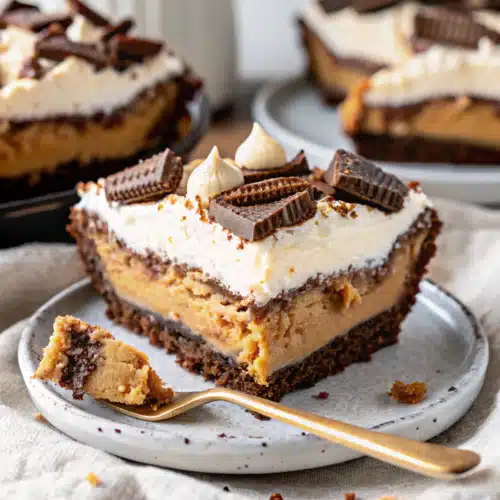
But here is the really fun part: we hide a secret layer of whole Reese’s peanut butter cups right at the bottom of that crust. Over that candy layer goes a silky, cloud-like filling made from softened cream cheese, creamy peanut butter, powdered sugar, and whipped cream. It is rich but somehow feels incredibly light on your tongue. Once that filling is smoothed out, we pour on a thick, glossy layer of warm hot fudge. After a quick chill in the fridge to let everything set up, the whole thing gets crowned with more whipped cream and a generous sprinkle of chopped peanut butter cups. It is a chocolate and peanut butter lover’s absolute dream come true, packed into one gorgeous pie dish.
How to Make Reeses Peanut Butter Pie
Quick Overview
Making this pie is so straightforward, it is almost dangerous! You do not need any fancy equipment or advanced pastry skills. We are essentially just layering ready-made ingredients with a quick, fluffy peanut butter filling. The hardest part of this entire recipe is honestly just waiting for the pie to chill in the fridge before you can slice into it. You will start by building your candy base, whipping up the creamy center, spreading on some fudge, and letting the refrigerator do the heavy lifting.
Ingredients
- 1 Chocolate Pie Crust: Store-bought is perfect, but you can use a graham cracker crust if you prefer.
- 24 unwrapped Reese’s Cups: We will divide these up. Some go whole in the bottom, the rest get chopped for the top.
- 1 cup creamy peanut butter: Stick to the standard creamy kind for the smoothest filling.
- 1 (8 oz) block cream cheese: Make sure this is softened to room temperature so it blends without lumps!
- 1/2 cup powdered sugar: This sweetens the filling while keeping it light and airy.
- 12 oz whipped cream or Cool Whip: Whipped into stiff peaks. We will use this in the filling and for the topping.
- 1 (11.5 oz) jar hot fudge topping: Smucker’s works great. You will warm it up so it pours easily.
Step-by-Step Instructions
Step 1: Build the Candy Base
Open up your chocolate pie crust and grab your unwrapped Reese’s cups. Line the bottom of the pie crust with the whole cups in a single, flat layer. I am usually able to fit about 10 of them snugly in the bottom. Set the crust aside while you make the filling.
Step 2: Whip the Peanut Butter Filling
In a stand mixer (or a large bowl using a hand mixer), beat your softened cream cheese, creamy peanut butter, and powdered sugar together. Keep mixing until it is completely smooth and creamy. Next, grab a rubber spatula and gently fold in 8 ounces of your whipped cream or Cool Whip. Do this by hand so you don’t deflate the airiness of the cream.
Step 3: Assemble and Add Fudge
Spoon that gorgeous peanut butter mixture right over the candy cups in your pie shell. Use the back of a spoon or your spatula to smooth it out all the way to the edges. Pop your jar of hot fudge in the microwave for about 1 minute. Give it a good stir, then pour it directly over the pie filling, spreading it out evenly to the crust.
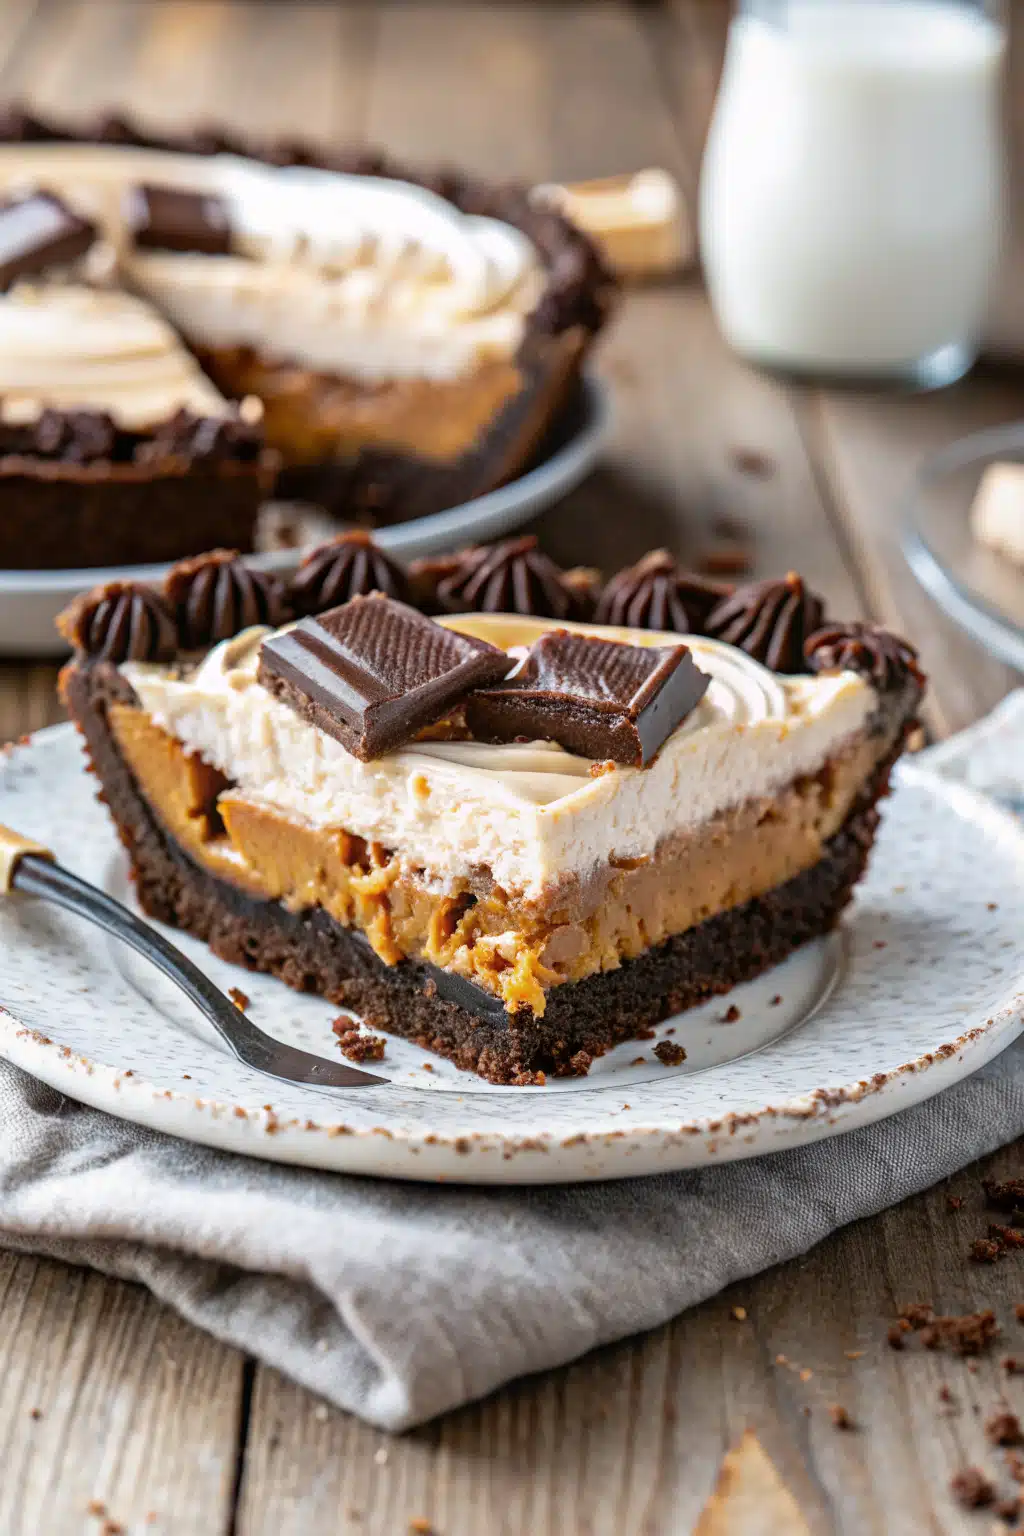
Step 4: Chill and Decorate
Place the pie in the fridge and let it cool until it is fully set, which takes about 2 hours. Once the pie is firm, spread your remaining whipped cream over the hot fudge layer. Chop up the rest of your Reese’s cups and sprinkle them generously over the top. Keep it in the fridge until you are ready to dig in!
What to Serve It With
Because this pie is so wonderfully rich, I highly recommend serving it with something that cuts through the sweetness. A tall, ice-cold glass of milk is absolutely mandatory in my house. If you are serving this to adults after dinner, a hot cup of black coffee or a shot of espresso is the perfect pairing. The bitterness of the coffee highlights the chocolate and peanut butter flavors beautifully. If you want to go completely over the top for a special occasion, a small scoop of vanilla bean ice cream on the side never hurt anybody!
Top Tips for Perfecting Your Reeses Peanut Butter Pie
Room Temperature Cream Cheese: I cannot stress this enough! If your cream cheese is cold, your filling will be lumpy. Leave it out on the counter for a couple of hours before you start baking.
Use Full-Fat Ingredients: For the best flavor and that melt-in-your-mouth texture, stick to full-fat cream cheese. Diet or low-fat versions carry more water and can make your pie filling runny.
Careful with the Whipped Cream: If you are whipping your own heavy cream instead of using store-bought whipped topping, beat it just until you get stiff peaks. If you overbeat it, it will turn grainy and separate. Fold it into the peanut butter mixture very gently.
Try a Snickers Variation: Want to mix things up? Swap out the Reese’s cups for Snickers bars! Just cut the Snickers into 1/3-inch slices and use them in the bottom and on top of the pie for a totally different, caramel-packed vibe.
Storing and Reheating Tips
Since this is a no-bake, chilled dessert, you will never need to worry about reheating it! To store your pie, keep it in the refrigerator wrapped tightly in plastic wrap, or place it in an airtight container. It will stay fresh and delicious for up to 3 days (if your family doesn’t eat it all before then).
If you want to make it way ahead of time, this pie freezes beautifully. Wrap it securely in a layer of plastic wrap and then a layer of aluminum foil. You can freeze it for up to 3 months. When you are ready to enjoy it, just transfer the pie to the fridge and let it thaw overnight before slicing.
Frequently Asked Questions
Final Thoughts
There is just something so comforting about a dessert that looks this good but requires so little effort. This Reeses Peanut Butter Pie has saved me on more occasions than I can count, and it always brings a huge smile to my family’s faces. The combination of that crunchy chocolate crust, the hidden candy layer, and the fluffy peanut butter filling is just pure magic.
I really hope you give this recipe a try the next time you need a quick, reliable, and totally irresistible treat. Don’t be afraid to make it your own, maybe try that Snickers variation, or add an extra drizzle of caramel on top. Grab a slice, pour yourself a cold glass of milk, and enjoy every single bite. Happy no-baking, friends!
Reeses Peanut Butter Pie
Ingredients
Main Ingredients
- 1 Chocolate Pie Crust
- 24 unwrapped Reese’s Cups divided
- 1 cup creamy peanut butter
- 8 oz cream cheese softened
- 0.5 cup powdered sugar
- 12 oz cool whip or whipped cream whipped into stiff peaks, divided
- 11.5 oz smucker’s hot fudge topping
Instructions
Preparation Steps
- Line bottom of pie crust with whole reese’s cups in a flat layer. I was able to fit 10. Set aside.
- In a stand mixer, beat peanut butter, cream cheese and powdered sugar until smooth. Fold in 8 oz of cool whip or whipped cream into peanut butter mixture by hand, until well combined.
- Spoon mixture into pie shell and smooth mixture to edges of pie using a spatula or the back of a spoon.
- Heat hot fudge topping for 1 minute in microwave. Stir. Pour on top of cake and spread until it reaches the edges.
- Cool pie until set, about 2 hours.
- Once pie is set, spread remaining whipped cream over hot fudge layer. Chop up the remaining Reese’s cups and sprinkle on top.
- Refrigerate until ready to serve!
Notes
Featured Comments
“I love this! My mom made this every year, and it’s still my favorite no-bake dessert. Thanks for sharing the memories.”
“This pie brings back so many sweet memories! The peanut butter flavor is rich and creamy—definitely a keeper for special occasions.”
“Impressed! Clear steps and turned out amazing results. Perfect for busy nights.”
“New favorite here — absolutely loved. crowd-pleaser was spot on.”
“Super easy and turned out amazing! My family asked for seconds. Saving this one.”
“This sweet treat was absolutely loved — the hearty really stands out. Thanks!”


This pie brings back so many sweet memories! The peanut butter flavor is rich and creamy—definitely a keeper for special occasions.
I love this! My mom made this every year, and it’s still my favorite no-bake dessert. Thanks for sharing the memories.