

The Best Old Fashioned Apple Crisp You’ll Ever Make
There is something truly magical about the moment the air turns crisp and the leaves finally start to change. For me, that shift in the weather means one very specific thing: it is officially baking season. And the absolute first thing I make every single year is this old fashioned apple crisp.
I can still close my eyes and remember standing on my tiptoes in my grandmother’s kitchen, breathing in the heavenly scent of cinnamon, brown sugar, and baking apples wafting from her ancient oven. She didn’t use a written recipe—just a handful of this and a dash of that—but after years of testing and tweaking, I have finally recreated her masterpiece. This isn’t just any dessert. It is a warm, comforting hug in a bowl. Whether you’ve just come back from a long day of apple picking or you simply need a cozy weeknight pick-me-up, this recipe is going to make your kitchen smell better than any expensive candle ever could. Grab your favorite mixing bowl, and let’s make some memories.

What Is Old Fashioned Apple Crisp?
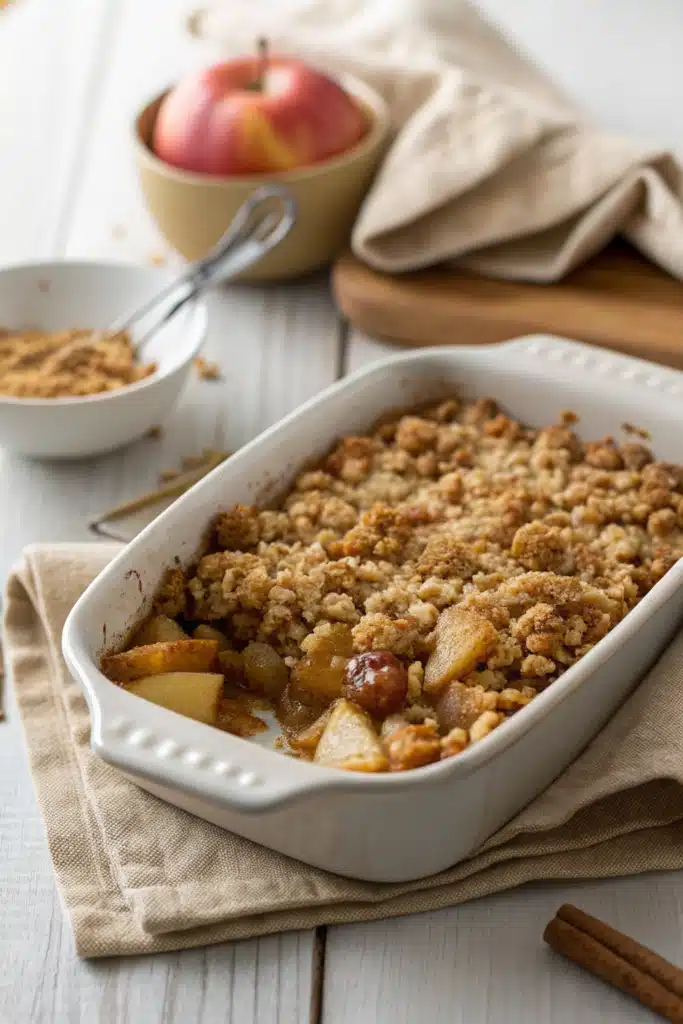
If you’ve ever found yourself confused while staring at a fall bakery menu, you definitely aren’t alone. So, what exactly is an old fashioned apple crisp, and how is it different from a cobbler, a crumble, or a pie? At its core, an apple crisp is a wonderfully rustic, baked fruit dessert.
The bottom layer consists of fresh, sliced apples tossed with a little sugar, a squeeze of lemon juice, and warm fall spices. But the real star of the show is the topping. Unlike a cobbler, which is topped with a heavy biscuit or pie dough batter, a crisp features a crumbly, streusel-like mixture made primarily of rolled oats, butter, flour, and brown sugar. As it bakes, the fruit juices bubble up and thicken into a sweet syrup, while the oat topping toasts into a glorious, golden-brown crust. The addition of oats is what technically makes it a “crisp” rather than a “crumble.” It is beautifully imperfect, delightfully messy, and completely foolproof. You never have to worry about a soggy pie bottom here!
How to Make Old Fashioned Apple Crisp
Quick Overview
Making this dessert is practically a breeze. We are going to start by peeling and slicing our apples, then tossing them with some sugar, lemon juice, and spices to create the filling. Next, we’ll mix together our dry ingredients for the topping and cut in cold butter until it looks like coarse crumbs. Finally, we just sprinkle that glorious topping over the apples and bake it until it’s bubbly and golden brown. You’ll need about 15 minutes of hands-on prep time before the oven does the rest of the work.
Ingredients
For the Apple Filling:
- 6 medium apples (I love mixing Granny Smith and Honeycrisp)
- 1/4 cup granulated sugar
- 1 teaspoon ground cinnamon
- 1/4 teaspoon ground nutmeg
- 1 tablespoon fresh lemon juice
For the Crisp Topping:
- 1 cup old-fashioned rolled oats (not quick oats!)
- 1 cup all-purpose flour
- 1/2 cup packed light brown sugar
- 1/2 cup granulated sugar
- 1 teaspoon ground cinnamon
- 1/2 teaspoon salt
- 1/2 cup (1 stick) unsalted butter, cold and diced into small cubes
Step-by-Step Instructions
Step 1: Preheat & Prep Pan
Preheat your oven to 350 degrees Fahrenheit. Grab a 9×9 inch baking dish (or a deep pie dish) and grease it lightly with a little bit of butter or non-stick cooking spray. Set it aside while you prep your apples.
Step 2: Prepare the Apple Filling
Peel, core, and slice your apples into even pieces, about 1/4-inch thick. Place the apple slices into a large mixing bowl. Pour the lemon juice over the top and toss them around—this keeps them from turning brown and adds a nice little tart kick. Sprinkle the granulated sugar, cinnamon, and nutmeg over the apples and toss until every slice is beautifully coated. Dump this mixture into your prepared baking dish and spread it out evenly.
Step 3: Mix the Crisp Topping
In a separate medium bowl, whisk together your oats, flour, brown sugar, granulated sugar, cinnamon, and salt. Now, drop your cold, cubed butter into the bowl. Using a pastry blender, two forks, or just your clean hands (my favorite method!), cut the butter into the dry ingredients until the mixture looks like coarse, pea-sized crumbs. You want it to clump together slightly when you squeeze a handful of it.
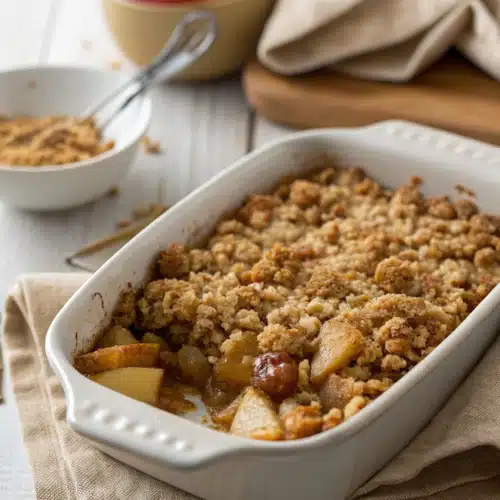
Step 4: Assemble and Bake
Sprinkle the oat topping evenly over the apples in the baking dish. Don’t press it down too hard; just let it rest gently on top. Bake in the preheated oven for 40 to 45 minutes. You’ll know it’s done when the topping is a deep golden brown and you can see the apple juices bubbling up around the edges of the pan.
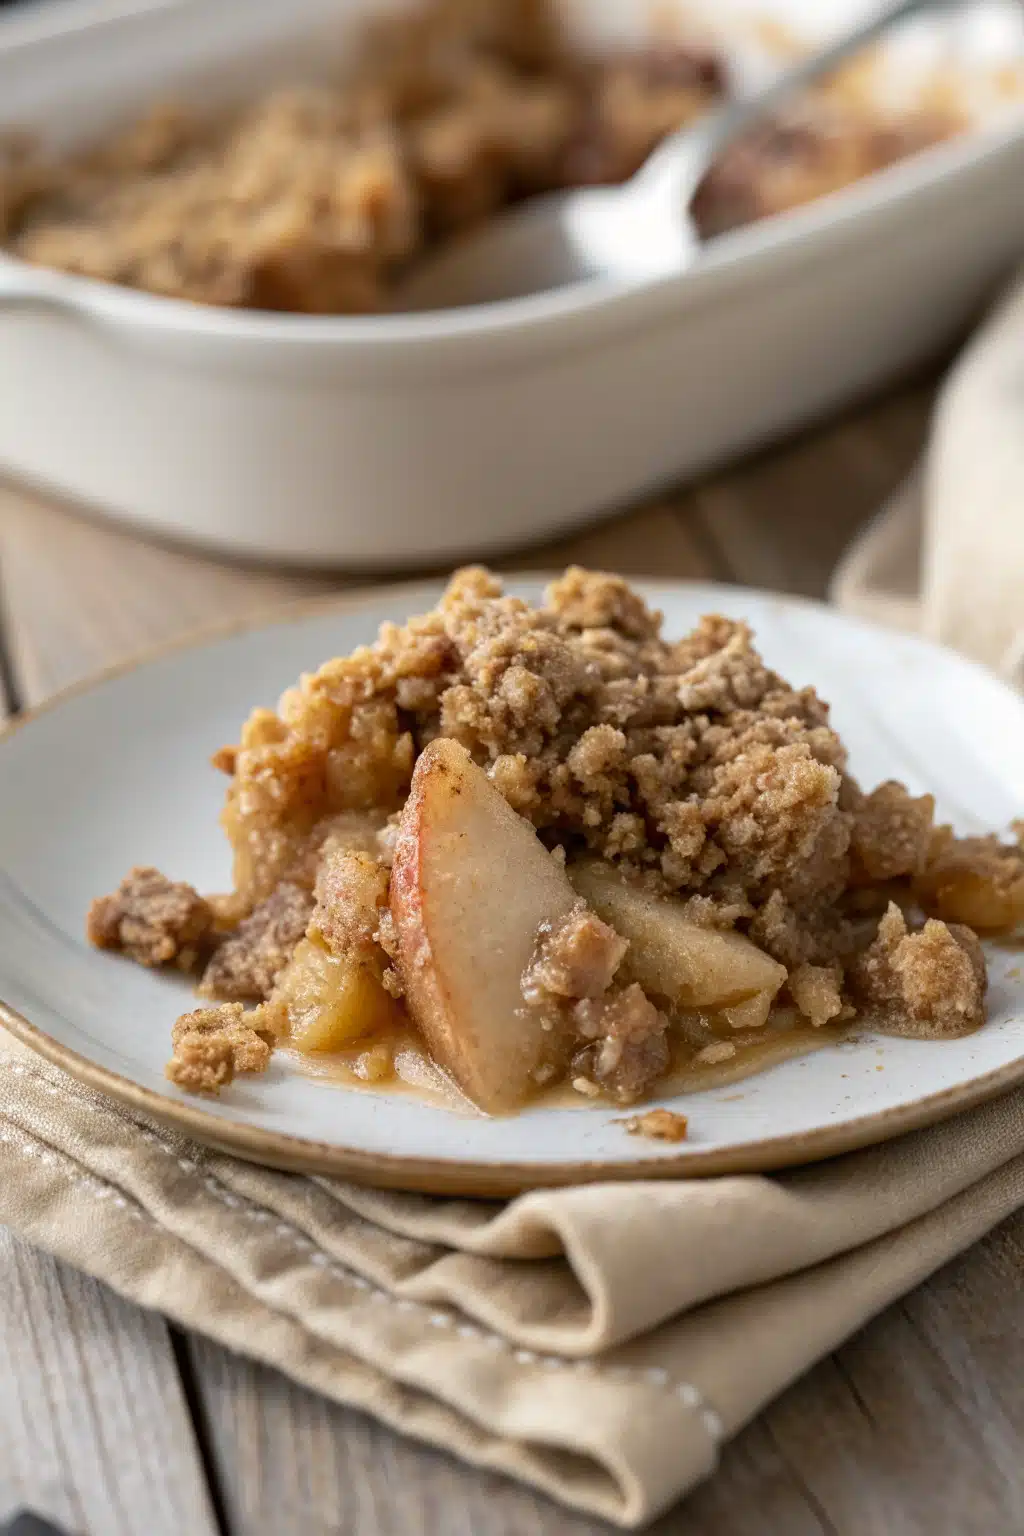
Step 5: Cool and Serve
This is the hardest part! Let the crisp cool for at least 10 to 15 minutes before serving. This resting time allows the hot fruit juices to thicken up so it isn’t a watery mess when you scoop it.
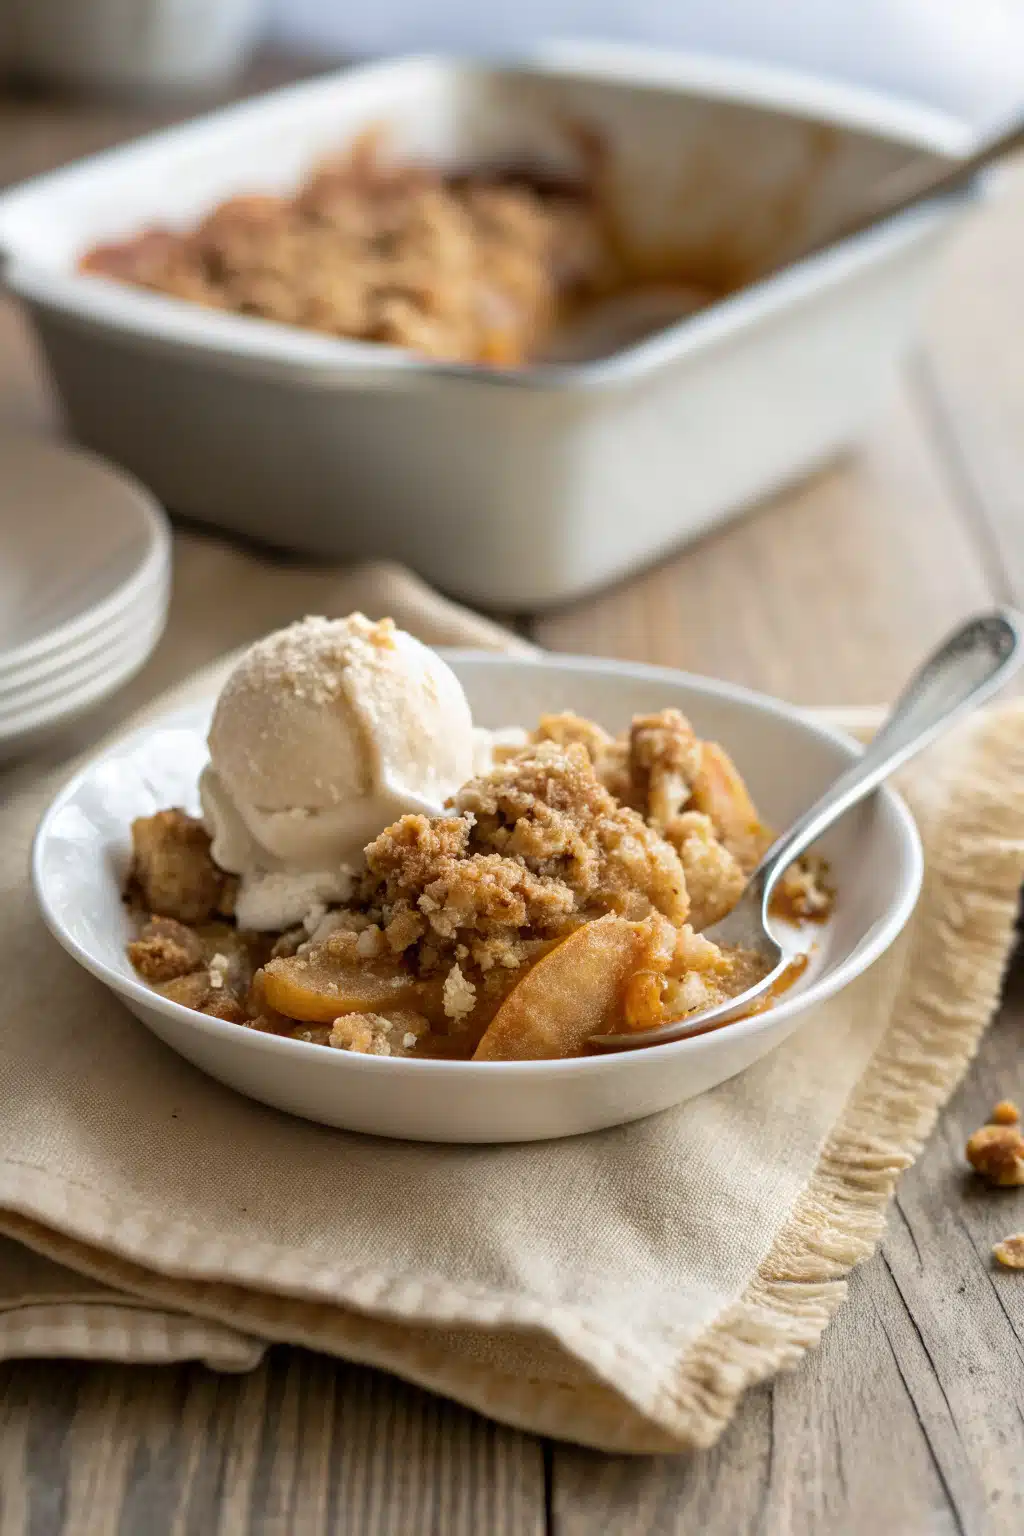
What to Serve It With
While this old fashioned apple crisp is completely delicious all on its own, serving it warm with a giant scoop of vanilla bean ice cream is practically mandatory in my house. As the cold ice cream melts into the warm, crunchy oat topping, it creates a creamy sauce that is just out of this world.
If you want to get a little fancy, try drizzling some warm salted caramel sauce right over the top before serving. A dollop of freshly whipped cream with a dash of cinnamon is also a fantastic, slightly lighter option. And if you happen to be eating leftovers for breakfast (which I highly encourage), it pairs perfectly with a hot cup of black coffee or a mug of warm apple cider.
Top Tips for Perfecting Your Old Fashioned Apple Crisp
Mix your apples: For the absolute best flavor and texture, use a combination of apples. I always use half Granny Smith for their tartness and structure, and half Honeycrisp or Fuji for their natural sweetness and softer bite. It gives the filling so much more depth.
Keep the butter cold: The secret to a truly crunchy topping is using cold butter. If your butter is too warm or melted, your topping will spread out and become greasy instead of crumbly.
Slice uniformly: Try to slice your apples to a similar thickness. If you have some huge chunks and some paper-thin slices, they won’t bake evenly. You want them all to be perfectly tender at the same time.
Don’t use quick oats: Stick to old-fashioned rolled oats. Quick oats are chopped too fine and will turn mushy when baked, completely ruining that signature crunch we are going for.
Storing and Reheating Tips
If you actually have leftovers (which is a rare occurrence around here!), let the crisp cool completely to room temperature. Once cooled, cover the baking dish tightly with plastic wrap or transfer the leftovers to an airtight container. It will keep in the refrigerator for up to 4 days.
When you are ready to eat it again, step away from the microwave! Microwaving will make that beautiful oat topping sad and soggy. Instead, scoop your desired portion into an oven-safe dish and warm it in a 350-degree oven for about 10-15 minutes. This wakes the butter back up and crisps the oats right back to their original glory.
Frequently Asked Questions
Final Thoughts
There is just nothing quite like pulling a bubbling, golden-brown old fashioned apple crisp out of the oven on a chilly evening. It’s a recipe that has been passed down through generations for a reason—it’s simple, it’s honest, and it brings people together around the table. I really hope this dessert brings as much joy and comfort to your kitchen as it has to mine all these years. If you end up making it, please grab a spoon, dig in, and let me know how it turned out for you!
Old Fashioned Apple Crisp
Ingredients
Main Ingredients
- 6 cups apples peeled, cored, and sliced
- 1 tablespoon lemon juice
- 0.5 cup granulated sugar
- 1 teaspoon ground cinnamon
- 1 cup all-purpose flour
- 1 cup old-fashioned rolled oats
- 1 cup light brown sugar packed
- 0.5 teaspoon salt
- 0.5 cup unsalted butter cold and cubed
Instructions
Preparation Steps
- Preheat your oven to 350°F (175°C). Grease a 9x13 inch baking dish.
- In a large bowl, toss the sliced apples with lemon juice, granulated sugar, and 0.5 teaspoon of the cinnamon. Spread the apple mixture evenly in the prepared baking dish.
- In a separate medium bowl, whisk together the flour, oats, brown sugar, salt, and the remaining 0.5 teaspoon of cinnamon.
- Cut the cold, cubed butter into the dry ingredients using a pastry blender or your fingers until the mixture resembles coarse crumbs.
- Sprinkle the oat topping evenly over the apple mixture in the baking dish.
- Bake in the preheated oven for 45 minutes, or until the topping is golden brown and the apples are tender and bubbly.
- Remove from the oven and let cool for 10 to 15 minutes before serving.
Notes
Featured Comments
“Impressed! Clear steps and so flavorful results. Perfect for busy nights.”
“New favorite here — perfect for busy nights. crowd-pleaser was spot on.”
“Super easy and turned out amazing! My family asked for seconds. Saving this one.”
“This sweet treat was absolutely loved — the light really stands out. Thanks!”
“Made it tonight and wow — turned out amazing! Will definitely make Old-Fashioned Apple Crisp Recipe: 7 Reasons It’s Autumn’s Best Dessert again.”
“Packed with flavor and so simple. Exactly what I wanted from Old-Fashioned Apple Crisp Recipe: 7 Reasons It’s Autumn’s Best Dessert.”


