


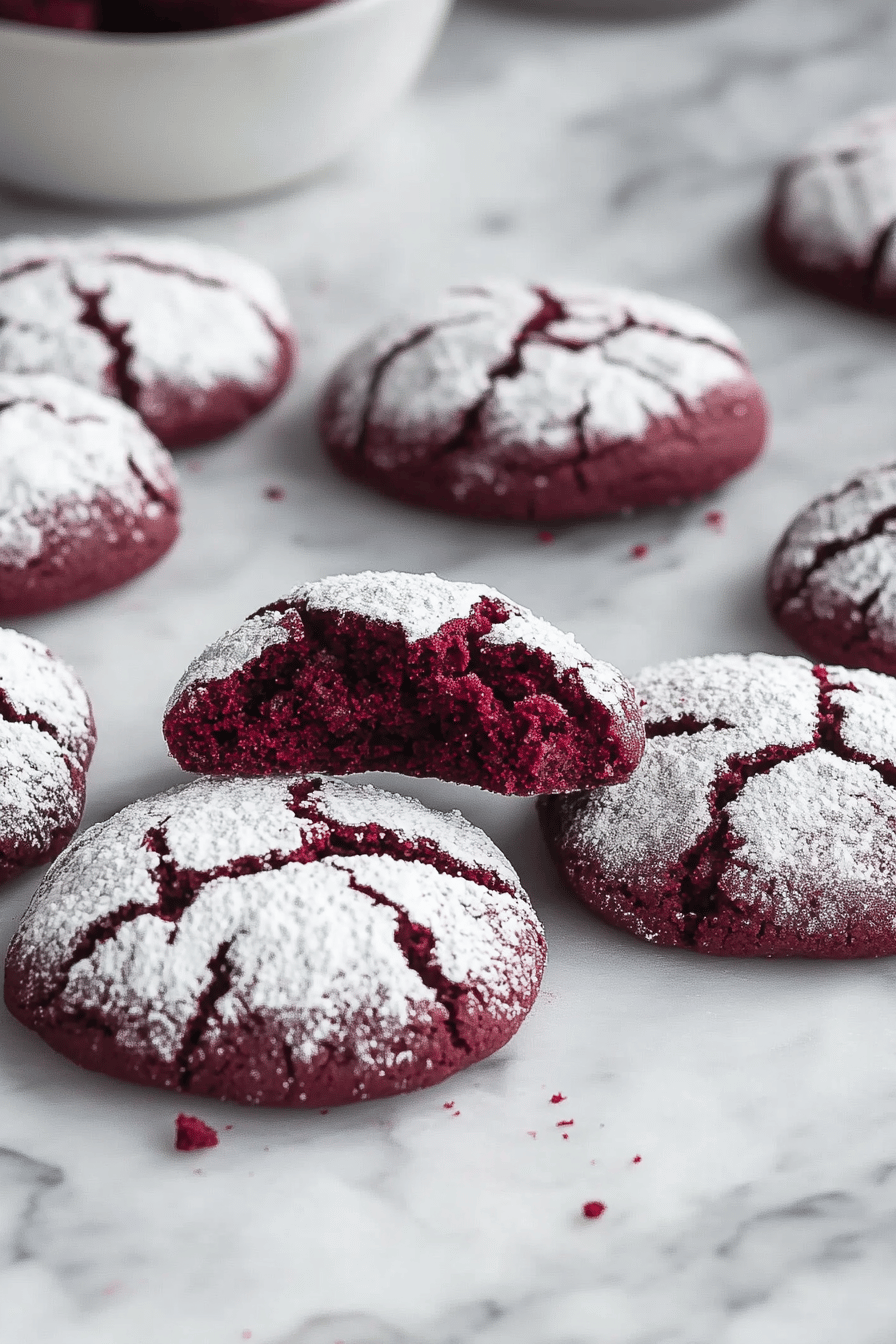
Okay, let me tell you about these Red Velvet Crinkle Cookies. Imagine the fudgy, slightly tangy bliss of red velvet cake, but in cookie form. And not just *any* cookie, but one with that irresistible crackled top that begs to be devoured. They’re kind of like those classic chocolate crinkle cookies we all know and love, but with a vibrant, festive twist, and honestly, I think they’re even better. These are dangerous – seriously, try making them when you don’t need to impress anyone, because you might just eat the whole batch yourself. The rich, subtly cocoa-flavored dough combined with that signature red hue… it’s just pure magic. And the powdered sugar coating? It’s the perfect finishing touch. Trust me on this one, they’re addictively good!
What Is Red Velvet Crinkle Cookies?
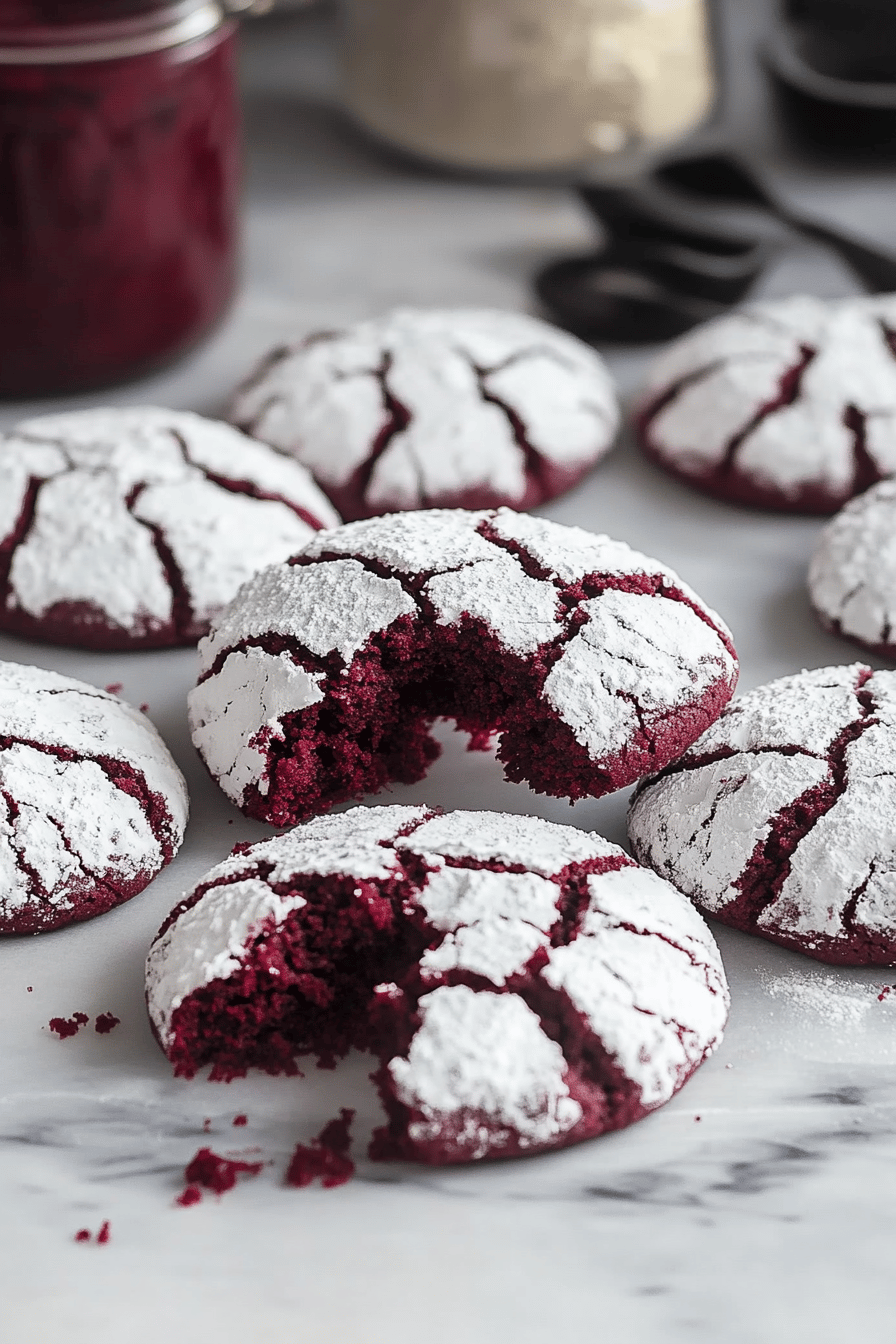
Think of Red Velvet Crinkle Cookies as the sophisticated cousin of your regular Chocolate Chip Cookie. They capture the essence of red velvet cake – that unique blend of cocoa, buttermilk, and a hint of tanginess – in a soft, chewy cookie. The name “crinkle” comes from the cookies’ characteristic appearance: as they bake, the powdered sugar coating on the outside cracks, creating a beautiful, snowy pattern. It’s essentially a red velvet cake experience in a conveniently poppable form, perfect for satisfying that sweet craving without the fuss of baking a whole cake. Seriously, this recipe has saved me countless times when I need a quick and easy dessert to bring to a party. It’s a guaranteed crowd-pleaser, and everyone always asks for the recipe!
How to Make Red Velvet Crinkle Cookies
Quick Overview
Making these Red Velvet Crinkle Cookies is easier than you might think. We’re basically combining a few standard cookie-making techniques with the distinctive flavors of red velvet. The process involves mixing the wet and dry ingredients separately, combining them, chilling the dough (this is key for those perfect crinkles!), rolling the dough balls in powdered sugar, and baking until they’re soft and chewy on the inside and beautifully cracked on the outside. It’s a fairly quick and Easy Recipe, making it perfect for those times when you want a homemade treat without spending hours in the kitchen. I promise, the results are worth every minute!
Ingredients
For the Main Batter:
* 2 1/2 cups all-purpose flour: I always use unbleached for the best texture.
* 1 teaspoon baking soda: Make sure it’s fresh for the best rise.
* 1/2 teaspoon baking powder: Same as the baking soda – freshness matters!
* 1/2 teaspoon salt: Enhances all the other flavors.
* 1 cup (2 sticks) unsalted butter, softened: Important to be softened, not melted!
* 1 1/2 cups granulated sugar: Provides sweetness and structure.
* 1/2 cup packed light brown sugar: Adds moisture and a caramelly depth of flavor.
* 2 large eggs: Room temperature eggs incorporate better.
* 1 teaspoon Vanilla Extract: Pure vanilla extract is always the best.
* 1 tablespoon unsweetened cocoa powder: The secret to that red velvet flavor.
* 1 teaspoon red food coloring: Gel food coloring is more concentrated, so you need less.
* 1 teaspoon white vinegar: Reacts with the baking soda to give a lift.
* 1 cup buttermilk: Adds that characteristic red velvet tang. If you don’t have buttermilk, you can make a substitute by adding 1 tablespoon of lemon juice or white vinegar to 1 cup of milk and letting it sit for 5 minutes.
>For Coating:
* 1 cup powdered sugar: For that classic crinkle effect.
What are the steps in
Step 1: Preheat & Prep Pan
>Preheat your oven to 350°F (175°C). Line baking sheets with parchment paper or silicone baking mats. How do I clean cookies? I’ve forgotten this step before and trust me, it’s not fun scraping burnt cookies off a baking sheet. Make sure the oven is fully preheated before you put the cookies in – this ensures even baking.
Step 2: Mix Dry Ingredients
>In a medium bowl, whisk together the flour, baking powder, and salt. Set aside. Whisking ensures that everything is evenly distributed. Why do I need baking soda in my cookies? Trust me, I’ve had that happen before – not pleasant! Set aside this dry mixture for later.
Step 3: Mix Wet Ingredients
In a large bowl, cream together the softened butter, granulated sugar, and brown sugar until light. Set aside. If you have an electric mixer, the mixture should be pale and airy. Add the eggs one at a time, mixing well after each addition. Then, stir in the Vanilla Extract. In a separate bowl, whisk together the cocoa powder, red food coloring, and white vinegar. Set aside. This creates a paste that intensifies the red color. Add this mixture to the butter mixture and mix well. Add the buttermilk, mixing until just combined. Don’t overmix at this stage.
Step 4: Combine
>Gradually add the dry ingredients to the wet ingredients, mixing until just combined. Be careful not to overmix the dough. Overmixing develops gluten in the flour, which can result in tough cookies. You want the dough to be soft and slightly sticky. If you find that the dough is too sticky, you can add a tablespoon or two of flour. How do I not add too much?
Step 5: Chill the Dough
>Cover the dough with plastic wrap and chill in the refrigerator for at least 2 hours. This chilling time is crucial for preventing cookies from spreading too much in the oven. How do I develop crinkles? I know it’s tempting to skip this step, but trust me, it is worth the wait. I’ve tried baking these without chilling and they end up flat and greasy – not what we want!
Step 6: Shape & Coat
>Once the dough is chilled, preheat your oven to 350°F (175°C) again. Roll the dough into 1-inch balls. Roll each ball generously in powdered sugar, making sure they are completely coated. What is powdered sugar coating? Place the dough balls on the prepared baking sheets, leaving about 2 inches between each. This gives them room to spread as they bake.
Step 7: Bake
>Bake for 10-12 minutes, or until the edges are set and the centers are still slightly soft. Don’t overbake cookies! They will be dry and crumbly. As cookies cool, they will continue to set up. Let the cookies cool on the baking sheets for a few minutes before transferring them to tin foil. To cool completely.
Step 8: Enjoy!
>Can you store these cookies in an airtight container? Temperature for up to 3 days. What are some of the best ways to enjoy a cup of coffee or milk?
What is the best way to serve it?
Red Velvet Crinkle Cookies are pretty good all on their own, but pairing them with a whipped cream is the best way to enjoy them. What are some of the best accompaniments for an experience?
What is a good cozy snack?Imagine curling up on the couch with a warm mug of hot chocolate and some of these cookies. The richness of the cookies complements the comforting warmth of hot chocolate perfectly. Is it a good dish to have on chilly winter evenings?
For Dessert:Serve with a scoop of vanilla Ice Cream or whipped cream. What is the best contrast to chewy cookie? For a more elegant presentation, drizzle with melted white chocolate.
For Brunch:Add them to a brunch spread alongside other sweet treats like scones, muffins, and fruit salad. They add a festive touch and are always welcome additions. I like to arrange them on a tiered serving tray for displaying my food.
For a Party:What are some good red velvet desserts to serve with these cookies? This creates a cohesive theme and caters to red velvet lovers. What are some good milk options?
How do you make a Red Velvet Crinkle Cookie?
After making these Red Velvet Crinkle Cookies countless times, I’ve learned a few tricks to ensure that they are delicious. They turn out perfect every single time.
What is the temperature ofMake sure your butter is properly softened before creaming it with sugar. Is it soft enough to press a finger into easily, but not melted? What is the best way to make butter cookies?
Chilling Time:Don’t skimp on the chilling time! This is crucial for preventing cookies from spreading too much and for developing those cookies that spread too quickly. Beautiful crinkles I know it’s tempting to skip this step, but trust me, it is worth the wait.
Powdered Sugar Coating: PowderBe generous with powdered sugar coating. The more powdered sugar you use, the more dramatic the crinkles will be. I like to roll dough balls twice in powdered sugar to ensure they’re completely coated.
Don’t overbak Overbaked cookies will be dry and crumbly. Bake them just until the edges are set and the centers are still slightly soft. They will continue to set up as they cool.
Buttermilk SubstitIf you don’t have buttermilk, you can make a substitute by adding 1 tablespoon of lemon juice. Is it safe to add white vinegar to 1 cup of milk? What is the best way to do this?
Food Coloring:Gel food coloring is more concentrated than liquid food color, so you need less. It also won’t thin out the batter as much. I prefer to use gel food coloring for a more vibrant red color.
Ingredient Swaps:For a slightly different flavor, you can add 1/2 cup of chopped walnuts or pecans to the dough. Can you substitute chocolate chips for nuts? I’ve also experimented with adding a teaspoon of espresso powder to enhance the cocoa flavor – it’s quite good. a subtle but delicious addition. If you’re feeling adventurous, try adding a pinch of cayenne pepper! I tested this with almond milk and it actually made it even creamier!
Storing and Reheating Tips
>These Red Velvet Crinkle Cookies are delicious fresh, but they can also be stored for later.
Room Temperature: Store the cookies in an airtight container at room temperature for up to 3 days. They will stay soft and chewy.
Refrigerator Storage: For longer storage, you can store the cookies in an airtight container in the refrigerator for up to a week. However, they may become slightly drier in the refrigerator.
Freezer Instructions: For the longest storage, you can freeze the cookies for up to 2 months. Wrap them tightly in plastic wrap and then place them in a freezer-safe bag or container. To thaw, simply let them sit at room temperature for a few hours.
Glaze Timing Advice: It’s best to add any glaze just before serving, as the glaze can become sticky during storage. If you do glaze the cookies before storing them, make sure to store them in a single layer to prevent them from sticking together.
Frequently Asked Questions
Final Thoughts
These Red Velvet Crinkle Cookies are more than just a recipe – they’re a little taste of happiness. The vibrant color, the irresistible crinkled tops, and the fudgy, slightly tangy flavor all come together to create a truly special treat. They’re surprisingly easy to make, making them perfect for both novice and experienced bakers. And the best part? They always disappear in minutes!
If you enjoyed this recipe, be sure to check out my other cookie recipes, like my classic chocolate chip cookies or my chewy Oatmeal Raisin Cookies. They’re all tried and true favorites that are guaranteed to please.
Happy baking! I can’t wait to hear how yours turn out. Feel free to leave a comment below and let me know your thoughts. And if you try any variations, be sure to share them with me – I’m always looking for new ideas!
Red Velvet Crinkle Cookie Recipe – 5 Secrets to Irresistible Treats!
Ingredients
Main Ingredients
- 2.5 cups All-Purpose Flour
- 0.5 cup Unsweetened Cocoa Powder
- 1 teaspoon Baking Soda
- 0.5 teaspoon Salt
- 0.75 cup Unsalted Butter, softened
- 1.5 cups Granulated Sugar
- 2 Large Eggs
- 1 teaspoon Vanilla Extract
- 1 tablespoon Red Food Coloring
- 2 tablespoons Powdered Sugar for coating
Instructions
Preparation Steps
- In a medium bowl, whisk together the flour, cocoa powder, baking soda, and salt. Set aside.
- In a large bowl, cream together the butter and sugar until light and fluffy. Beat in the eggs one at a time, then stir in the vanilla extract and red food coloring.
- Gradually add the dry ingredients to the wet ingredients, mixing until just combined. Do not overmix.
- Cover the dough and chill in the refrigerator for at least 2 hours.
- Preheat oven to 350°F (175°C). Line baking sheets with parchment paper.
- Roll the dough into 1-inch balls. Roll each ball in powdered sugar until well coated.
- Place the cookies on the prepared baking sheets, spacing them about 2 inches apart.
- Bake for 10-12 minutes, or until the edges are set and the centers are slightly soft.
- Let the cookies cool on the baking sheets for a few minutes before transferring them to a wire rack to cool completely.
Notes
Featured Comments
“Impressed! Clear steps and absolutely loved results. Perfect for busy nights.”
“New favorite here — absolutely loved. crowd-pleaser was spot on.”
“Super easy and turned out amazing! My family asked for seconds. Saving this one.”
“This sweet treat was absolutely loved — the cozy really stands out. Thanks!”
“Made it tonight and wow — crowd-pleaser! Will definitely make Red Velvet Crinkle Cookie Recipe – 5 Secrets to Irresistible Treats! again.”
“Packed with flavor and so simple. Exactly what I wanted from Red Velvet Crinkle Cookie Recipe – 5 Secrets to Irresistible Treats!.”


