

The Absolute Best Homemade Strawberry Ice Cream
Do you remember the sheer panic and excitement of hearing the ice cream truck turning down your street when you were a kid? I used to drop whatever I was doing, scramble for some spare change, and sprint outside. My go-to order was always something fruity, but as I grew older, I realized those neon-pink treats didn’t actually taste anything like real fruit. That realization is exactly what led me down the beautiful, messy, and incredibly rewarding rabbit hole of making my own frozen desserts.
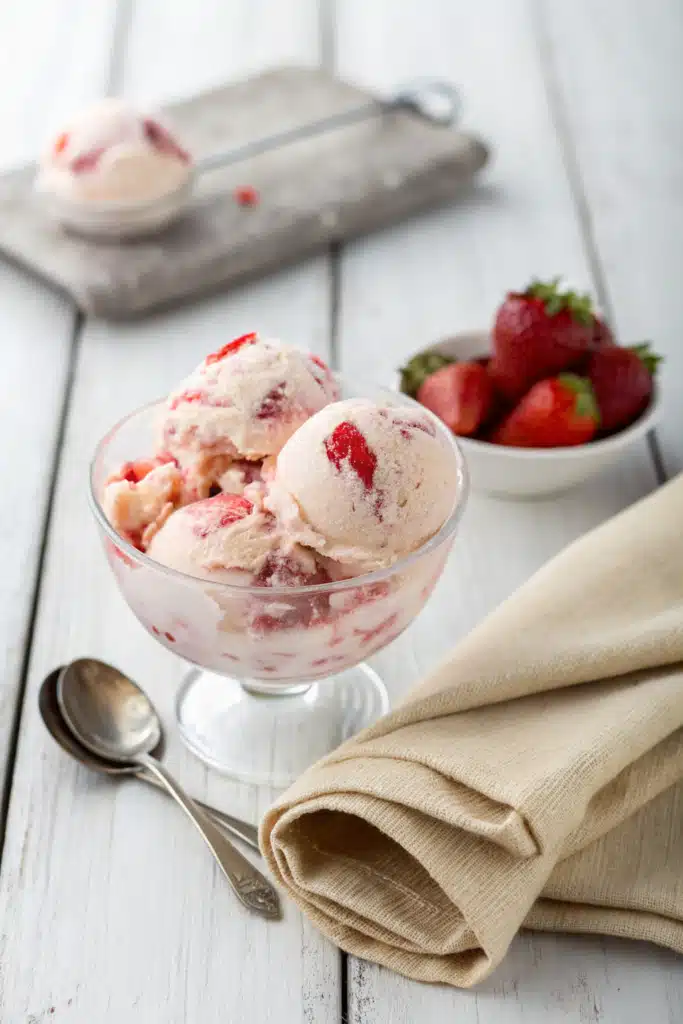
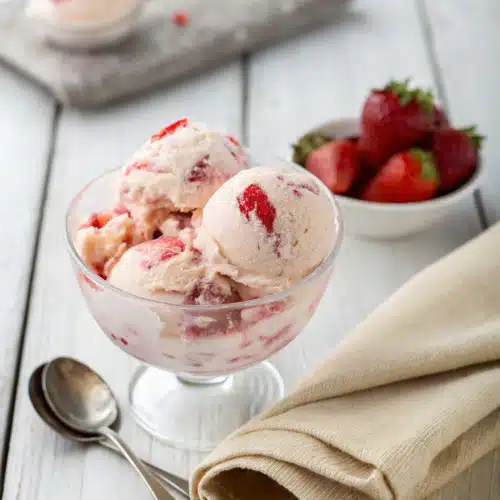
There is honestly nothing quite like the magic of real, from-scratch homemade strawberry ice cream. When you take that first bite, it completely redefines what you think ice cream should taste like. You get the rich, luxurious mouthfeel of a proper cream base, immediately followed by the bright, jammy burst of real strawberries. It is summer in a bowl, no matter what time of year you decide to make it.
I am so incredibly excited to share this family favorite with you today. It has taken me a few summers of tweaking, tasting, and maybe eating a little too much ice cream to get it just right. Grab a spoon, and let’s dive into your new favorite dessert!
What Is Homemade Strawberry Ice Cream?
If your only experience with strawberry ice cream is the stuff from the grocery store freezer aisle, you are in for a massive treat. Traditional store-bought versions often rely on artificial flavorings, food coloring, and a whole lot of air whipped into the mixture to save money. Authentic homemade strawberry ice cream is an entirely different beast.
At its core, this recipe is a beautiful marriage between a classic, rich custard base and a vibrant, fresh fruit puree. We start by making a traditional ice cream base using heavy cream, whole milk, sugar, and egg yolks. The egg yolks are the secret ingredient here—they create an incredibly smooth, velvety texture that prevents the ice cream from turning into a solid block of ice in your freezer.
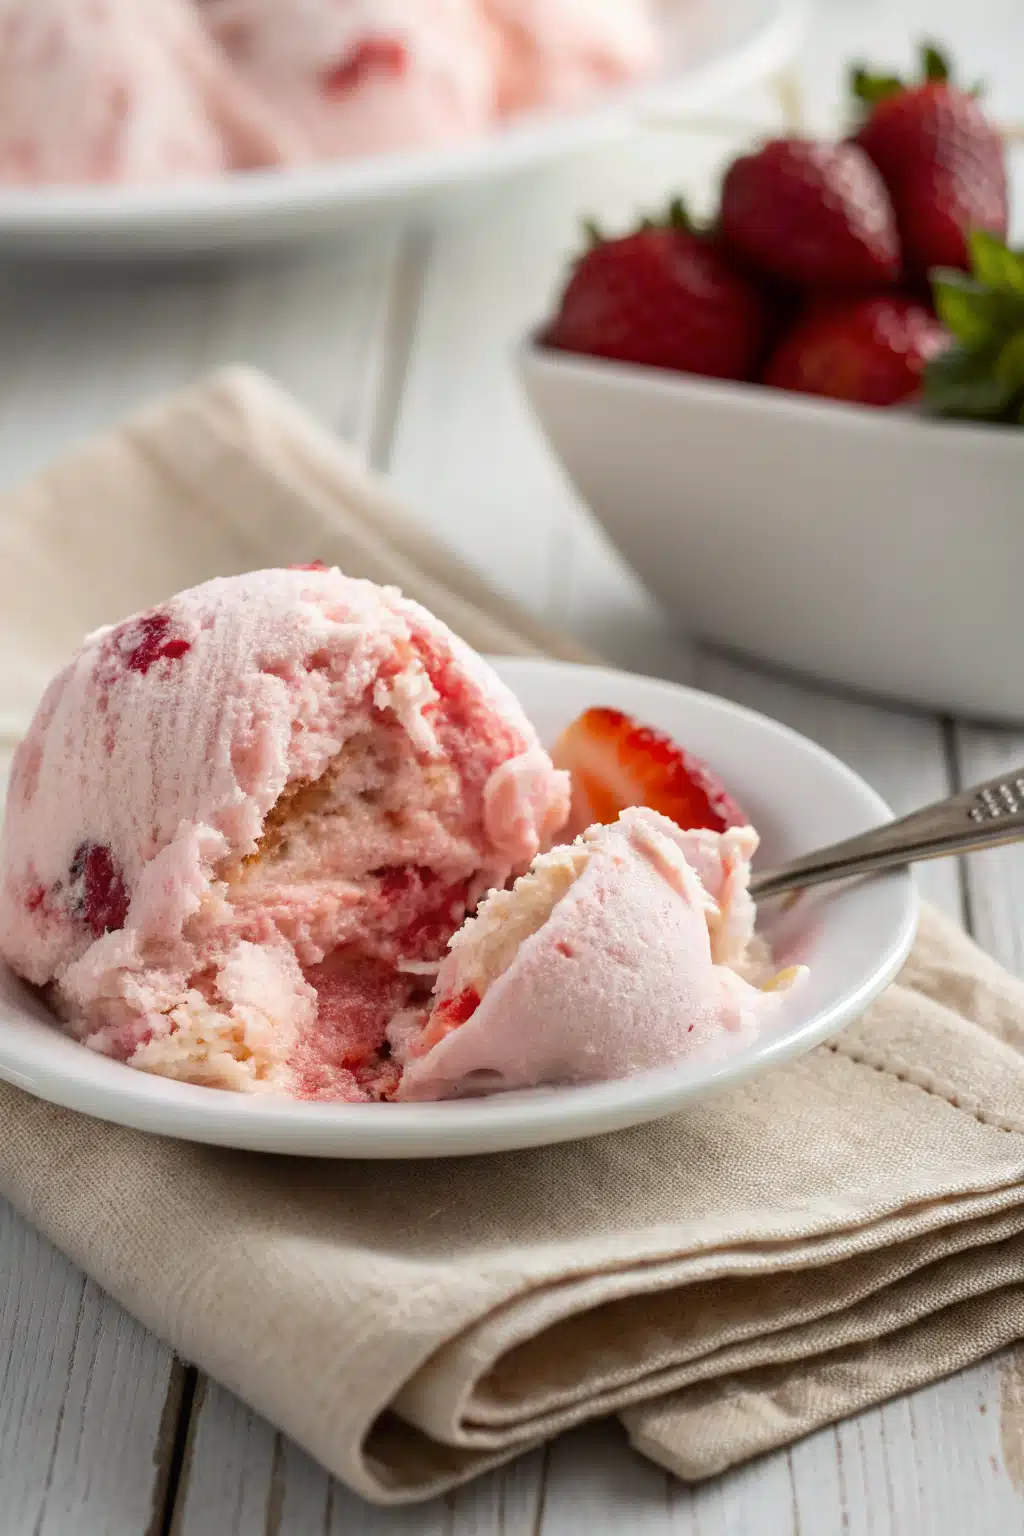
Then comes the star of the show: the strawberries. Instead of just tossing raw chunks of fruit into the machine (which turn into icy, hard rocks when frozen), we macerate and gently cook the berries down into a concentrated, flavor-packed syrup. When folded into the lush custard, it creates a dessert that is creamy, fruity, and completely unforgettable.
How to Make Homemade Strawberry Ice Cream
Quick Overview
Don’t let the thought of making a custard scare you off! The process is actually very straightforward, though it does require a little bit of patience. You will spend about 30 minutes of active time in the kitchen. First, we will cook down the strawberries to concentrate their flavor. Then, we will whisk together our creamy egg yolk base and gently cook it on the stove until it thickens.
The most important part? The chilling time. You must let your base chill in the refrigerator for at least 4 hours (or overnight) before churning. Once chilled, your ice cream maker does all the heavy lifting, churning it into soft-serve perfection in about 20 minutes.
Ingredients
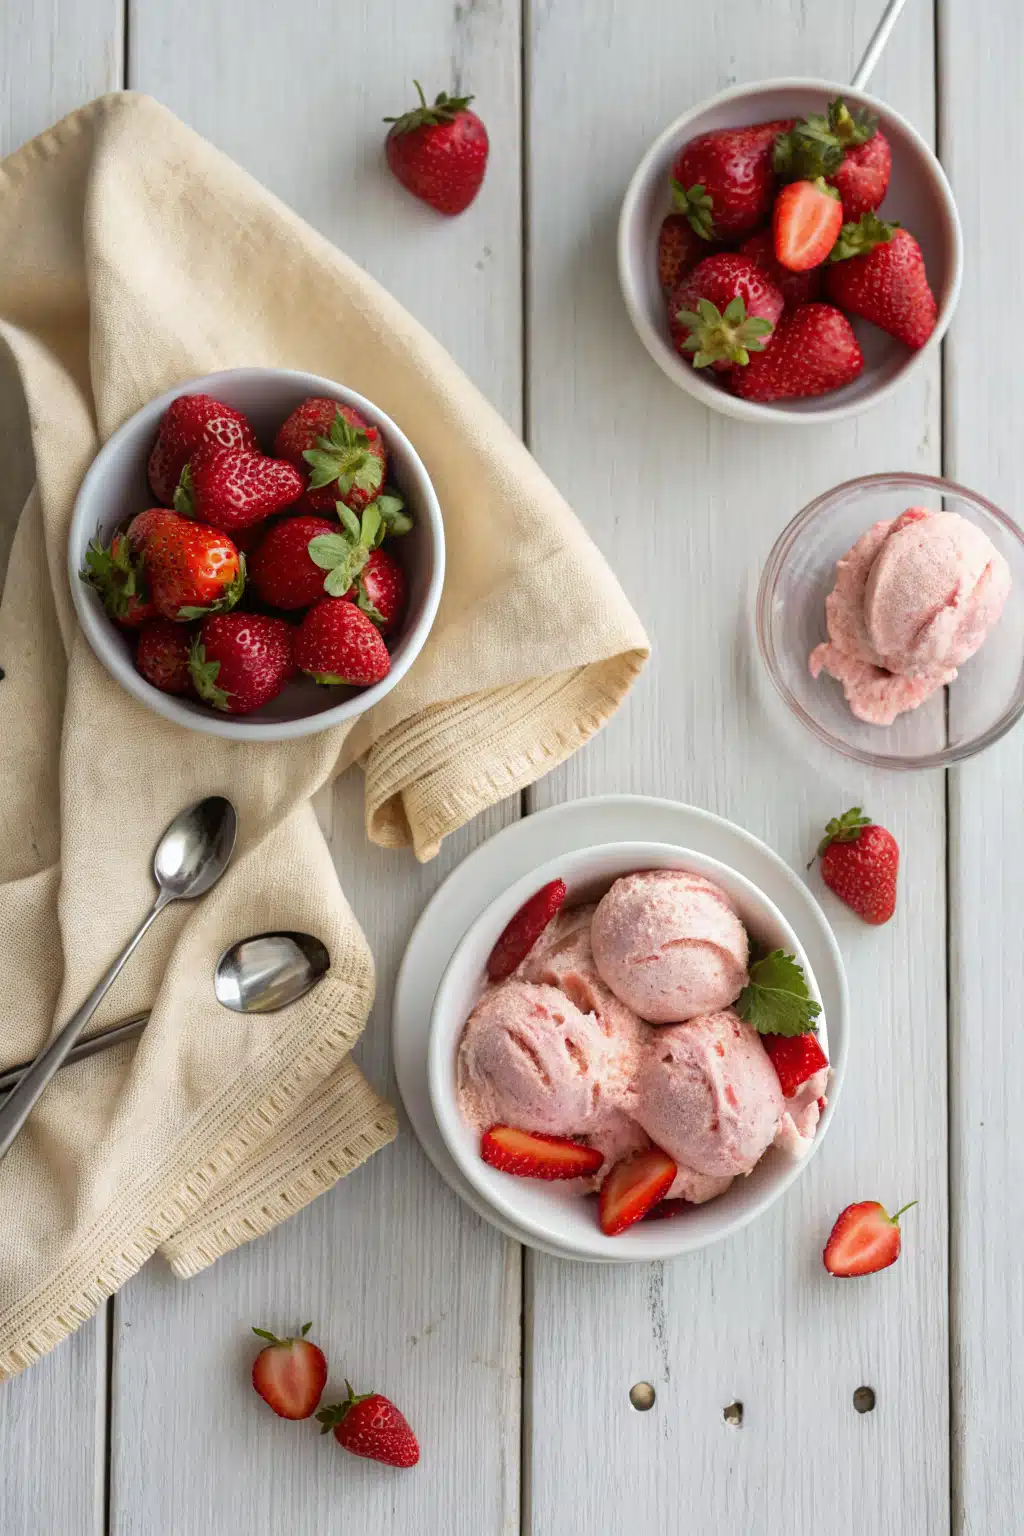
Before we start cooking, let’s gather everything we need. High-quality ingredients really shine here, so grab the best dairy and berries you can find!
- Fresh Strawberries: 1 pound (about 3 cups), hulled and diced. You want them as red and ripe as possible.
- Granulated Sugar: 3/4 cup total, divided. We’ll use some for the berries and some for the custard.
- Lemon Juice: 1 tablespoon, freshly squeezed. This brightens up the strawberry flavor.
- Heavy Whipping Cream: 2 cups. Don’t substitute this; we need the fat for creaminess!
- Whole Milk: 1 cup. Again, skip the skim milk here.
- Egg Yolks: 5 large yolks. Save the whites for an omelet or meringue.
- Vanilla Extract: 1 teaspoon of pure vanilla extract.
- Salt: Just a pinch to balance the sweetness.
Step-by-Step Instructions
Step 1: Prep Your Equipment
First things first, make sure the bowl of your ice cream maker has been in the freezer for at least 24 hours. If it’s not completely frozen solid, your ice cream won’t churn properly. I usually just keep mine in the freezer permanently so I’m always ready!
Step 2: Make the Strawberry Compote
Toss your diced strawberries into a medium saucepan with 1/4 cup of the sugar and the lemon juice. Cook this over medium heat for about 10-15 minutes, mashing the berries gently with a fork or potato masher as they soften. You want the mixture to reduce slightly and become jammy. Once done, take it off the heat and let it cool. If you prefer a completely smooth ice cream, you can blend this mixture, but I love leaving a few little fruit chunks.
Step 3: Heat the Dairy
In a separate saucepan, combine the heavy cream, whole milk, and half of your remaining sugar (1/4 cup). Heat this over medium heat, stirring occasionally, just until it starts to steam and little bubbles form around the edges. Do not let it boil!
Step 4: Temper the Egg Yolks
In a medium mixing bowl, whisk your 5 egg yolks with the very last 1/4 cup of sugar until they are pale and slightly thickened. Now, very slowly, pour about a cup of the hot cream mixture into the egg yolks while whisking vigorously. This is called tempering, and it stops the eggs from scrambling. Pour the tempered egg mixture back into the saucepan with the rest of the dairy.
Step 5: Cook the Custard
Place the saucepan back over medium-low heat. Stir constantly with a wooden spoon or spatula, scraping the bottom, until the mixture thickens enough to coat the back of your spoon. If you run your finger through the custard on the spoon, the line should stay clean. Remove from heat immediately, stir in the vanilla and salt, and pour the custard through a fine-mesh sieve into a clean bowl to catch any stray bits of cooked egg.
Step 6: Chill and Churn
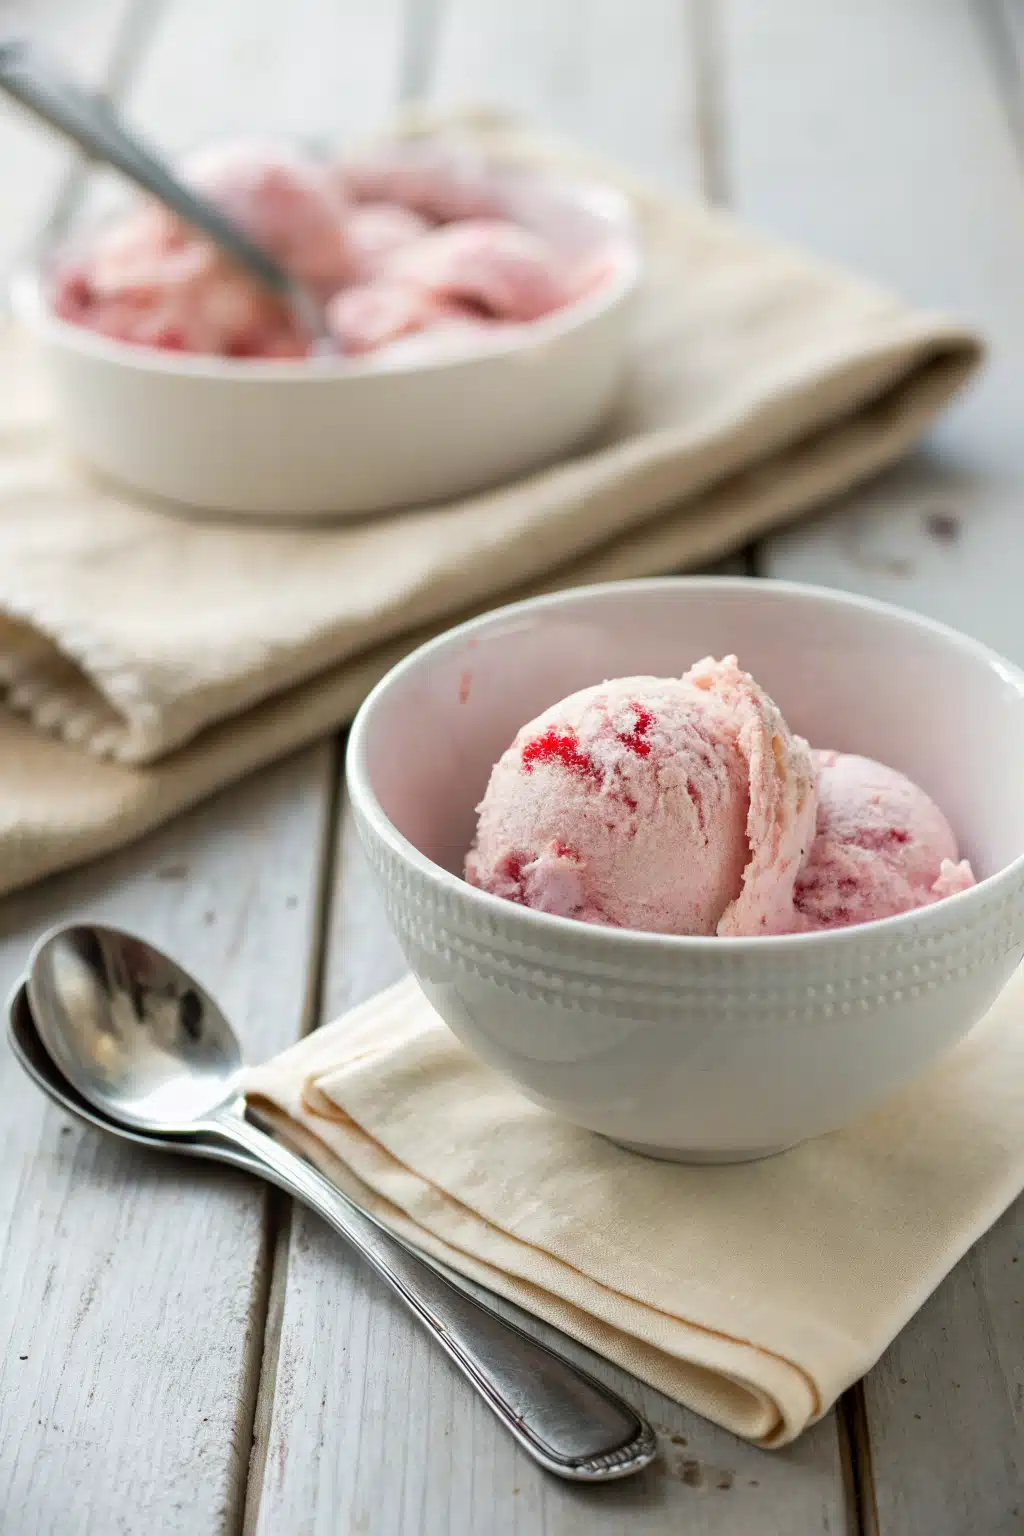
Whisk your cooled strawberry compote into the custard base. Cover the bowl tightly with plastic wrap, making sure the wrap touches the surface of the liquid to prevent a skin from forming. Chill in the fridge for at least 4 hours. Once thoroughly chilled, pour the base into your ice cream maker and churn according to the manufacturer’s directions (usually about 20-25 minutes). Transfer to a freezer-safe container and freeze for another 4 hours to firm up.
What to Serve It With
Honestly, I could eat this straight out of the container with a spoon while standing in front of the open freezer. It is that good. But if you want to dress it up, you have so many fun options!
For a classic summer treat, scoop it into crispy waffle cones. The buttery crunch of the cone perfectly complements the creamy, fruity ice cream. If you’re hosting a dinner party, try serving a generous scoop over a slice of warm, toasted pound cake or angel food cake. The melting ice cream acts like a beautiful sauce for the cake.
Want to go completely decadent? Top it with a drizzle of dark chocolate hot fudge. Chocolate and strawberries are best friends, and the bitterness of the dark chocolate balances the sweet fruit beautifully. You can also sprinkle on some crushed graham crackers for a “strawberry cheesecake” vibe!
Top Tips for Perfecting Your Homemade Strawberry Ice Cream
Over the years, I’ve made plenty of mistakes so that you don’t have to. Here are my absolute best secrets for getting the perfect batch every single time.
Don’t Rush the Chill: I know it is so tempting to throw the warm base right into the ice cream maker, but please resist! The base needs to be incredibly cold to churn properly. A warm base will result in a soupy mess and icy texture. Overnight is best if you have the patience.
Cook the Berries: You might be tempted to just blend raw strawberries into the cream. Don’t do it! Raw strawberries are full of water. When that water freezes, it creates hard, crunchy ice crystals. Cooking them down evaporates the excess water and concentrates the sugars, giving you a smooth texture and intense flavor.
The Vodka Trick: If you want your ice cream to stay perfectly scoopable straight out of the freezer, add one tablespoon of plain vodka to the base right before churning. Alcohol doesn’t freeze, so it keeps the ice cream slightly soft. You won’t taste it at all, I promise!
Storing and Reheating Tips
Okay, let’s address the elephant in the room—obviously, we are not going to “reheat” our ice cream! But when it comes to storing and serving, there are definitely a few rules you should follow to keep your dessert tasting fresh.
Always store your ice cream in a shallow, airtight, freezer-safe container. To prevent freezer burn and ice crystals from forming on the top, press a piece of parchment paper or wax paper directly onto the surface of the ice cream before putting the lid on. It should keep beautifully for up to two weeks (though it never lasts that long in my house).
When you are ready to serve, don’t try to chisel it out right away. Let the container sit on the kitchen counter for about 5 to 10 minutes to “temper” or soften slightly. This makes scooping a breeze and actually enhances the flavor. Extreme cold numbs your tastebuds, so letting it warm up just a fraction of a degree will make the strawberry flavor pop even more.
Frequently Asked Questions
Final Thoughts
Making your own homemade strawberry ice cream is so much more than just following a recipe; it is about creating a little bit of joy from scratch. There is a deep satisfaction in watching a few simple ingredients—cream, eggs, sugar, and berries—transform into something so luxurious and comforting.
I really hope you give this recipe a try the next time you are craving something sweet. It is the perfect project for a lazy weekend afternoon, and I promise that once you taste the difference, you will have a very hard time going back to the store-bought tubs. Take your time, enjoy the process, and most importantly, enjoy every single creamy, fruity bite with the people you love.
If you make this, please let me know how it turns out! I always love hearing about your kitchen adventures. Happy churning, friends!
Homemade Strawberry Ice Cream
Ingredients
Main Ingredients
- 1.5 cups fresh strawberries hulled and chopped
- 0.75 cup whole milk
- 0.66 cup granulated sugar
- 1 pinch salt
- 1.5 cups heavy cream
- 1.5 teaspoons pure vanilla extract
Instructions
Preparation Steps
- In a medium bowl, use a hand mixer on low speed or whisk to combine the milk, sugar, and salt until the sugar is dissolved.
- Stir in the heavy cream and vanilla extract.
- Stir in the strawberries with all of their juices.
- Cover the bowl and refrigerate for 1 to 2 hours, or overnight.
- Turn on your ice cream maker; pour the mixture into the frozen freezer bowl and let mix until thickened, about 15 to 20 minutes.
- For a firmer consistency, transfer the ice cream to an airtight container and place in the freezer for about 2 hours before serving.
Notes
Featured Comments
“Impressed! Clear steps and quick weeknight win results. Perfect for busy nights.”
“New favorite here — turned out amazing. crowd-pleaser was spot on.”
“Super easy and turned out amazing! My family asked for seconds. Saving this one.”
“This sweet treat was absolutely loved — the hearty really stands out. Thanks!”
“Made it tonight and wow — quick weeknight win! Will definitely make Strawberry ice cream again.”
“Packed with flavor and so simple. Exactly what I wanted from Strawberry ice cream.”


