

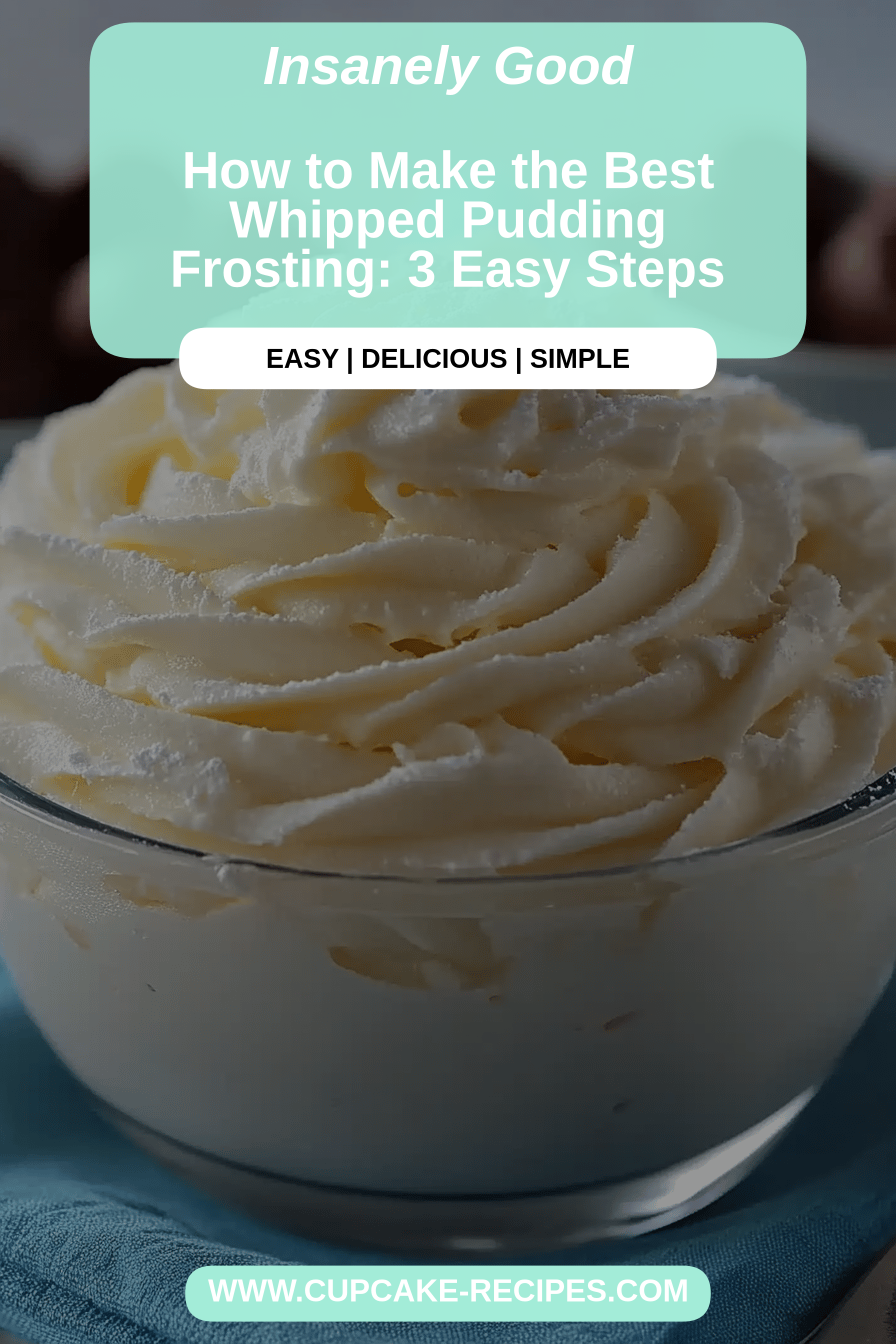
You know those nights when a craving hits, big time? Like, the kind of craving that demands something sweet, something comforting, but you *really* don’t want to pull out the stand mixer and deal with a whole cake situation? Yeah, me too. That’s exactly when this whipped pudding frosting recipe saves the day – and my sanity. It’s become such a staple in my kitchen that my kids actually ask for it by name now, which is saying something! Honestly, it’s so ridiculously easy and ridiculously delicious, it feels like a culinary magic trick. Forget those heavy, overly sweet buttercream recipes you see everywhere; this is something else entirely. It’s lighter, it’s got this incredible depth of flavor without being cloying, and the texture? Oh, the texture is just divine. Think of it as the happiest medium between a cloud and your favorite pudding, whipped to perfection. It’s the kind of frosting that makes even the simplest cupcake feel like a gourmet treat, and it’s my absolute secret weapon for making desserts feel special without all the fuss. I honestly can’t imagine my dessert repertoire without it anymore.
What is a whipped pudding frosting?
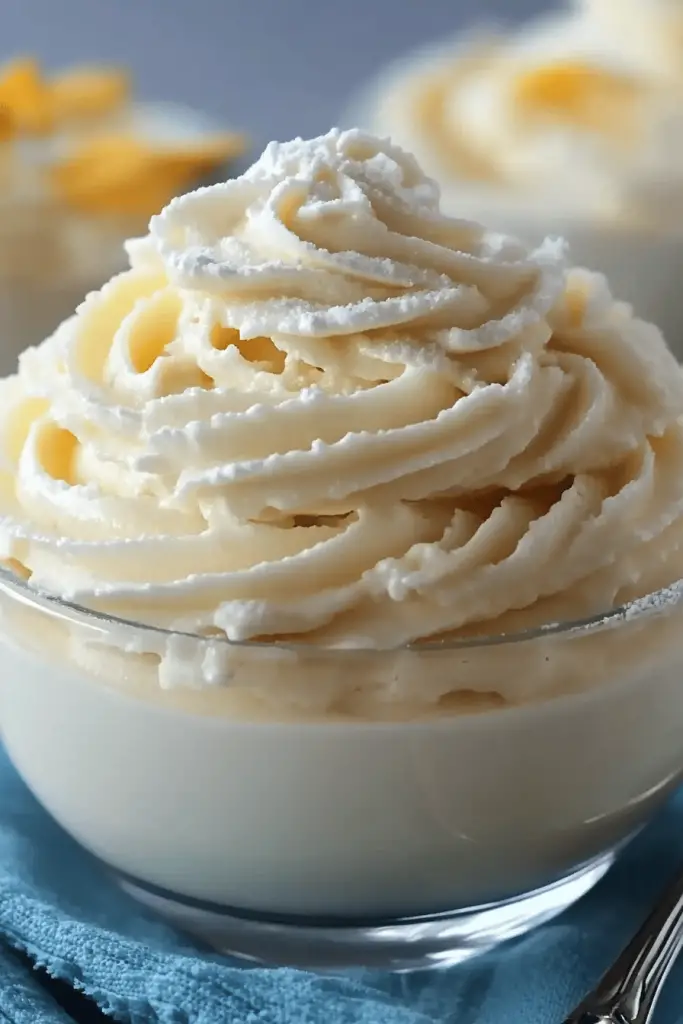
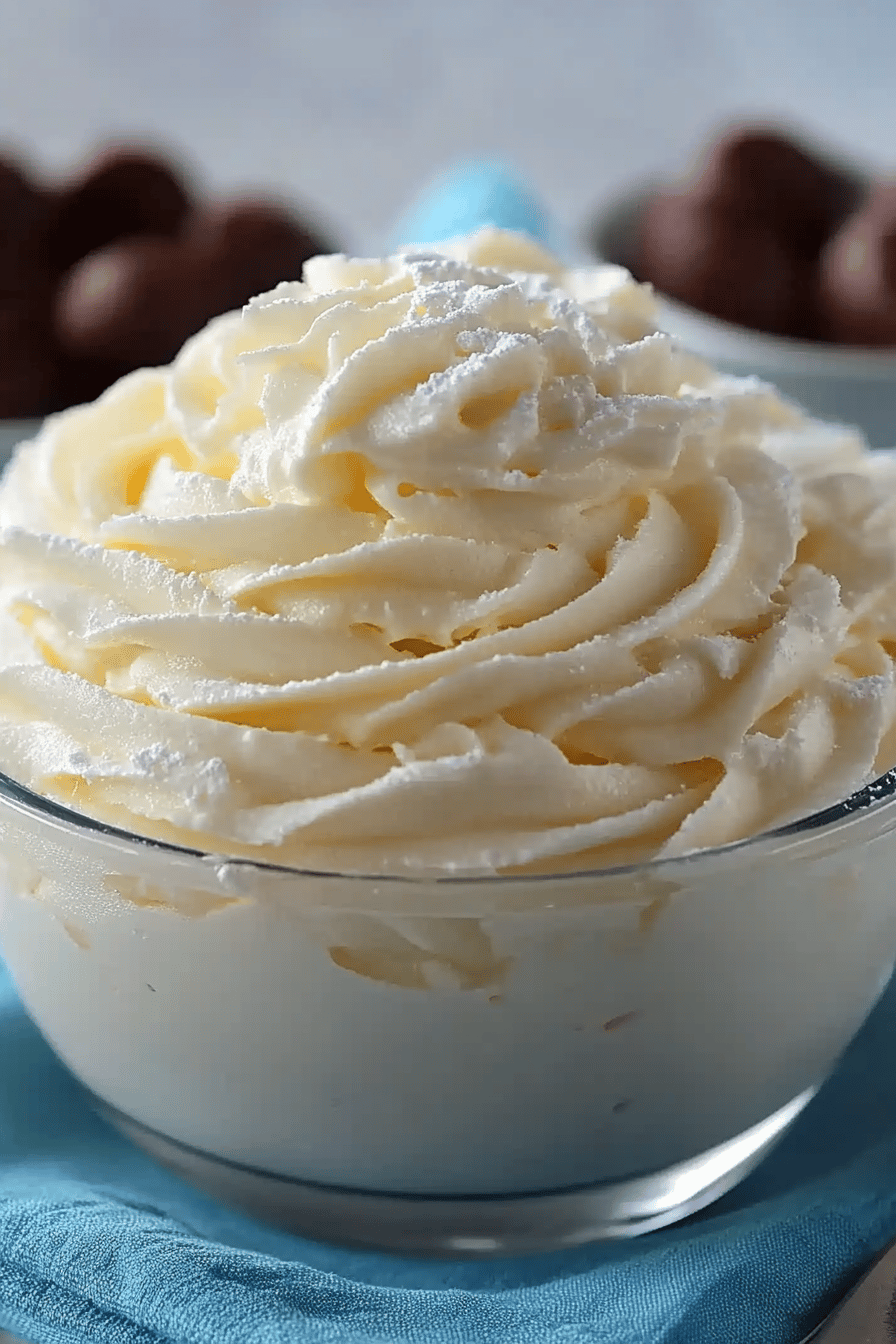
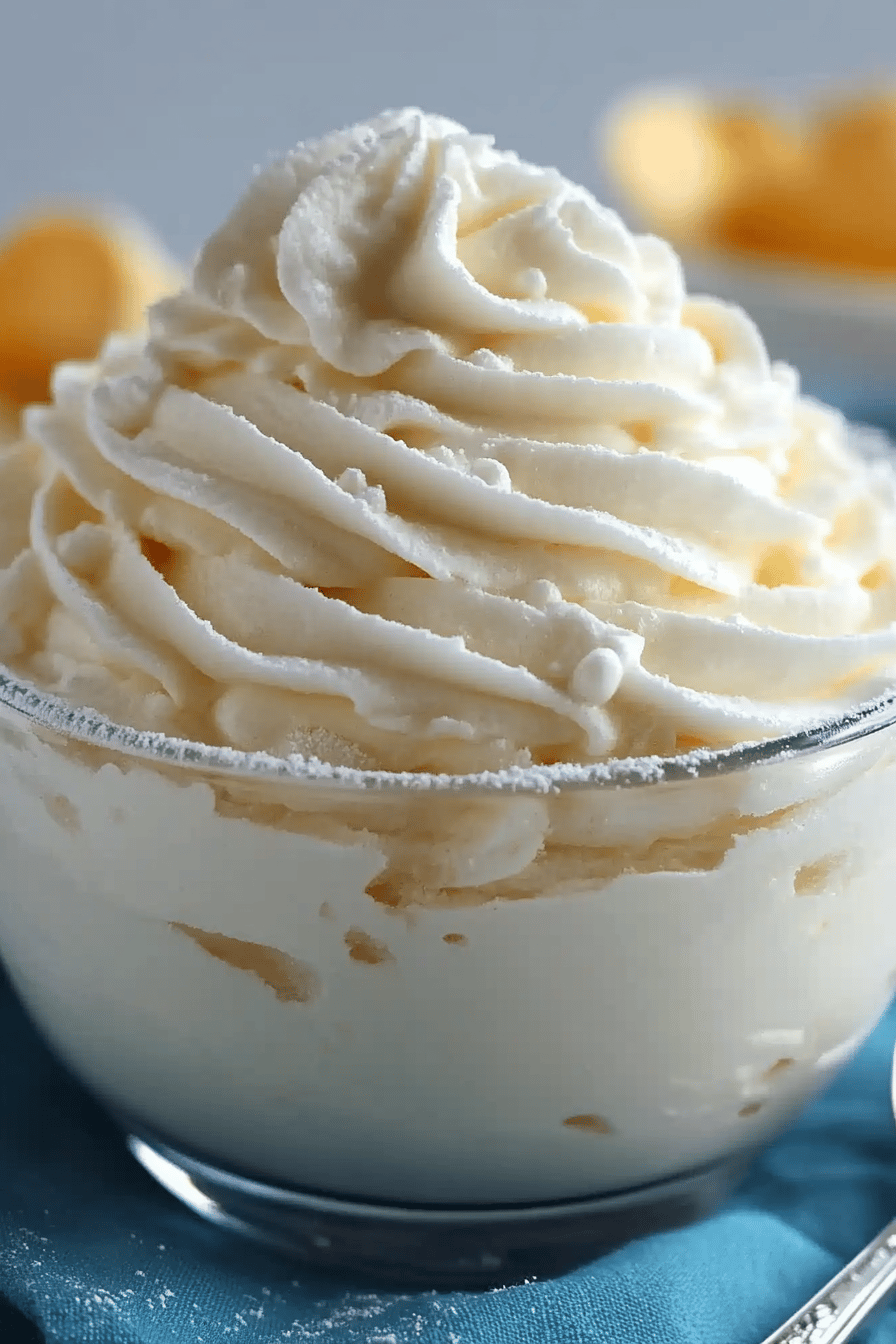
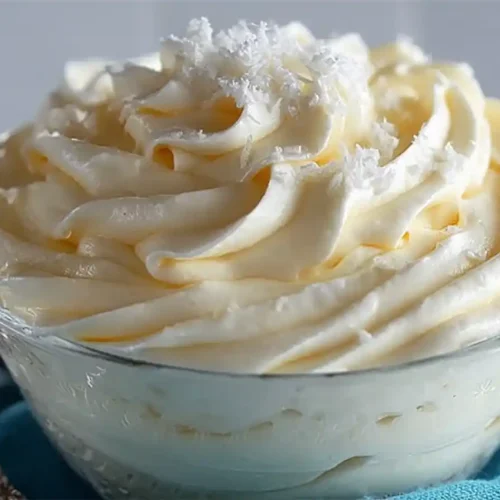
So, what exactly *is* this magical stuff? Simply put, it’s a light, airy, and incredibly flavorful frosting that gets its wonderful texture and taste from pudding mix, Whipped Cream, and a few other simple ingredients. The name itself pretty much tells the story: it’s like your favorite creamy pudding got a glamorous makeover and decided to become a frosting. It’s not your grandma’s traditional buttercream, that’s for sure! It’s lighter, silkier, and has a wonderfully smooth consistency that just melts in your mouth. We’re essentially taking the comforting, familiar flavor of instant pudding – think vanilla, chocolate, or even cheesecake – and whipping it into a fluffy, spreadable cloud. It’s essentially a no-bake dessert topping that’s incredibly versatile and always a crowd-pleaser. The beauty of it is its simplicity; it tastes like you spent hours in the kitchen, but in reality, it comes together in minutes. It’s the kind of recipe that makes you feel like a baking genius without actually having to be one!
How to Make Whipped Pudding Frosting
Quick Overview
Making this whipped pudding frosting is almost embarrassingly easy. You’ll essentially be combining instant pudding mix with chilled whipped cream and a few other flavor boosters until everything is light, fluffy, and utterly irresistible. The key is using cold ingredients and not overmixing. It’s a no-bake wonder that takes minutes to whip up and transforms ordinary desserts into something truly special. Trust me, once you try this, you’ll wonder how you ever lived without it!
Ingredients
For the Main Batter:
1 (3.4 ounce) box instant vanilla pudding mix (make sure it’s the instant kind, not the cook-and-serve!)
1 ½ cups cold heavy whipping cream
½ cup cold milk (any kind works, but whole milk gives the richest flavor)
1 teaspoon Vanilla Extract (optional, but it really enhances the flavor)
For the Filling:
(This section is more about variations, so it’s not a separate list here, but we’ll talk about how to customize!)
For the Glaze:
(Again, this is a topping, not part of the core frosting recipe, so we’ll cover it in serving ideas!)
Step-by-Step Instructions
Step 1: Preheat & Prep Pan
This step isn’t applicable to frosting, as it’s no-bake! We’re focusing on whipping up something delicious, not baking a cake right now.
Step 2: Mix Dry Ingredients
In a large mixing bowl, whisk together the dry instant pudding mix. It’s important to make sure there are no clumps here. This ensures a smooth frosting later on. Some people like to sift it, but a good whisk usually does the trick!
Step 3: Mix Wet Ingredients
In a separate, very cold bowl (I usually pop mine in the freezer for about 10 minutes before I start), pour in the cold heavy whipping cream and the cold milk. Add the vanilla extract if you’re using it. Make sure everything is thoroughly chilled – this is key for getting that perfect whipped texture.
Step 4: Combine
Using an electric mixer (handheld or stand mixer), begin whipping the cream and milk mixture on medium speed. Gradually increase the speed to high. Whip until medium peaks form – this means when you lift the beaters, soft peaks curl over. Don’t whip it too much, or you’ll get butter!
Step 5: Prepare Filling
This is where the magic really happens! With the mixer on low speed, gradually add the dry pudding mix to the whipped cream mixture. Mix until just combined and the pudding has started to thicken the cream. It will look a little soft at first, but don’t worry, it will firm up as it chills.
Step 6: Layer & Swirl
This step is more for using the frosting, not making it! Once your frosting is ready, it’s time to apply it to your favorite treats.
Step 7: Bake
Again, no baking involved in making the frosting itself!
Step 8: Cool & Glaze
Once the frosting is mixed, cover the bowl tightly with plastic wrap, pressing it directly onto the surface to prevent a skin from forming. Refrigerate for at least 30 minutes (or up to 2-3 hours) to allow it to firm up. This chilling time is crucial for the pudding to set and create that amazing whipped texture.
Step 9: Slice & Serve
This is where you get to enjoy your creation! Once chilled and firm, give the frosting a quick stir with a spatula. It should be thick, creamy, and spreadable. Use it generously on cupcakes, cakes, or whatever your heart desires!
What to Serve It With
This whipped pudding frosting is so versatile, it’s practically begging to be paired with everything! For a delightful breakfast treat, imagine dolloping it on fluffy pancakes or waffles – it’s like a sweet, creamy dream to start your day. A light dusting of powdered sugar and a few fresh berries, and you’ve got a breakfast that feels incredibly decadent. If you’re planning a brunch spread, this frosting is a lifesaver. It’s perfect for topping mini cheesecakes or mini tarts. For an elegant touch, serve it in small parfait glasses layered with fresh fruit and maybe some crumbled cookies – it looks so sophisticated but takes no effort. As a dessert, well, the possibilities are endless! It’s obviously divine on cupcakes and cakes, but have you ever tried it as a filling for cream puffs or éclairs? Absolute heaven. It’s also fantastic spread over a simple sheet cake or even drizzled over a warm fruit crumble. And for those cozy snacks I mentioned? This frosting is the ultimate dip. Serve it with graham crackers, fresh fruit slices (apples, strawberries, pears are amazing!), or even pretzels for a sweet and salty crunch. My kids absolutely love it with little cookies for dipping. Honestly, any time you need a touch of sweetness and a whole lot of creamy goodness, this whipped pudding frosting is your answer.
Top Tips for Perfecting Your Whipped Pudding Frosting
I’ve whipped up batches of this frosting more times than I can count, and over the years, I’ve picked up a few tricks that make it even better. Let’s dive into some of my favorite tips to ensure your whipped pudding frosting is absolutely perfect every single time.
Zucchini Prep: This isn’t applicable to this specific frosting recipe, as it doesn’t use zucchini! We’re keeping it simple and pudding-focused here.
Mixing Advice: The most crucial part here is to avoid overmixing once you add the pudding mix to the whipped cream. Mix on low speed until *just* combined. You want to see the frosting thicken, but if you whip it too much, it can become grainy or too stiff. Also, ensuring your heavy cream and milk are *very* cold is non-negotiable. I’ve made the mistake of using slightly warm cream, and it just won’t whip up properly, leading to a thin, runny frosting. I learned that lesson the hard way!
Swirl Customization: While we aren’t swirling in this basic recipe, if you wanted to add something, like chocolate syrup or a fruit puree, do it gently after the frosting has thickened. Don’t overmix, or you’ll lose that beautiful airy texture. A few gentle folds are all you need for a marbled effect.
Ingredient Swaps: This is where the fun really begins! You can use almost any flavor of instant pudding mix. Chocolate is a classic, but don’t shy away from butterscotch, cheesecake, or even strawberry! For a richer flavor, you can substitute half of the milk with heavy cream, but I find the 1 ½ cups cream to ½ cup milk ratio gives the best balance of creaminess and airiness. If you’re watching your sugar intake, you can sometimes get away with sugar-free pudding mixes, but the texture might be slightly different, a little less stable. I tested this with almond milk once, and while it worked, it was definitely less rich and creamy than with dairy milk, so I prefer whole milk for the best results.
Baking Tips: No baking needed for the frosting itself! But when you’re using it *on* baked goods, make sure they are completely cool. Frosting a warm cake or cupcake is a recipe for a melty, slidey disaster.
Glaze Variations: If you’re looking for something beyond the frosting, a simple dusting of powdered sugar is elegant. Or, you could drizzle melted chocolate or a quick ganache over your frosted treats. For a brighter flavor, a thin layer of fruit jam can be spread on top of the frosting before serving.
Storing and Reheating Tips
Storing this lovely whipped pudding frosting is pretty straightforward, and keeping it fresh is key to enjoying its delightful texture. Here’s what I’ve learned:
Room Temperature: I honestly don’t recommend keeping this frosting at room temperature for very long, especially if it’s warm. Because it contains dairy and pudding mix, it’s best to keep it chilled. If you’ve just made it and are about to use it on a dessert that will be served within an hour or two, it’s usually fine at room temp, but it will start to soften.
Refrigerator Storage: This is where it lives! Once made, cover the bowl tightly with plastic wrap, making sure the wrap touches the surface of the frosting to prevent a skin from forming. It will keep well in the refrigerator for about 3 to 4 days. The texture might become a little firmer after a day or two, but a quick stir with a spatula will bring it right back to its fluffy glory. I’ve found that glass containers work best for storing leftovers.
Freezer Instructions: Freezing this frosting isn’t my top recommendation because the texture can change quite a bit upon thawing, often becoming a bit watery or grainy. However, if you absolutely must freeze it, transfer it to an airtight freezer-safe container, ensuring minimal air exposure. It should last for about 1 to 2 months. Thaw it slowly in the refrigerator overnight, and then give it a very thorough whisking with a spatula before using. It might not be as perfectly light as when freshly made, but it’s still usable!
Glaze Timing Advice: If you’re glazing the dessert *after* frosting, apply the glaze just before serving for the best appearance. If you’re storing a frosted and glazed item, the glaze itself usually holds up well, but be mindful of the frosting underneath.
Frequently Asked Questions
Final Thoughts
So there you have it – my absolute favorite whipped pudding frosting recipe! I really hope you give this a try, especially on those days when you need a little sweetness without a whole lot of fuss. It’s just one of those recipes that consistently delivers, making even the simplest dessert feel extra special. It’s a true testament to how delicious and satisfying homemade treats can be, even when they’re incredibly easy to make. If you love this, you might also enjoy my recipe for no-bake chocolate mousse or my incredibly easy no-churn vanilla Ice Cream – they share that same spirit of simple, delicious indulgence! I can’t wait to hear what you think, or what flavor pudding you decide to try. Please leave a comment below and let me know how yours turned out, or if you have any fun flavor variations of your own. Happy baking (or, in this case, frosting!)!
Whipped Pudding Frosting
Ingredients
Main Ingredients
- 0.5 cup Instant vanilla pudding mix
- 2 cups Milk
- 1 cup Heavy cream
- 0.5 cup Powdered sugar
- 0.5 teaspoon Vanilla extract
Instructions
Preparation Steps
- In a large bowl, whisk together the instant vanilla pudding mix and milk until smooth and thickened.
- In a separate bowl, beat the heavy cream until stiff peaks form.
- Gently fold the whipped cream into the pudding mixture.
- Stir in the powdered sugar and vanilla extract until just combined.
- Use immediately or store in the refrigerator until ready to use.
Notes
Featured Comments
“Impressed! Clear steps and comforting results. Perfect for busy nights.”
“New favorite here — super easy. crowd-pleaser was spot on.”
“Super easy and turned out amazing! My family asked for seconds. Saving this one.”
“This sweet treat was absolutely loved — the light really stands out. Thanks!”
“Made it tonight and wow — crowd-pleaser! Will definitely make Whipped pudding frosting again.”
“Packed with flavor and so simple. Exactly what I wanted from Whipped pudding frosting.”


