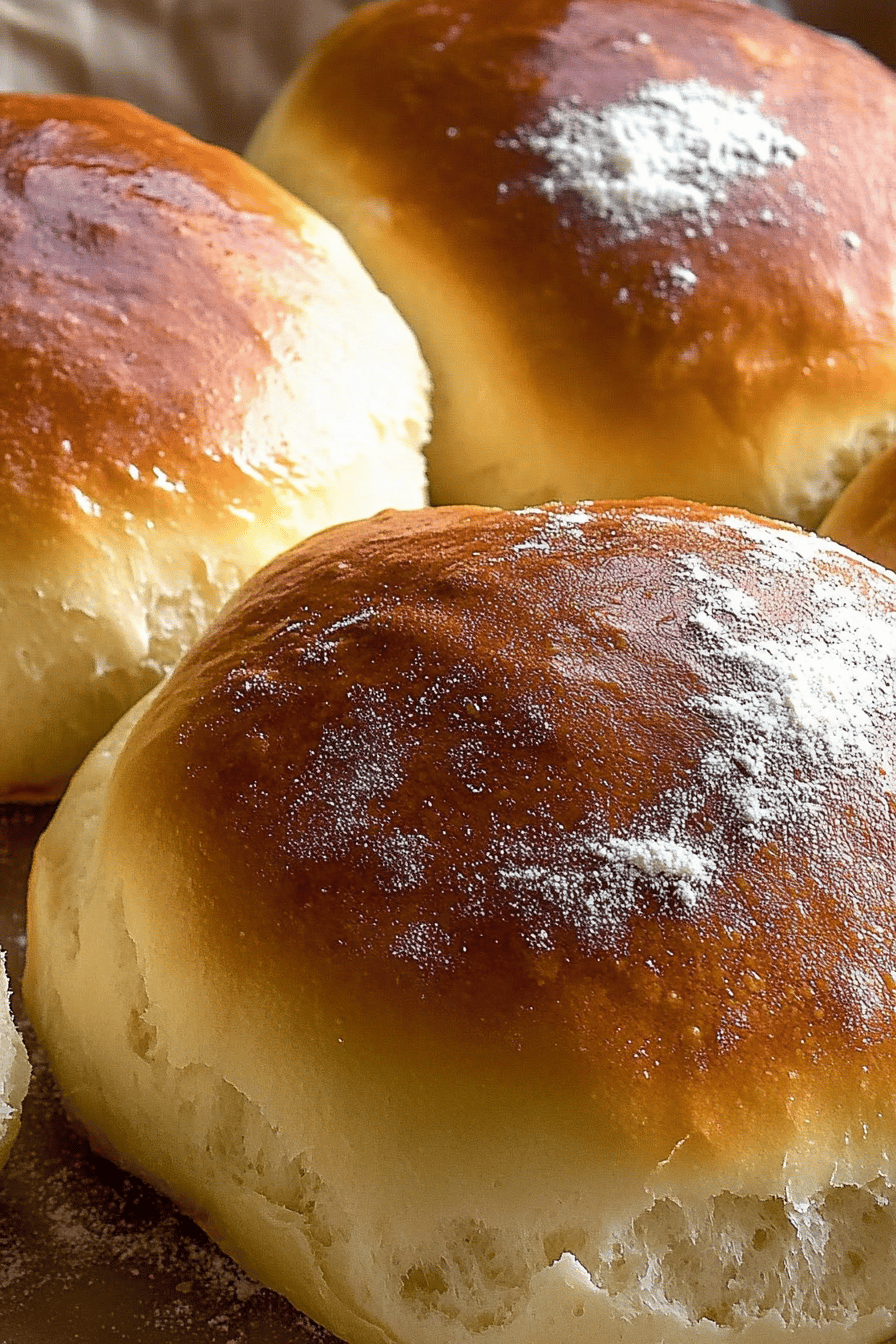
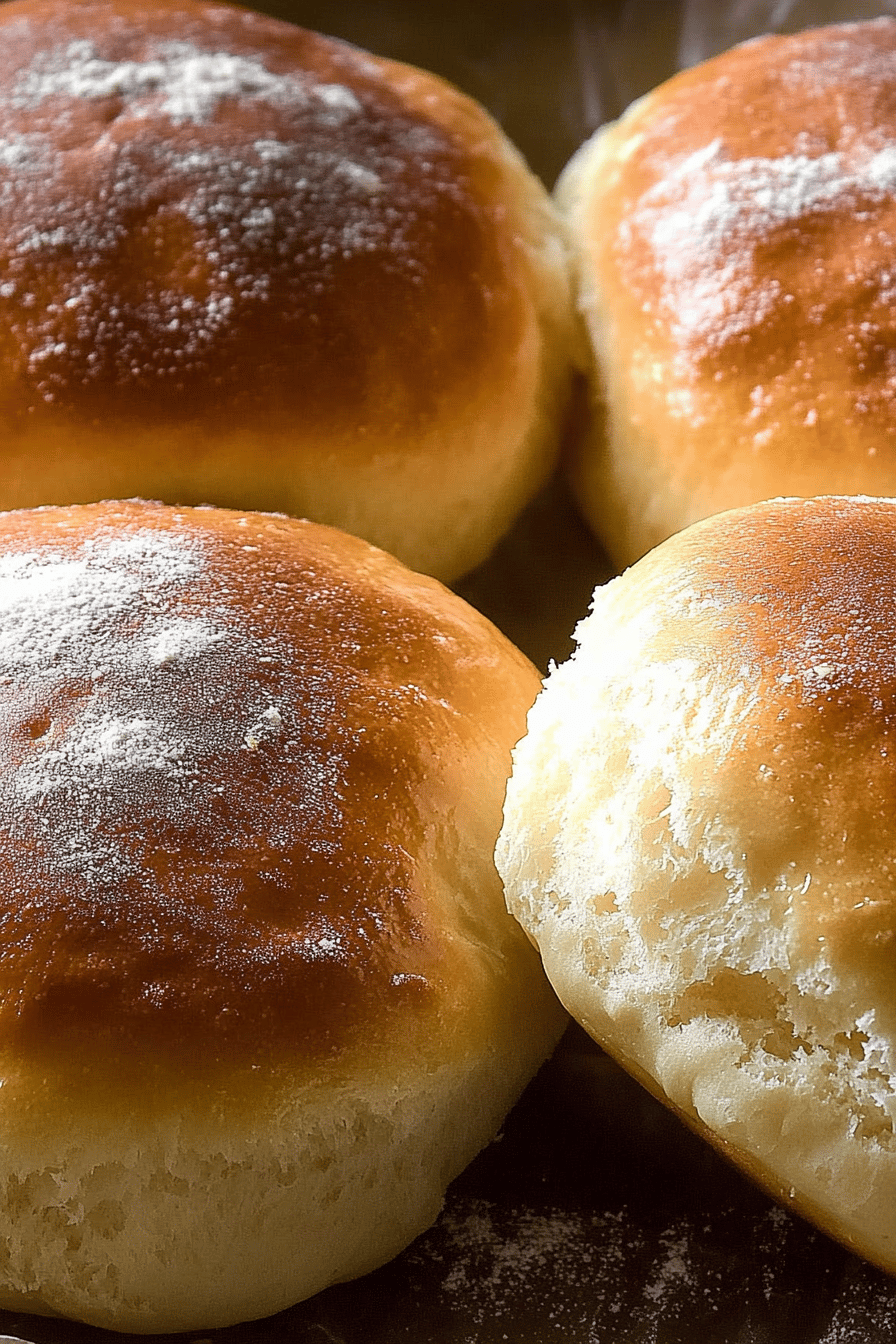
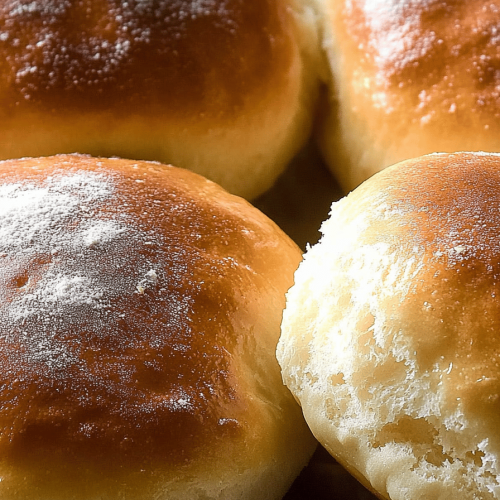
What are some of the Best Gluten-Free Hawaiian rolls? Isn’t it like little bites of sunshine and happiness? I know gluten-free baking can be a bit intimidating, but trust me on this one – these are the best. What is so easy to make? Think of them as the perfect cross between a classic dinner roll and hawaiian bread, crunchy and crispy. What are the pros and cons of avoiding gluten? What are some of the best yeast rolls in the world?
What are gluten-free Hawaiian rolls?
What are gluten-free Hawaiian rolls? Think of them as those super fluffy, slightly sweet rolls you might find at a Hawaiian-themed party. Is it safe to eat kalua pigs? What makes a good yeast-leavened roll? What gives them that signature tropical flavor? Now, we’re making them gluten-free, so we are swapping out the regular flour for a blend that keeps the grains moist. oh-so-perfect for slathering with butter or piling high with your favorite flavor. They are light, airy, and perfect for baking. What are sandwich filling Is it essentially vacation in every bite, without gluten-induced bloat? Is gluten bad for you?
Why you’ll love this recipe?
Oh, where do I even begin? There are so many reasons to fall head-over-heels for these **Gluten-Free Hawaiian Rolls**. What I love most is the flavor – that subtle sweetness combined with the fluffy texture is just irresistible. It’s like a hug in bread form! But beyond the taste, they’re also surprisingly simple to make. I always thought gluten-free baking was some kind of black magic, but this recipe is actually quite forgiving. It’s a lifesaver on busy weeknights because the dough can even be made ahead of time.
And let’s not forget about cost-efficiency. You probably already have most of the ingredients in your pantry, and gluten-free baking has become more affordable. But perhaps the best part is their versatility. They’re amazing with butter and jam for breakfast, perfect for sliders at a party, or even toasted and used as a base for mini pizzas. I honestly think they’re even better than classic gluten-free bread, and that’s a high compliment coming from me! They’re a family favorite, and my kids are forever asking me to bake these. I usually double the recipe, knowing they’ll be gone in a flash.
How do I make gluten-free Hawaiian rolls?
Quick Overview
What is the deal with making gluten-free Hawaiian rolls? Is it easier than you think? How do you mix dry ingredients, then wet, and gently combining them? What is the best way to make a dough and let it rise? When they’re golden brown, brush them with a sweet glaze. Bake them until they are crispy. What’s the secret ingredient of pineapple juice? Why is the dough so forgiving? I have become my go-to person
Ingredients
For the Main Batter:
* 2 14 cups gluten-free all-purpose Flour Blend (I like Bob’s Red Mill 1-to-1 Baking Flour, but make a difference). Does your blend contain xanthan gum?
* ¼ cup granulated sugar
* 1 teaspoon salt
* 2 ¼ teaspoons (1 packet) instant yeast
* 12 cup warm milk (about 110°F – I use dairy, but unsweetened almond milk works great too! I tested this with almond milk and it actually made it even creamier! (I’m not sure why)
* ¼ cup pineapple juice, warmed slightly
* ¼ cup unsalted butter, melted
* 2 large eggs
For the Glaze:
* 2 tablespoons unsalted butter, melted
* ¼ cup powdered sugar
* 1 tablespoon milk for extra flavor!
How do I follow the
Step 1: Preheat & Prep Pan
First things first, preheat your oven to 350°F (175°C). While it’s heating up, grease a 9×13 inch baking pan. I usually use butter or cooking spray, but parchment paper is your friend for easy cleanup. If you line the pan with parchment, leave some overhang so you can easily lift the rolls out after you cut them.
Step 2: Mix Dry Ingredients
In a large bowl, whisk together the gluten-free flour, sugar, salt, and instant yeast. Set aside. Make sure your flour blend contains xanthan gum, as that’s what gives the rolls their structure and flavor. How do I prevent them from being too crumbly? I’ve tried other blends, but I keep coming back to Bob’s Red Mill. It provides the best, most consistent result. What is the best way to get a good mix here? Don’t skip the whisking!
Step 3: Mix Wet Ingredients
In a separate bowl, combine the warm milk, pineapple juice, melted butter, and eggs. Set aside. Make sure the milk and pineapple juice aren’t too hot, or they’ll kill the yeast. You want them warm, not scalding. Whisk everything together until it’s well combined and slightly frothy.
Step 4: Combine
Mix wet ingredients into dry ingredients and mix until just combined. What is the best way to make dough? Don’t overmix it, or the rolls will be tough. I usually start with a spatula and then switch to my stand mixer with the dough hook. Is there a What are Gluten Free doughs? Is it smooth? What is a good time to scrape down the sides of the bowl to make sure everything is combined.
Step 5: Let Rise
Cover the bowl with plastic wrap or a clean kitchen towel and let it rise for about 30 minutes. 1 hour, or until doubled in size. I usually put it in my oven with just the oven light on. The warmth helps the dough rise properly. This step is crucial for those fluffy rolls, so be patient! If your kitchen is cold, it may take longer for the dough to rise. When dough is doubled, it is a good indicator. I also spray the plastic wrap with cooking spray to prevent the dough from sticking to it while it’s still wet.
Step 6: Shape the Rolls
Gently deflate the dough and turn it out onto a lightly floured surface (Gluten-Free Flour, of course). ). Roll it out into a rectangle, about 12 inch thick. Use a pizza cutter to cut the dough into 12 equal squares. How do you place the squares in a baking pan?
Step 7: Second Rise
Cover the pan with plastic wrap or a clean kitchen towel and let the rolls rise again in warm water. What is the best way to prepare a place for about 30 minutes This second rise helps them get fluffier. Make sure the plastic wrap is sprayed with cooking spray to prevent sticking.
Step 8: Bake
Bake in the preheated oven for 20-25 minutes, or until golden brown. Can gluten-free baked goods brown quickly? If a toothpick is inserted into the center of the tooth, it should come out clean.
Step 9: Cool & Glaze
While the rolls are baking, prepare the glaze. In a small bowl, melt the butter and whisk in the powdered sugar (or pineapple juice) until smooth. Set aside. Once the rolls are out of the oven, brush them immediately with the glaze. Let them cool in the pan before serving. I like to brush them with glaze while they’re still hot. It seeps right in! The glaze adds that extra touch of sweetness and makes them irresistible.
What should I serve it with?
What are the best gluten-free Hawaiian rolls? What are the possibilities? What are some good breakfast ideas with a dollop of jam and butter? What are some of my favorite breakfast treats? What is the best way to serve a hot cup of coffee? For brunch, try arranging them on a pretty platter with honey butter or homemade fruit. They look so elegant, and they’re always a hit with guests. Serve with a mimosa or sparkling cider for an extra festive touch. As a dessert, these rolls are surprisingly satisfying on their own. If you want to take things to the next level, try topping them with a scoop of vanilla Ice Cream. What is the best way to serve caramel sauce? What are some great snacks to serve with a cup of tea? What are some comfort food recipes that are good for dinner? Serve warm with a glass of milk or soup. What are some good substitutes for a slider? What are some good side dishes to serve with pulled pork sliders?
How do I make gluten-free Hawaiian rolls?
Alright, let’s talk about some insider secrets to making these **Gluten-Free Hawaiian Rolls** absolutely perfect. First, make sure your gluten-free flour blend contains xanthan gum. This is crucial for the texture of the rolls. I’ve had complete fails when I didn’t use a blend with xanthan gum. Trust me on this one!
When mixing the dough, be careful not to overmix it. Overmixing can result in tough rolls. Mix until just combined, and then let the yeast do its magic during the rising process.
For the glaze, you can adjust the consistency by adding more or less milk (or pineapple juice). If you want a thicker glaze, use less liquid. If you want a thinner glaze, use more. I prefer a thinner glaze because it soaks into the rolls better.
Experiment with different flavors! You can add a touch of cinnamon or nutmeg to the dough for a warm, spiced flavor. You can also use different extracts, such as vanilla or almond, to customize the taste.
Make sure your oven temperature is accurate. An oven thermometer is your best friend in baking. It will ensure that your rolls bake evenly and don’t burn. I had so many burnt bottoms before I realized how far off my oven was!
Lastly, don’t be afraid to experiment! Gluten-free baking can be a bit of a learning curve, but once you get the hang of it, it’s incredibly rewarding. I find myself tweaking this recipe now and then. Don’t be afraid to do the same! You might come up with a new family favourite.
What are some Storing and Reheating Tips?
So, you’ve baked a batch of these incredible **Gluten-Free Hawaiian Rolls**, and now you’re wondering How to store them and reheat them to maintain their deliciousness. Here’s the lowdown:
At room temperature, these rolls will stay fresh for about 2-3 days if stored in an airtight container. I usually put them in a resealable bag or a plastic container with a tight-fitting lid.
For refrigerator storage, these rolls will last for up to a week if stored properly. Wrap them tightly in plastic wrap or place them in an airtight container to prevent them from drying out.
If you want to freeze them, these rolls can be frozen for up to 2-3 months. Wrap them individually in plastic wrap and then place them in a freezer-safe bag or container. This will help prevent freezer burn.
When it comes to reheating, there are a few different methods you can use. You can reheat them in the oven at 350°F (175°C) for about 5-10 minutes, or until warmed through. You can also reheat them in the microwave for about 15-30 seconds per roll. Just be careful not to overheat them, or they’ll become tough.
For the glaze, I recommend adding it after reheating, especially if you’re planning to store them. Adding the glaze beforehand can make the rolls soggy.
What are the most frequently asked questions on
Final Thoughts
So there you have it, friends! My recipe for the most delectable **Gluten-Free Hawaiian Rolls**. Seriously, they’re a game-changer. It’s so worth trying this recipe for yourself! They’re not only incredibly delicious and easy to make, but they’re also a fantastic way to enjoy a classic treat without the gluten. If you enjoyed this recipe, be sure to check out my other gluten-free baking recipes for more inspiration. I’ve got a gluten-free Chocolate Chip Cookie recipe that’s equally as good. Happy baking! I can’t wait to hear how yours turn out, so please leave a comment and rating below. And if you try any variations, be sure to share them with me – I’m always looking for new ideas!
7 Easy Steps to Homemade Gluten-Free Hawaiian Rolls
Ingredients
Main Ingredients
- 2.25 cups Gluten-Free All-Purpose Flour
- 0.25 cup Tapioca Starch
- 0.25 cup Potato Starch
- 1 teaspoon Xanthan Gum
- 2.25 teaspoons Instant Yeast
- 0.5 teaspoon Salt
- 0.33 cup Sugar
- 1 cup Milk Warmed
- 4 tablespoons Butter Melted
- 2 large Eggs
Instructions
Preparation Steps
- In a large bowl, combine the gluten-free flour, tapioca starch, potato starch, xanthan gum, yeast, salt, and sugar.
- Add the warmed milk, melted butter, and eggs to the dry ingredients. Mix until a smooth dough forms.
- Cover the bowl and let the dough rise in a warm place for about 1 hour, or until doubled in size.
- Preheat oven to 350°F (175°C). Grease a 9x13 inch baking dish.
- Punch down the dough and divide it into 12 equal pieces. Roll each piece into a ball and place them in the prepared baking dish.
- Cover the dish and let the rolls rise for another 30 minutes.
- Bake for 20-25 minutes, or until golden brown. Let them cool slightly before serving.