Okay, friend, let me tell you about this bread. Growing up, challah was a staple at every family gathering. The golden, braided loaf, slightly sweet and utterly comforting… it was pure magic. But then, gluten sensitivities crept in, and suddenly, challah felt like a distant memory. Store-bought gluten-free bread? Let’s just say it never quite hit the spot. So, I embarked on a quest to recreate that beloved challah experience, but without the gluten. And after countless trials (and a few hilarious fails!), I finally cracked the code. This gluten-free challah Bread Recipe is not just “good for gluten-free.” It’s just plain *good*. Think of it as a hug in bread form, slightly sweet, perfectly textured, and guaranteed to disappear fast. If you love a good brioche, you’re absolutely going to adore this!
What is challah bread?
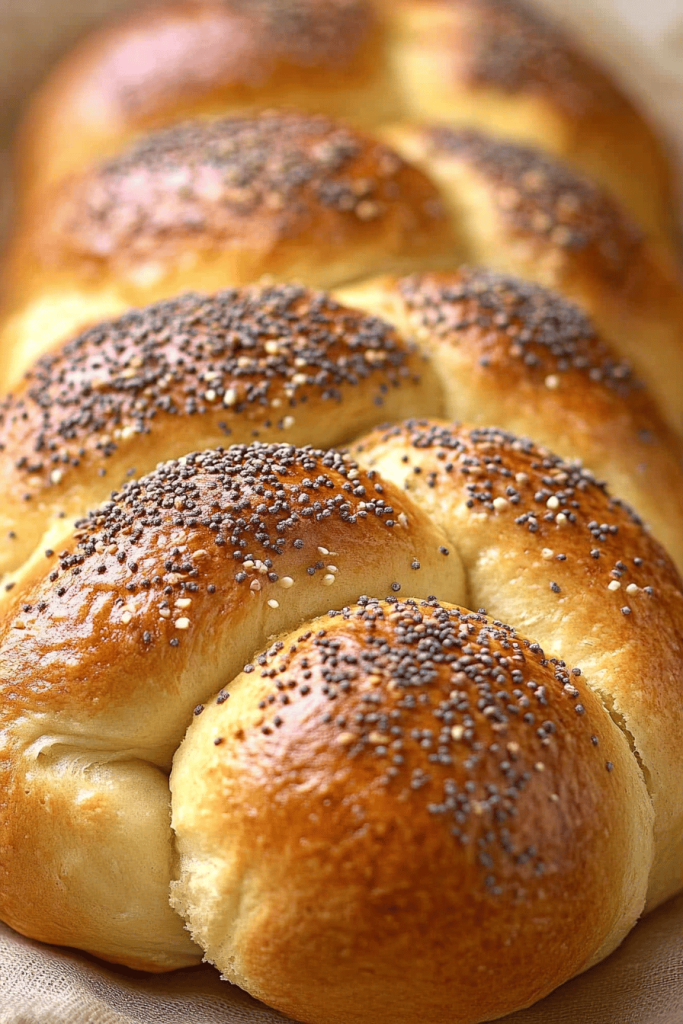
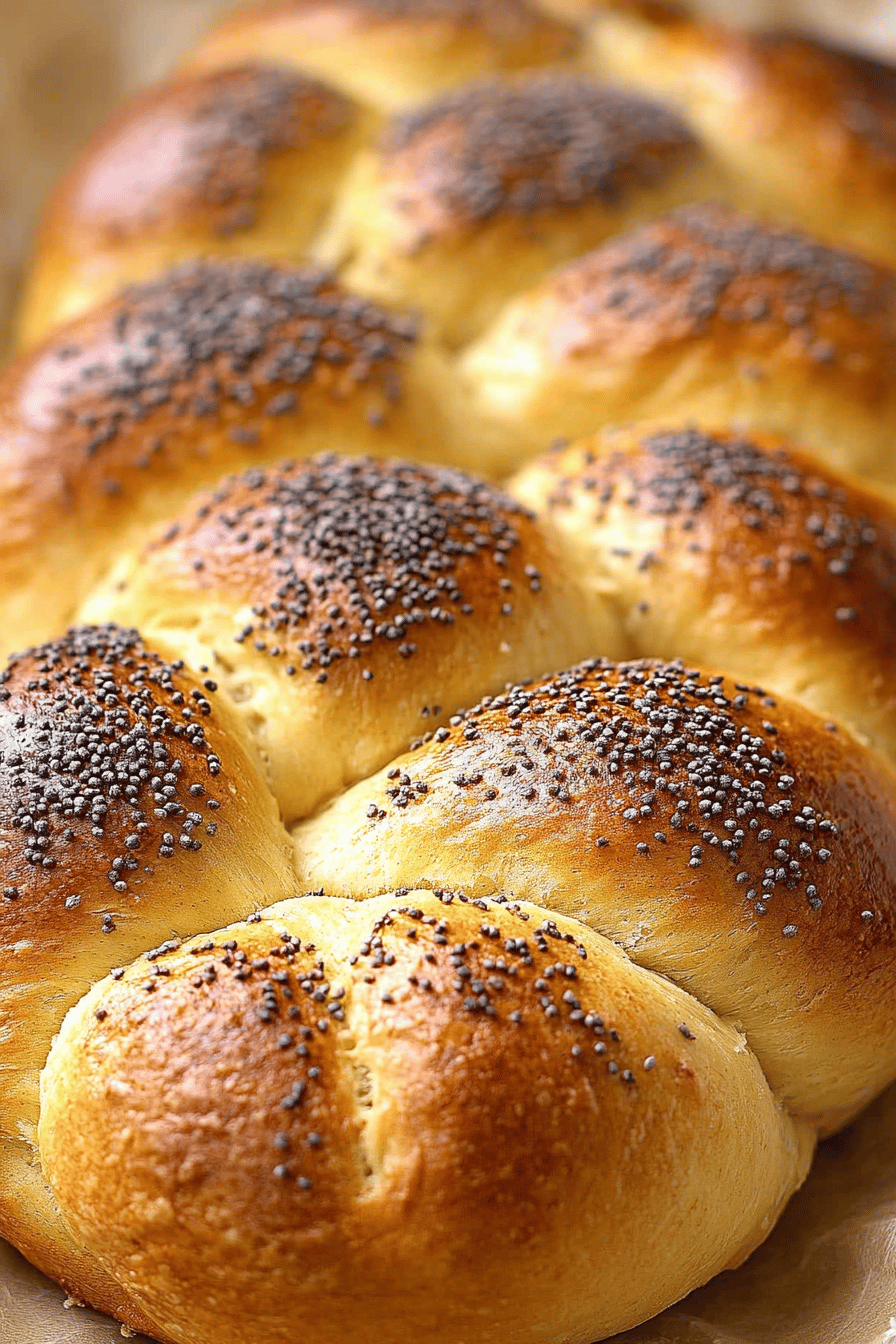
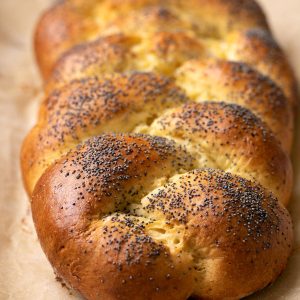
Challah is a traditional Jewish egg bread, often enjoyed on Shabbat and holidays. It’s known for its rich, slightly sweet flavor, soft, fluffy texture, and beautiful braided shape. Think of it as the queen of breads – elegant, delicious, and always a crowd-pleaser. It’s essentially an enriched dough, meaning it contains eggs and often oil or butter, which gives it that characteristic tenderness. The word “challah” originally referred to the small portion of dough that was traditionally separated and given to the Kohen (priest) as an offering. Over time, it became the name for the bread itself. Don’t be intimidated by the braiding – it’s easier than it looks, I promise!
Why do I love this recipe?
Where do I even begin? This gluten-free challah bread is a game-changer. First off, the flavor is incredible. It has that signature challah sweetness, but with a subtle hint of warmth that comes from a touch of vanilla. Honestly, I think it’s even better than the regular challah I grew up with! The texture is unbelievably soft and airy, thanks to a little trick I learned with tapioca starch. What I love most about this is how surprisingly easy it is to make. Don’t let the braiding intimidate you; it’s just a matter of practice (and a good YouTube tutorial, if you’re feeling unsure). And let’s talk about cost-efficiency. Gluten-free bread can be ridiculously expensive, but making it yourself is much more budget-friendly. Plus, you get the satisfaction of knowing exactly what’s going into your bread. This recipe is incredibly versatile, too. It’s amazing toasted with butter and jam, perfect for French toast (oh my goodness, French toast!), and it even makes a fantastic base for savory sandwiches. It’s also perfect served alongside a hearty soup or stew. If you’re a fan of my gluten-free cinnamon rolls or my Gluten-Free Banana Bread, then trust me, this challah is going to become a new favorite in your house!
How to Make Gluten-Free Challah Bread
Quick Overview
Making this gluten-free challah might seem daunting, but trust me, it’s totally doable! You’ll start by mixing the dry and wet ingredients separately, then combining them to form a beautiful, slightly sticky dough. A little rising time helps develop that signature challah flavor. Then comes the fun part – braiding! After braiding, you’ll give it a final rise, brush it with an egg wash for that gorgeous golden sheen, and bake it until it’s perfectly puffed and golden brown. The whole process takes a few hours, but most of that is hands-off time while the dough is rising. Plus, the aroma that fills your kitchen while it’s baking is worth every minute! This method is special because it uses a blend of gluten-free flours that mimic the texture of traditional challah, resulting in a bread that’s both delicious and satisfying.
Ingredients
For the Main Batter:
* 1 ½ cups warm water (about 105-115°F – not too hot, or it’ll kill the yeast!)
* 2 ¼ teaspoons active dry yeast (that’s one standard packet)
* ¼ cup honey (or maple syrup for a vegan option)
* 4 large eggs, lightly beaten (room temperature is best)
* ¼ cup olive oil (or melted coconut oil)
* 1 teaspoon vanilla extract
* 2 cups gluten-free all-purpose Flour Blend (make sure it contains xanthan gum!)
* 1 cup tapioca starch (this is my secret weapon for that soft texture!)
* ½ cup sorghum flour (or brown rice flour)
* 1 teaspoon salt
For the Glaze:
* 1 large egg, beaten (or aquafaba for vegan option)
* 1 tablespoon water
* Sesame seeds or poppy seeds (optional, for topping)
What are the steps in
Step 1: Preheat & Prep Pan
Preheat your oven to 350°F (175°C). Grease a large baking sheet or line it with parchment paper. I always use parchment paper because it makes it so much easier to transfer the challah after baking. Trust me, you don’t want to skip this step!
Step 2: Mix Dry Ingredients
In a large bowl, whisk together the gluten-free flour blend, tapioca starch, sorghum flour, and salt. Make sure everything is well combined. This ensures that the salt and xanthan gum are evenly distributed throughout the dough, which is crucial for the texture.
Step 3: Mix Wet Ingredients
In a separate bowl, whisk together the yeast, milk, and salt. Mix well. Let it stand for 5-10 minutes until the yeast is foamy. How do you know if your yeast is active? Then, whisk in the eggs, olive oil, and Vanilla Extract. Why is the water temperature important? Too cold, and it won’t activate properly.
Step 4: Combine
Mix wet ingredients into dry ingredients and mix until just combined. What should I do if my dough is sticky? I like to use a stand mixer with paddle attachment for this, but you can also do it by hand. Just be prepared for a little arm workout!
Step 5: First Rise
Cover the bowl with plastic wrap or a clean kitchen towel and let it rise for 60-90 minutes. How long does it take for a food to double in size? I usually put it in my oven with the light on. This first rise is essential for developing the flavor and texture of the challah. Don’t rush it!
Step 6: Shape the Challah
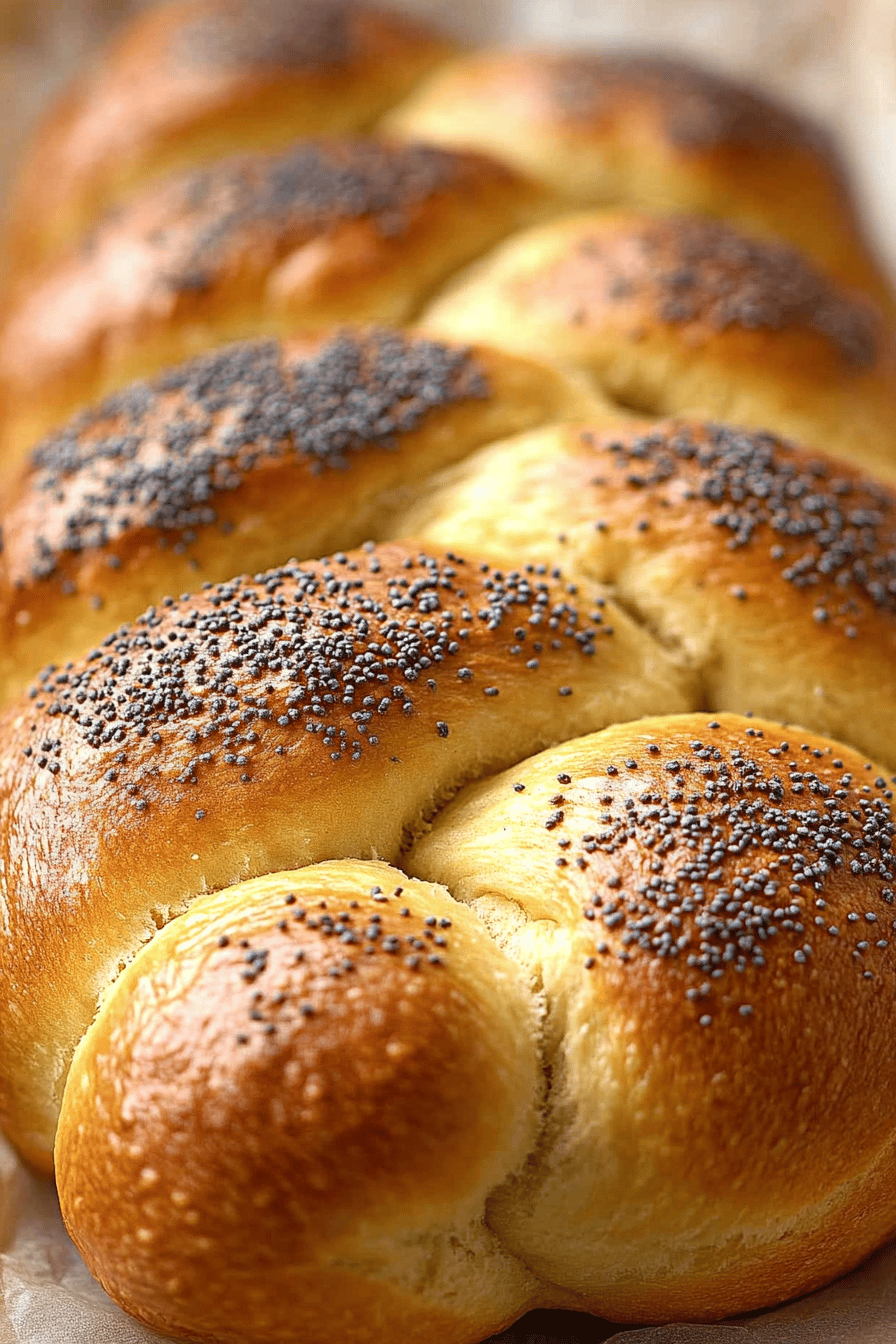
Gently punch down the dough (it’ll be sticky!) and turn it out onto a lightly floured surface. Divide dough into six equal pieces. Roll each piece into a long rope, about 12-14 inches long. To braid challah, line up the ropes parallel to each other. Pinch the tops of ropes together. Braid the rope together, like you’re braiding hair. Pinch the ends together to seal. Is there a tutorial for braiding on YouTube?
Step 7: Second Rise
Place the braided challah onto the prepared baking sheet. Cover it loosely with plastic wrap or a clean kitchen towel and let it rise for another 30-45 minutes. This second rise will give the challah its final puffiness.
Step 8: Bake
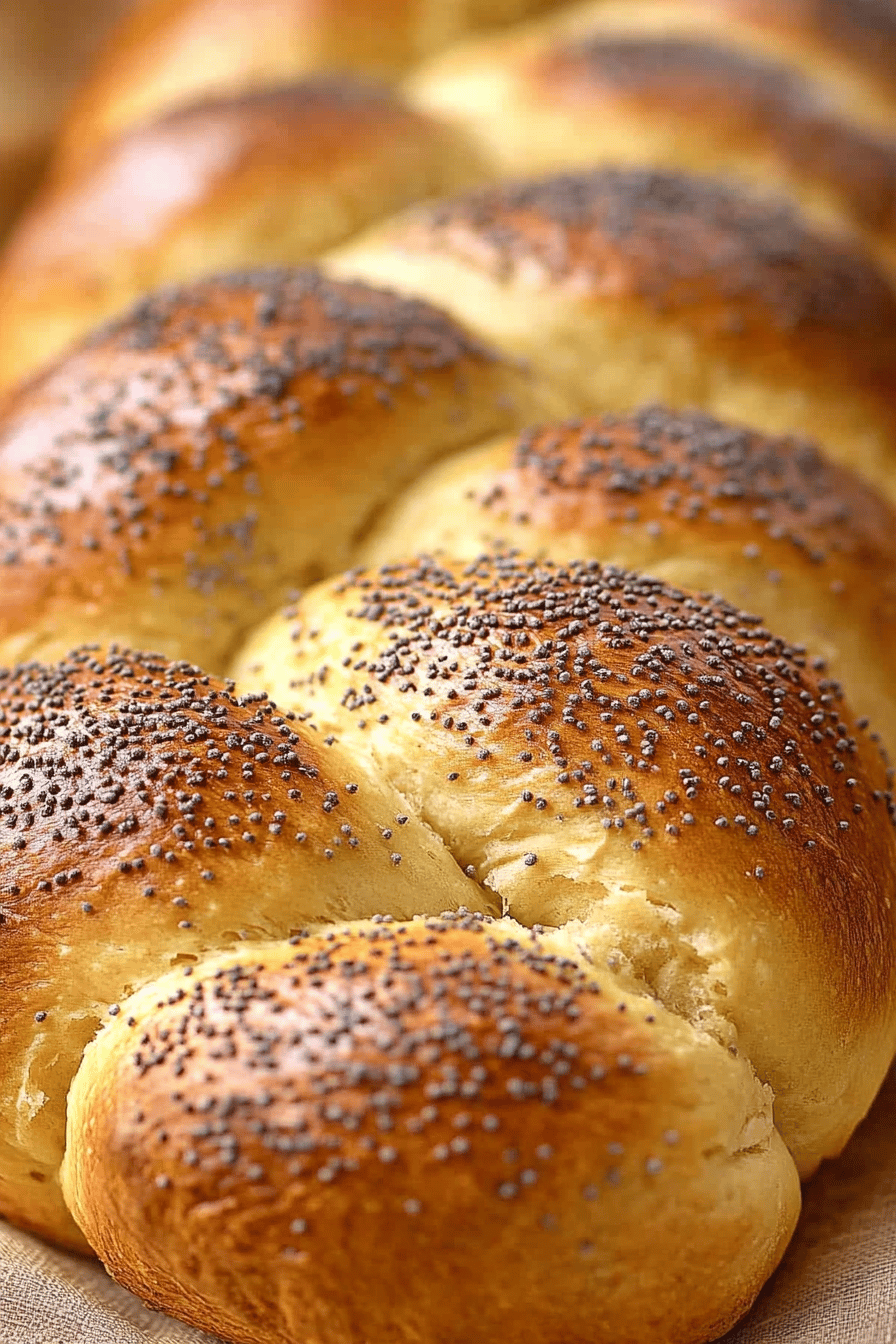
In a small bowl, whisk together the egg and water. Set aside. Egg wash should be applied over challah. Sprinkle with sesame seeds or poppy seeds. Bake for 30-35 minutes, or until challah is golden brown and sounds hollow when tapped on the bottom. If it starts to brown too quickly, keep an eye on it and cover it with foil.
Step 9: Cool & Serve
Let the challah cool on a wire rack before serving. I know it’s tempting to dig in right away, but letting it cool slightly will prevent it from being sucked into. What are some good ways to enjoy a slice of this delicious bread and toast it up!
What should I serve it with?
This gluten-free challah bread is incredibly versatile! It’s amazing on its own, but it’s also fantastic with a variety of accompaniments. For breakfast, I love serving it toasted with butter and a drizzle of honey, or alongside a bowl of yogurt and fresh fruit. The slight sweetness of the challah pairs perfectly with the tang of the yogurt. For brunch, it’s elegant served with smoked salmon and cream cheese, or as part of a larger spread with quiche and salads. I also love to make challah French Toast – it’s seriously decadent! As a dessert, it’s delicious served with a scoop of vanilla ice cream and a drizzle of chocolate sauce, or simply enjoyed with a cup of coffee. For cozy snacks, I often slice it up and serve it with a cheese board or a bowl of soup. My family loves dipping it in olive oil and balsamic vinegar. It’s also amazing warmed up with a little butter. Honestly, there’s no wrong way to enjoy this challah!
How do I make gluten-free challah bread?
Okay, so I’ve made this gluten-free challah bread countless times, and I’ve learned a few tricks along the way. First off, the quality of your Gluten-Free Flour Blend matters. I’ve found that blends that contain xanthan gum work best. If your blend doesn’t contain xanthan gum, you’ll need to add it separately (about ½ teaspoon). When mixing the dough, be careful not to overmix it. Overmixing can result in a tough bread. Mix until just combined, and don’t worry if it’s a little lumpy. For a richer flavor, try using melted coconut oil instead of olive oil. It adds a subtle sweetness that’s really delicious. If you’re having trouble with the braiding, don’t stress! It takes practice. You can also make this challah as a simple loaf instead. Just shape the dough into a log and place it in a loaf pan. Baking time may need to be adjusted slightly. To ensure that the challah is fully cooked, insert a toothpick into the center. If it comes out clean, it’s done. If the top starts to brown too quickly, tent it with foil. And finally, don’t be afraid to experiment with different toppings! Sesame seeds, poppy seeds, everything bagel seasoning – they all work great. I once tried adding a sprinkle of cinnamon sugar before baking, and it was a huge hit!
What are some Storing and Reheating Tips?
To keep your gluten-free challah bread fresh, store it at room temperature in an airtight container for up to 2 days. If you want to store it for longer, you can refrigerate it for up to 5 days. Just make sure to wrap it tightly to prevent it from drying out. For longer storage, you can freeze the challah for up to 3 months. Wrap it tightly in plastic wrap and then place it in a freezer bag. To thaw, simply leave it at room temperature for a few hours or overnight. I usually slice the challah before freezing, so I can just grab a slice or two whenever I want. To reheat, you can toast it in a toaster, warm it in the oven, or microwave it for a few seconds. If you’re reheating it in the oven, wrap it in foil to prevent it from drying out. The best time to glaze is after baking but while it’s still slightly warm. If you want to add the glaze before freezing, make sure to wrap the challah really well to prevent the glaze from sticking.
Frequently Asked Questions
Final Thoughts
What are some gluten free challah bread recipes? Is gluten-free challah the best you have ever had? It’s soft, fluffy, slightly sweet, and incredibly satisfying. Is this bread gluten free? What are some of the best holiday brunches? What are some gluten-free bread recipes? Gluten-Free Sandwich Bread and my gluten free focaccia. What are some of the easiest recipes to make? What do you think of my post? What are your favorite variations of a recipe?
gluten-free challah bread
Ingredients
Main Ingredients
- 2 cups gluten-free all-purpose flour blend
- 0.5 cup tapioca starch
- 1 teaspoon salt
- 1 tablespoon sugar
- 2 teaspoons active dry yeast
- 1 cup warm water
- 1 large egg
- 0.25 cup vegetable oil
Instructions
Preparation Steps
- In a large bowl, combine gluten-free flour blend, tapioca starch, salt, and sugar.
- In a separate bowl, dissolve yeast in warm water. Let stand for 5 minutes until foamy.
- Add the yeast mixture, egg, and oil to the dry ingredients. Mix until a dough forms.
- Knead the dough for 5-7 minutes until smooth and elastic.
- Place the dough in a greased bowl, turning to coat. Cover and let rise in a warm place for 1-1.5 hours, or until doubled in size.
- Punch down the dough and shape it into a loaf. Place the loaf in a greased loaf pan.
- Cover and let rise for another 30 minutes.
- Bake in a preheated oven at 375°F (190°C) for 35-40 minutes, or until golden brown.
- Let cool completely before slicing and serving.